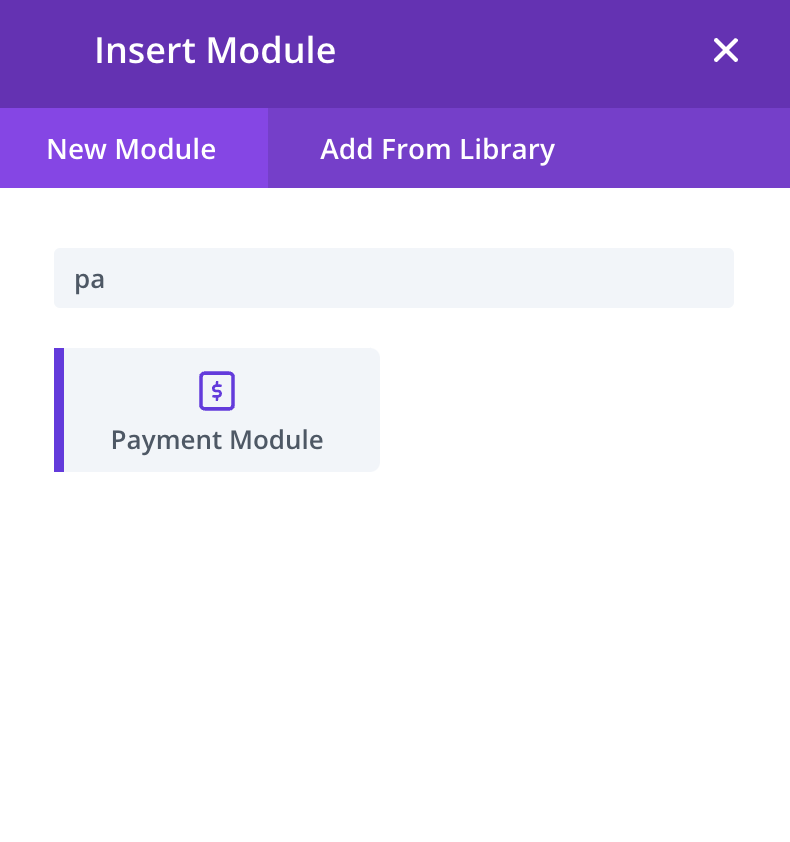
Adding Payment Module to your page
To add a product to your site go to Divi Builder and then search for a module called Payment Module:
Using two modules with identical product names on a single webpage is not recommended. The validation process uses the product name to determine which form the purchase was made from and it can't do that properly if there is more than one product with the same name on the page.
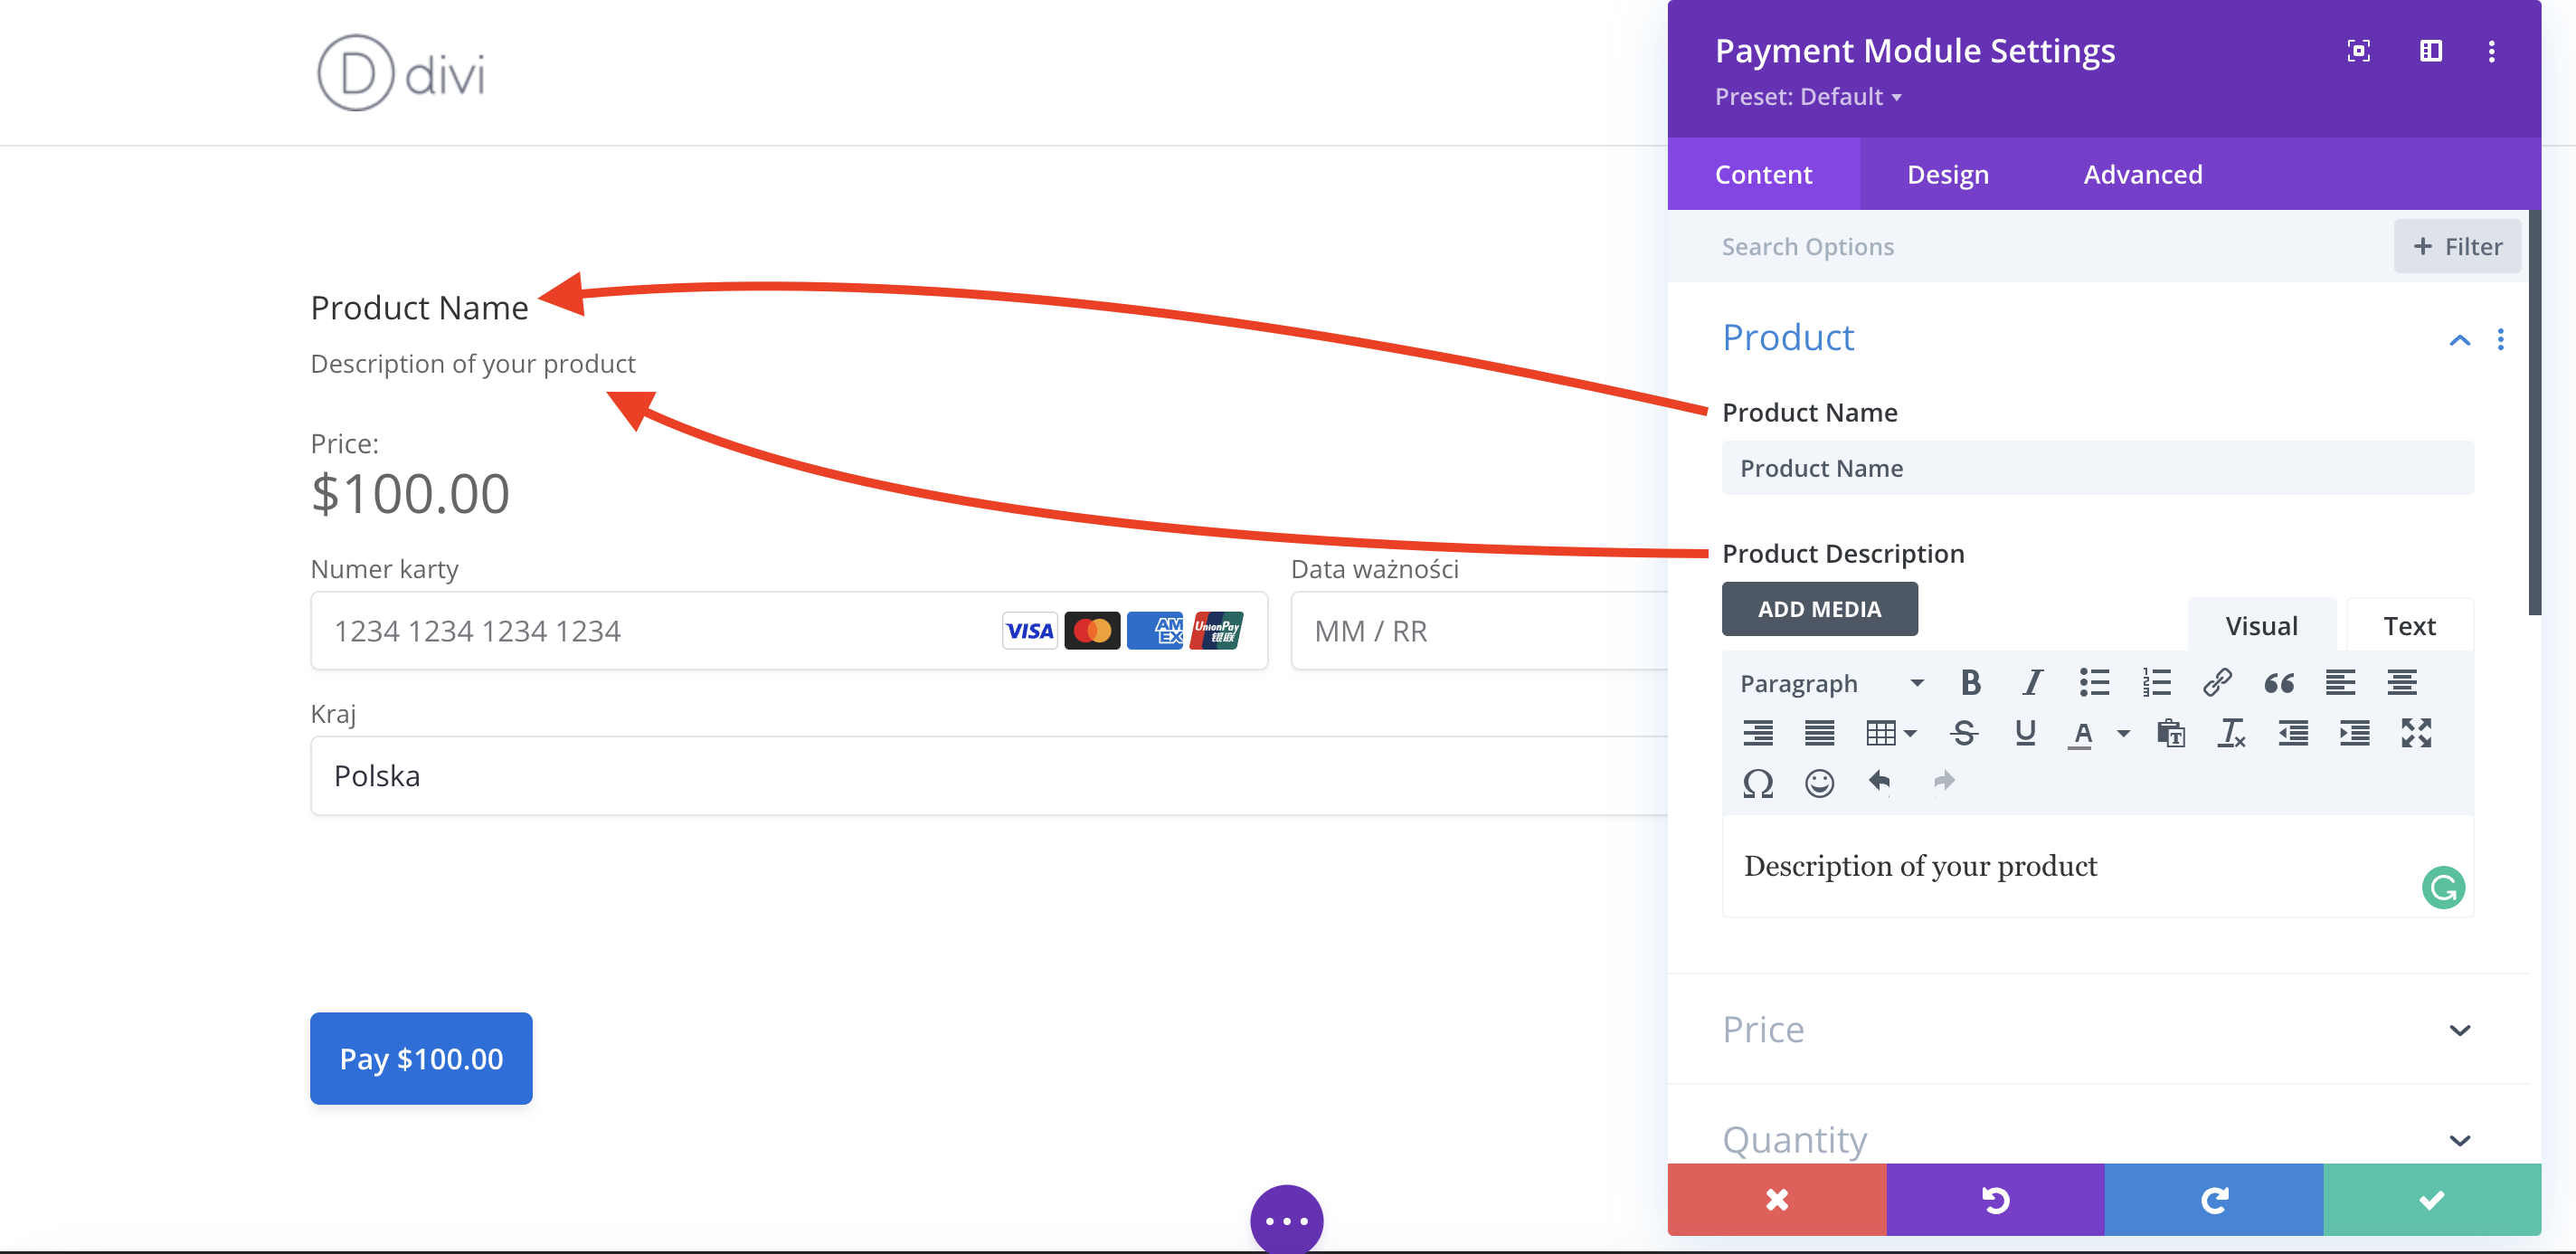
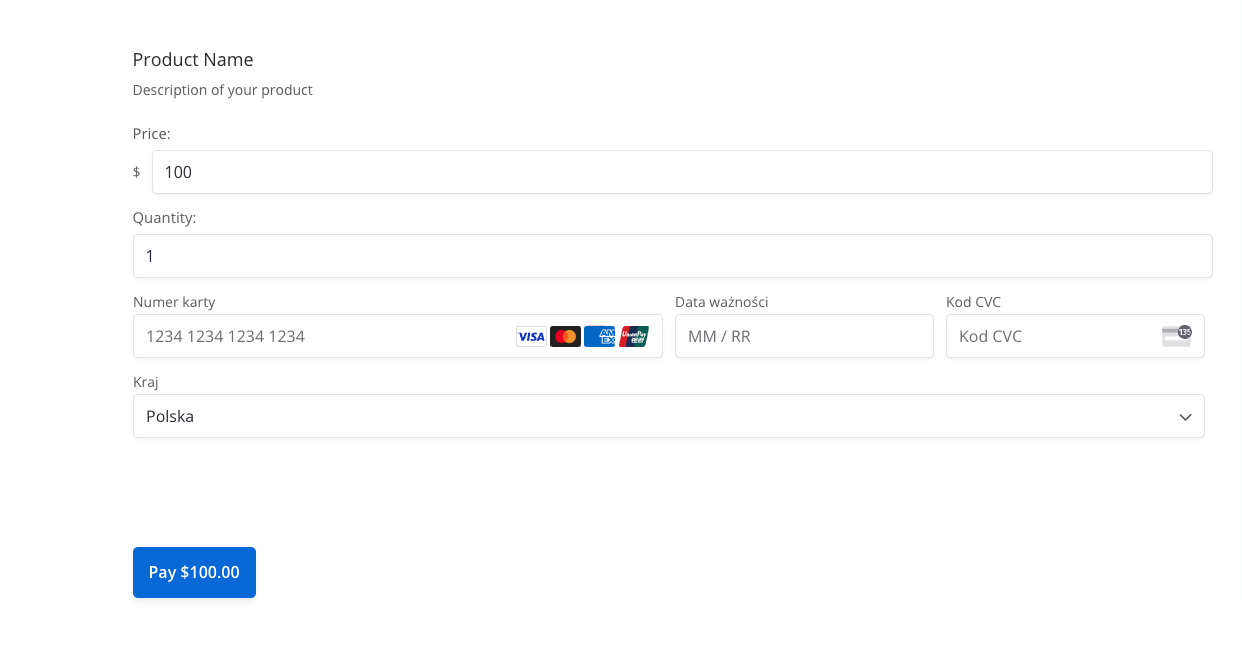
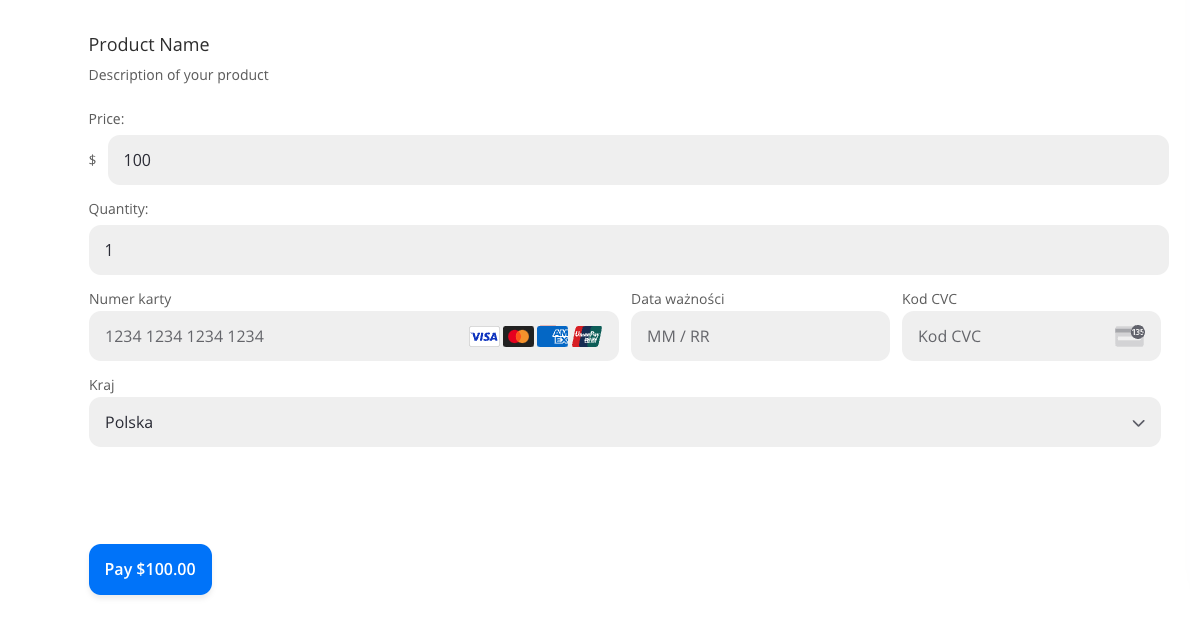
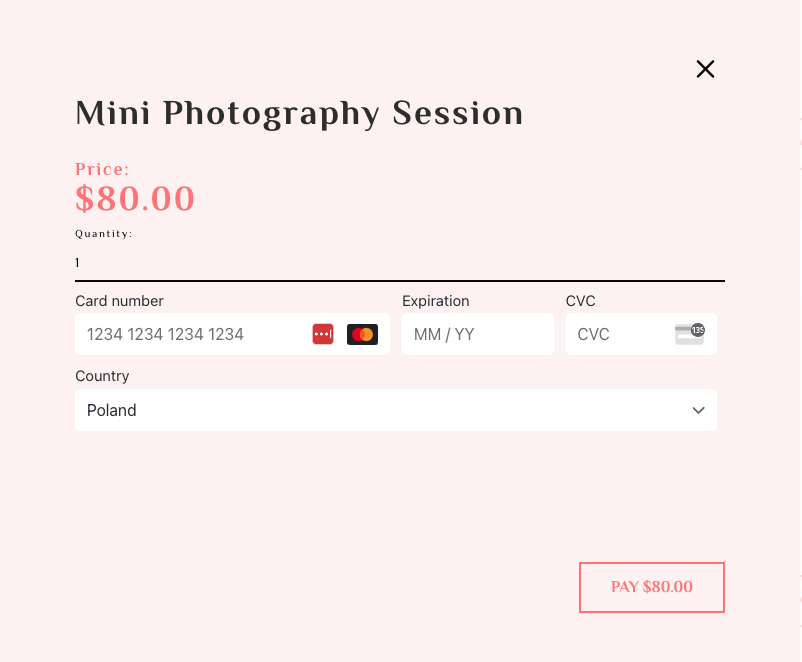
Product Tab
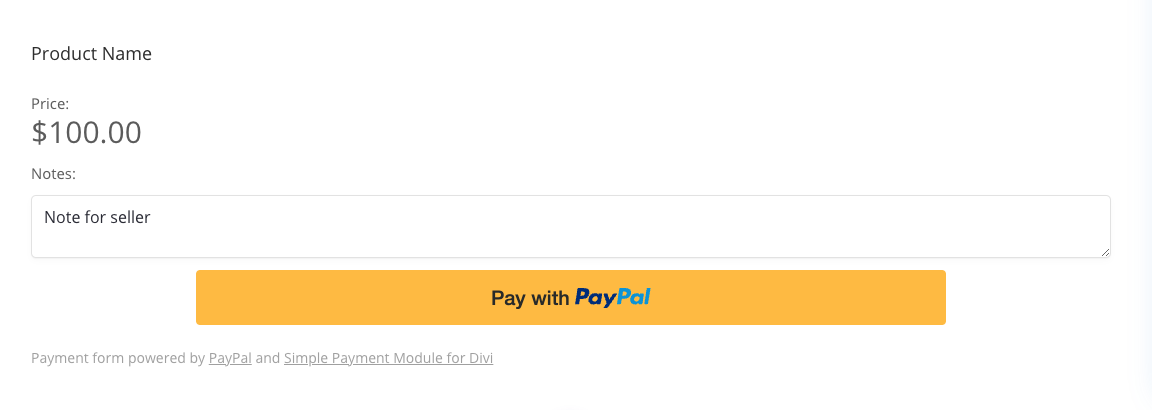
Here you can add your Product name and description
Price Tab
Here you can define the price of the Product. Please note, no currency amounts with more than 2 decimal places are supported.
Fixed Price
Set the price of the product or service is predetermined and set by the merchant. In a difference to custom price, this price remains constant and is communicated to the customer upfront, so the customer knows what to expect in terms of cost.

Custom Price
With a custom price defined by the user, the customer has the ability to set the price for the product or service based on their own preferences or circumstances. This type of pricing is often used in situations where there is some flexibility in the price, such as in the case of tips, donations, or pay-what-you-want models.
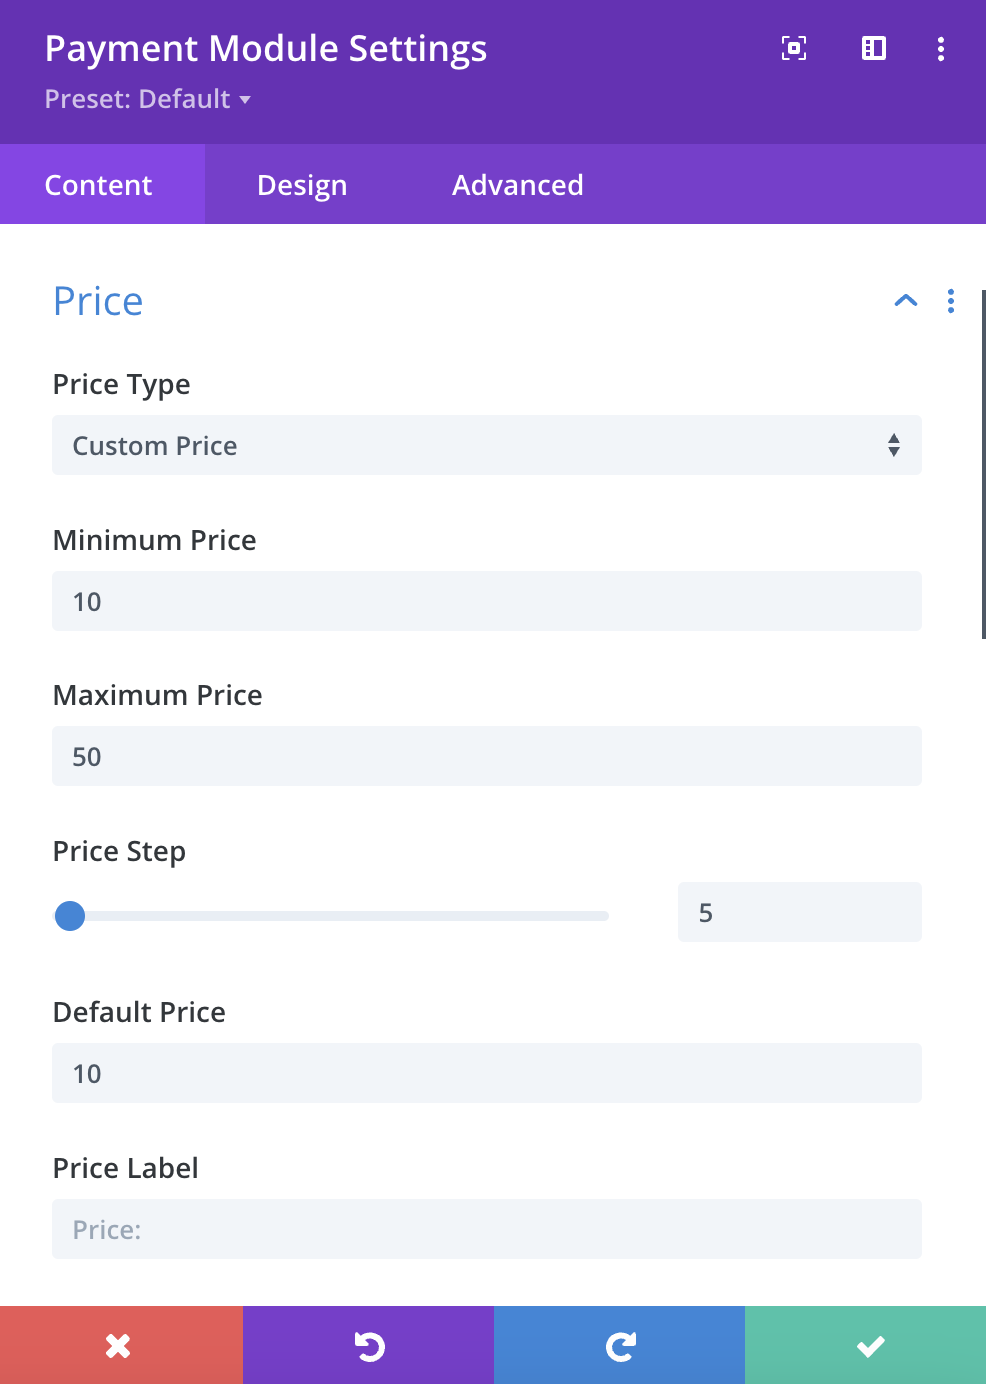
If you choose this option, remember to set the messages that will be displayed when the user enters an amount out of range or with a different price step.

Quantity Tab
This option allows the user to select the amount of product
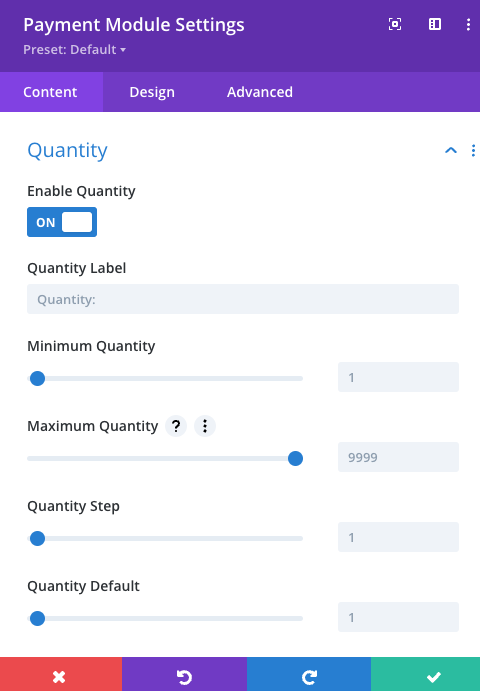
Minimum Quantity
Allows you to specify the minimum quantity of the product
Maximum Quantity
Allows you to specify the maximum amount of product
Quantity Step
Allows you to specify by what value you want to increase or decrease the amount of product
Quantity Default
Allows you to specify a default quantity
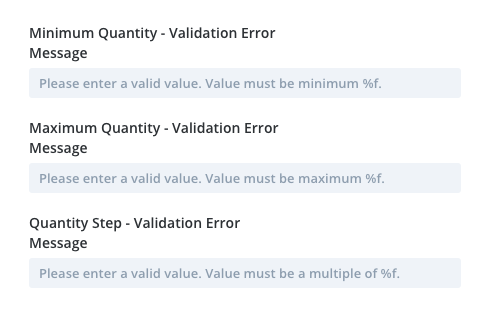
Custom Validation Messages
If you choose this option, remember to set the messages that will be displayed when the user enters a quantity out of range or with a different quantity step.
Display Mode
In Page
This option displays the purchase form directly on the page where the module was placed

In Page after button click
This option displays the purchase form directly on the page where the button is clicked
In overlay after button click
This option displays the purchase form in the overlay after clicking on the button
Form Settings
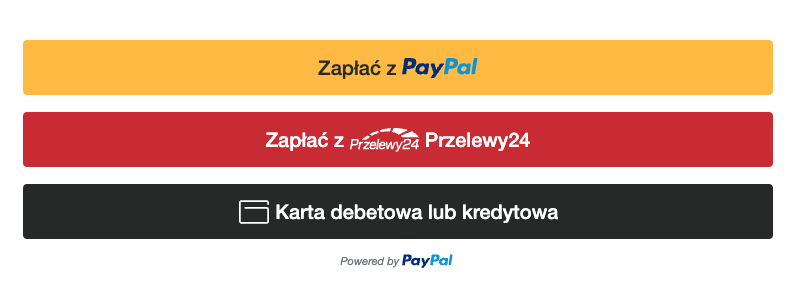
Payment Processor
- Stripe Check this option to use the Stripe payment gateway
- PayPal Check this option to use the PayPal payment gateway
Stripe Form Theme
This option allows you to select a theme for the form for the Stripe payment gateway
Stripe
Night

Flat
Custom
Stripe Button Text
This option allows you to enter your own custom text for the payment button, to display the amount in the button use "%s"
PayPal Category
This option allows you to select the category with which the payment will be sent to PayPal
The available options are:
- Physical Goods
- Digital Good
- Donation
PayPal Button Text
This option allows you to choose how you want the PayPal button to be displayed
The available options are:
No text

Checkout

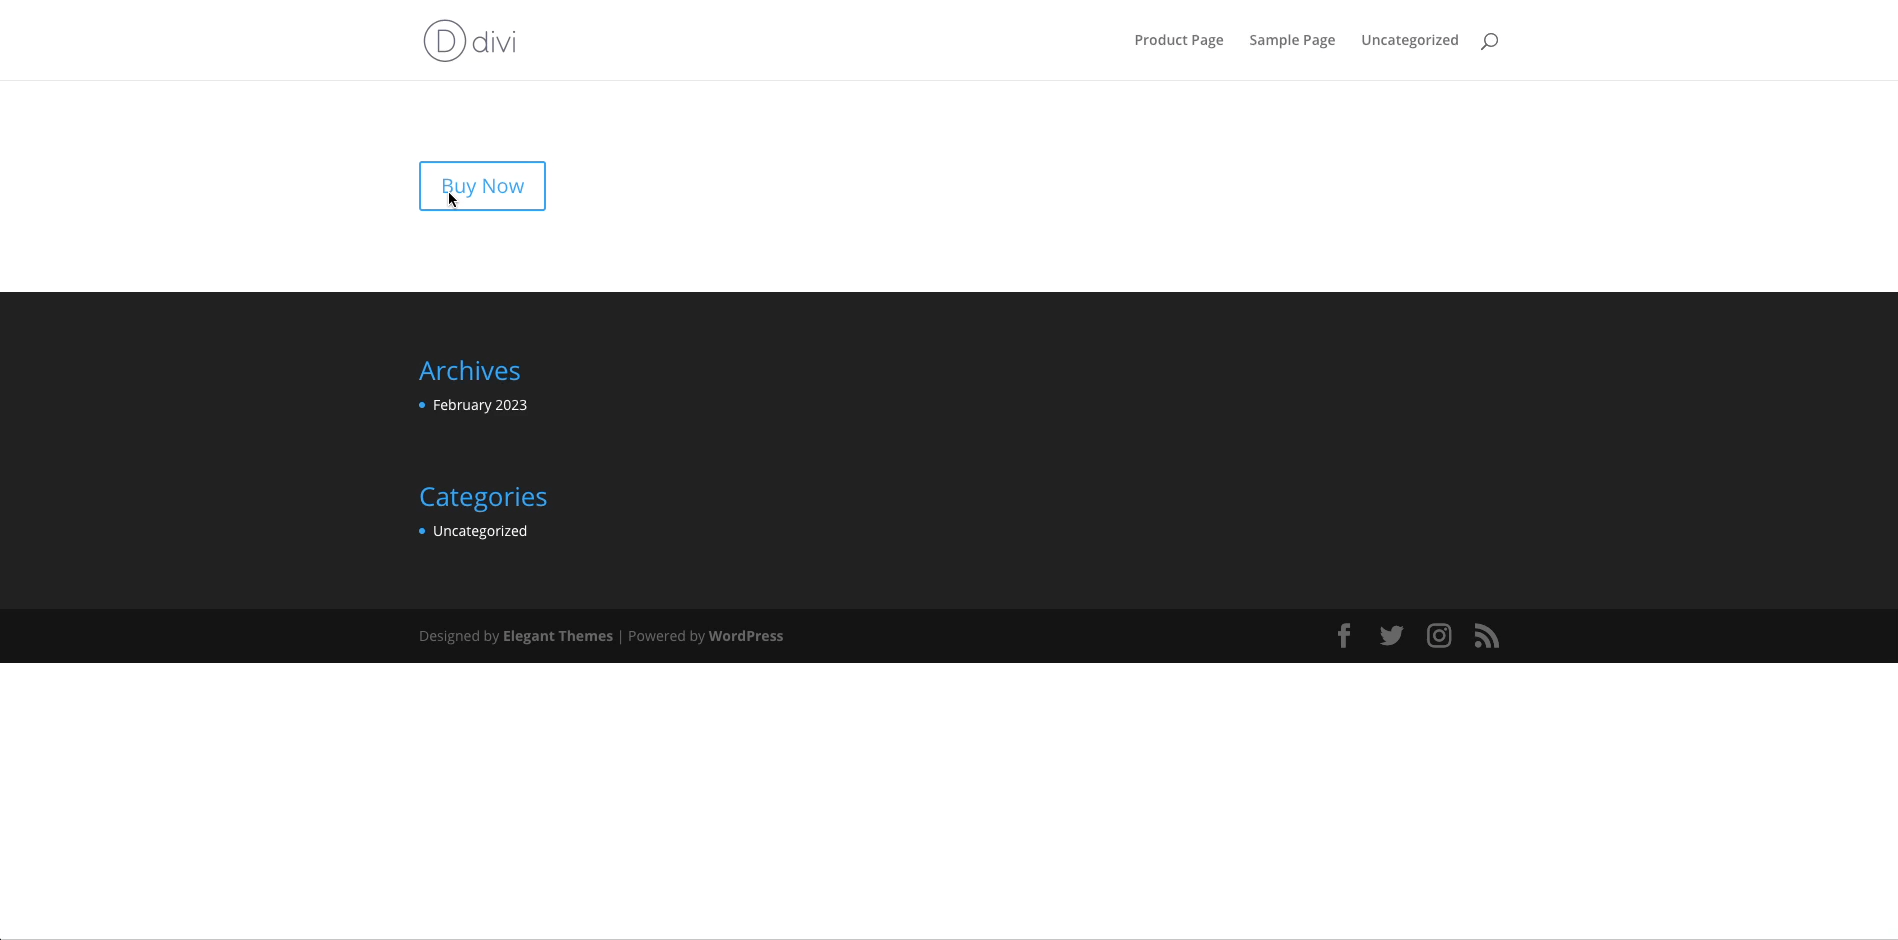
Buy Now

Pay with

PayPal Buttons Layout
Vertical
Horizontal

Show PayPal Tagline
This option allows you to enable or disable the PayPal tagline below the button:
Enabled:

Disabled:

Show Module Credit
This option allows you to enable or disable the module credit:
Enabled

Disabled

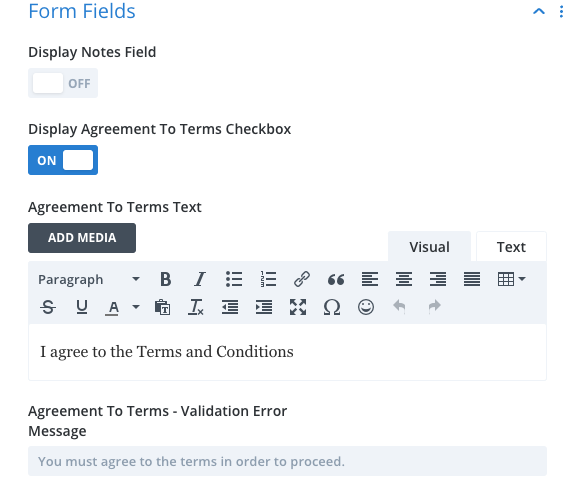
Form Fields
Display Notes Field
Enable or disable the customer notes field
Display Agreement To Terms Checkbox
this option allows you to display a Term Of Agreement checkbox

In the module settings, you can add your own custom message for the checkbox and the message that will be displayed when the checkbox is not selected by the user and the form is submitted:
Payment Settings
Statement Descriptor
When customers review their bank statements, they may come across charges or payments that they don't immediately recognize. This is where statement descriptors come in - they are a brief explanation of what the charge or payment was for, and can be entered by the merchant at the time of the transaction.
When entering a statement descriptor, it is important to keep in mind that the descriptor may be shortened, depending on the limitations of the bank statement format. Additionally, for card-based payments, the account descriptor may be added to the beginning of the statement descriptor to provide further context.
In cases where the merchant does not enter a statement descriptor, the payment processor may use an account default statement descriptor instead. This descriptor is typically a generic phrase that identifies the merchant or the type of product or service being offered.
Having clear and concise statement descriptors is important for both merchants and customers. For merchants, it helps to reduce chargebacks and disputes by making it easier for customers to recognize and remember their purchases. For customers, it provides transparency and helps them keep track of their spending, which can ultimately lead to greater customer satisfaction.
Default value is empty.
Payment Success
Success Action
Specify what should happen after the payment is finalized.
Available Options
- Display success message
- Redirect to a page
Success Message
Enter the message to be displayed after the transaction is finalized
Success Redirect URL
Enter the URL of the page to which the user should be redirected after completing the transaction
Loading error
Loading Error Message
To provide a personalized touch to the user experience, it is possible to tailor a message that will be displayed in the event of a loading problem. This message can be customized to provide the user details regarding the issue that is preventing the payment form or transaction from loading. By doing so, the user is more likely to have a positive experience, as they will feel informed and supported throughout the payment process.
In addition to being able to customize the message to be displayed in the event of a loading problem, you can also customize the message into a different language. Users are more likely to feel comfortable and confident while using the payment module, regardless of their language proficiency.
Default value: An error occurred while loading the payment form. If this issue persists, please contact us. If you are a site administrator, you may see more error information if you are logged in using an administrator account.
),
Preloader
A preloader in the payments module is a visual element that is displayed to the user when the payment form is being loaded. Its primary purpose is to provide a seamless user experience by preventing jumping issues that may occur during page loading.
When the payment form is being loaded, the preloader is displayed to indicate to the user that the system is working on loading the form, and that they should wait until the form is fully loaded before taking any action. This helps to prevent jumping issues that can occur when the form is not fully loaded, resulting in a negative user experience.
The preloader can take various forms, such as a spinner, progress bar, or a custom animation that is displayed on the screen until the payment form or transaction is fully loaded or completed.
Preloader Icon
This option allows you to choose from among the available preloader icons that will be displayed when loading a form, product preview, etc.
Display Preloader Text
This option allows to highlight the text under the preloader animation