AI Image Lab
Requirements
- Self-Hosted WordPress Installation
- PHP version 7.4 or greater.
- Optional: Divi Builder or Gutenberg Editor
- Some creativity
Introduction
Follow the instructions below to install and configure the plugin.
Description
AI Image Lab is an innovative plugin for WordPress sites that uses artificial intelligence (AI) to generate images. This plugin is compatible with popular page builders such as the Divi builder and the WordPress block editor (Gutenberg) and offers a comprehensive solution for image generation.
By using the AI Image Lab plugin, users can generate high-quality images for their websites without the need for any technical skills or expertise. The plugin is designed to be user-friendly and can be easily installed and activated on WordPress sites. With its cutting-edge technology, AI Image Lab offers an advanced image generation solution for website owners and bloggers.
AI Image Lab is currently in beta phase and it's free to use.
Major features
- Easy to install
- Works with both Divi and Gutenberg Editor
- Incorporated seamlessly in the Wordpress Media library
- Unique images created everytime
- No limits in usage
- Various prompt customization tools
Installation
WordPress Dashboard
- Search for “AI Image Lab” on the Plugins > Add New screen in your WordPress admin and click Install. You can also download a zip file from the WordPress.org plugin page and install using the Upload button.
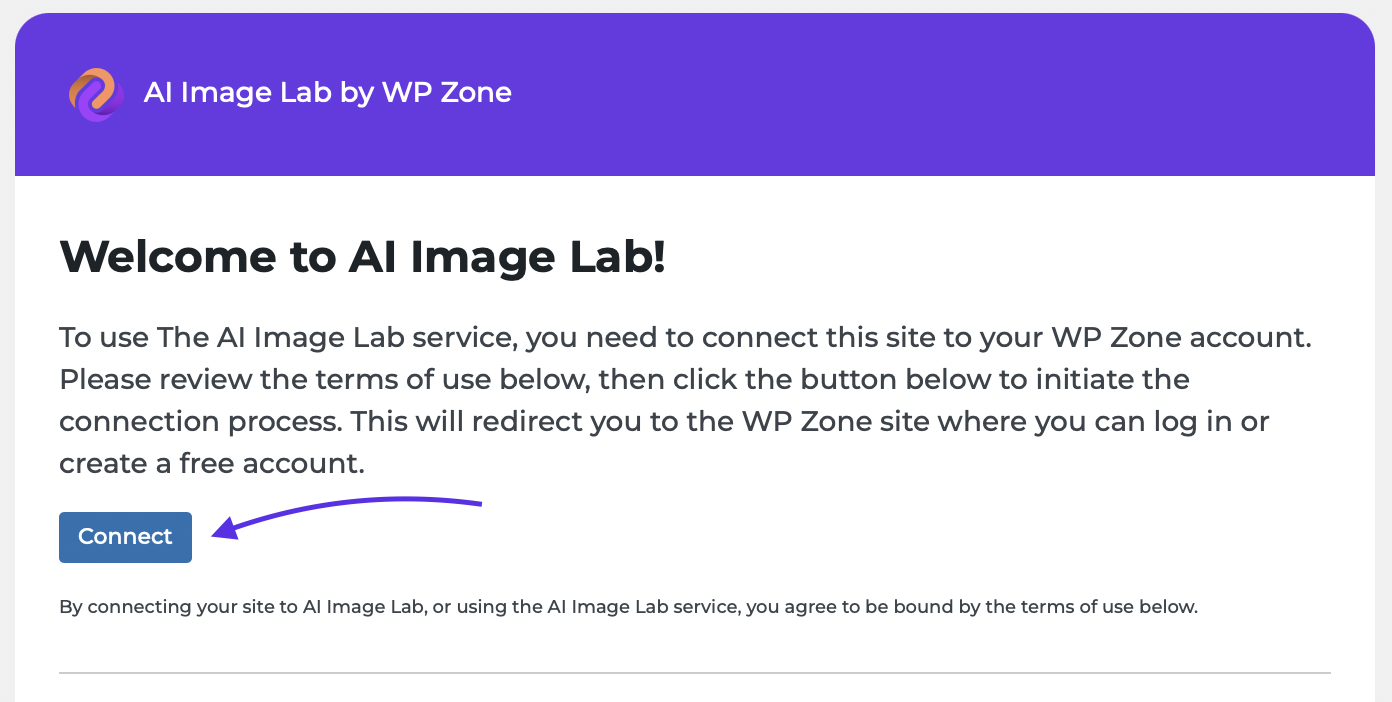
- With the plugin active, you’ll need to connect it to your WP Zone account to allow it to communicate with our AI image generation API. You can start this process by selecting AI Image Lab in your WordPress admin menu and clicking the Connect button.
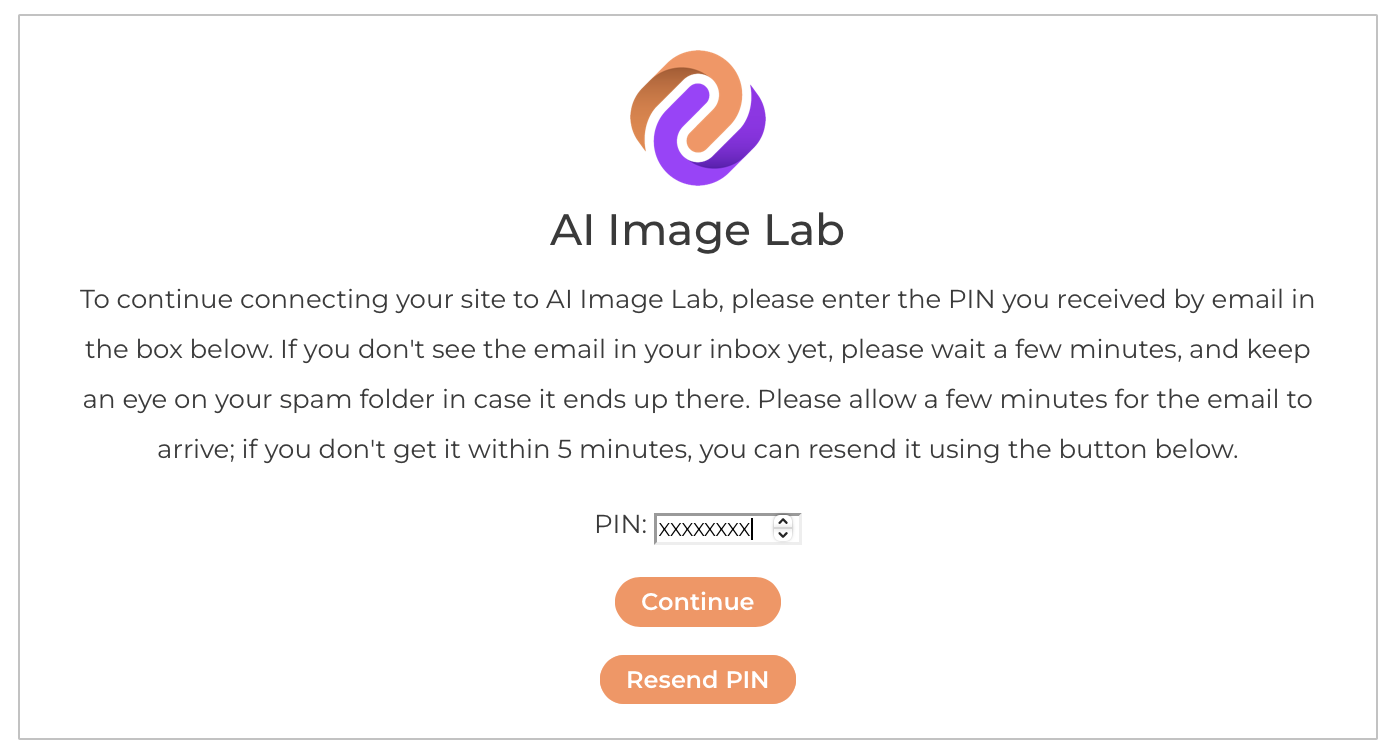
- If you aren’t already logged in to WP Zone, you’ll be prompted to sign in (if you have an account) or to register. Registering an account is free and no payment information is required. If this is the first site you are connecting to AI Image Lab under your WP Zone account, you’ll be prompted to verify your email address. You will receive a PIN number at the email address registered on your WP Zone account, which you should then enter on the site when prompted. You shouldn’t have to repeat this verification step for subsequent sites that you connect to the same account.
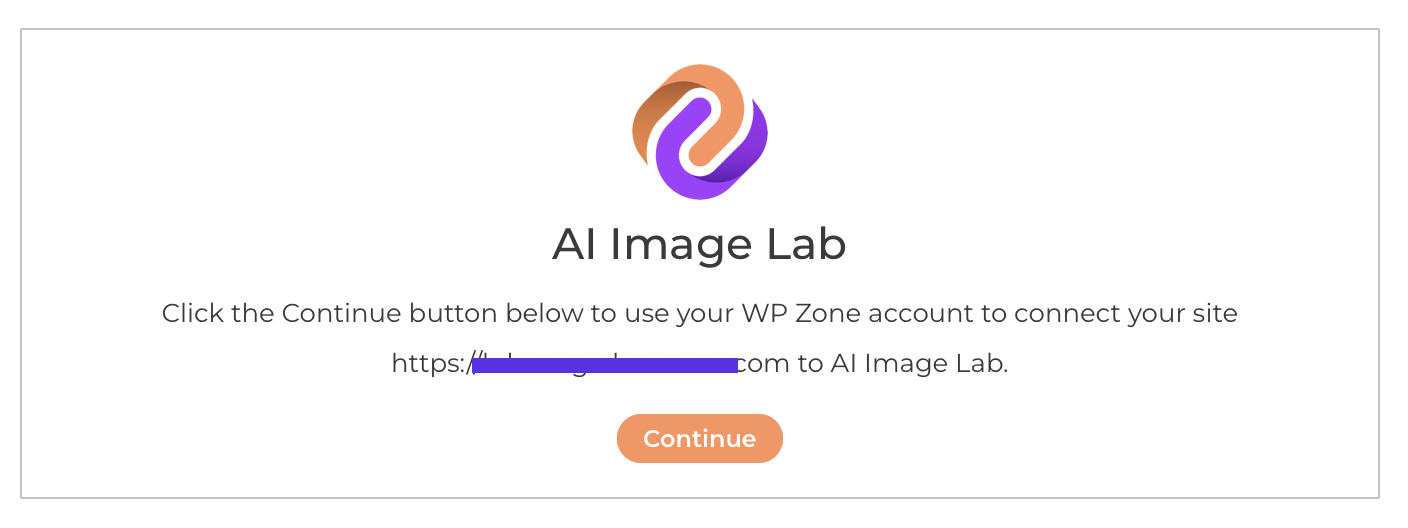
- Once email validation is complete, you’ll be prompted once more to confirm that you want to connect your site to AI Image Lab. Clicking the button at this confirmation prompt should take you back to your site, which should now be connected and ready to generate images!
How to use the plugin
Now that you’re ready to start creating images, you can do so in a few different places. For example, you can head over to the Media page in your WordPress admin, where you’ll now see a new button labelled Generate Image with AI near the top of the page. However, for the purposes of this demonstration will use Divi’s Image module. The AI Image Lab interface is very similar regardless of where it is used (a very similar process also applies in other page builders, such as the WordPress block editor, and their respective image modules or blocks).
In your Divi page or post, insert a new Image module. In the Image module settings, click the placeholder image to open the image upload/selection window. Click the Generate Image with AI tab to view the AI Image Lab interface.

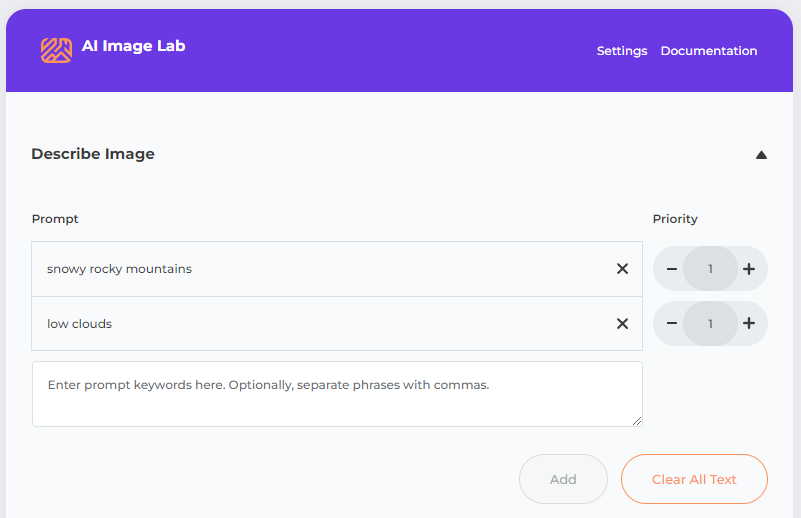
Now you’ll need to describe your desired image with some text. The more detail you provide, the better. Enter your description in the text field in the Describe Image section, then click the Add button below the text field. If you use commas in your description, it will be automatically split into phrases, which allows you to add weighting to the phrases to further fine-tune the output image (we’ll discuss weighting a bit later, so just ignore that for now).
For demonstration purposes, we’ll use the following prompt: snowy rocky mountains, low clouds. After clicking the Add button, this is automatically divided into two phrases, “snowy rocky mountains” and “low clouds”. For now, we won’t worry about any of the other options of the image generator, and just go ahead and click the Generate Images button near the bottom of the image generation interface.
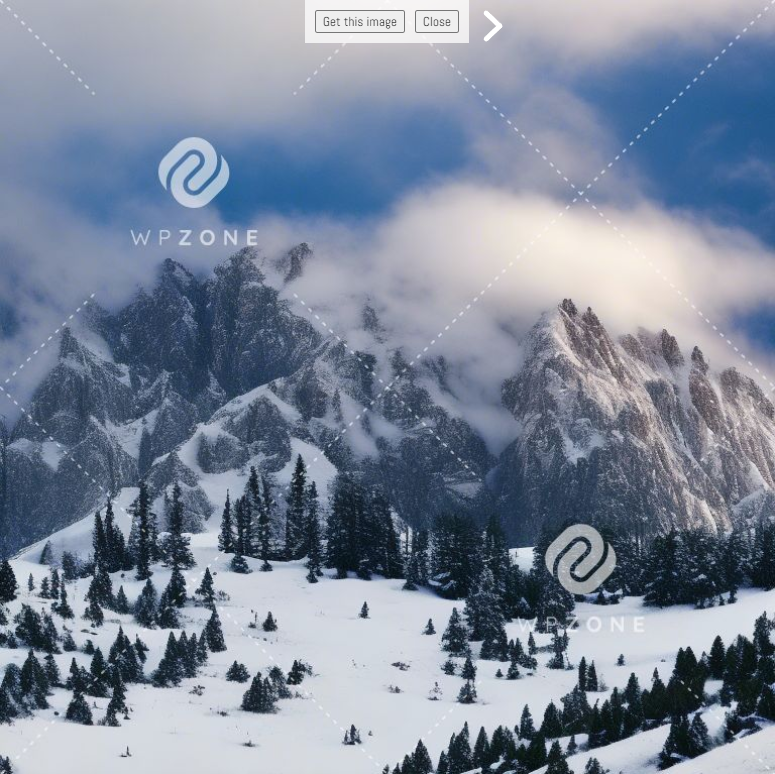
The resulting images are loaded below the image generation interface. It does take some time to generate the images, but you should see the four preview boxes start to populate within 30 seconds unless the service is particularly busy. Once the image previews have loaded, you can click them to view a larger version of the image (depending on the selected image size and your screen size). The previews will be watermarked for now, but the watermark will not be present on the image(s) you select to be added to your site. If none of the four images that were generated is suitable for your use, you can just click Generate Images again to get another four image previews. Optionally, you could tweak the descriptive text to refine it to better reflect the image you are looking for.
Once you have found the image you want to use and have clicked on the thumbnail to view the image, click the Get Image button near the top of the image to download it to your site. The image should automatically be selected and ready for use in the Image module (without the WP Zone watermark) once it has been downloaded from the AI Image Lab service.
Getting the Images You Want
The key to generating high quality and purpose-suited images with AI Image Lab lies in the text prompt and parameters that are supplied to the AI engine. I’ll go into detail discussing some of these now.
Prompt Weighting
AI Image Lab’s prompt interface uses numeric weights (ranging from 1 to 5) to allow you to increase the emphasis on certain phrases in your text prompt. This is best explained with an example. Taking our previous sample prompt with two phrases, “snowy rocky mountains” and “low clouds”, and no weighting changes, we might get an image like this:
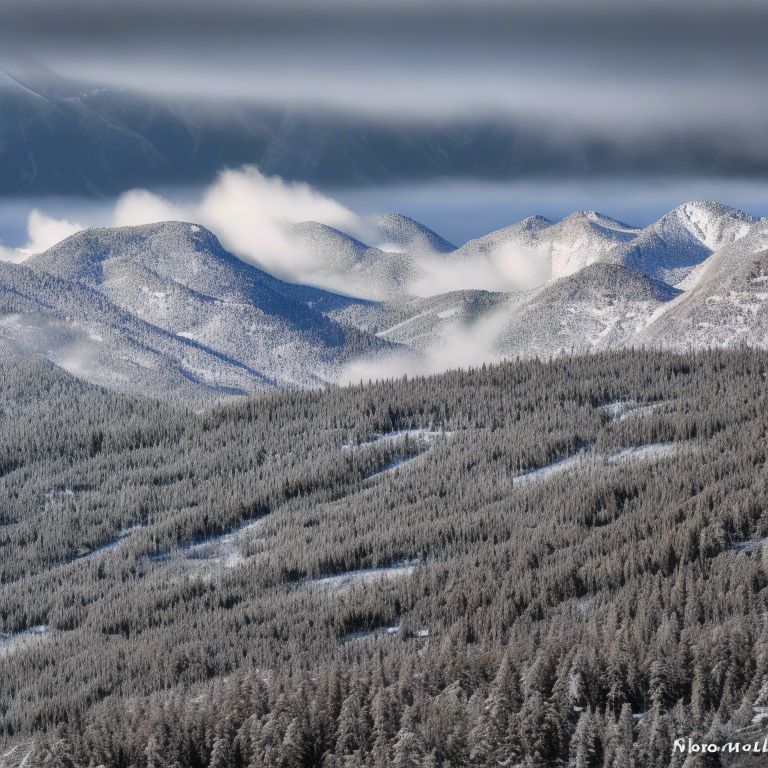
This image includes both elements that were specified in the prompt, the mountains and the clouds. But what if we want the clouds to be more prominent? This is as simple as clicking the “plus” button in the weight control to the right of the “low clouds” phrase to increase the weight of that phrase.

With the weight set to 3 instead of 1, you might get an image like this instead:
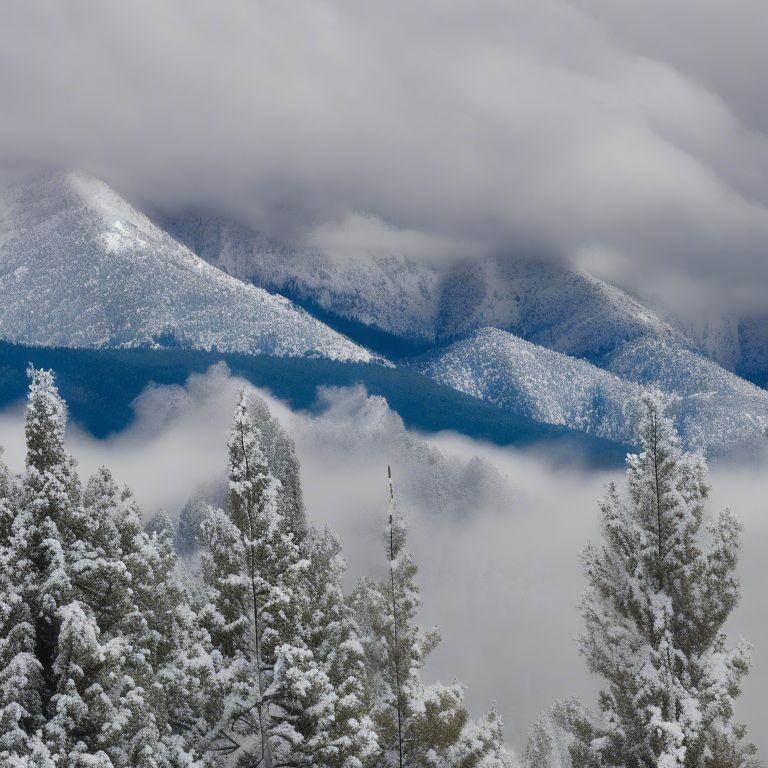
Note how the clouds are much more prominent in the second image when compared to the first.
Dimensions and Quality
Below the prompt text box, there are a few other parameters that can be set in the Describe Image toggle, controlling the quality and dimensions of the image. With the custom size option, you can choose any width and height dimensions for your image within the minimum and maximum dimensions supported by the service.

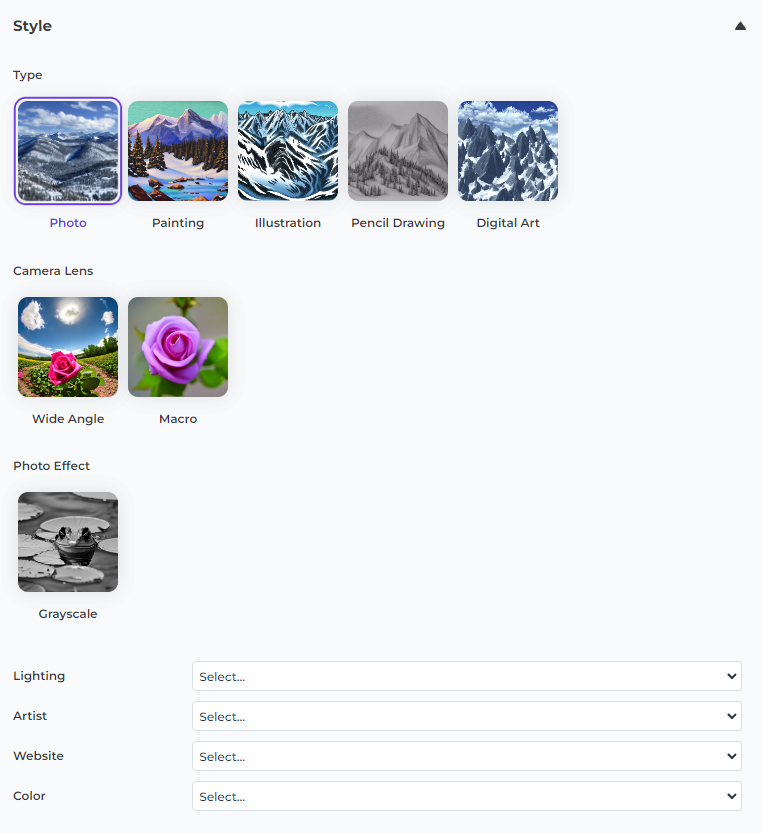
Style
The Style toggle allows you to choose from one of a number of preset image types, such as Photo, Painting, or Illustration. Each image type has a number of additional options that you can use to further customize the look and feel of the output image.
Ai Image Gutenberg Block
Introduction
The Ai Image Lab Gutenberg block is an exciting feature introduced in version 1.0.3 of the AI Image Lab Generator plugin. While it offers a streamlined image generation process, it's important to note that it has limited features compared to the image generator dialog available in the media library. In this section, we'll guide you through using the Ai Image Lab Gutenberg block effectively.
Getting Started
To start using the Ai Image Lab Gutenberg block, follow these simple steps:
Access the Block: In your Gutenberg editor, look for the Ai Image Lab block.
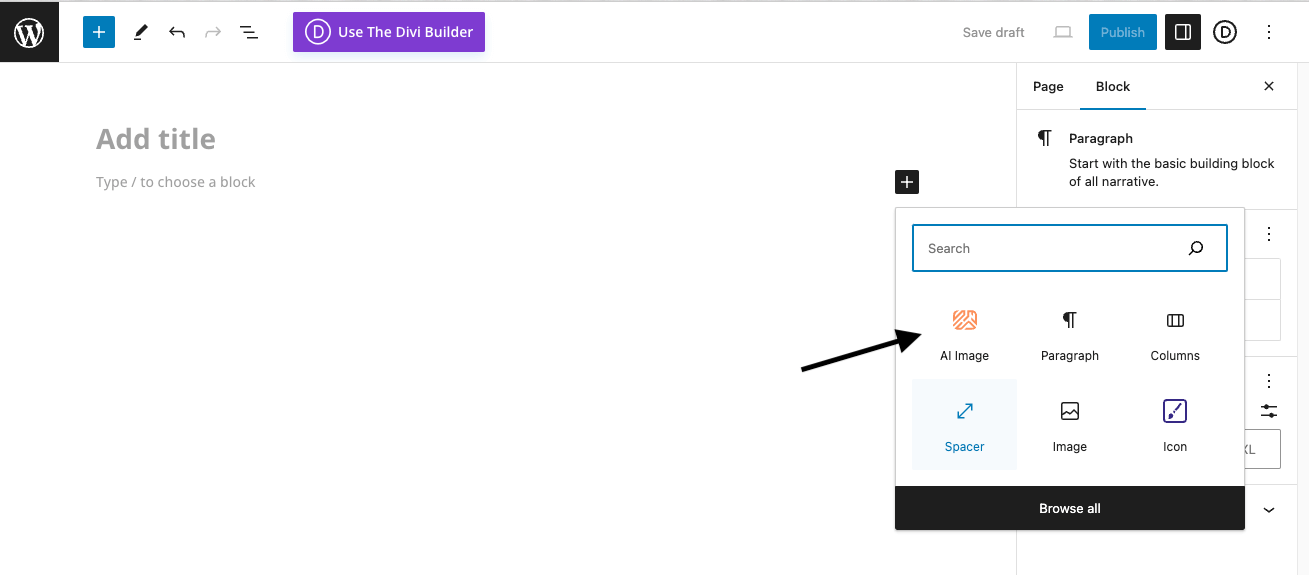
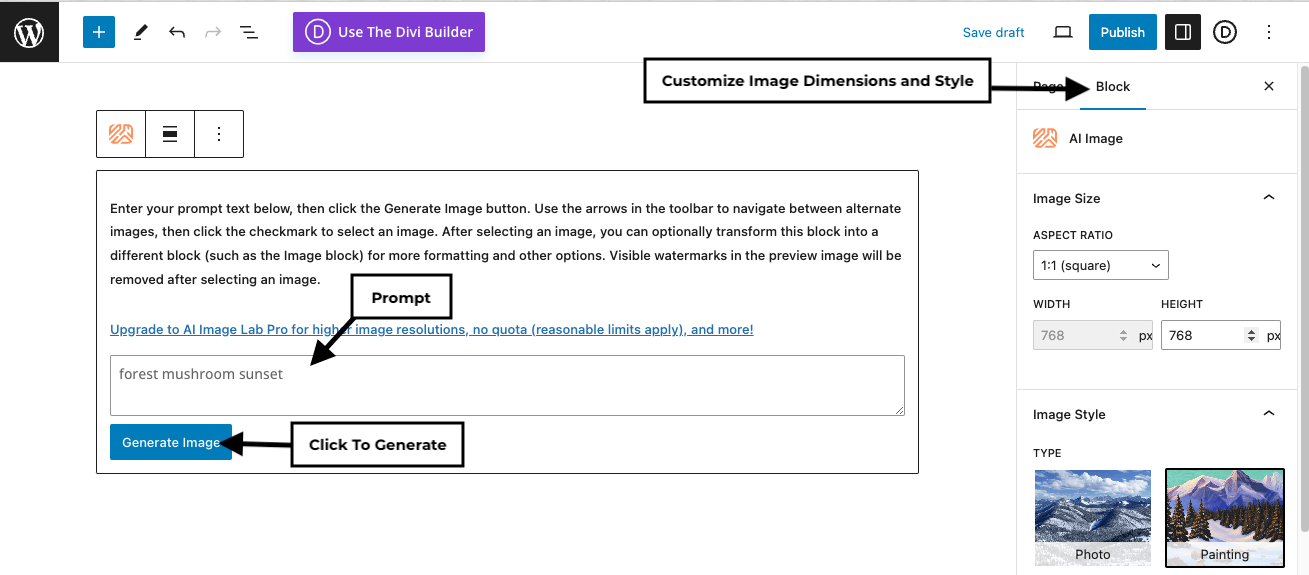
Enter Prompt Text: Within the block, enter your prompt text. This text will guide the AI in generating the image based on your instructions.
Customize Image Dimensions and Style: The Ai Image Lab Gutenberg block offers the flexibility to customize various aspects of your image, including:
- Image Dimensions: You can specify the width and height for the generated image.
- Image Style: Adjust the style and appearance of the image to match your preferences.
- Camera Lens: Choose from different camera lens options to achieve the desired visual effect.
- Photo Effect: Apply various photo effects to enhance the image's aesthetics.
- Lighting: Control the lighting conditions in the generated image.
- Artist: Specify an artist's style or influence for the image.
- Website: Incorporate elements from a specific website or theme into the image.
- Color: Define the color scheme for the image.
- Custom CSS Class: Add a custom CSS class to the block for advanced styling and layout options.
Generate Image: After configuring the settings to your liking, click the "Generate Image" button. The AI will process your request and provide you with a preview of the customized image based on your specifications.
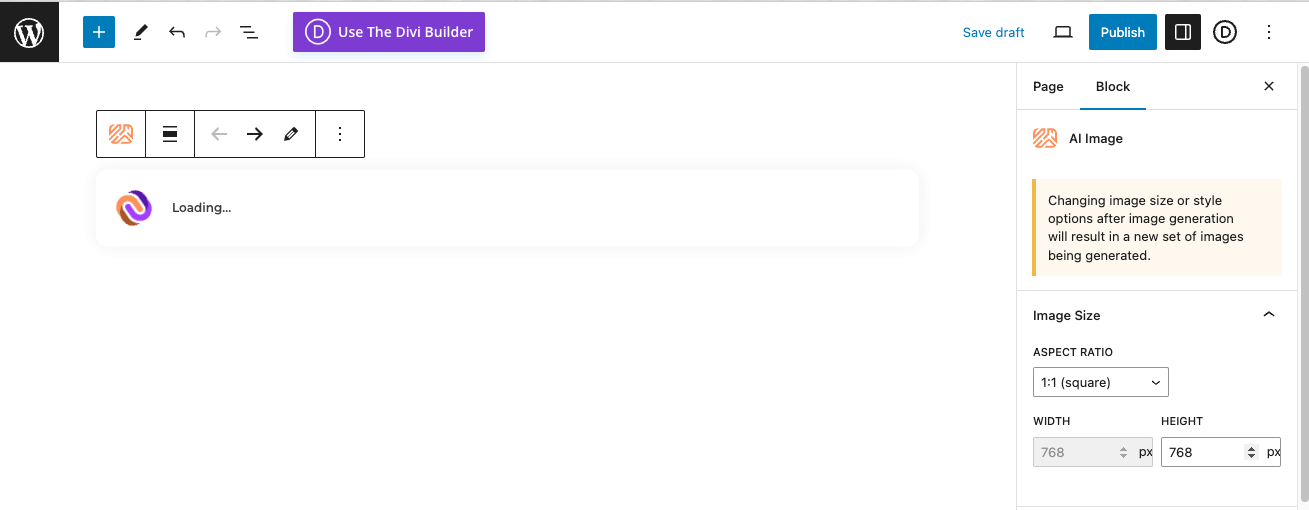
Generating images typically takes up to a minute. If it takes longer than three minutes, please try your request again later.
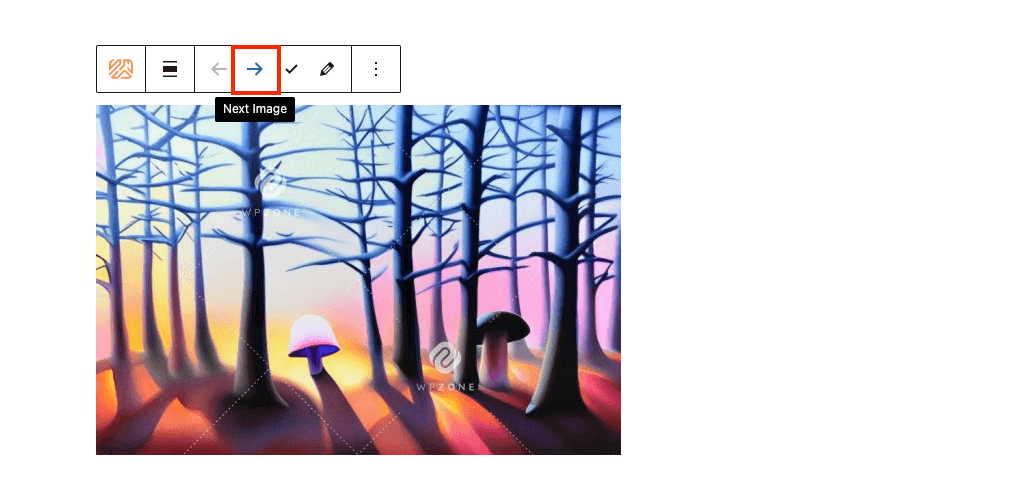
Navigating Alternate Images
The Ai Image Lab Gutenberg block allows you to explore alternate image options:
- Arrows in the Toolbar: Use the arrow buttons in the block's toolbar to navigate between alternate images generated by the AI. This allows you to choose the one that best fits your needs.
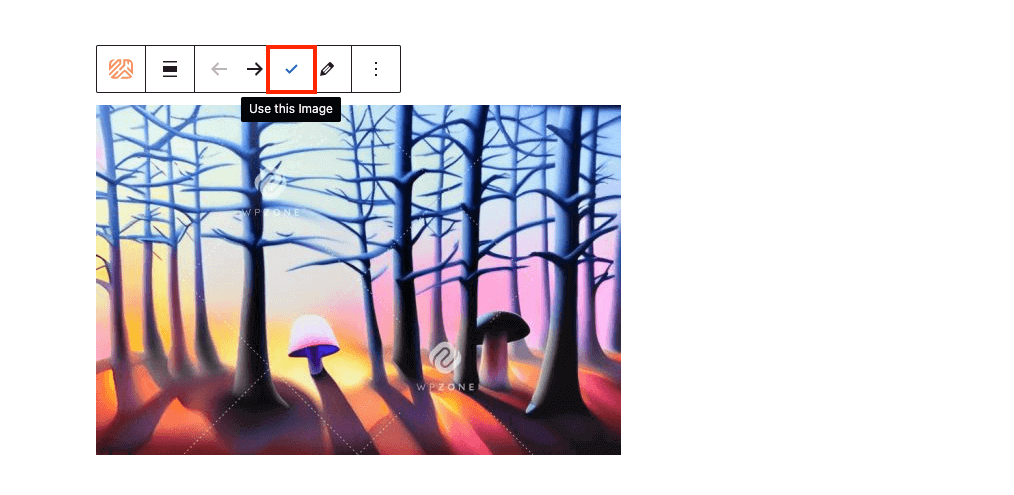
- Select an Image: To choose an image, click the checkmark button in the toolbar. This action selects the customized image you want to use.
Block Transformation
After selecting a customized image, you have the option to transform this block into a different block, such as the standard Image block. This transformation gives you more formatting and customization options for your image.
Removing Watermarks
Please note that visible watermarks in the preview image will be automatically removed after you select a customized image. This ensures that the final image you use in your content is free from any unwanted marks.
For more detailed information and tips on using the Ai Image Lab Gutenberg block, you can also refer to our blog post.
AI Image Lab Blog Posts by WP Zone
Explore our informative blog posts about AI Image Lab. These articles cover a range of topics related to AI image generation and how to make the most of this powerful tool in WordPress:
AI Image Generator for Gutenberg and Kadence Blocks!
The AI Image block is designed to allow users to rapidly generate a wide range of custom AI-generated images for WordPress pages or posts directly within other content, instead of using a separate window or media library overlay to try to select the best image outside of the context of surrounding elements.
Announcing AI Image Lab Pro and more!
We��’re pleased to announce that we are introducing a Pro version of AI Image Lab with enhancements that will help bring your AI image creation to the next level. AI Image Lab Pro supports downloading images at resolutions up to 2048×2048 pixels (the free version is limited to 768×768), and it makes it easier to find a suitable image by generating 10 image previews per request instead of 6.
5 Tools to Add the Power of AI to your WooCommerce Store
The explosion of new artificial intelligence (AI) powered products and services over the past year or two has brought with it new solutions to assist with these and other jobs. Let’s have a look at five AI-powered tools you can use to build and improve your WooCommerce store!
Generate Photos and Artwork in the Divi Builder with our Free AI
In the not-so-distant past, there were (more or less) two ways to get visual assets such as photos and illustrations for use in one of the many Divi modules that support images, such as the Image module, the Blurb module, or any module that supports an image background: either use a free or paid stock photo service, or have someone (possibly yourself) take the photos or draw the illustrations.
How To Improve Your AI Generated Images And Edit Photos With AI!
If you’ve spent any time playing with the free beta of our AI Image Lab image generator service, you’ve probably noticed that some of the images it creates have glaring problems with one or more aspects of the photo or illustration. This is one reason why the service provides multiple alternative images for you to choose from for each image generation process.
Harness The Power Of AI To Generate Custom Images For Your Divi And WordPress Sites
No doubt you’ve heard about some of the recent milestones in the practical application of artificial intelligence (AI) based technologies for everyday tasks. Today, I’m excited to share a project that we’ve been working on here at WP Zone in a different content creation category: AI based image generation for your WordPress sites.