No doubt you’ve heard about some of the recent milestones in the practical application of artificial intelligence (AI) based technologies for everyday tasks. One such example is Chat-GPT, which has quickly proven itself to be a groundbreaking tool in the realm of text-based content generation. (It had no hand in writing this blog post, which is 100% human made!) But today, I’m excited to share a project that we’ve been working on here at WP Zone in a different content creation category: AI based image generation for your WordPress sites, with compatibility for popular page builders such as the Divi builder and the WordPress block editor (a.k.a. Gutenberg)!
A picture is worth a thousand words, so here are three of them:


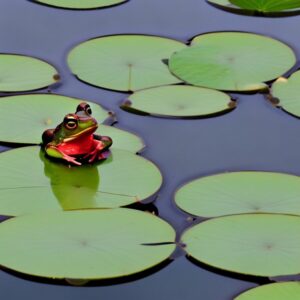
Each of these photos were generated by WP Zone’s new AI Image Lab plugin in “Photo” mode, based on one or more short text phrases that were input to describe the image I wanted. Unlike stock photos, they are created fully custom to your specifications, and the chances of finding the same photo already in use by someone else is miniscule, even if someone else had entered the exact same description and parameters into AI Image Lab.
Here’s the great news: We’ve decided to launch a beta version of AI Image Lab for you to install and use on your sites free of charge, with no limit on the number of sites you can use it on and no cap on the number of photos you can generate, within reasonable limits in a given timeframe to help ensure a good experience for all users!
Getting Set Up
Here’s how you can start putting the power of AI to use in your site’s WordPress media library and image content:
- You’ll need a copy of the AI Image Lab plugin, which is conveniently hosted on WordPress.org and is available by searching for “AI Image Lab” on the Plugins > Add New screen in your WordPress admin, or as a zip file download from the WordPress.org plugin page.
- With the plugin active, you’ll need to connect it to your WP Zone account to allow it to communicate with our AI image generation API. You can start this process by selecting AI Image Lab in your WordPress admin menu and clicking the Connect button.
- If you aren’t already logged in to WP Zone, you’ll be prompted to sign in (if you have an account) or to register. Registering an account is free and no payment information is required.
- If this is the first site you are connecting to AI Image Lab under your WP Zone account, you’ll be prompted to verify your email address. You will receive a PIN number at the email address registered on your WP Zone account, which you should then enter on the site when prompted. You shouldn’t have to repeat this verification step for subsequent sites that you connect to the same account.
- Once email validation is complete, you’ll be prompted once more to confirm that you want to connect your site to AI Image Lab. Clicking the button at this confirmation prompt should take you back to your site, which should now be connected and ready to generate images!
Experience the Magic!
Now that you’re ready to start creating images, you can do so in a few different places. For example, you can head over to the Media page in your WordPress admin, where you’ll now see a new button labelled Generate Image with AI near the top of the page. However, for the purposes of this demonstration will use Divi’s Image module. The AI Image Lab interface is very similar regardless of where it is used (a very similar process also applies in other page builders, such as the WordPress block editor, and their respective image modules or blocks).
In your Divi page or post, insert a new Image module. In the Image module settings, click the placeholder image to open the image upload/selection window. Click the Generate Image with AI tab to view the AI Image Lab interface.
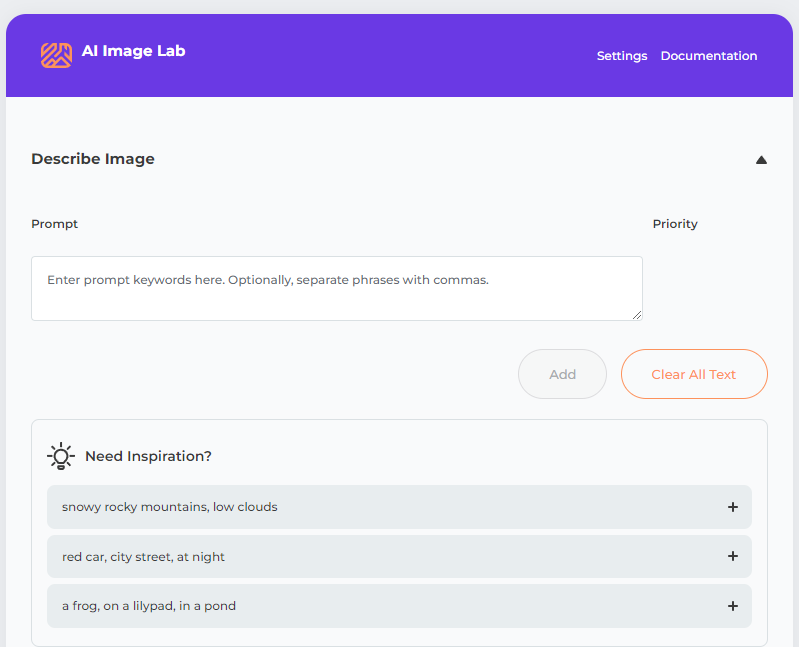
Now you’ll need to describe your desired image with some text. The more detail you provide, the better. Enter your description in the text field in the Describe Image section, then click the Add button below the text field. If you use commas in your description, it will be automatically split into phrases, which allows you to add weighting to the phrases to further fine-tune the output image (we’ll discuss weighting a bit later, so just ignore that for now).
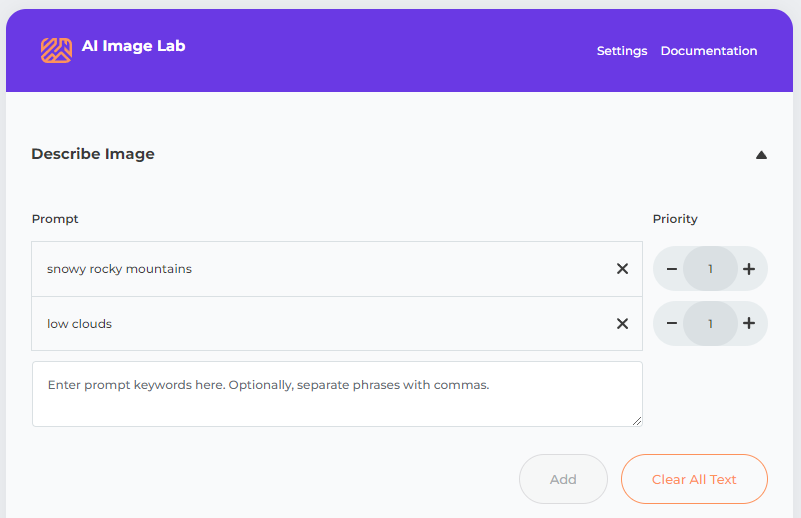
For demonstration purposes, we’ll use the following prompt: snowy rocky mountains, low clouds. After clicking the Add button, this is automatically divided into two phrases, “snowy rocky mountains” and “low clouds”. For now, we won’t worry about any of the other options of the image generator, and just go ahead and click the Generate Images button near the bottom of the image generation interface.
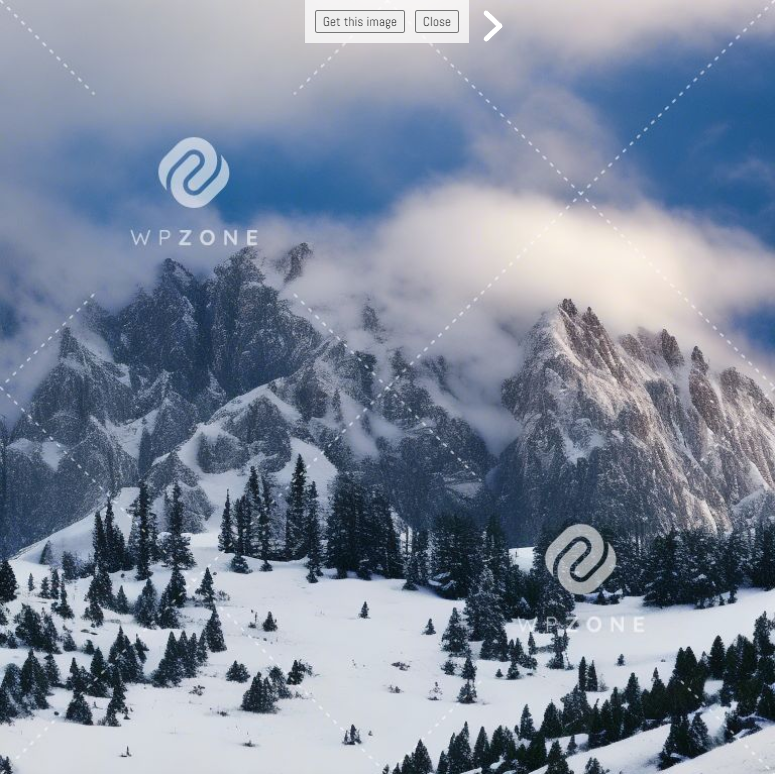
The resulting images are loaded below the image generation interface. It does take some time to generate the images, but you should see the four preview boxes start to populate within 30 seconds unless the service is particularly busy. Once the image previews have loaded, you can click them to view a larger version of the image (depending on the selected image size and your screen size). The previews will be watermarked for now, but the watermark will not be present on the image(s) you select to be added to your site. If none of the four images that were generated is suitable for your use, you can just click Generate Images again to get another four image previews. Optionally, you could tweak the descriptive text to refine it to better reflect the image you are looking for.
Once you have found the image you want to use and have clicked on the thumbnail to view the image, click the Get Image button near the top of the image to download it to your site. The image should automatically be selected and ready for use in the Image module (without the WP Zone watermark) once it has been downloaded from the AI Image Lab service.
Getting the Images You Want
The key to generating high quality and purpose-suited images with AI Image Lab lies in the text prompt and parameters that are supplied to the AI engine. I’ll go into detail discussing some of these now.
Prompt Weighting
AI Image Lab’s prompt interface uses numeric weights (ranging from 1 to 5) to allow you to increase the emphasis on certain phrases in your text prompt. This is best explained with an example. Taking our previous sample prompt with two phrases, “snowy rocky mountains” and “low clouds”, and no weighting changes, we might get an image like this:
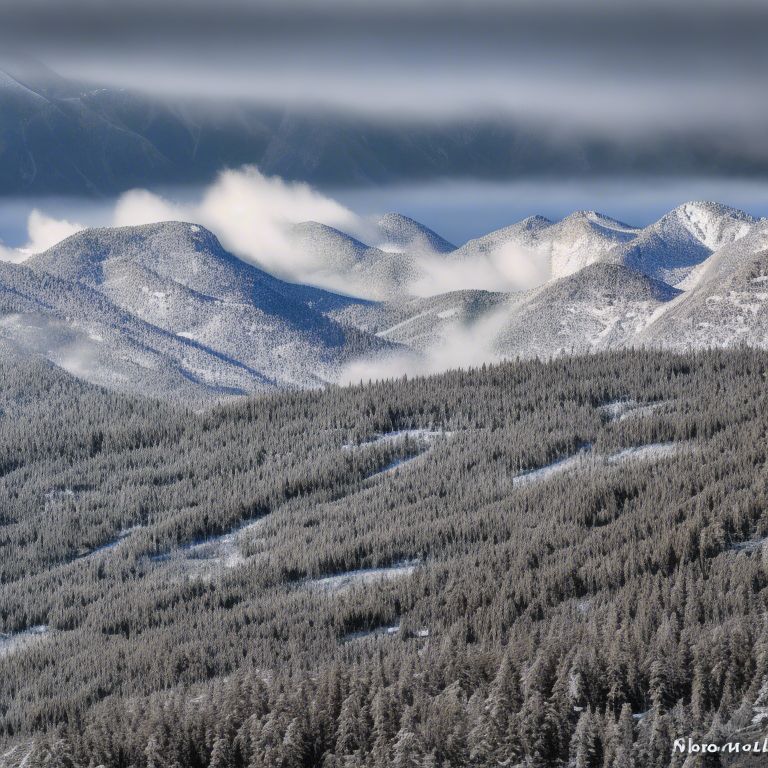
This image includes both elements that were specified in the prompt, the mountains and the clouds. But what if we want the clouds to be more prominent? This is as simple as clicking the “plus” button in the weight control to the right of the “low clouds” phrase to increase the weight of that phrase.

With the weight set to 3 instead of 1, you might get an image like this instead:
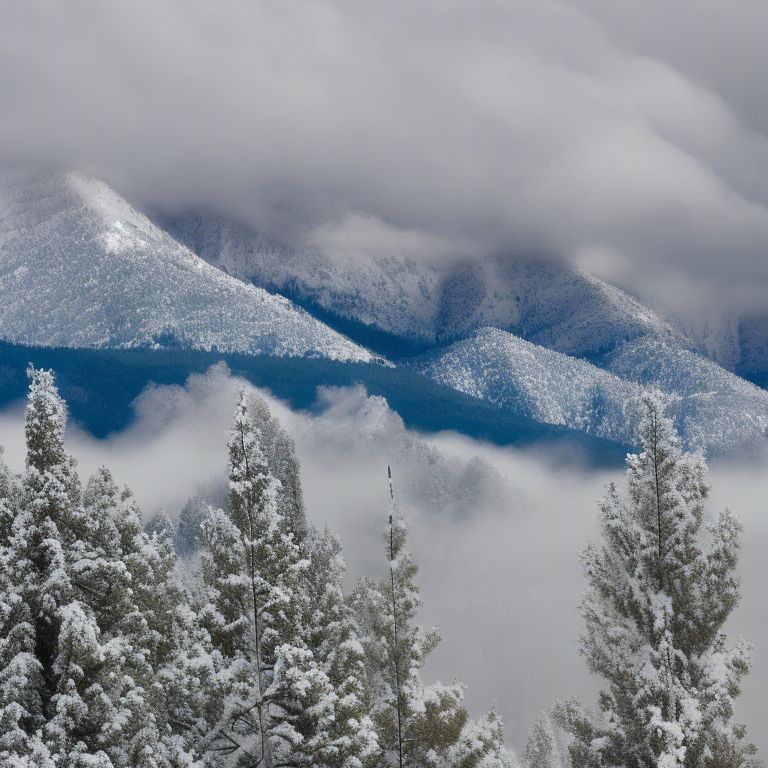
Note how the clouds are much more prominent in the second image when compared to the first.
Dimensions and Quality
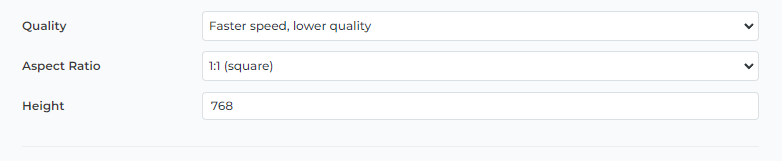
Below the prompt text box, there are a few other parameters that can be set in the Describe Image toggle, controlling the quality and dimensions of the image. With the custom size option, you can choose any width and height dimensions for your image within the minimum and maximum dimensions supported by the service.
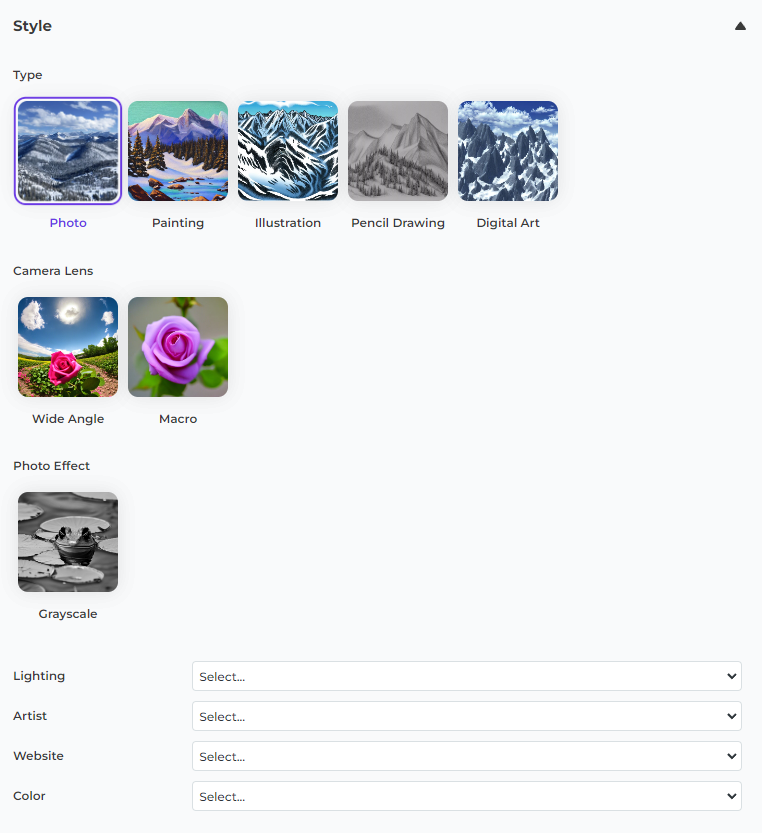
Style
The Style toggle allows you to choose from one of a number of preset image types, such as Photo, Painting, or Illustration. Each image type has a number of additional options that you can use to further customize the look and feel of the output image.
What are you waiting for?
Join the AI content creation revolution and take AI Image Lab for a test drive on your site today!
Frequently Asked Questions
Are there any fees for using AI Image Lab?
AI Image Lab is currently in Beta, and available to everyone at no charge with no limitations on the number of sites you can use it on. We may introduce paid options in the future, but we anticipate still having a free tier available.
Are there any limits on how many images I can generate?
AI Image Lab doesn’t currently have any published request limits, although there are internal rate limits in place to help ensure a reasonably fast service for everyone. These limits may change based on demand, but we expect they will remain suitable for most user’s needs throughout the free beta period.
Which page builders are compatible with AI Image Lab?
While pretty much any WordPress site should be compatible with AI Image Lab through the media library, you can also use AI Image Lab to generate images directly within many page builders through the image selection and upload dialog. We have tested with Divi and the WordPress block editor.
What can I do with the images I generate?
Provided that you comply with the Terms of Use of the service, there are no restrictions on what you may do with the non-watermarked generated images or how you may use them.

Recent Comments