Using artificial intelligence (AI) to generate images in the WordPress block editor, also known as Gutenberg, with AI Image Lab has just become easier and more integrated with the AI Image Lab 1.0.3 update, which introduces a Gutenberg block created to make AI image generation a seamless part of the content creation process! The AI Image block is designed to allow users to rapidly generate a wide range of custom AI-generated images for WordPress pages or posts directly within other content, instead of using a separate window or media library overlay to try to select the best image outside of the context of surrounding elements. Once the perfect image has been found and selected, the AI Image block can easily be transformed into one of a number of core Gutenberg blocks or Kadence Blocks, which provide additional styling and layout options.
A Quick Tutorial
There’s no better way to showcase what the AI Image block for Gutenberg can do than with an example! We’ll be using blocks from the Kadence Blocks plugin, but the process is the same when using core Gutenberg blocks.
For our example, we’ll be creating a basic homepage layout for a hypothetical real estate firm. The page structure will include a top banner with text overlay, followed by a two-column row that has images and text.
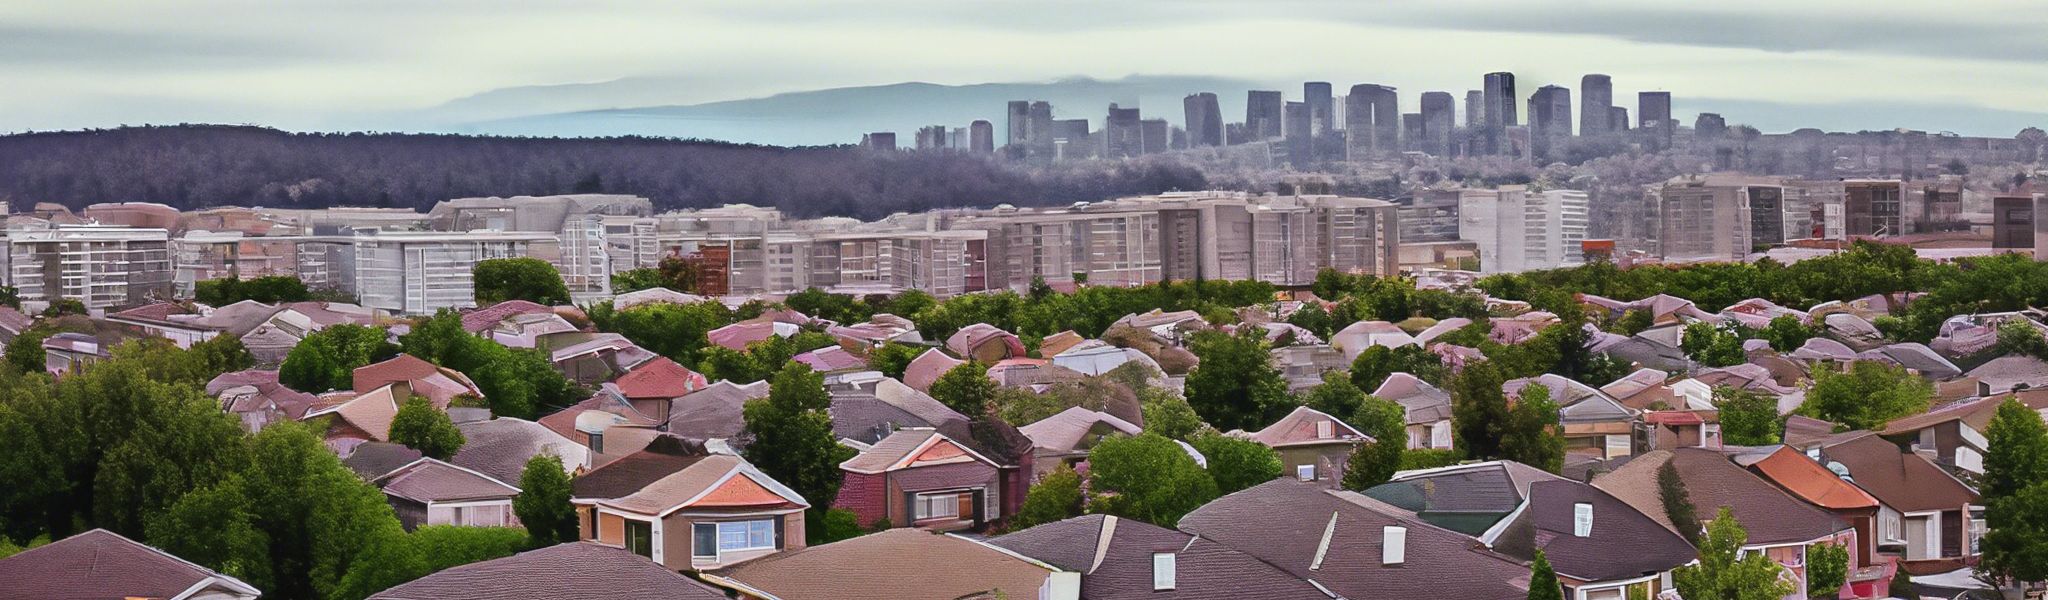
To create the banner, we start by inserting an AI Image block at the top of the page. From the toolbar, we change the alignment setting to “Full Width”. In the block settings sidebar, we change the aspect ratio to “Custom size” and enter a width of 2048 (the current maximum) and a height of 600. (This assumes we are using AI Image Lab Pro, since the maximum dimension in the free version is 768.)
Next, we enter some descriptive prompt text for the image in the textbox that is shown in the block. Let’s try just a single word, “neighborhood”. Then we click the Generate Image button and wait for the block to be populated with an image. Because our image is quite wide, the preview images may be somewhat blurry since the previews are rendered at a lower resolution than the final image in HD mode.
We can now use the arrows in the AI Image block toolbar to navigate through the preview images. If we get close to the end of a set of preview images, a new set is generated automatically, so there may be some delays if we are browsing through a lot of preview images quickly. At any point, we can click the edit button in the block toolbar to change the prompt text; any changes we make in the block settings sidebar will also trigger a new set of images to be generated. Once we find the image we want to use, we click the checkmark icon in the toolbar, which will download the full resolution image to our site and make it replace the low-resolution preview shown in the block. This process may take a bit of time due to the high resolution we have chosen.
Here is the image we are using for this example:
Since we want to overlay some text on this image and also make some other styling changes, we should transform the AI Image block into a different block that is better suited for our needs. In this case, we’ll use a Row Layout block from Kadence Blocks. Simply click the AI Image icon at the far left of the block toolbar and choose Row Layout under “Transform To” (assuming the Kadence Blocks plugin is active). When prompted, we choose a single column layout for the row.
We may need to reset the alignment on the Row Layout block to full width at this point. We’ll also want to set top and bottom padding to 3XL, and go to the Background Overlay Settings toggle in the Style tab of the block settings sidebar and enable a black overlay with an opacity of 60% so that there is more contrast between the text and the background image. Then we can insert a “Text (Adv)” block in the row, set the text color to white, the alignment to center, the HTML Tag to “H1”, and the line height to 2. Now we add our text, which may result in the following as a very basic example:

For the two-column row below the banner, we insert another Row Layout block, with a 2-column layout this time. We insert an AI Image block in each column and set the aspect ratio for each block to “3:2 (landscape)” (in this example, we’ve left the pixel dimensions at the default, but in production those should maybe be tweaked as well to produce a smaller image file size). For the left column, we use the image prompt text “apartment building”, and in the right column simply “house”. Here are the image previews we’re going with, before uploading them and transforming the AI Image blocks:
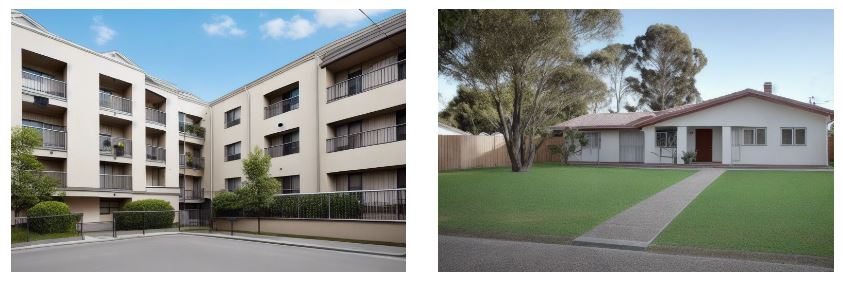
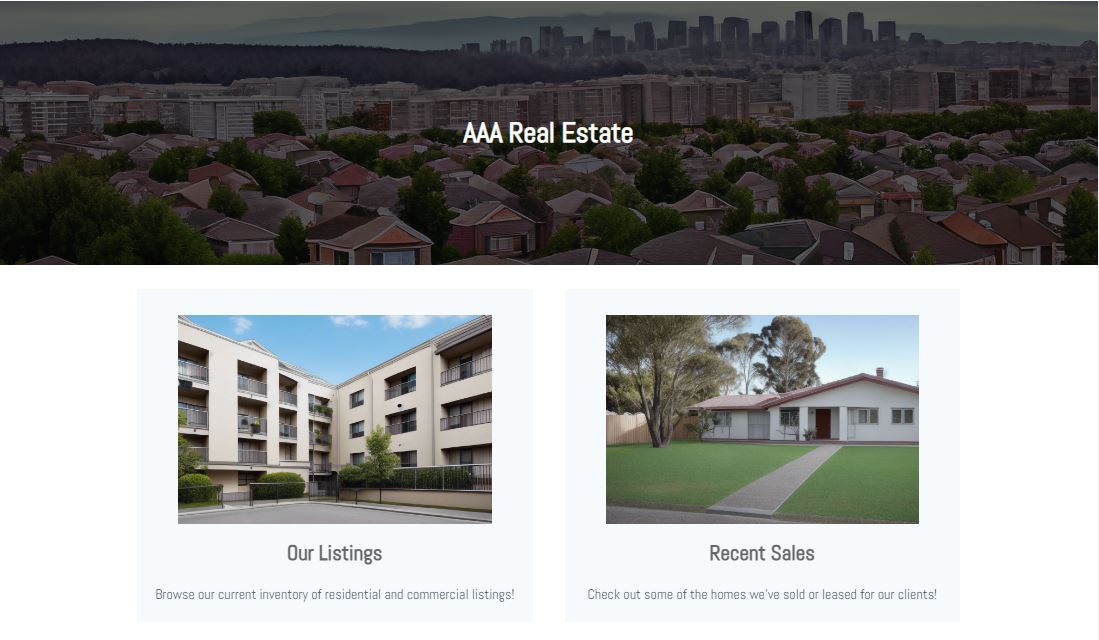
Next, we click the checkmark button in the toolbar for each AI Image block to upload the images, and when upload is complete, we click the AI Image block icon at the left of the toolbar and select the option to transform each image into a Info Box block from Kadence Blocks. After some text is added, our page looks like this:
Conclusion
While the AI Image Lab plugin has been compatible with Gutenberg pretty much since its first beta release thanks to its integration with the WordPress media library and media picker, the AI Image block brings that integration to the next level by allowing users to create, preview, and upload AI-generated images right in the context in which they will be used, making it easier to choose images that work well with surrounding content, to find the right aspect ratio, and to visualize the finished product. With (optional) compatibility with the Kadence Blocks plugin built right in, AI Image Lab is a powerful tool designed to enable Gutenberg content creators to create awesome block-based visuals!
AI Image Lab is free to use with some limitations on how many images you can upload to your site every 24 hours, how high the resolution of those images can be, etc. For even more power in creating high-quality images, check out the AI Image Lab Pro plan!

Recent Comments