Caldera Divi Layout Pack
01. IMPORT A DIVI BUILDER LAYOUT.JSON
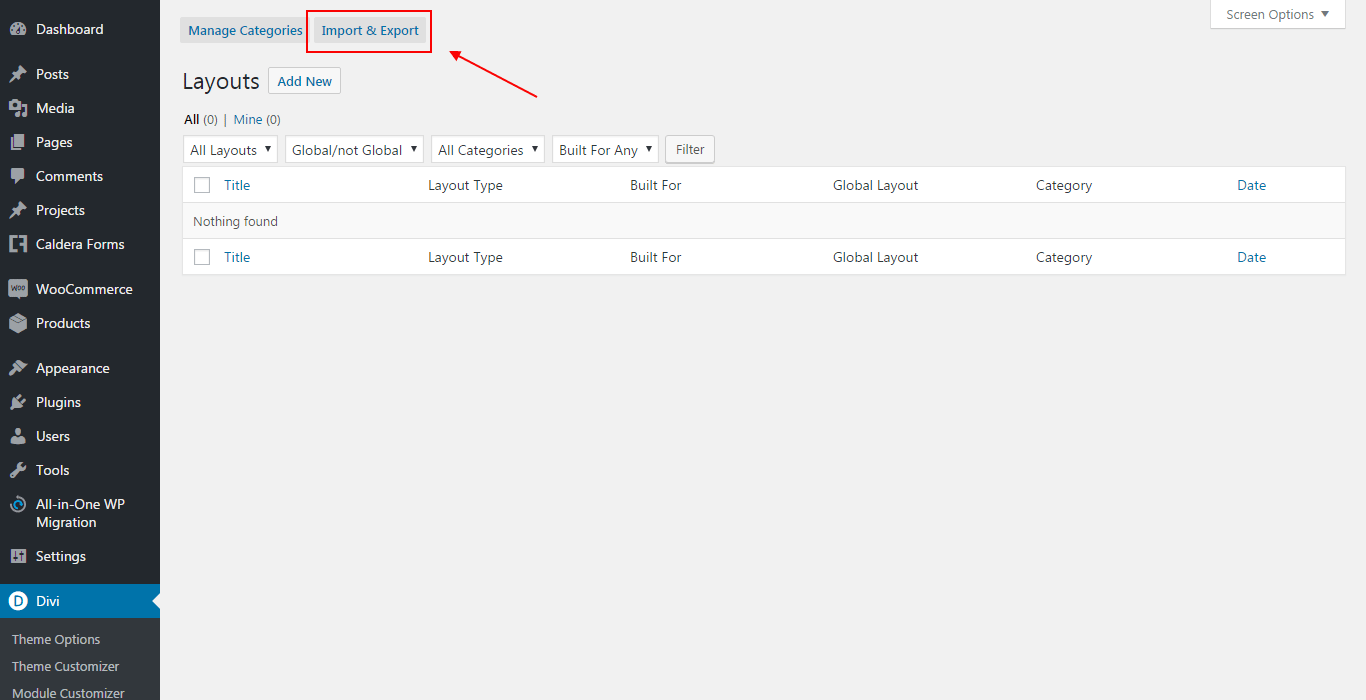
On the Divi Library, click the ** Import** / Export button located at the top left corner of the right panel and the modal window will open up. Select the tab "Import".
Now click on the Choose File button and select the Builder Layout.JSON file you downloaded, then click on the button "Import Divi Builder Layouts".
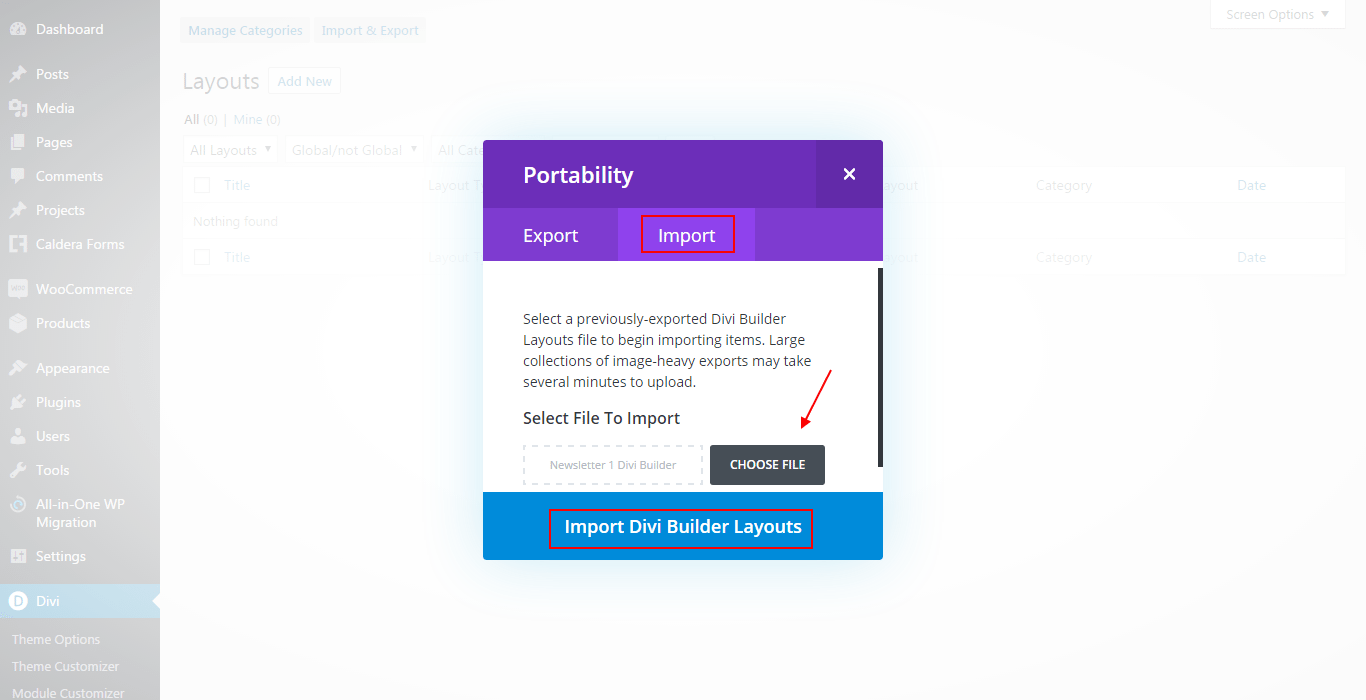
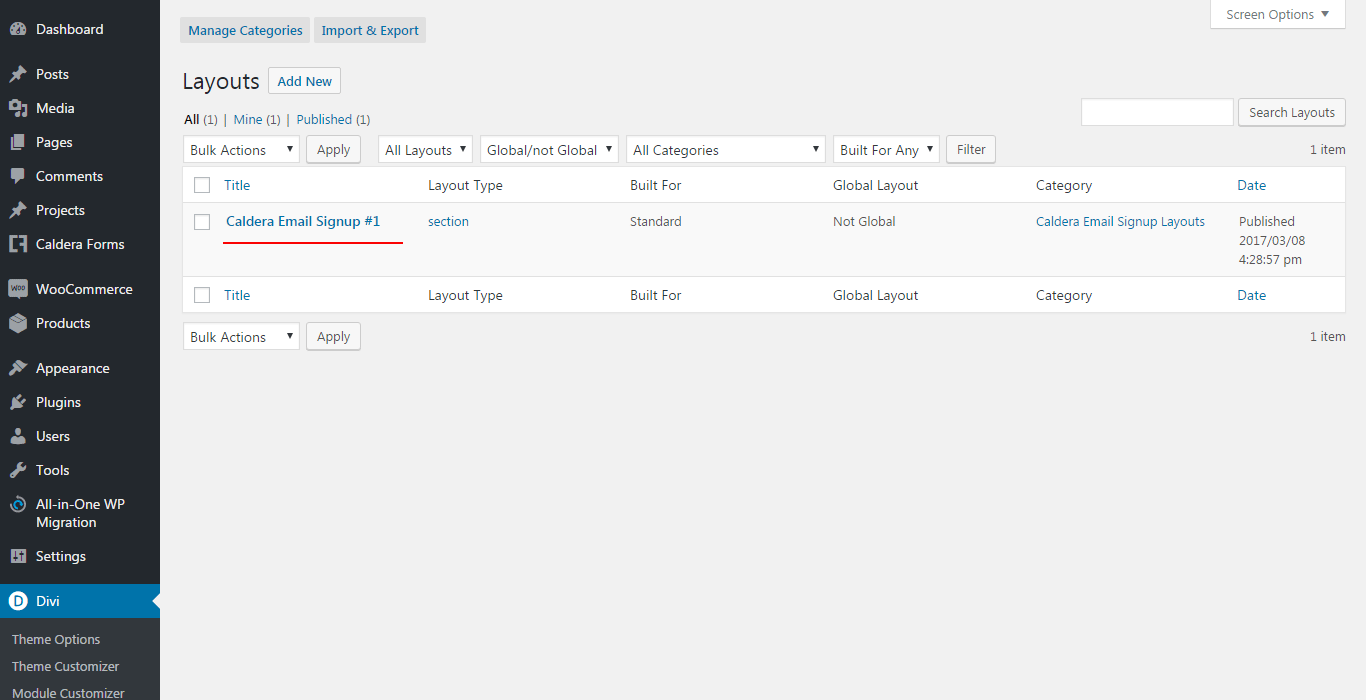
After a few seconds, your layout will be loaded and it should now appear in the list.
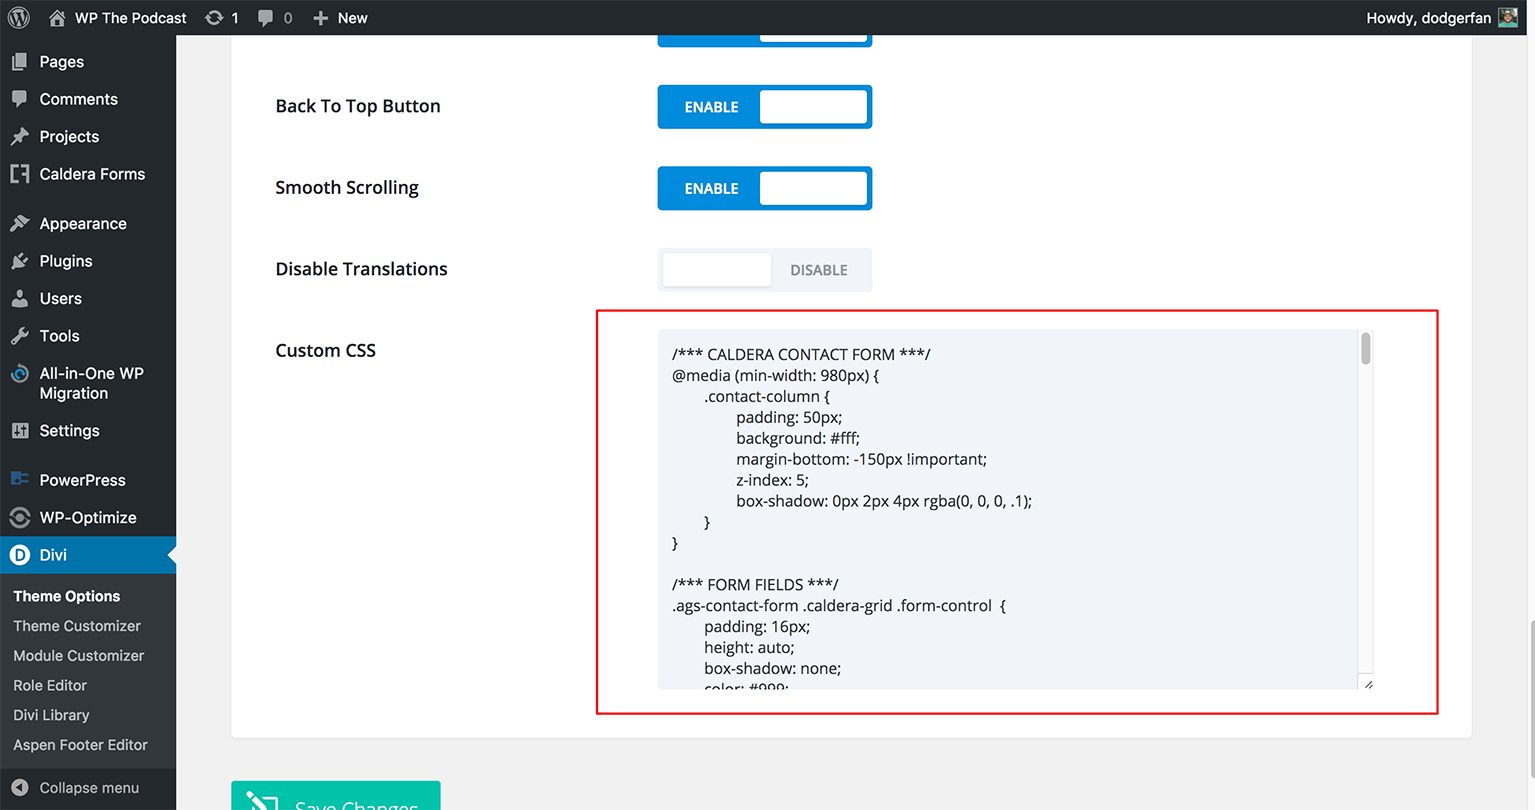
02. ADDING CUSTOM CSS
Locate the .txt file contained within the downloaded .zip file. You will want to copy the provided CSS and place it either in Divi > Theme Options > Custom CSS or the style.css of your child theme.
03. INSTALL CALDERA FORMS, CONFIGURE SETTINGS AND INSERT SHORTCODE
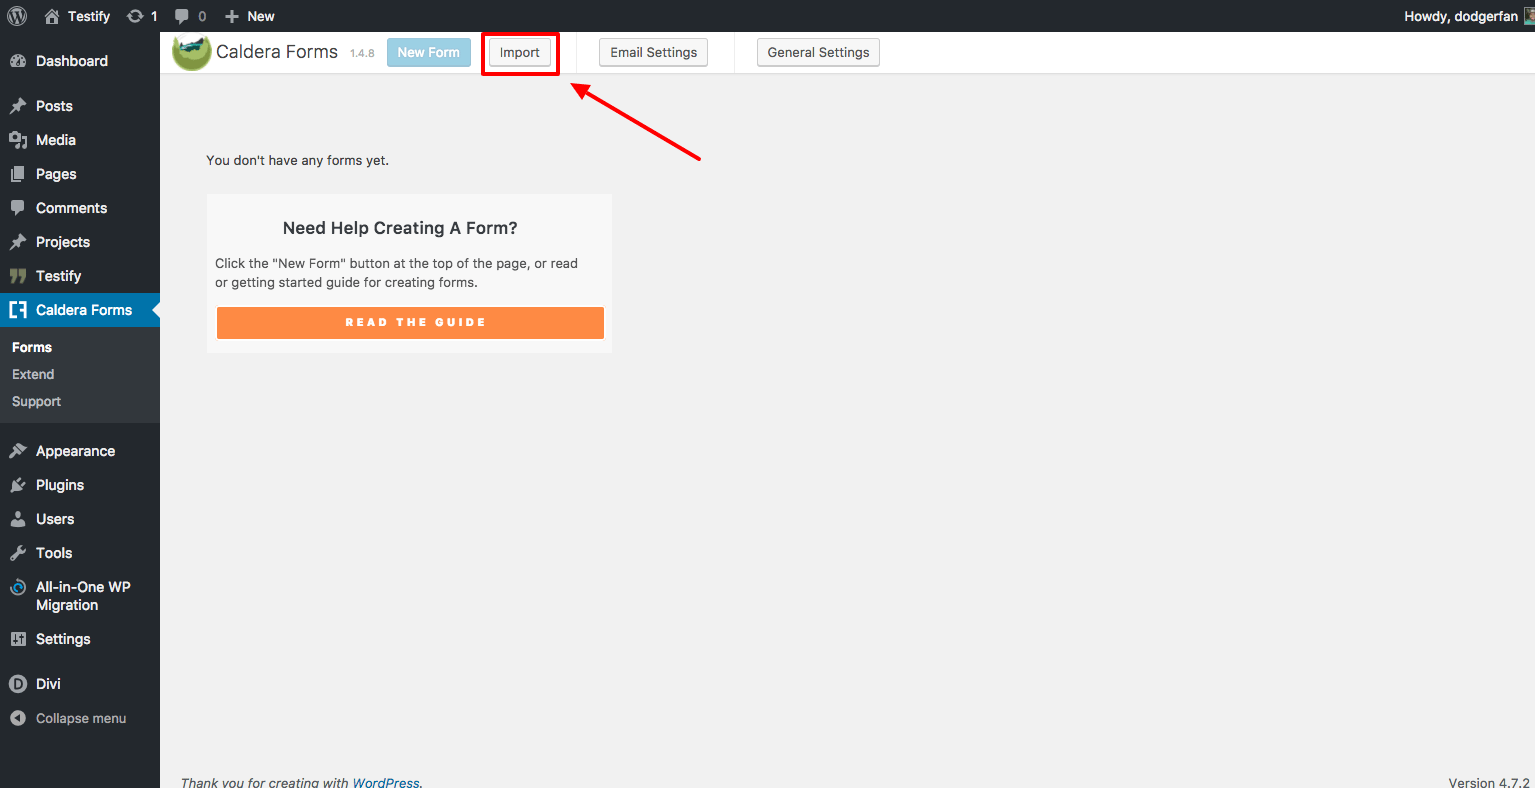
Now that we have added the layout and imported all other settings, it is time to install our form builder, ** Caldera Forms**. Caldera Forms, a responsive drag and drop form builder, is a free plugin in the WordPress repository that also offers several robust premium extensions. From your WordPress dashboard, select " Plugins" and then "Add New" from the menu. Perform a quick search for Caldera Forms and you will see the plugin appear in the list of choices in the WordPress Repository. Click the "Install Now" button and then "Activate" You will now be directed to the plugins dashboard where you will see Caldera Forms installed. Navigate to the newly created menu item " Caldera Forms" > "Forms" Once you are within the Caldera Dashboard, select the " Import" button.
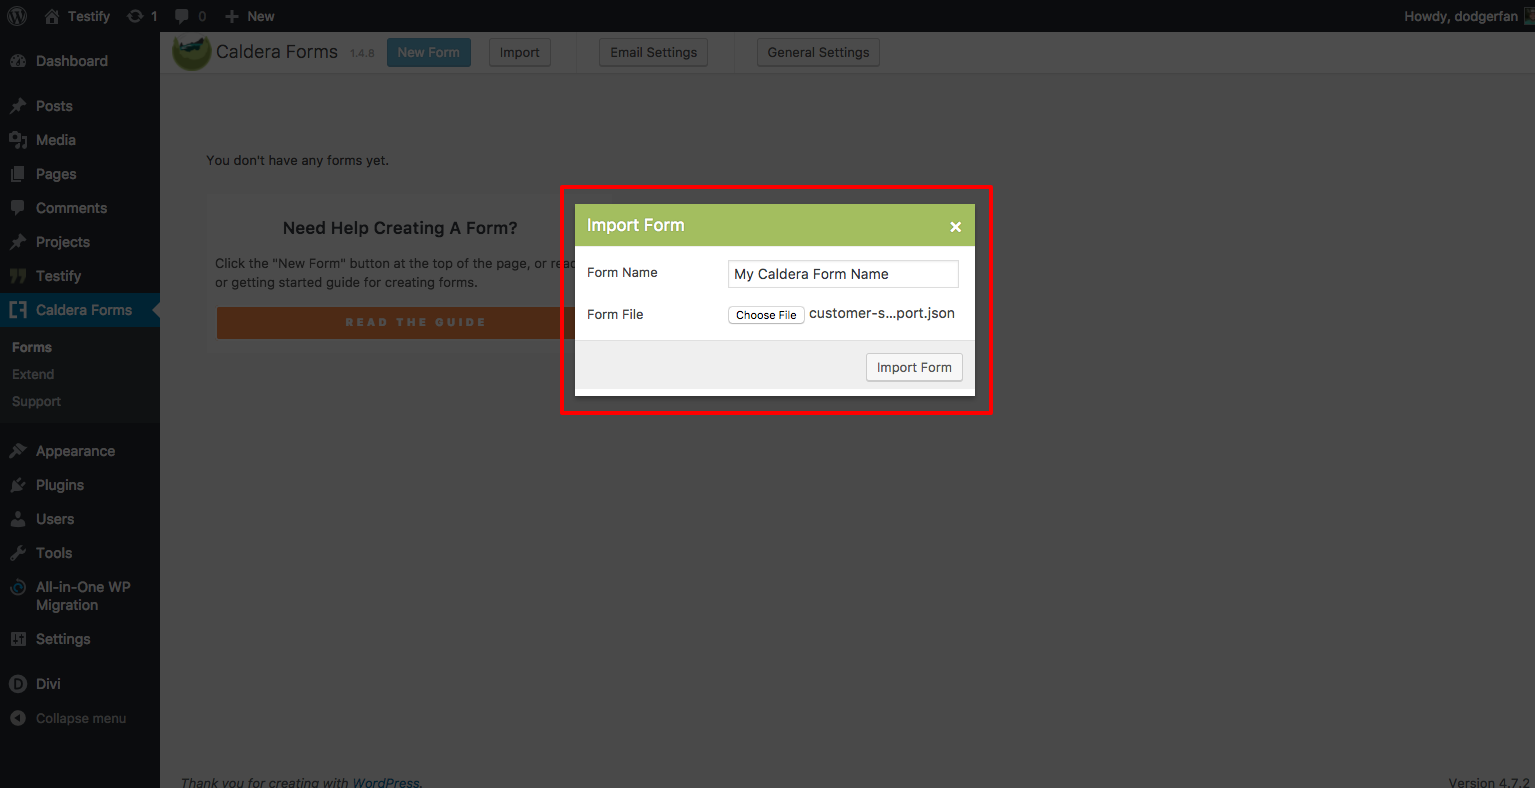
You will see a modal appear then select " Choose File" and locate the aptly named Caldera import JSON file(s) included with the download package. Name it whatever you choose and then hit the "Import Form" button.
You will now see the form appear under the " Layout" tab of the Caldera Form and can edit/ modify as needed.
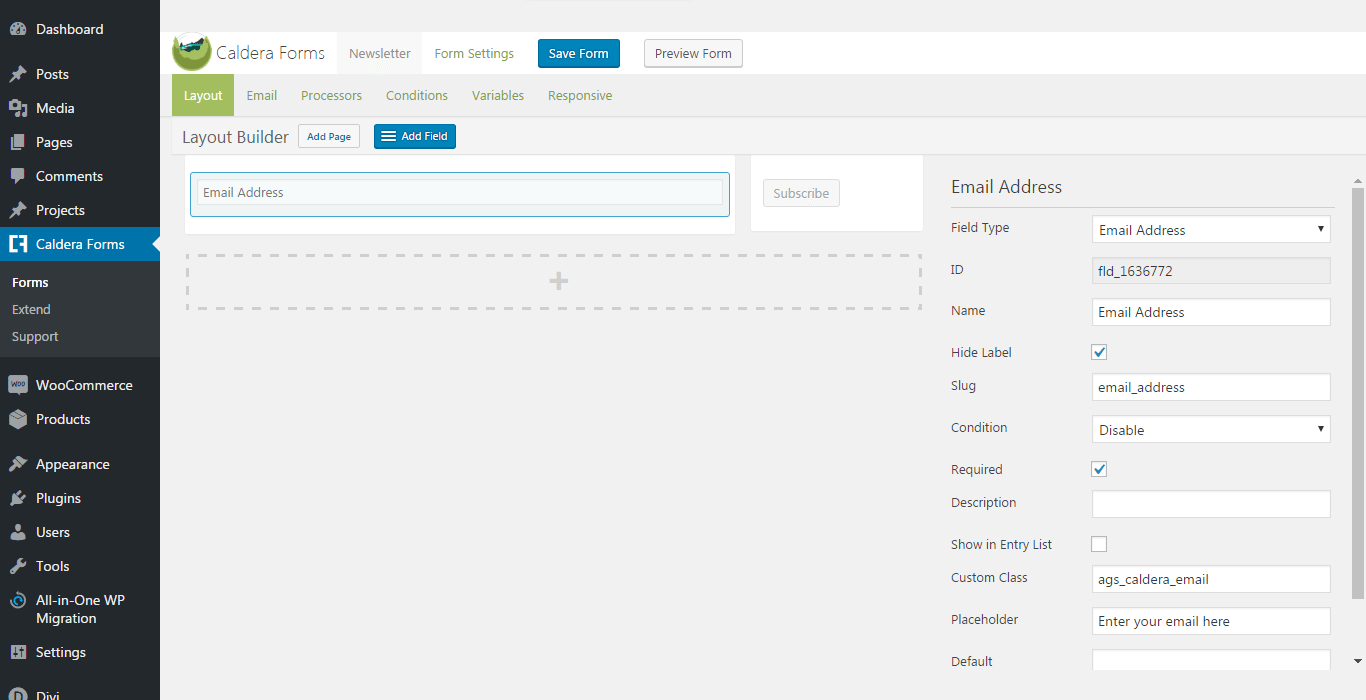
Save your form and continue to the next step.
04. PUBLISHING YOUR NEW CONTACT PAGE OR SECTION
Now that you have the form imported and edited as needed, it is time to create your new AGS+Caldera powered Contact Page, or to add your new Section Layout to the page of your choice.
WHEN YOU HAVE A PAGE LAYOUT
Create a New Page, give it a title and choose to use the Divi Builder. Then click the "Load From Library" link located in the Divi Builder Menu Bar
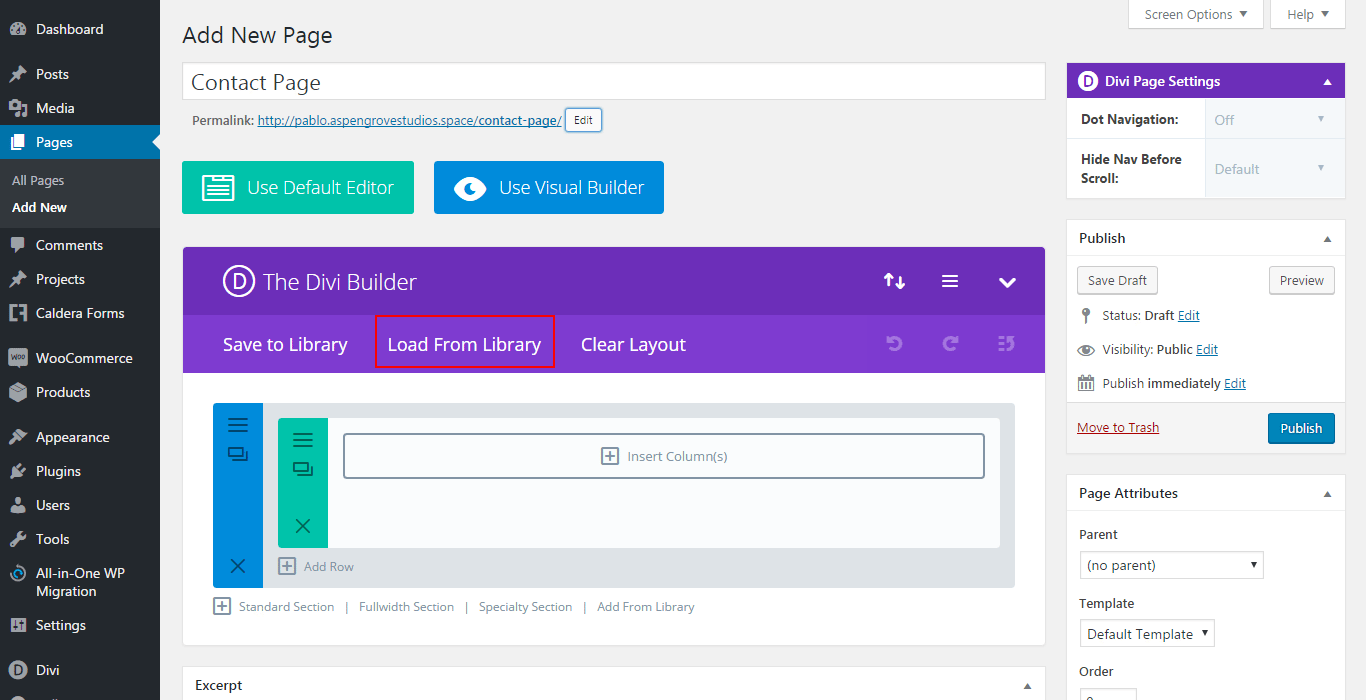
When the modal appears, Click on the tab "Add From Library"
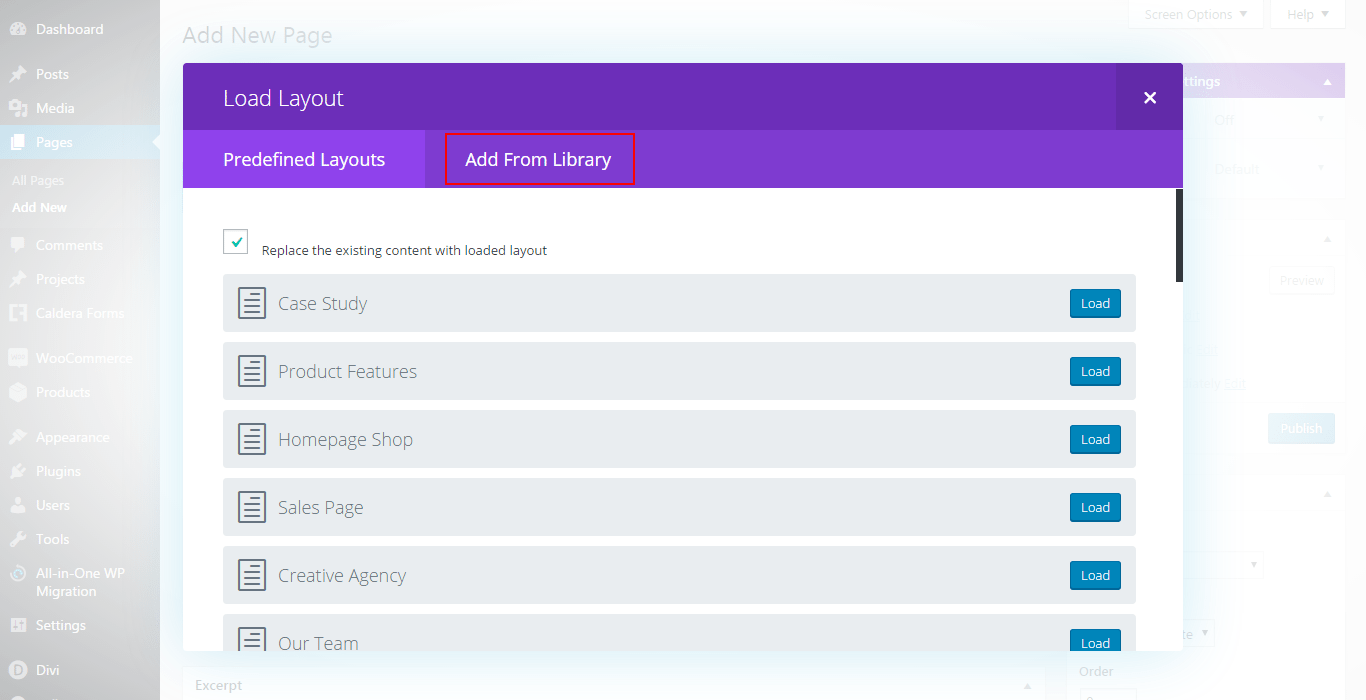
Choose the Page Layout you downloaded and check the "Replace the existing content…" box if it suits your design.
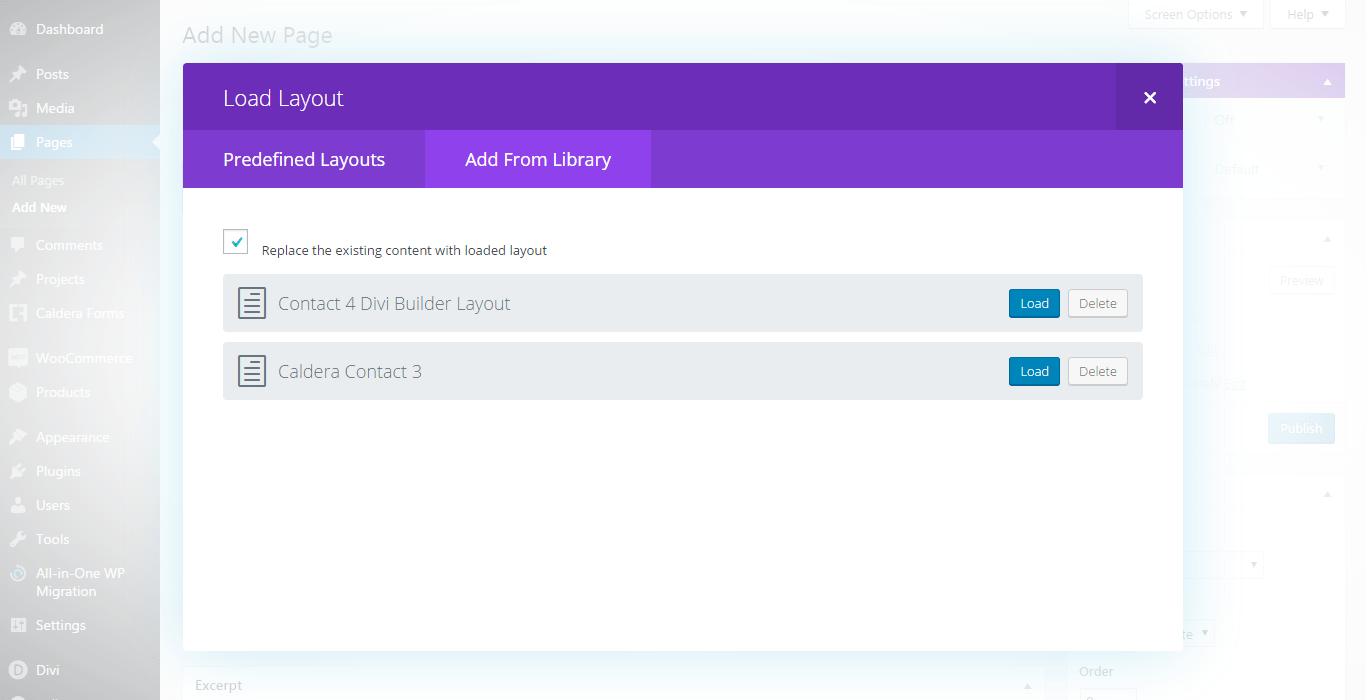
Publish your page, you now have a beautiful new contact page powered by Caldera Forms.
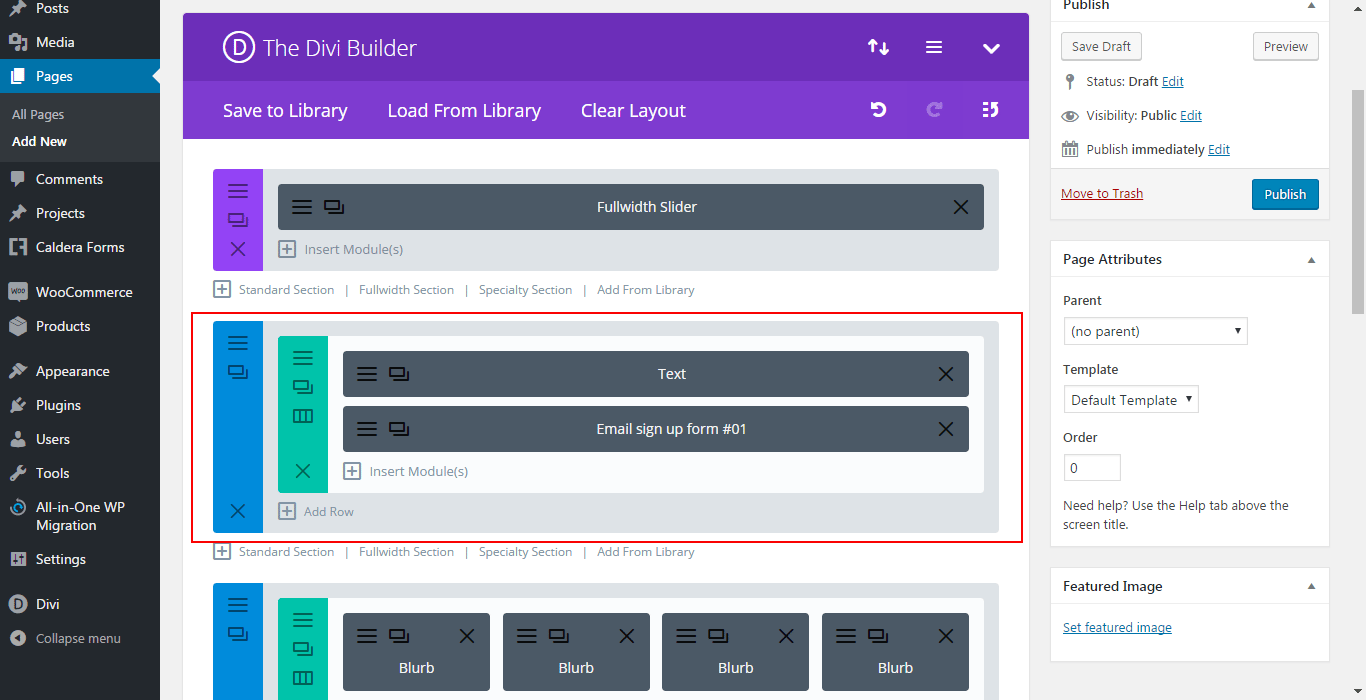
WHEN YOU HAVE A SECTION LAYOUT
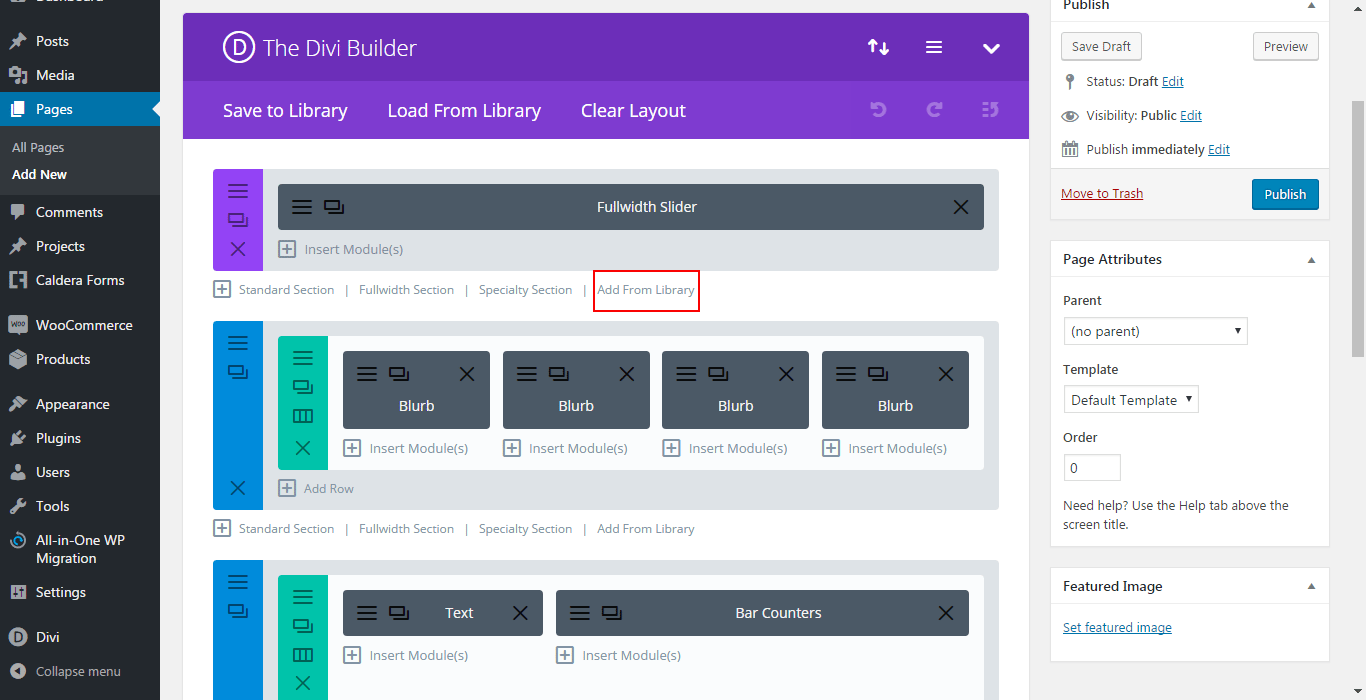
Edit the page you want to have the Caldera Section in and click the "Add From Library" link located under the section below the one where you want to place this layout:
A modal will appear. Find the name of the Section Layout you downloaded and click on it:
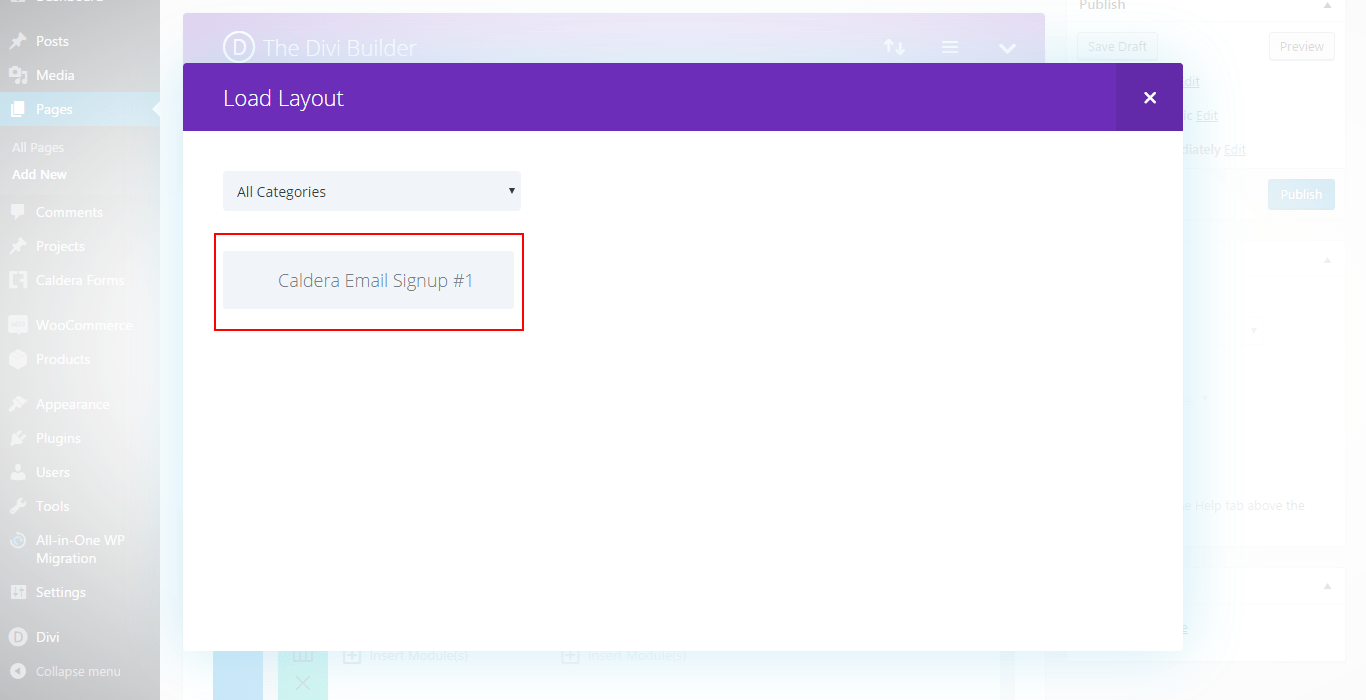
Your shiny new section is now in the correct place. Edit the text modules at will and then click the Update/Publish button to save your changes.
If the section is a subscription form, please note that to link to your desired email client (Mailchimp, Constant Contact, etc.), you will have to purchase the proper add-on from Caldera Forms and follow the necessary steps provided by them. * You can view and purchase the Caldera Forms Add-Ons Here >> * The link above is our Caldera Forms Affiliate link. We appreciate your support if you do decide to purchase a premium Add-On