Divi Advanced Pricing Table
This powerful and feature-rich Divi module will help you create concise, easy to understand pricing tables that convert your web visitors into customers that look amazing as well!
Requirements
- Divi Parent Theme
Installation
- Login to your WordPress Admin and select "Plugins" > "Add New" in the left sidebar menu.
- Click "Upload Plugin" at the top of the page.
- Select the plugin ZIP file and click "Install Now".
- Click "Activate Plugin".
- Go to Divi >> Divi Advanced Pricing Table and enter your key
Introduction
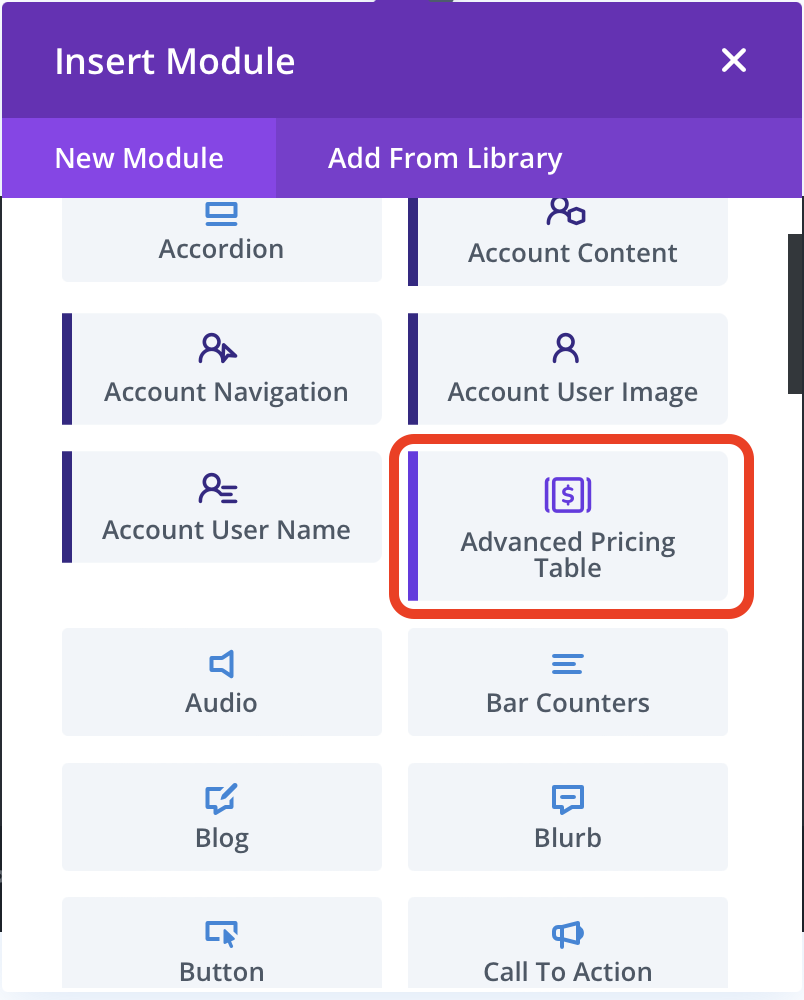
To add a module to your site, go to Divi Builder/Theme Builder and then choose Advanced Pricing Table from the list of available modules:
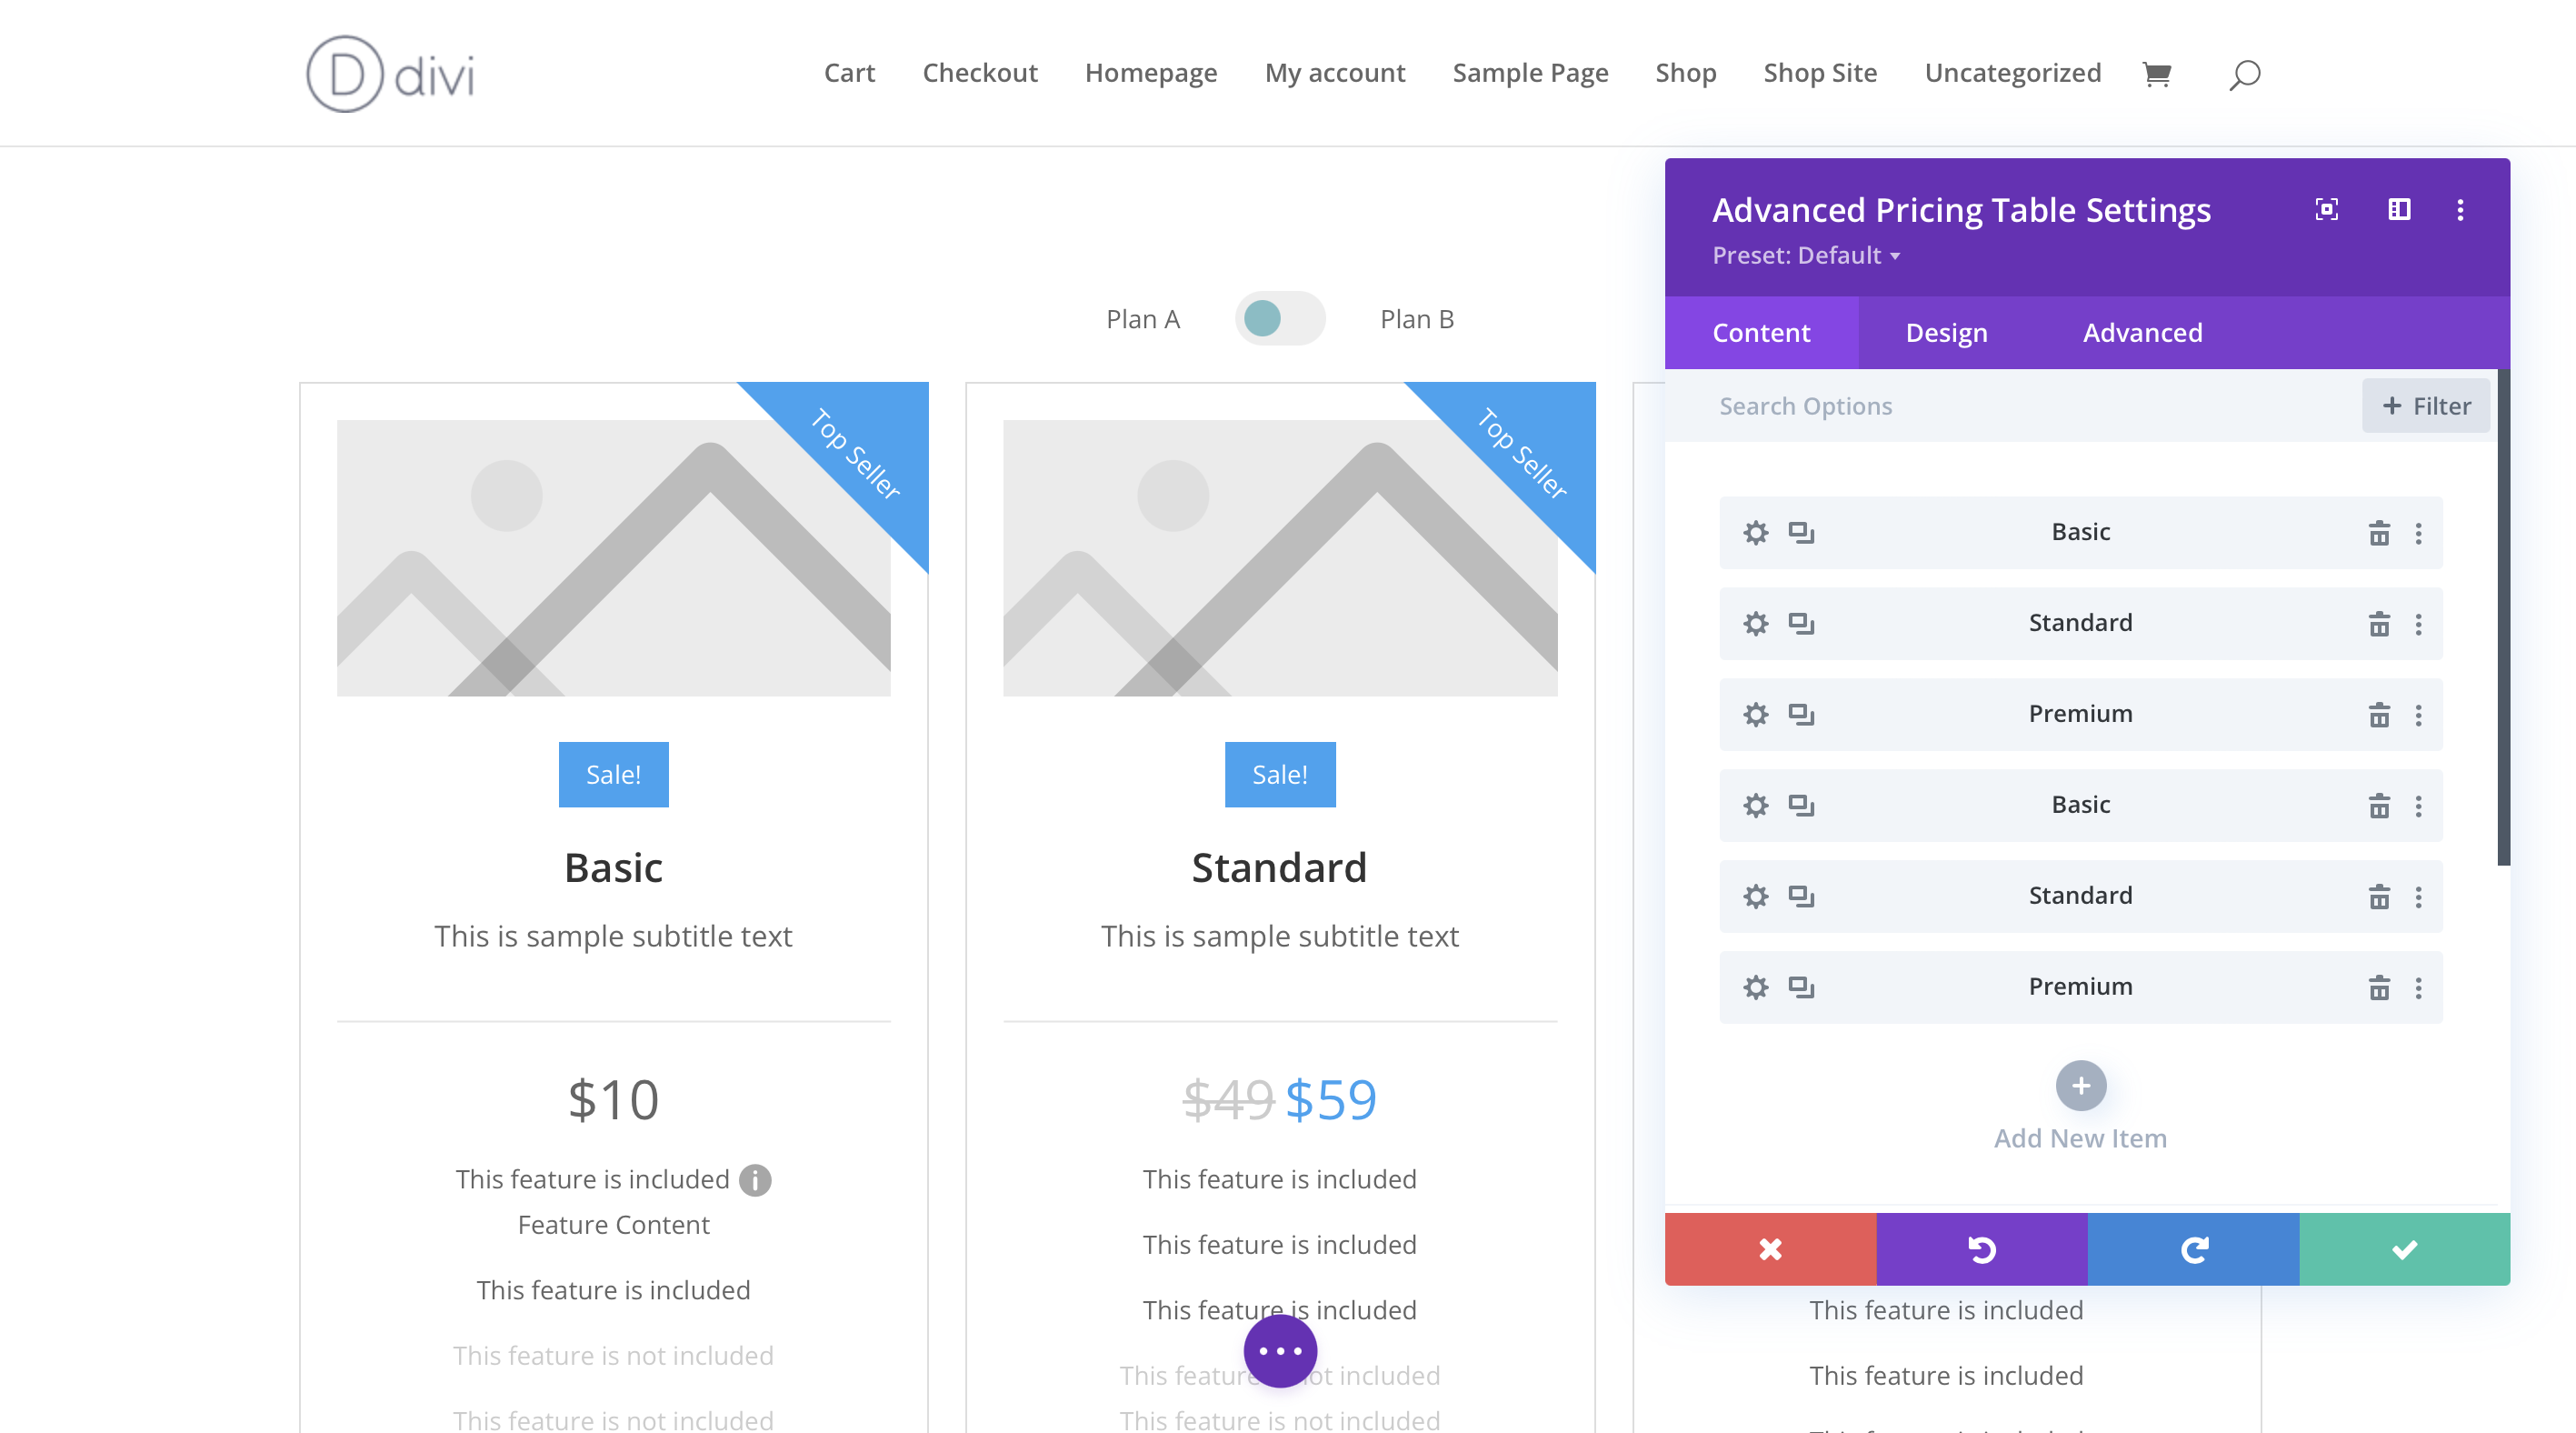
By default, when you add a module, you will see a table consisting of 6 options including 3 for plan A and 3 for plan B
Adding pricing content to the table
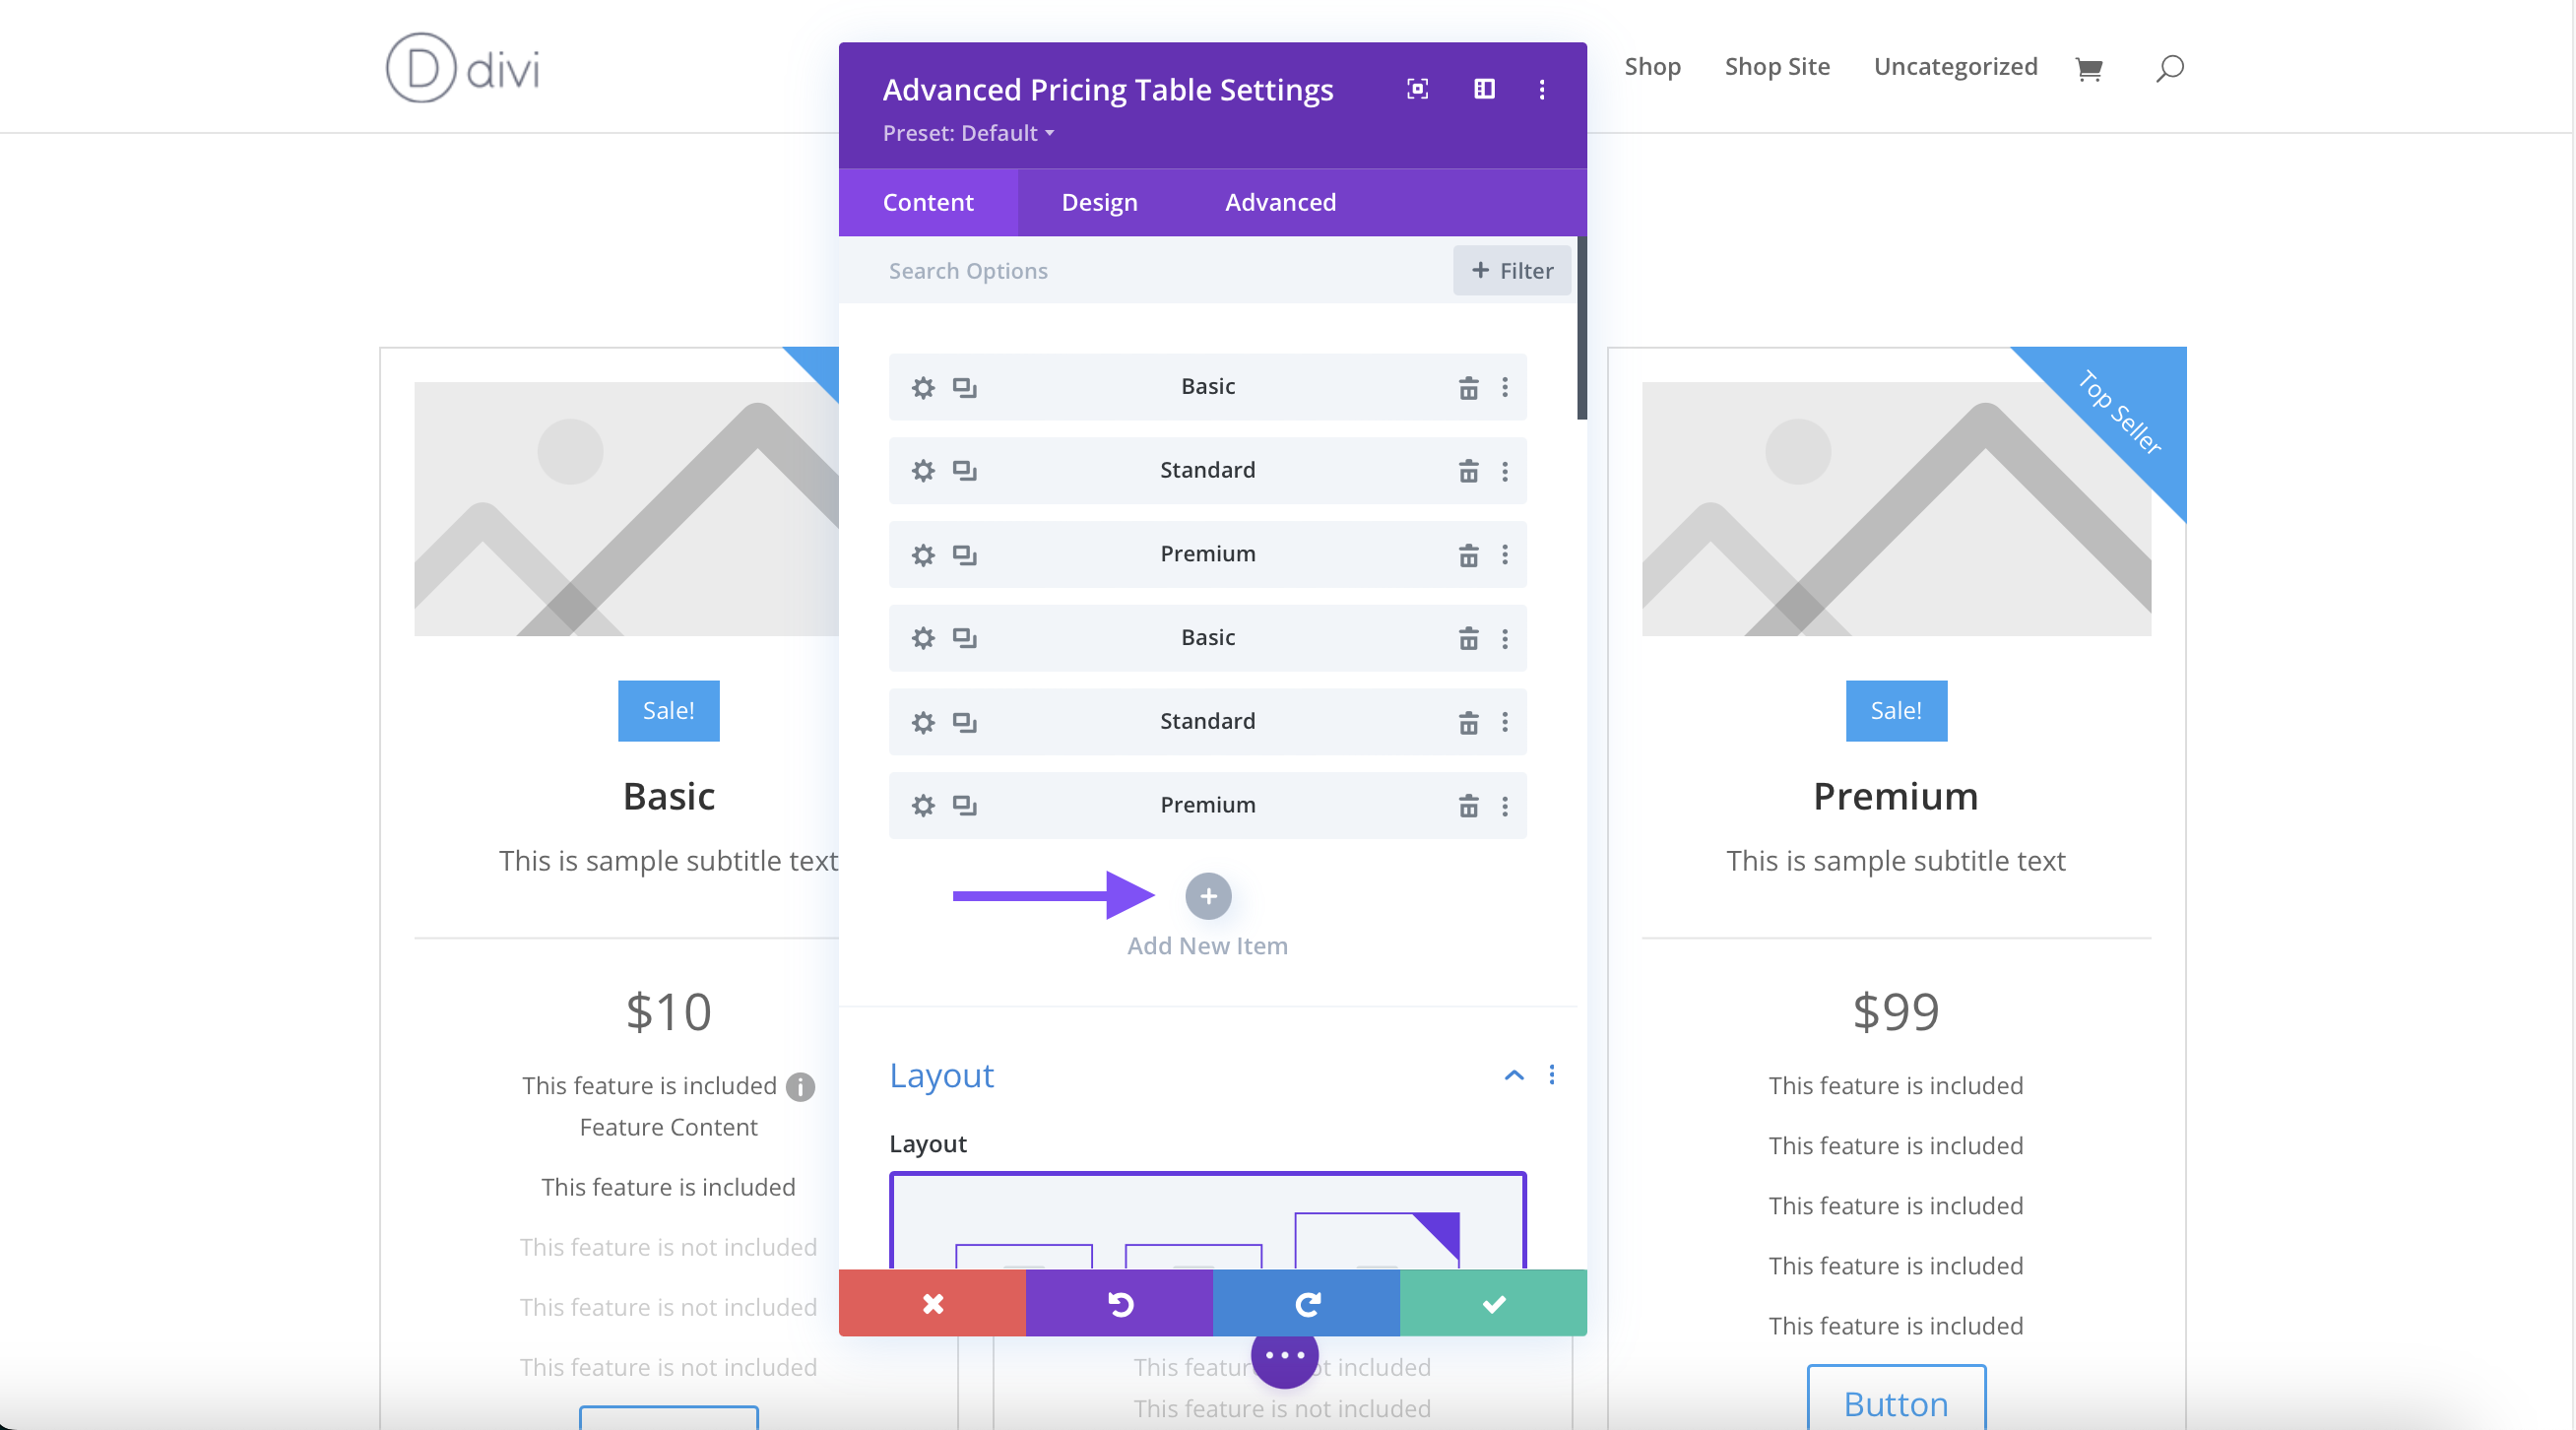
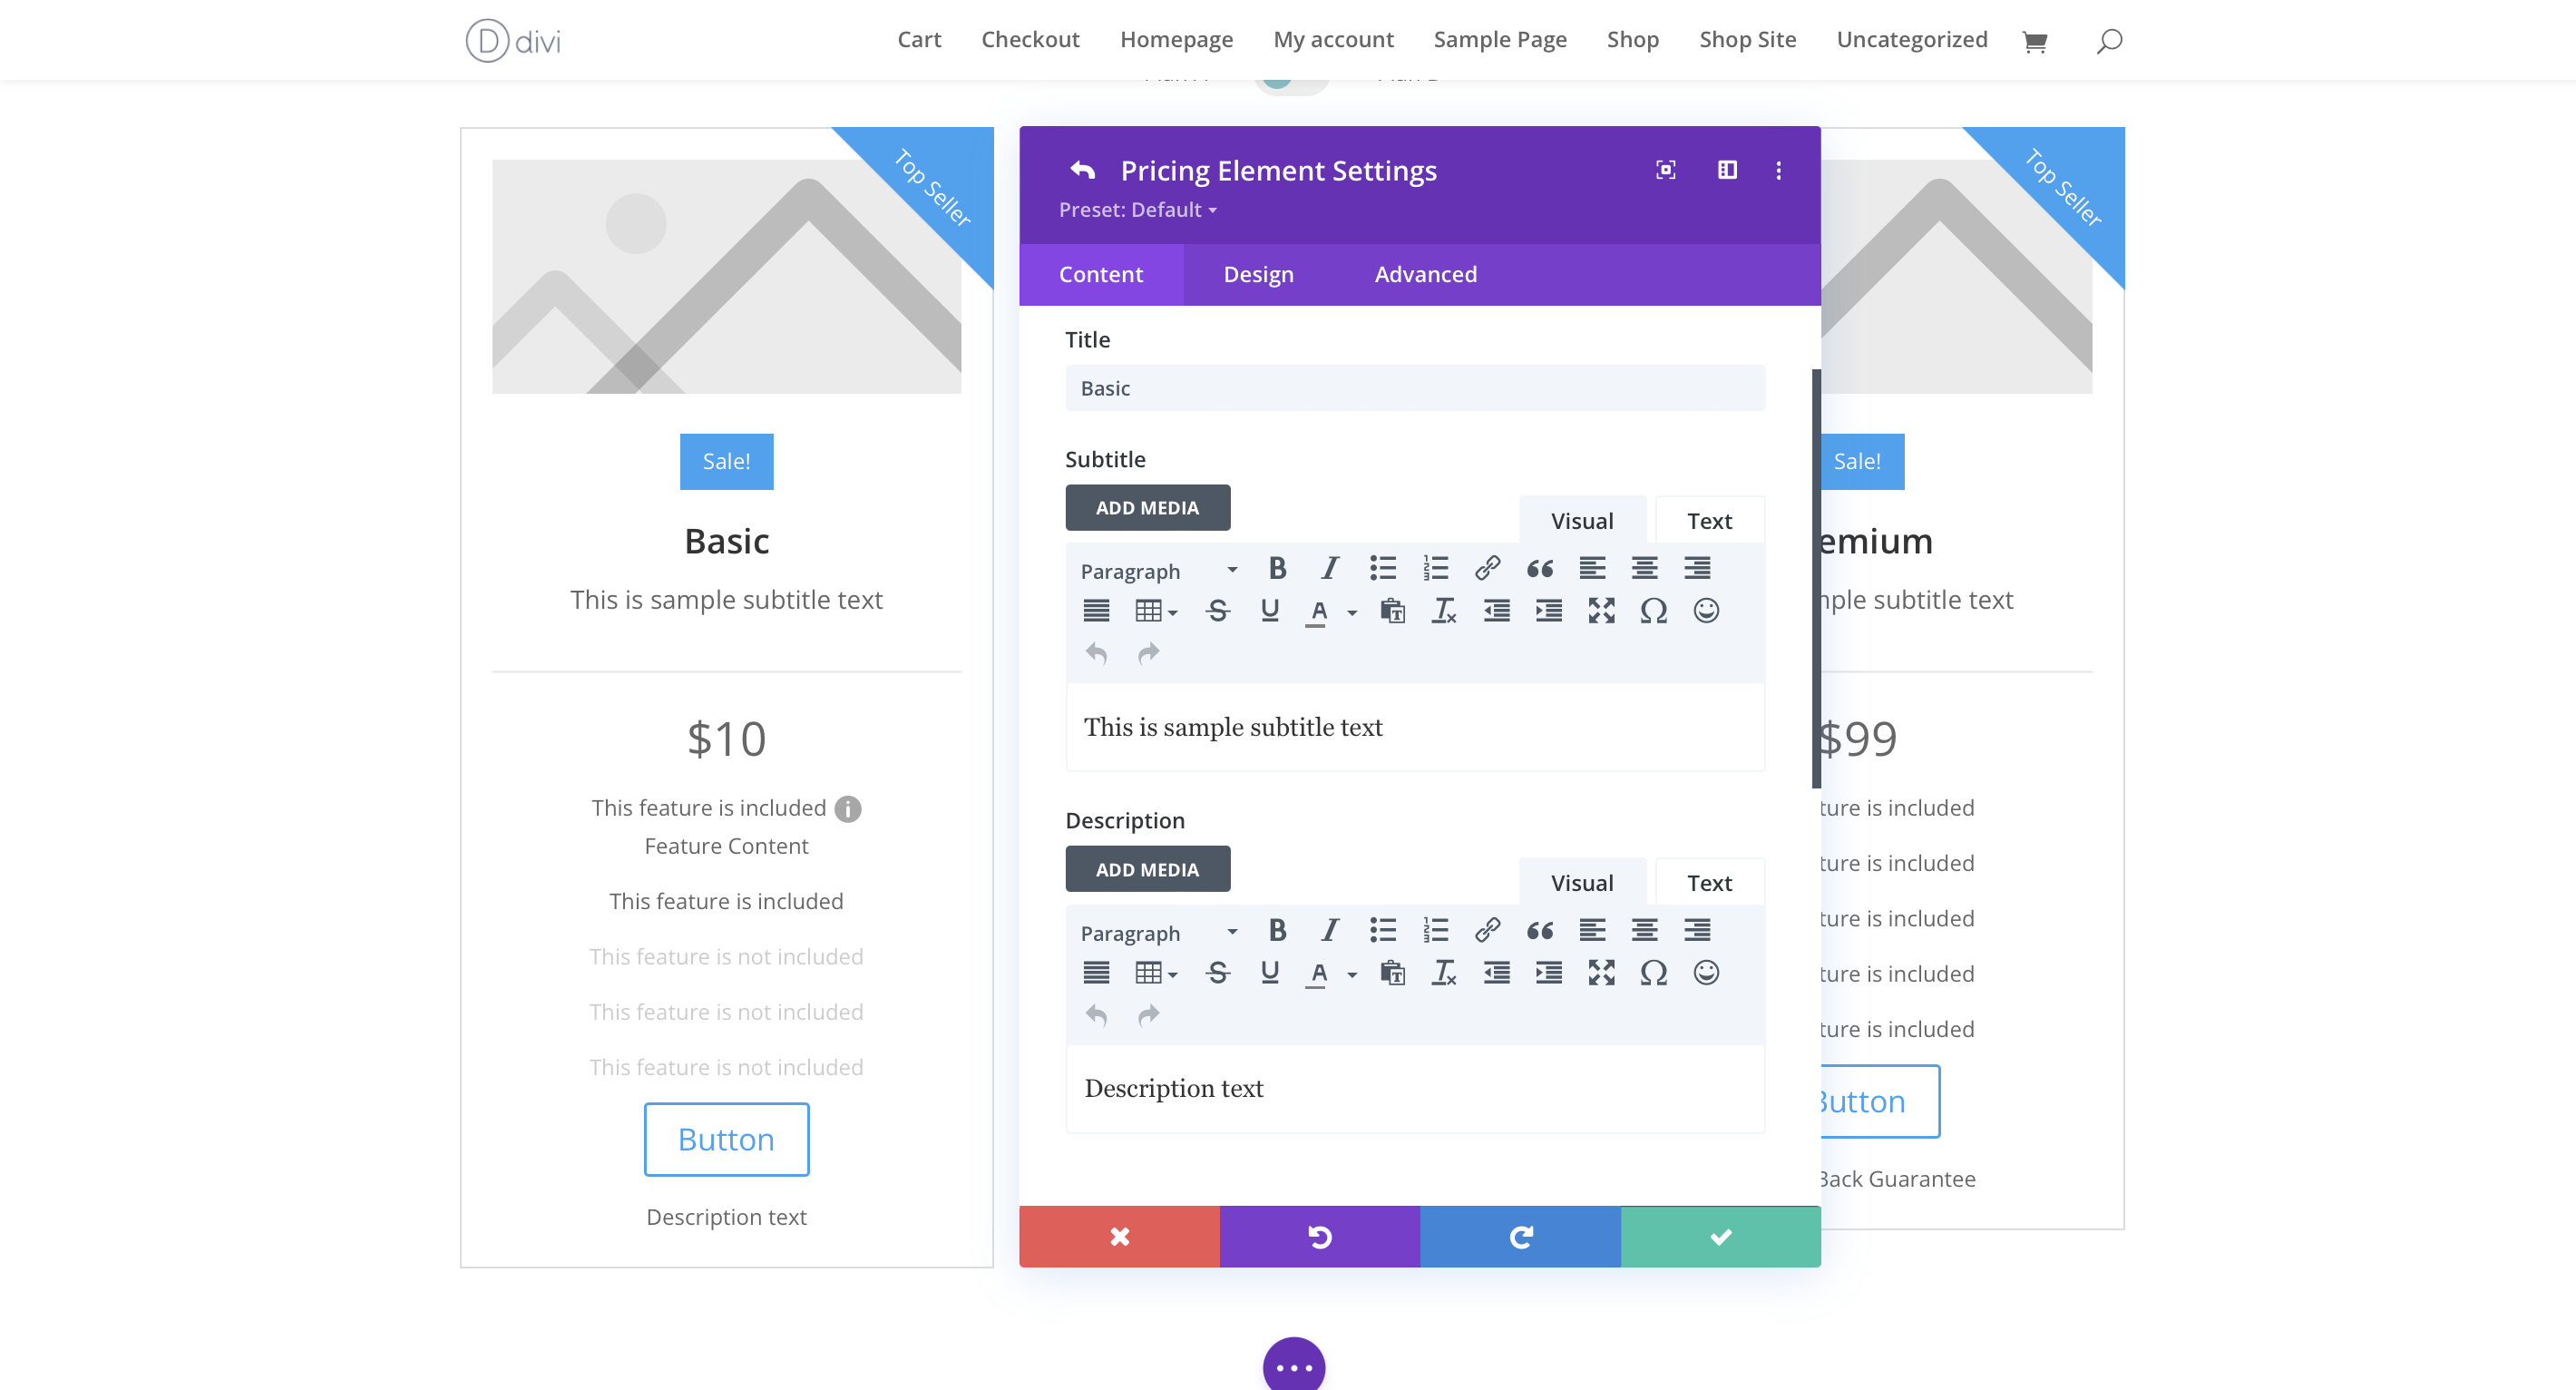
To add a new pricing option to the table go to the module settings and then click Add New Item and setup fields like Title, subtitle and description:
Price Hide Price - this option allows you to hide the price in edited pricing option
Price - here you can specify the price of edited price option
Override Currency Settings - this option allows you to override the default currency, just activate this option and then enter the currency symbol and choose whether it should be displayed before or after the price.
On Sale - enabling this option will allow you to add a promotional price and display a sale badge.
Period - here you can enter the period to which the price applies, or if the price does not apply to any period, just leave this field empty
Price Variant In this section you can choose to which of the available plans a given price option should belong.
Features In this section you can add features for a given pricing option that are included in it or not, each feature can be edited, deleted and repositioned
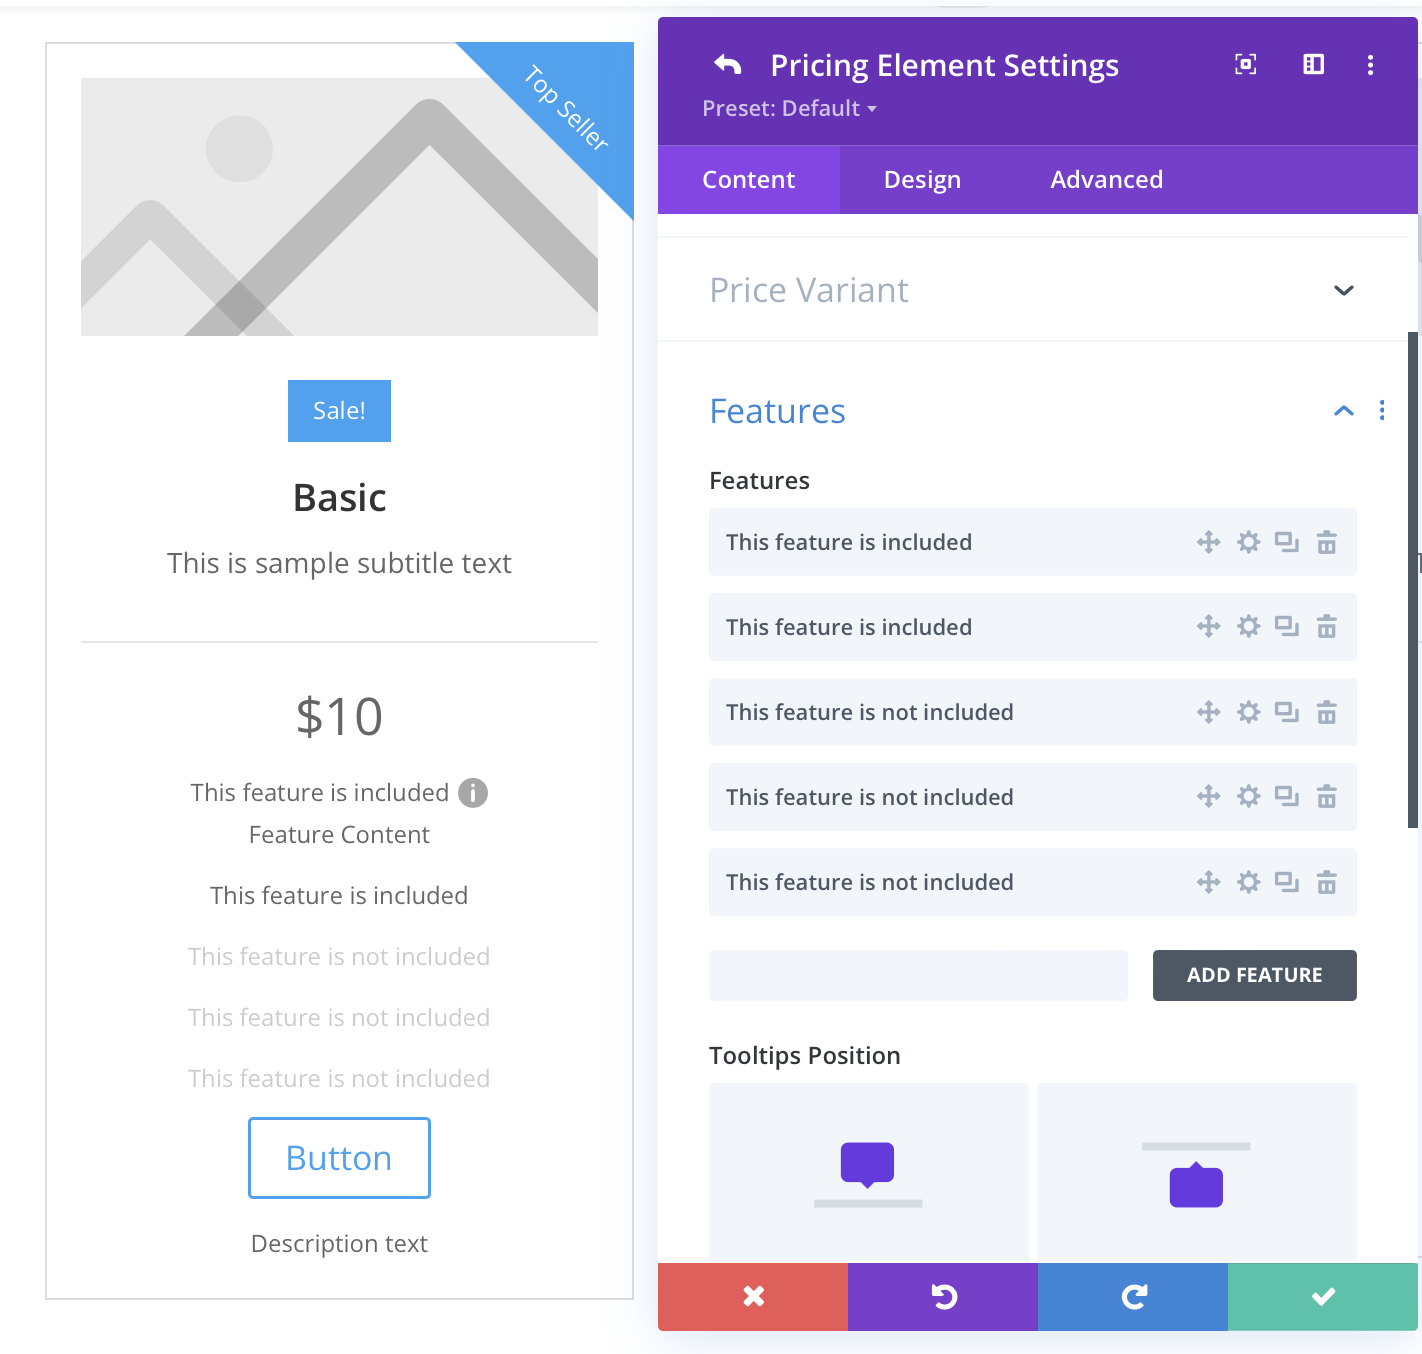
By clicking on the gear icon next to the feature you can edit its content:
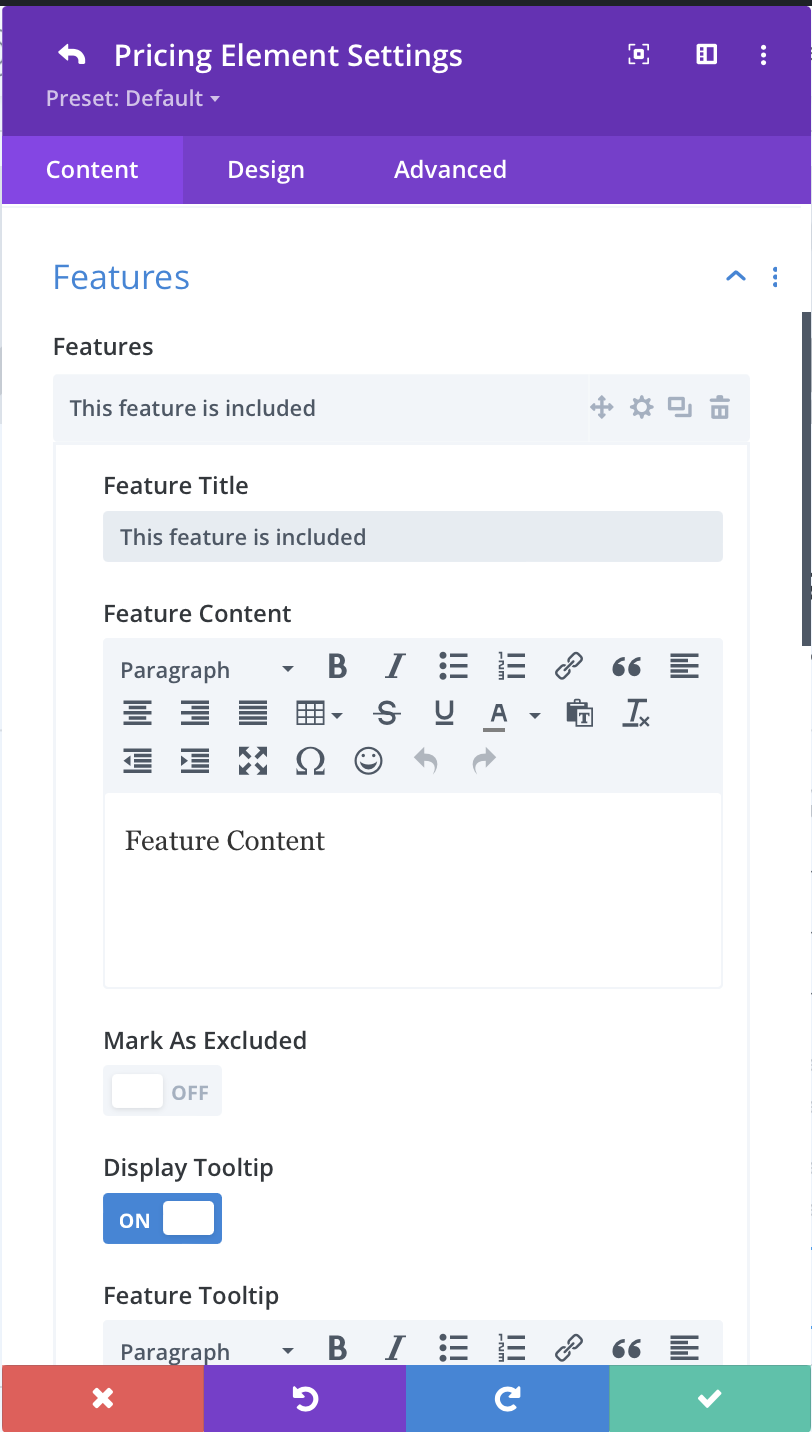
Mark As Excluded this option allows you to mark a feature as unavailable in a given pricing option it will be displayed as inactive
Display Tooltip this option allows you to display a tooltip in which you can add, for example, a short description of the feature.
Display Icon - this option will allow you to display an icon in front of the Feature
Tooltips Position - here you can select the position in which the tooltip will be displayed
Image / Icon
Hide Image/Icon - opcja to pozwala ukryć ikonę lub obraz w danej opcji cenowej
Display Icon - opcja ta pozwala na wyświetlenie ikony zamiast obraz
Upload - w przypadku użycia Image zamiast ikony w tym miejscu możesz wybrać obrazek
Image Alt - jest to tekst który jest wyświetlany po najechaniu na obrazek
Badges
Display Inline Badge - opcja ta wyświetla Badge Sale pomiędzy Image/Icon a tytułem danej opcji cenowej
Inline Badge Text - w tym miejscu możesz wprowadzić swój własny customary text który będzie wyświetlany w sale badge
Display Overlay Badge - opcja ta pozwala na wyróżnienie danej opcji cenowej poprzez nakładkę badge
Overlay Badge Text - w tym miejscu możesz edytować tekst wyświetlany w overlay Badge
Button In this section you can add a Button for a given price option
Display Button - this option will cause the Button to be displayed
Button Text - here you can edit the text displayed in the button
Button URL - here you can add a link to which you want the button to lead after clicking it
Button Link Target - this option allows you to choose whether the link to which the button leads should be opened in the same window or in a new Tab
Tooltip
In this section you can add a tooltip that will be displayed next to the title of the pricing option
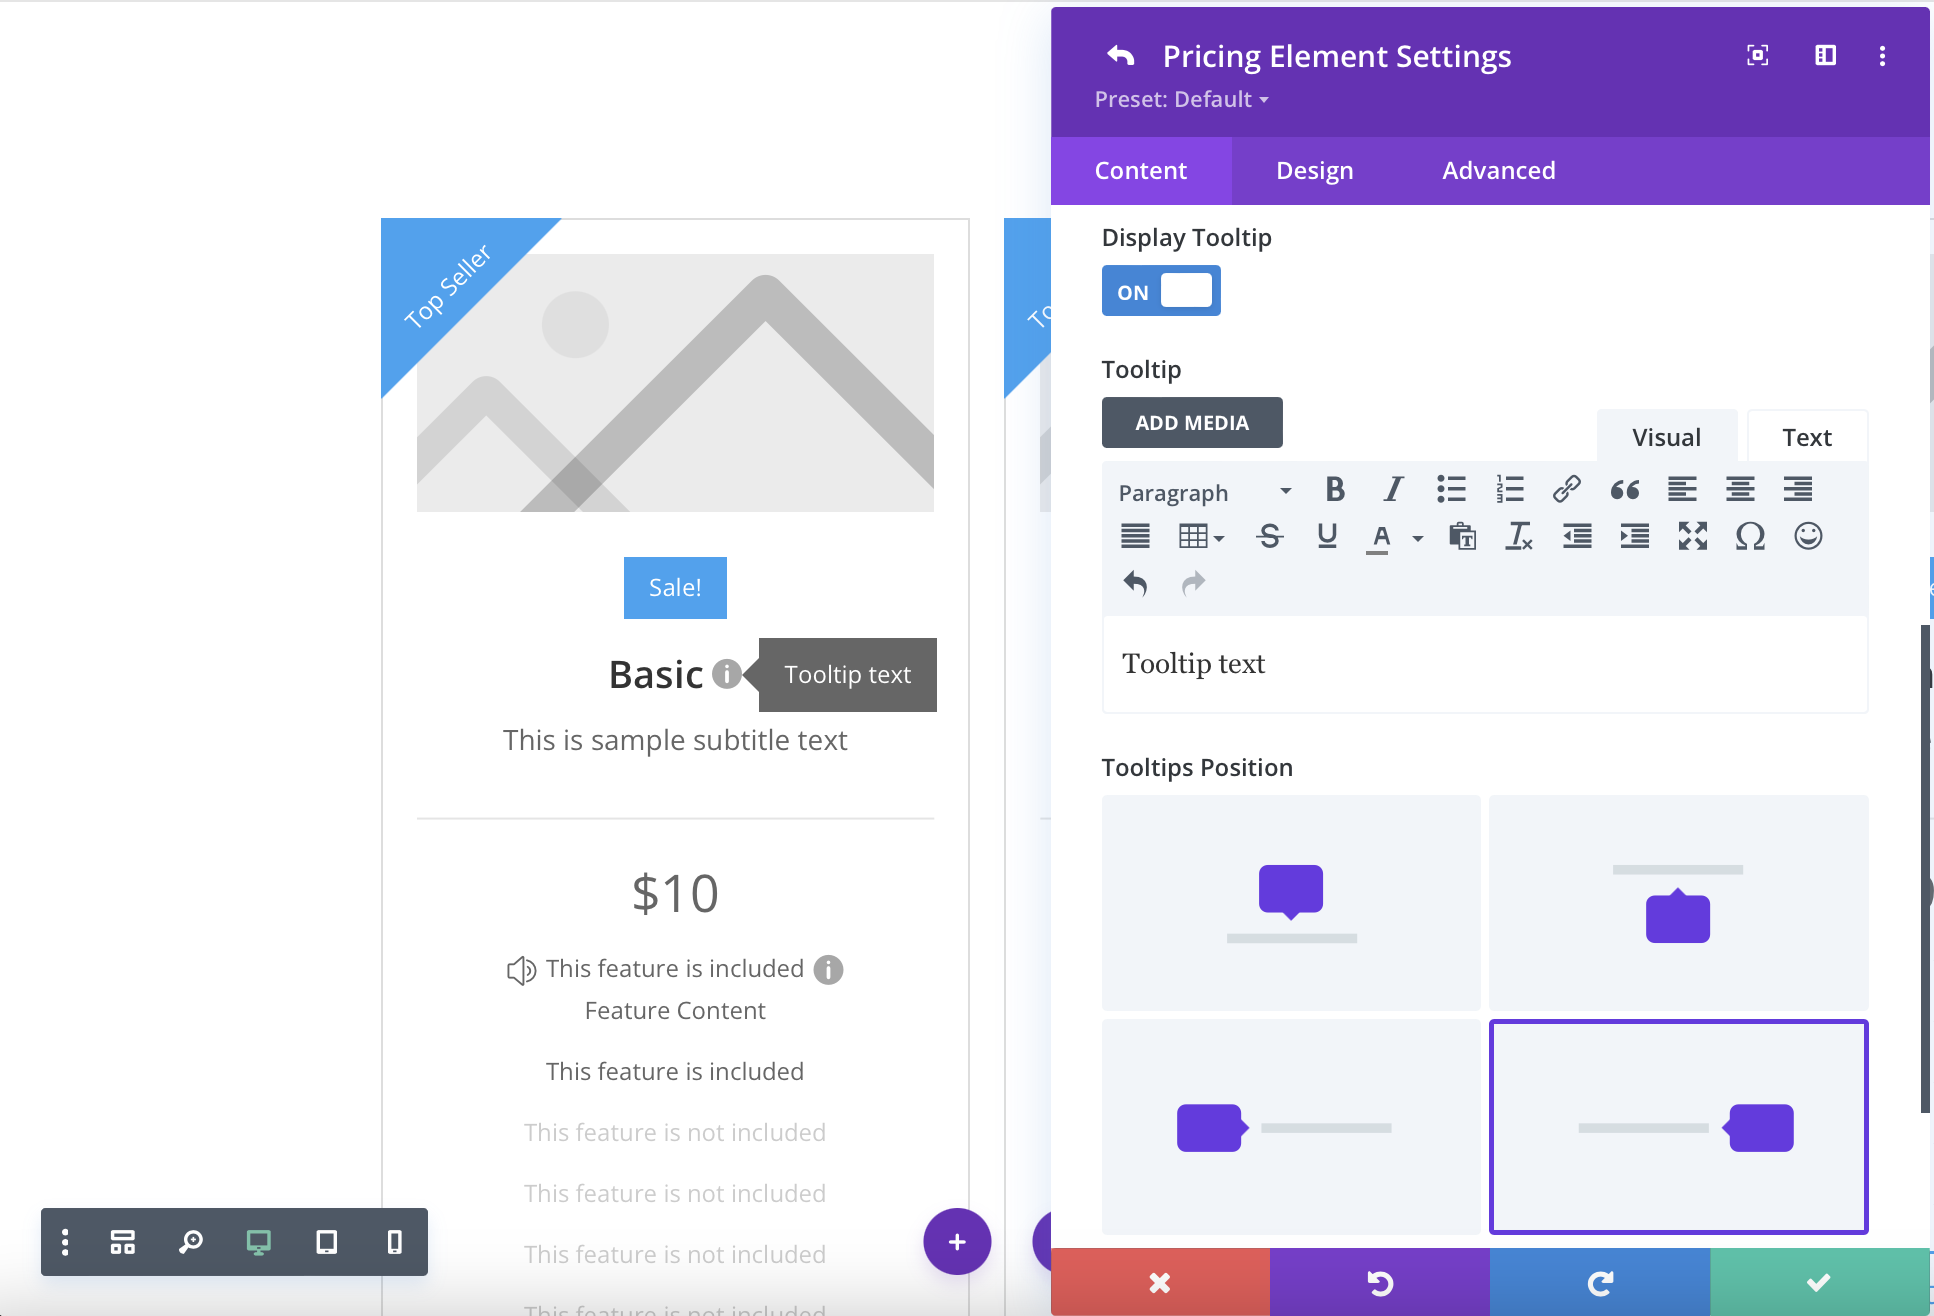
Display Tooltip this option allows you to display a tooltip in which you can add, for example, a short description of the pricing option
Tooltips Position - here you can select the position in which the tooltip will be displayed
Background
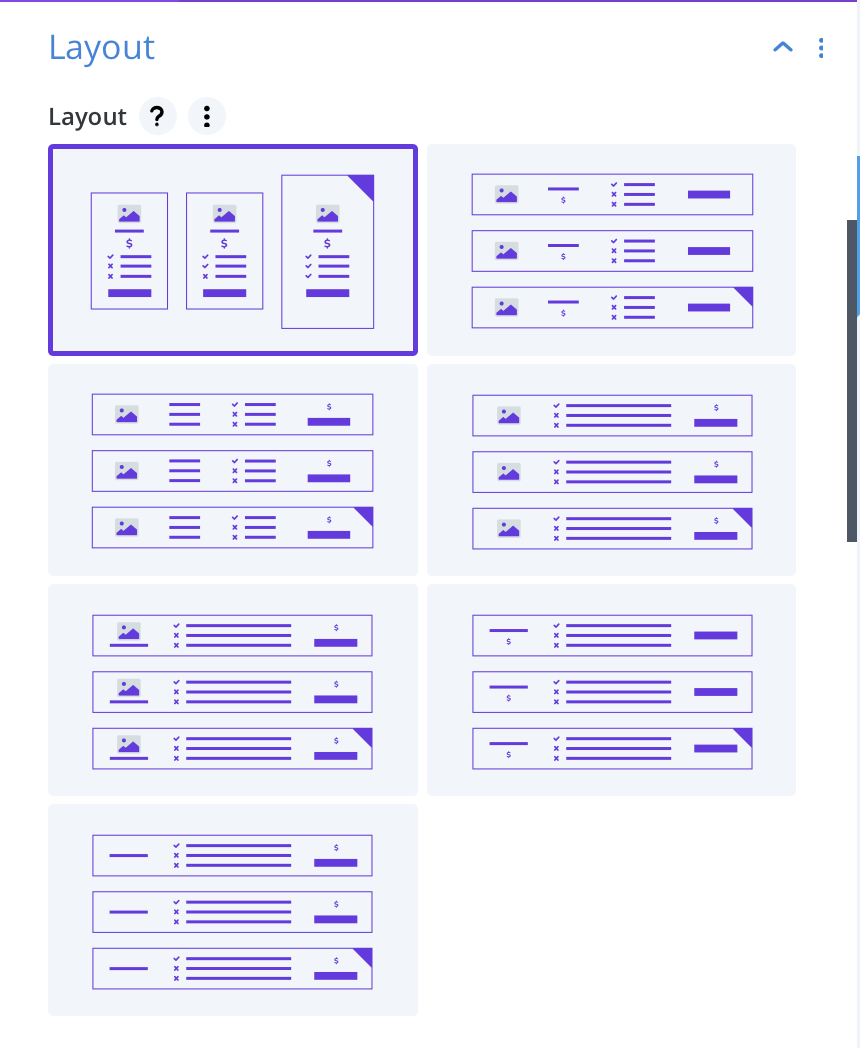
Layouts
In this section you can choose from among 7 available layouts
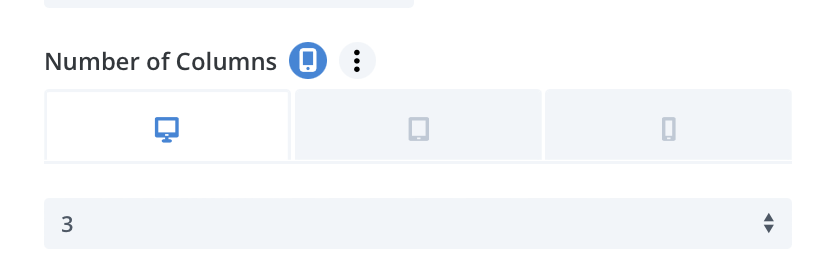
Number of columns - this option allows you to specify the number of columns with price options in one line, in addition, by clicking on the phone icon you can set other values for tablets and smartphones
Pricing Elements And Position this option allows you to manage which elements to display and which not, and to change their position by dragging and dropping them
Currency Symbol - this option allows you to set a default currency symbol ( attention! This symbol can be overridden via the Override Currency Settings option available when editing a particular price option)
Currency Position - this option allows you to select the default position of currency symbols
Sale Price Position - this option allows you to select where you want the promotional price to be displayed.
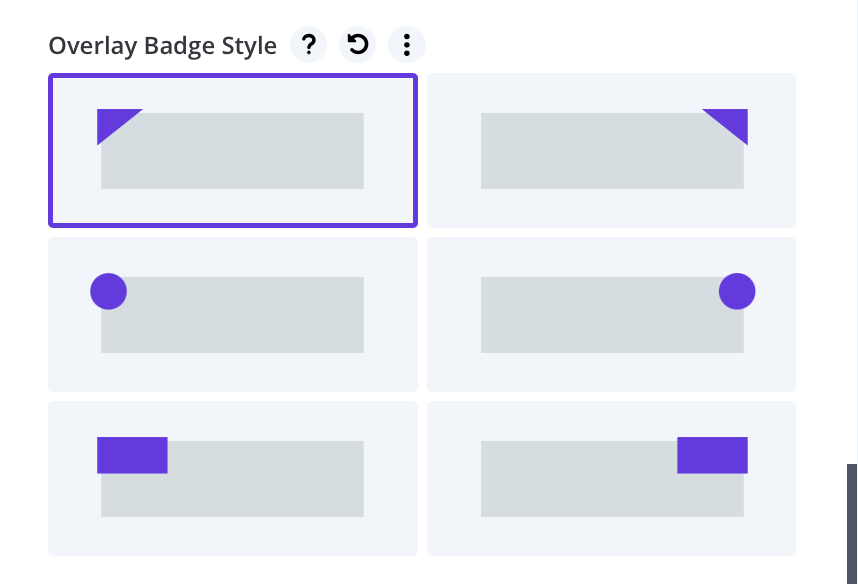
Overlay Badge Style - this option allows you to choose the shape of the overlay distinguishing the price options, there are 6 different shapes to choose from:
Price Variants
In this section you can enable and add different plans with different pricing options
Enable Variants - ta opcja pozwala na włączenie wariantów planów cenowych
Variants Style - opcja ta pozwala wybrać pomiędzy dwoma stylami — switch style - przełącznik pomiędzy dwoma planami

— tab style - zakładki z różnymi planami cenowymi