Sales are great marketing strategies. By offering an often time-sensitive discount, sales encourage customers to make rapid purchase decisions. If you’re running a WooCommerce store, you’ll know that the WooCommerce sale badge is easy to set up. All you need to do is enter a sale price in the product setting, and a badge stating ‘Sale!’ will automatically display.
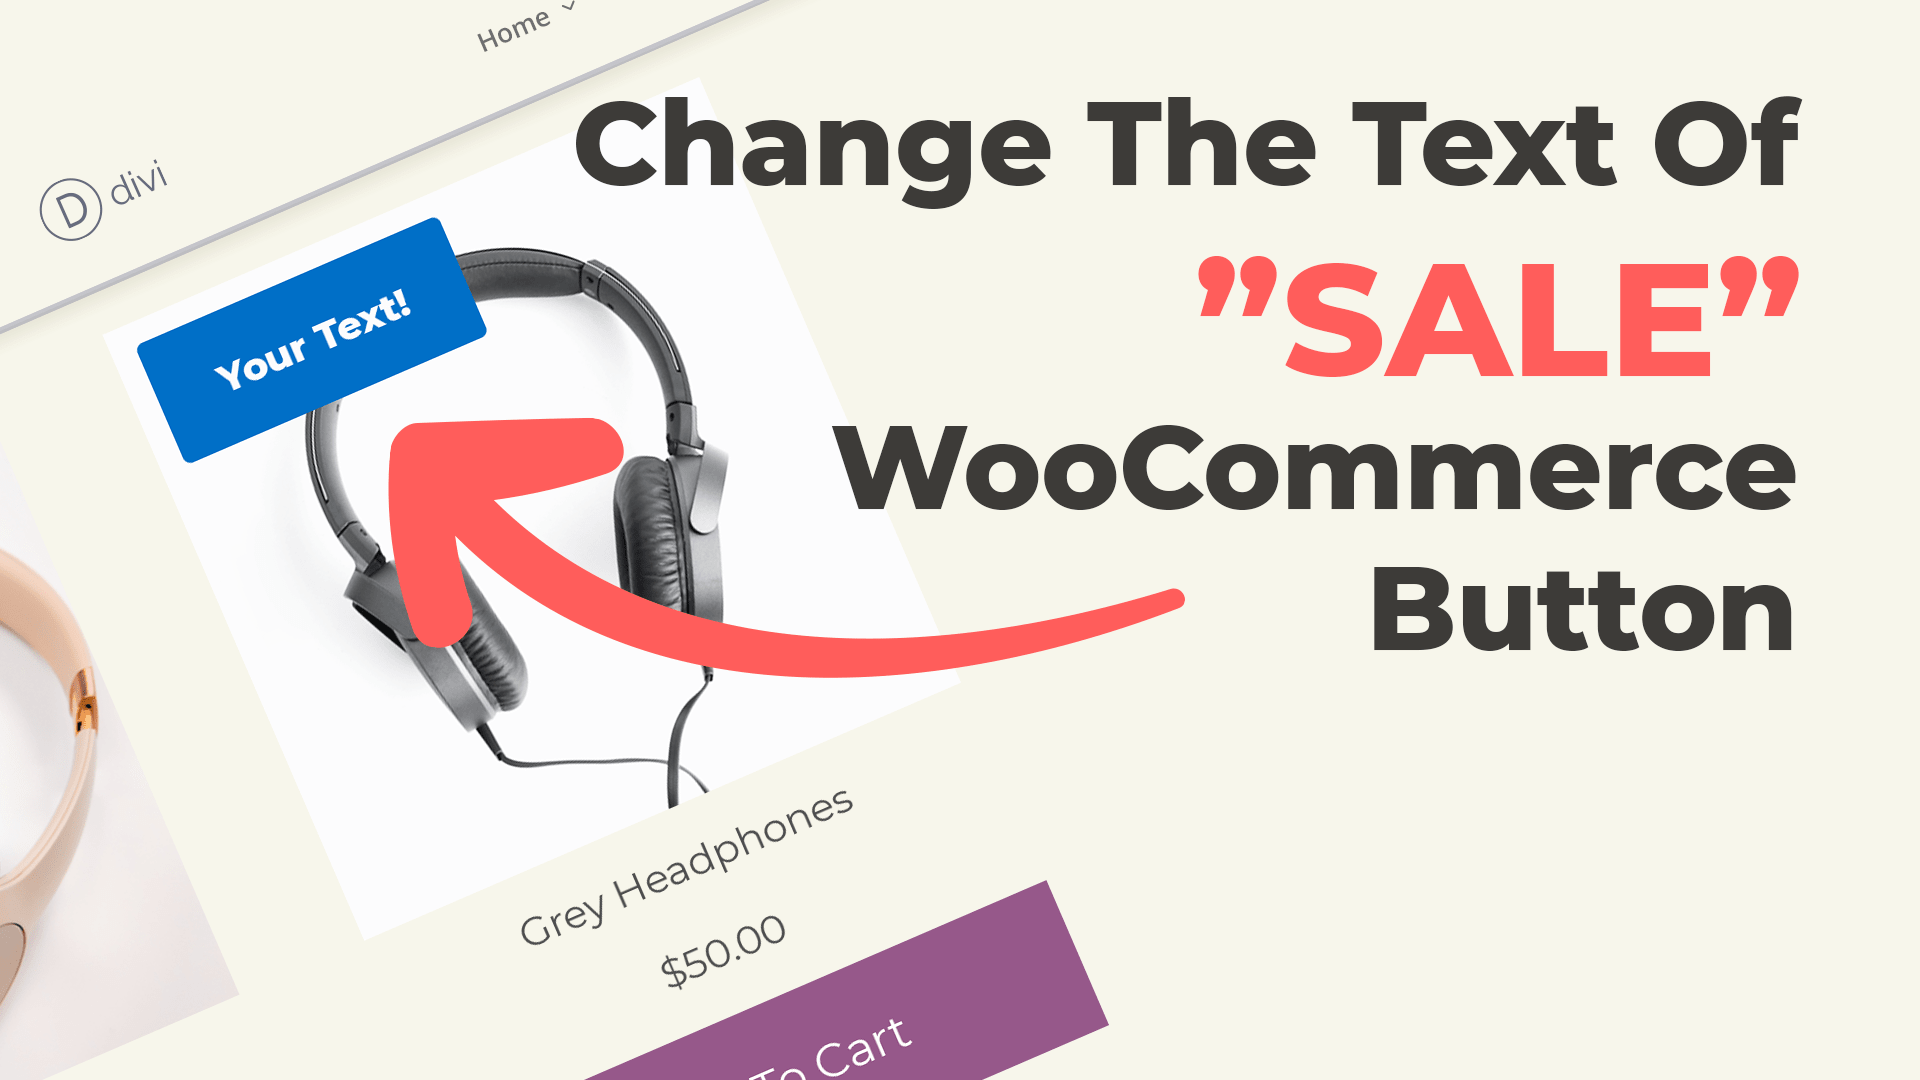
The WooCommerce sale badge is effective in alerting customers about a discount, but as this is the WooCommerce core default setting, it looks a bit overdone and commonplace. In a previous tutorial, we showed you how you can change the WooCommerce sale badge text to display as something custom, like ‘Flash Sale!’, ‘Act Fast!’ or similar. Today, we’ll be showing you how to remove the ‘Sale!’ text completely and replace it with a discount percentage value.
For this Divi tutorial, you’ll be adding a few lines of code to both the functions.php and style.css files. This code snippet is quick and easy to set up; you’ll have a sleek looking discount badge on your WooCommerce products in no time.
Looking for the code? Skip the step-by-step Divi tutorial and jump ahead to the code library.
How to Change the WooCommerce Sale Badge to a Percentage Discount
Out of the box, the WooCommerce core software will display all sale items with a simple ‘Sale!’ badge. To spruce up the look and feel, we’ve come up with a tutorial that’ll replace the standard ‘Sale!’ text with a percentage value. This way, your customers will know exactly how much they’re saving when purchasing discount items from your store.
In this Divi tutorial, you’ll add a few lines of PHP and CSS to your child theme. If you’re not sure what a child theme is, read our comprehensive child theme guide. If you haven’t already added a child theme, you can download one for free from the Divi Space website.
Step 1: Add a Divi Shop Module to a Page
To begin, add a Divi Shop module to a page using the Divi Builder. We assume that you’ve already added a selection of products to the back end.
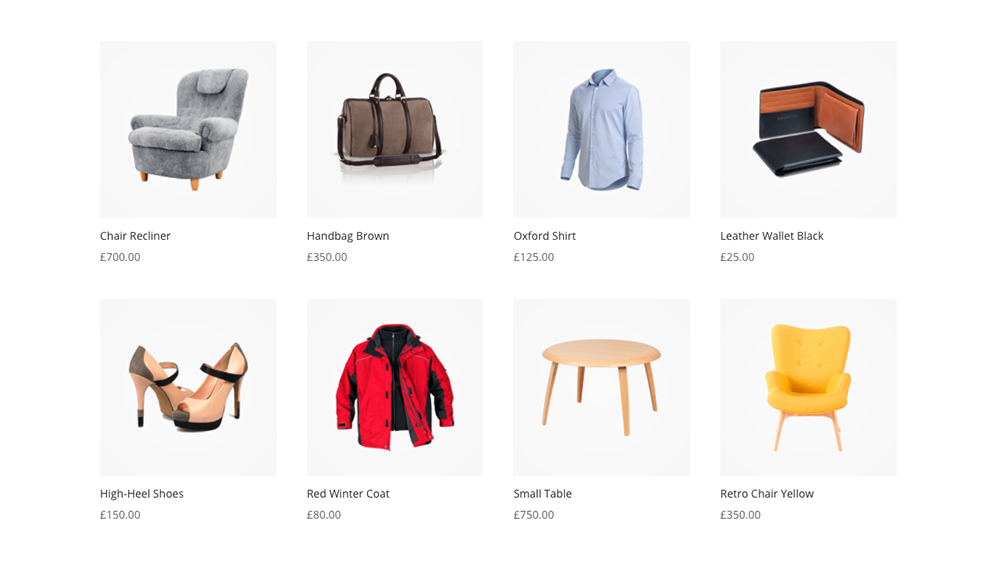
Add s Shop module using the Divi Builder
If you haven’t already, add sale prices to select products. To do so, navigate to the respective product listing on the back end, scroll down to the Product Data section and click on the General tab. Here you’ll see an option to enter a Sale Price. When complete, click Update.
With the sale prices added, the products on the front end will display as such:
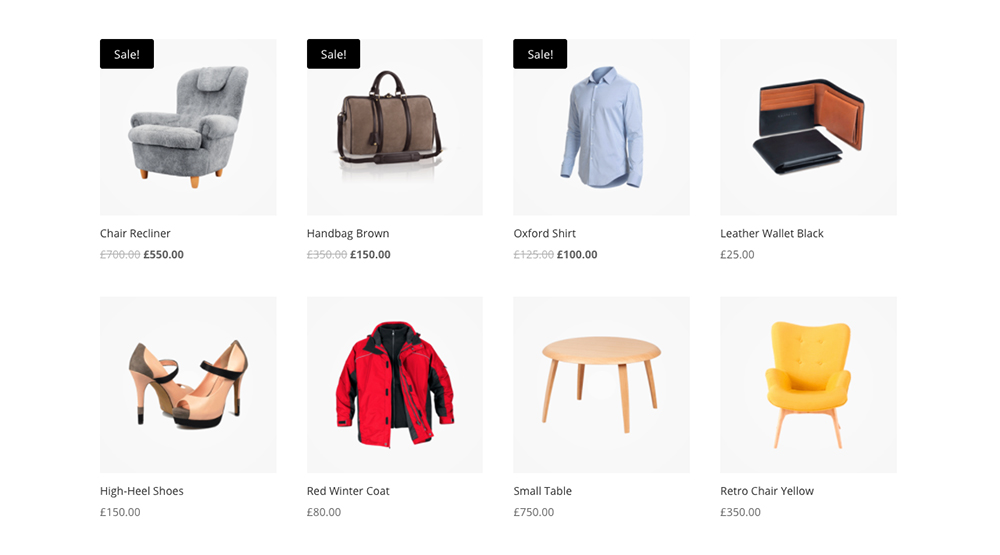
By default, the WooCommerce sale badge displays simply as ‘Sale!’
Step 2: Add the PHP and CSS Code
Now for the fun part! Head to the Appearance > Theme Editor console and open the functions.php file in your child theme.
Copy and paste the PHP code before the closing PHP ?> bracket:
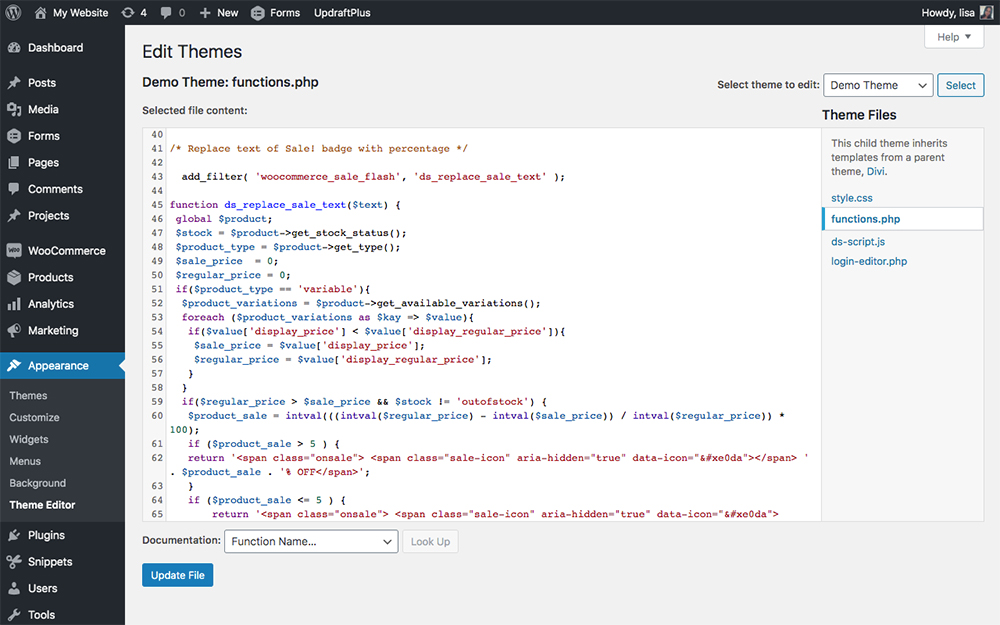
Add PHP code to the functions.php file in your child theme
When finished, click Update File to save your changes.
Next, navigate to the style.css file, copy and paste in the CSS code.
When finished, click Update File to save your changes.
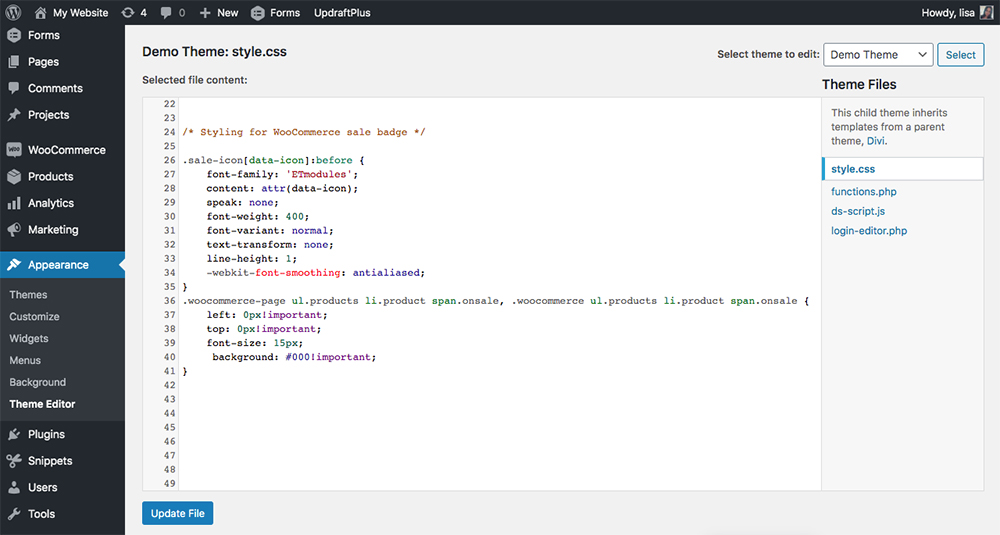
Add CSS code to the style.css file in your child theme
Now, when you view the front end of your site, you’ll see that the text has changed from ‘Sale!’ to a numeric percentage value.
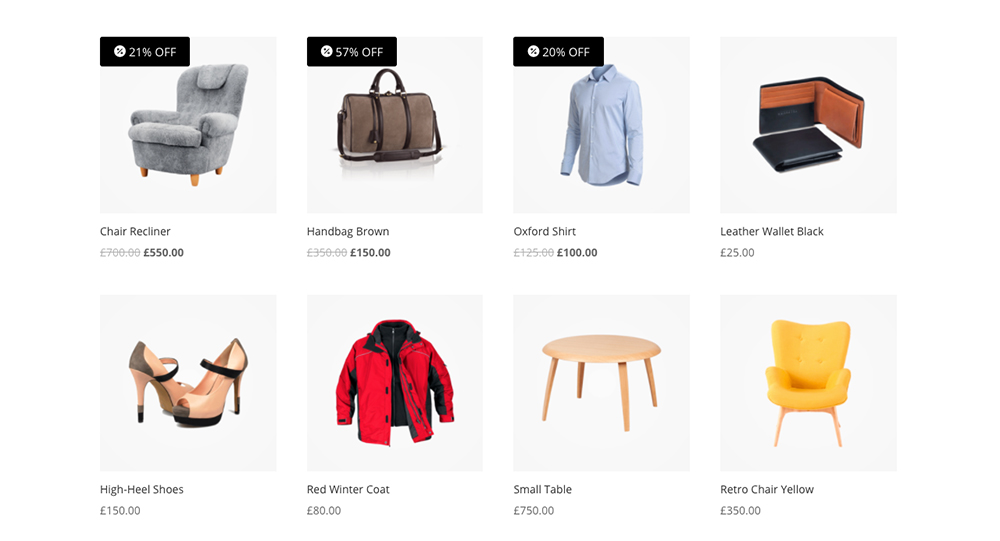
With just a bit of code, you could change the default Sale! text to a numeric value
Alternate Icon Styling
This tutorial makes use of the Elegant Themes icon font. These icons are used in various modules across the Divi theme, for example, as icons in the blurb module. Each of these icons has a corresponding code, for example:
These are a few of the many icons in the Elegant Themes icon font set
In our tutorial, we referenced the icon of a percentage sign (code ) as it fit our example. If you’d like to change the icon to something else, head over to this Elegant Themes post, browse through the available icon set and copy the code of the icon you like best (for example, the code of the heart icon is ).
Once you’ve copied the code of your icon of choice, return to your functions.php file. Wherever you see the original icon font code –  (percentage icon) – replace it with the new icon font code –  (heart icon).
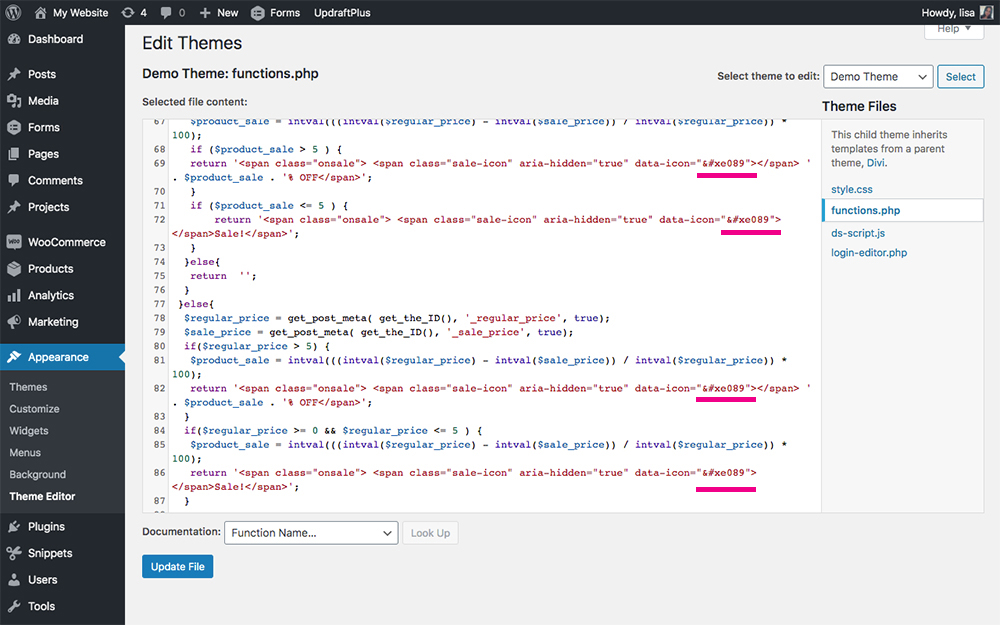
Replace the highlighted code with another Elegant Themes icon font to change the icon
This will produce the following super cute effect on the front end:
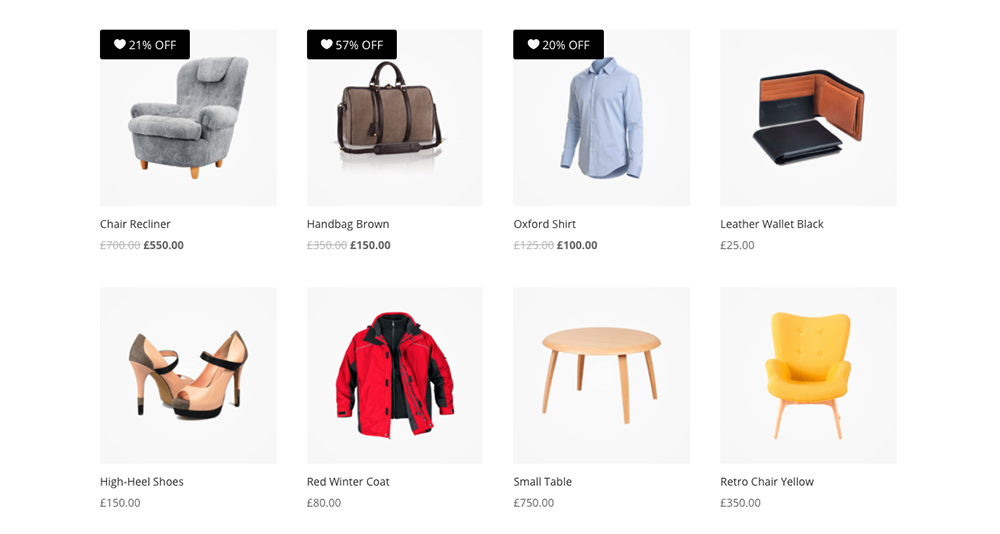
Another example using an alternate icon
Do you see how, with a bit of PHP and CSS, you can change the look and feel of your WooCommerce store in just a few seconds. Now, with the sale badge displaying the percentage discount, your customers will know how much they’re saving when purchasing from your sale.
Suggest a snippet!
Do you have a Divi fix in mind but don’t know how to do it? Submit your snippet request by commenting below and our team of expert developers will get to work!


Great snippet, thank you very much for posting it!
In my case, the percentage was not shown correctly, so I changed the calculation to this:
$product_sale = 100 – round($sale_price / $regular_price * 100);
Hi Anna, It’s working fine everywhere, also in loop 🙂 But I tried this for single product page but that does not work.
Is it possible ?
Thanks
This snippet should also work for single product pages 🙂 Try changing the hook priority:
Thanks! It works perfectly
Anna, thank you for this! Worked perfect EXCEPT one product. lol – what could be causing this issue? I tried your functions fix, but it didnt do anything. All products perfect, but one is displaying 25.114285714286% OFF
Hi, I updated the code, let me know if that fixes the issue 🙂
I tried using this snippet but it returns a lengthy repeating decimal value. Can we round the values somehow?
Try to change each
to
If you can confirm that worked for you, I will update snippet. Thanks for checking our tutorial!
Iss possible change de display format ?
For example :
price before. price offer %discount
( in loop and single product )
Thank you so much ! This is the first time I mess around with the php files of my child theme :D.
I had a question though. For me, it displays the percentage with an empty square before the number. Just like if it had trouble displaying the minus sing… Do you know what could cause this?
Thanks again 😀
Phil
That’s great and thank you for your comment! Empty square is probably an icon that is not loading. Make sure icon font is loading on your page and the icon code is correct.
Make sure you are using the right syntax, sometimes there are problems with pasting the code, for example:
Correct:
.sale-icon[data-icon]:before {
    font-family: 'ETmodules';
}
Incorrect syntax:
.sale-icon[data-icon]:before { font-family: ‘ETmodules’; }Thanks a lot guys! Absolutely loved this one, it was of great help. I will share this with my friends!