
Facebook ads are powerful marketing tools that make it easy to reach your audience on both Facebook and Instagram. We’ve previously looked at How to Advertise Your Business with Facebook Ads. In this article, we’ll look at how to set up your Facebook Ad Manager Account and see how to select your audience, refine your target, and set your prices.
Set up Your Ad Manager Account
Create your Ad Manager account on the Facebook Business Ads page. Under Ads in the menu, select Go to Ads Manager and log in with your Facebook account.
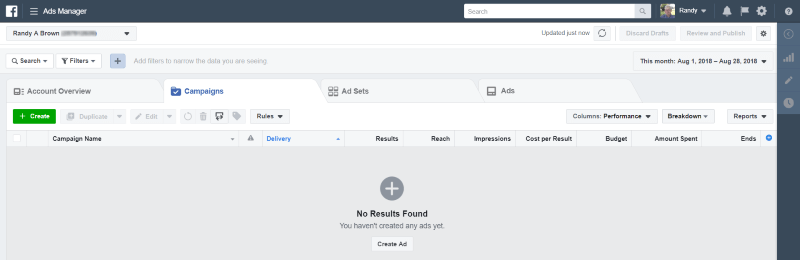
This takes you to the Ads Manager. Tabs show your account overview, campaigns, ad sets, and ads. It automatically opens the Campaigns tab. You can create ads from each of the tabs. They show various types of reports and provide sorting and editing tools.
The four tabs include:
Account Overview – displays the basic information about your ads. Here you’ll see the reach, amount spent, number of impressions, and the number of links that were clicked. It also provides insights on your audience. Creative Reporting provides charts for your campaigns.
Campaigns – where you can create and view your ad campaigns.
Ad Sets – shows reports for your ad sets.
Ads – shows reports for individual ads.
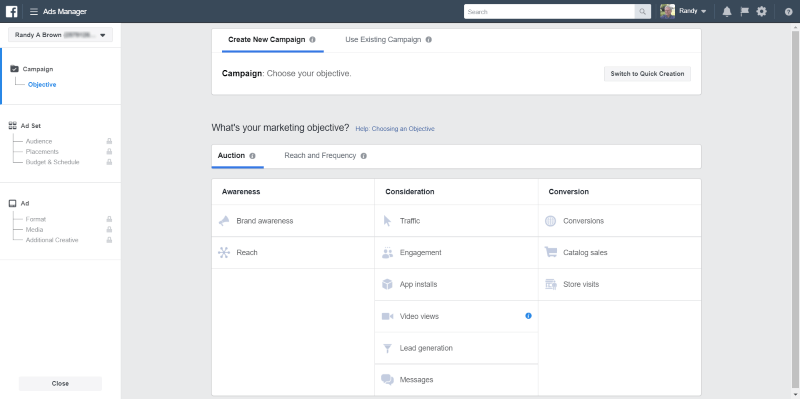
Clicking in any of the tabs to create an ad opens to the Campaign options. This was covered in detail in the article How to Advertise Your Business with Facebook Ads. Go read that one if you need to and then come back here when you’re done. I’ll wait.
Selecting Your Audience
You can get as specific as you want when targeting audiences. There are several different types of audiences you can create:
Core Audience – Target a specific audience based on several traits and activities including demographics, location, interests, and behaviors.
Custom Audiences – These are people you already know or those who already know about your business- your current customers, visitors, and friends.
Look Alike Audiences – These are people who are similar to your current audience.
Creating Your Audience
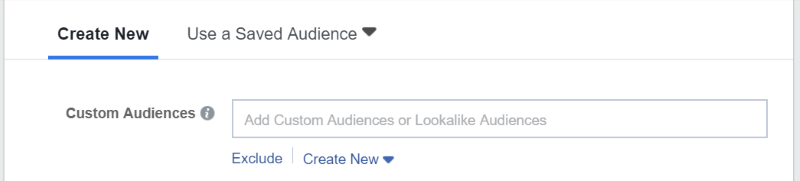
If you already have a custom audience or lookalike audience that you want to include you can enter them in the field. Select Exclude to choose which of your existing audiences you don’t want to include in this ad campaign.
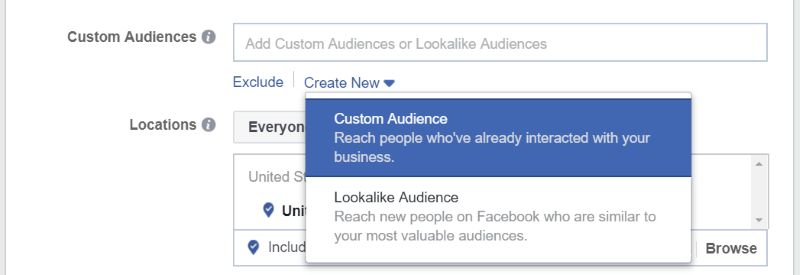
Select Create New to create a Custom or Lookalike audience.
Custom Audience
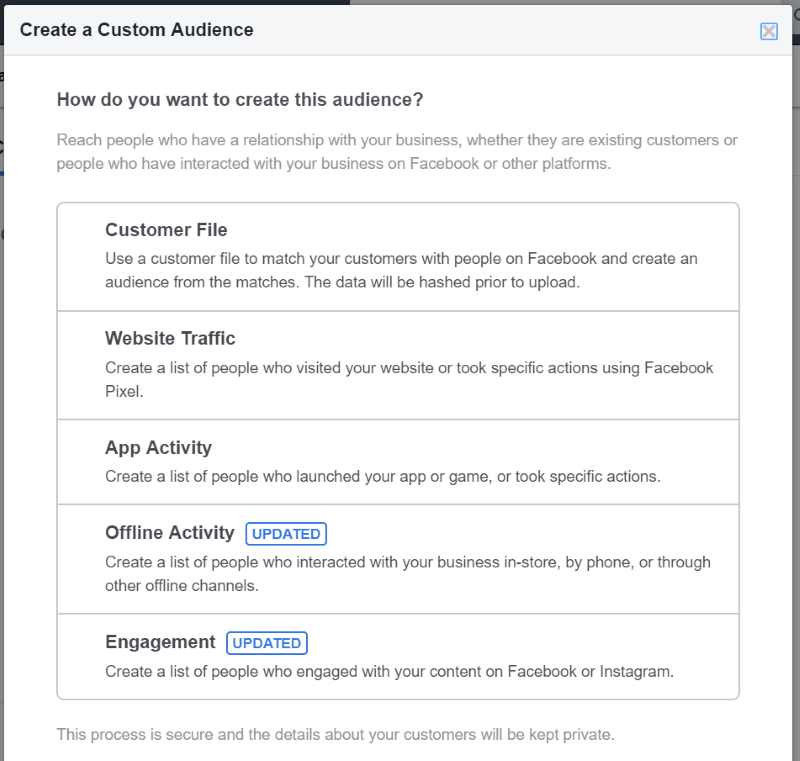
You can create the custom audience by selecting a customer file, creating a list based on website traffic, app activity, offline activity, or engagement.
Customer File
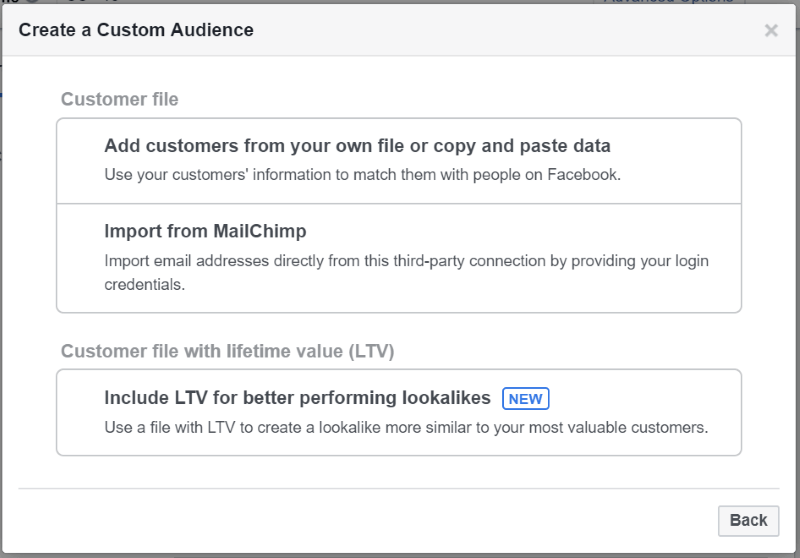
Here you can add customers from your own files or import a list from MailChimp. Another option is to include a lifetime value (LTV) to create lookalikes. All three choices allow you to upload your files.
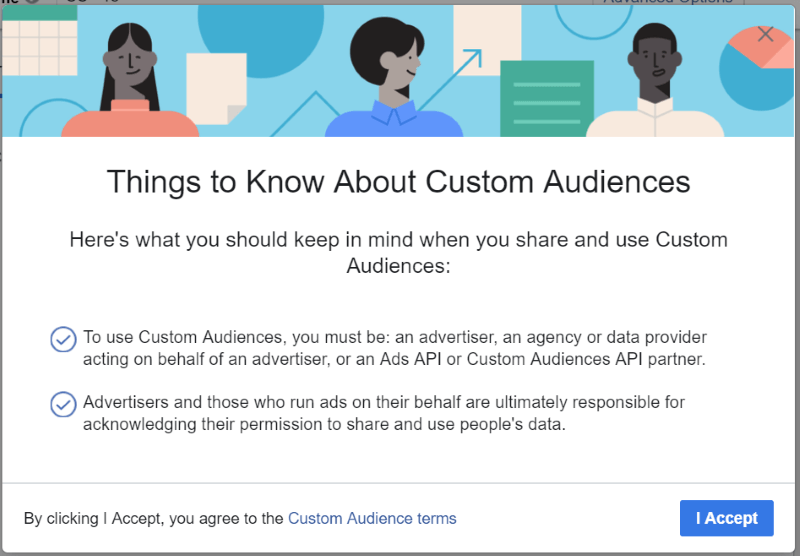
To create a custom audience, click on the text of your choice and then step through the instructions. I’ve clicked on the first option, which then provides information. I’ll read and accept the terms.
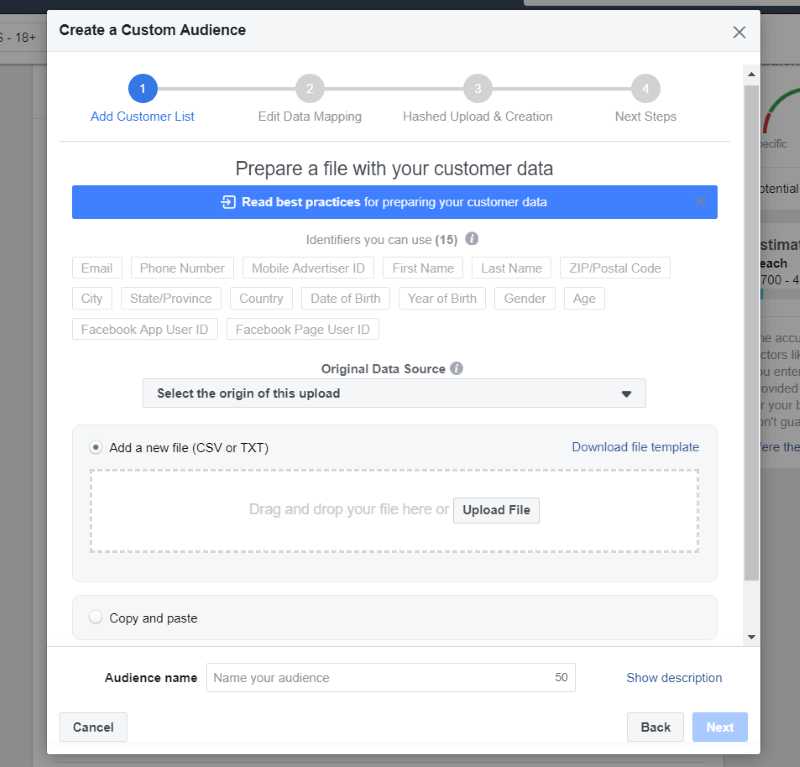
It lists 4 steps. The first is Add Customer List. The first thing you’ll see is a list of identifiers. Add those you want to use to your list in order to choose people at a certain age, who live in a certain location, gender, country, city, and lots more. These identifiers will be the headings within the file. Select the origin of the upload from the dropdown list and upload the file. The file must be a CSV or TXT. You can download a template to use. If you prefer, you can copy and paste your data. Name the audience and save the data.

Next, preview the data. This allows you to make edits. Once you’ve made your edits, click Upload and Create.
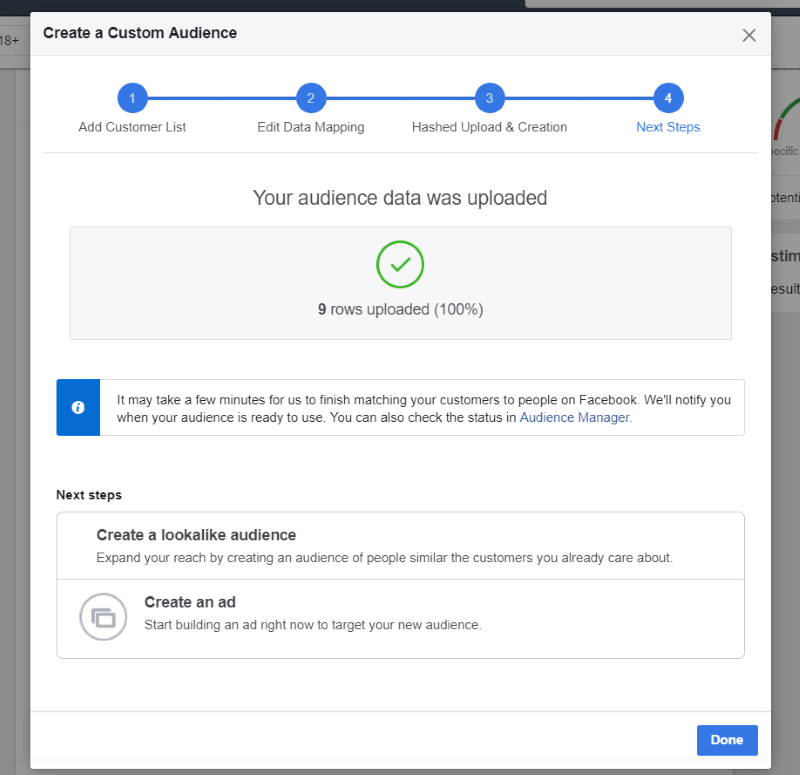
You’ll see the number of rows that were uploaded. You can create a lookalike audience, create an ad, or click Done. You’ll be able to make changes and create a lookalike audience later.
Website Traffic
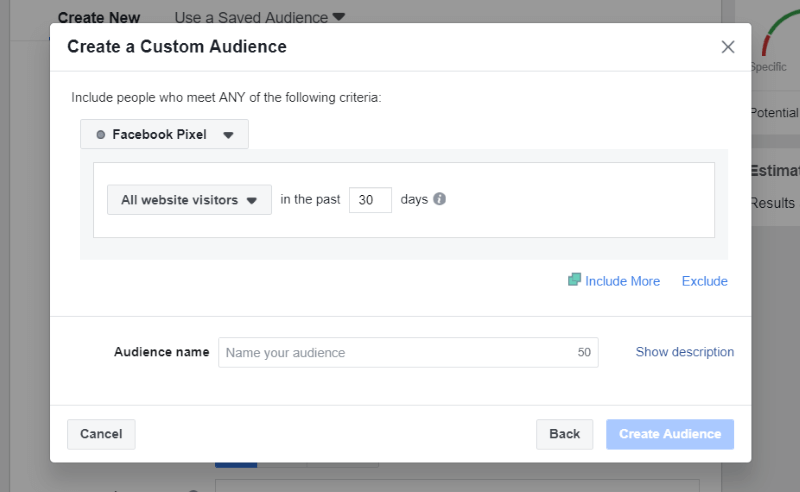
Clicking Website Traffic opens a window where you can create a list based on Facebook Pixel. Choose the number of days for up to 180 days. Add more Facebook Pixels, add or exclude certain audiences, etc. Name the audience and click Create Audience.
App Activity
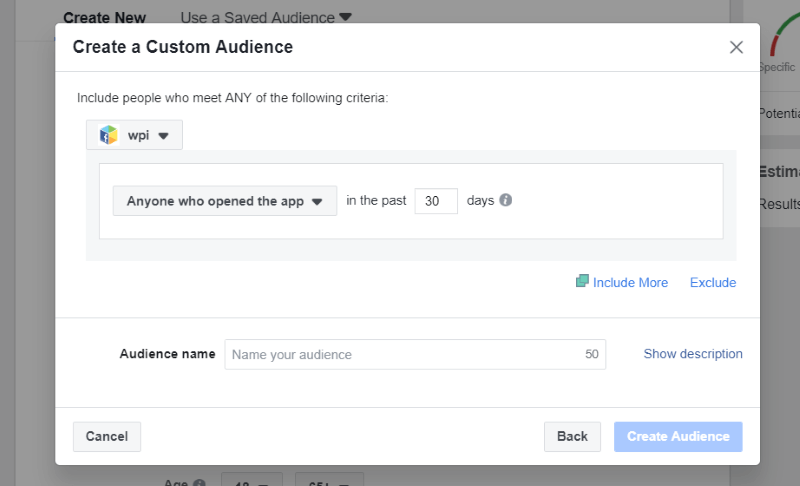
App Activity is anyone who opened the app within the past number of days you select. Choose your app and enter the number of days. You can include or exclude more.
Offline Activity
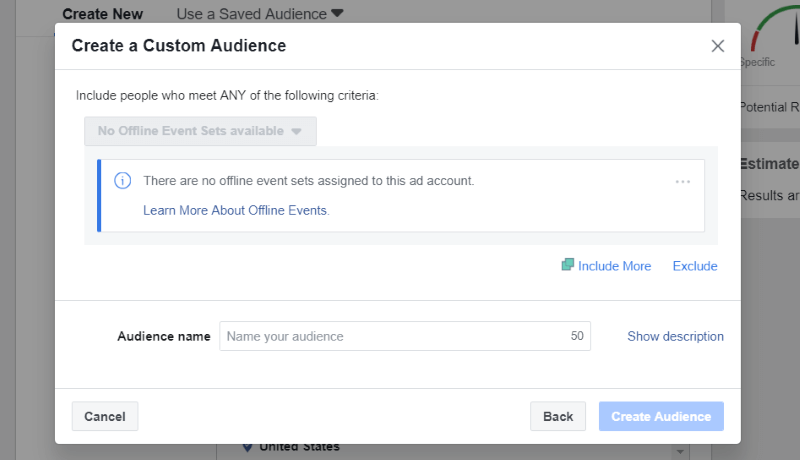
Offline Activity requires you to set up Offline Events. Once the event is set up, you select it from the list just like the other options. You can include and exclude events.
Engagement
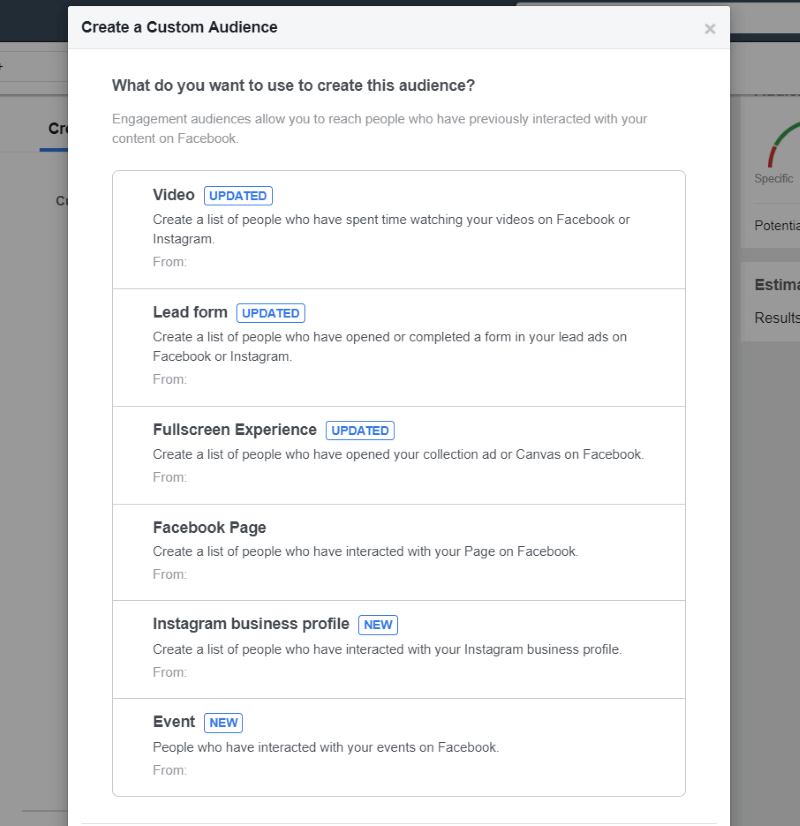
Engagement lets you create an audience based on the engagement of your video, lead form, full-screen experience, Facebook page, Instagram business profile, or event.
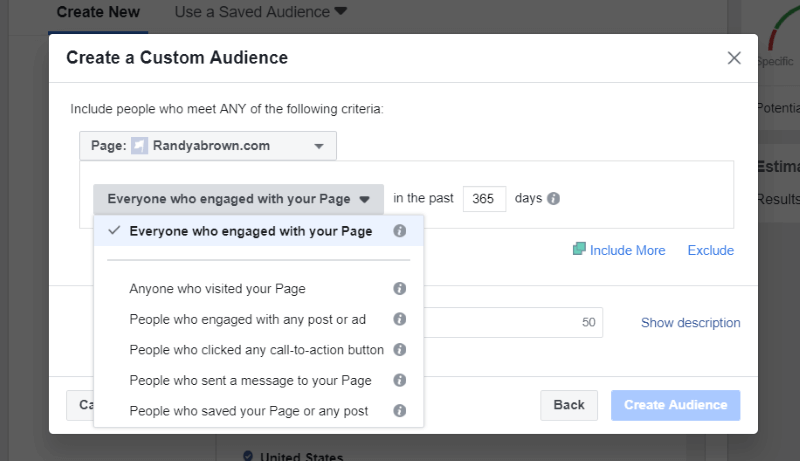
This example is the Facebook page, but each type is similar. Select the page, choose how they’ve engaged with your page, and select the number of days. You can include or exclude pages or types of engagement.
Lookalike Audience
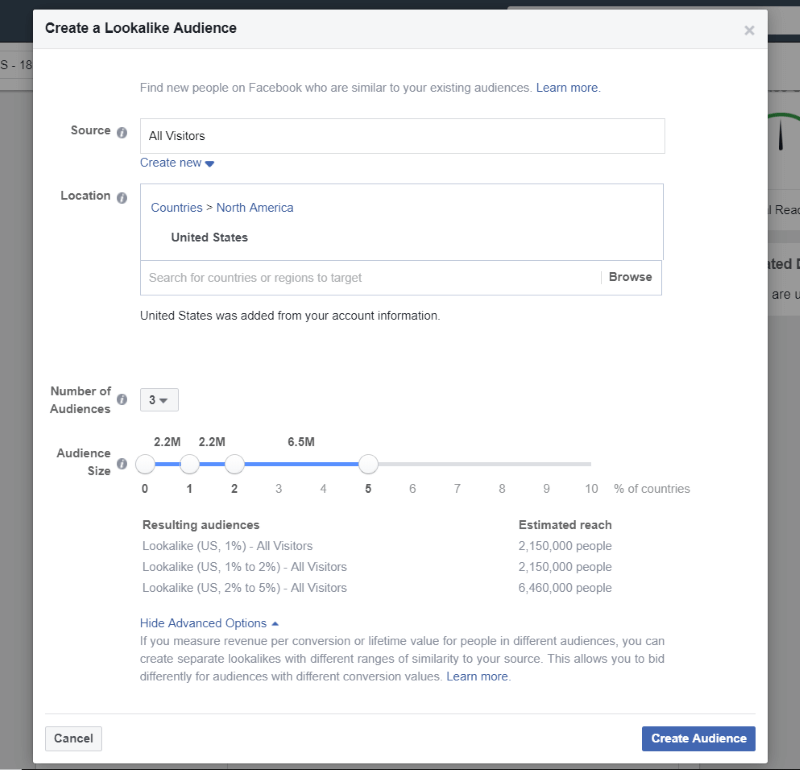
First, select the source for the audience from the drop-down box. Next, select the location. You can choose countries and regions from the drop-down boxes. Finally, select the audience size. It includes advanced options which let you select the number of audiences.
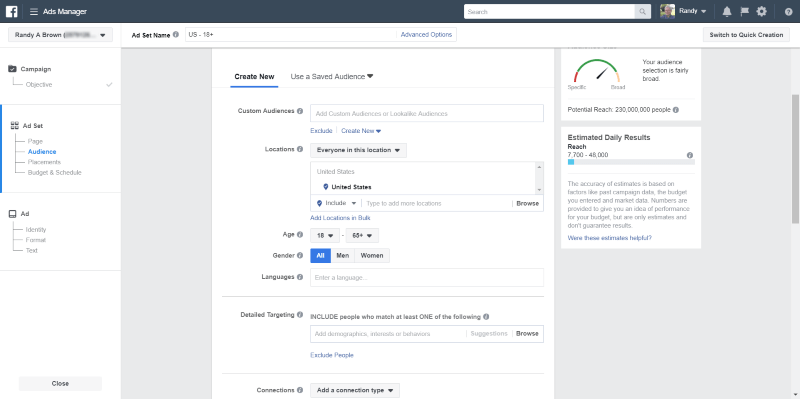
Locations and More
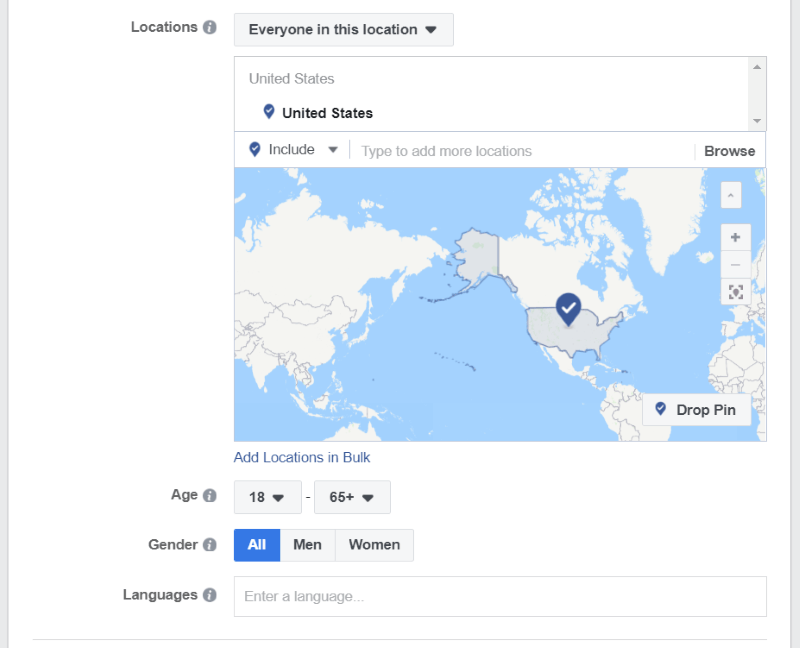
Select the location, the age range, gender, and languages you want to target. Choose locations by dropping pins on the map. You can include or exclude locations.
Refining Targets
Refine your targets to ensure your ads to meet your marketing goals. You can do this through Detailed Targeting and Connections.
Detailed Targeting
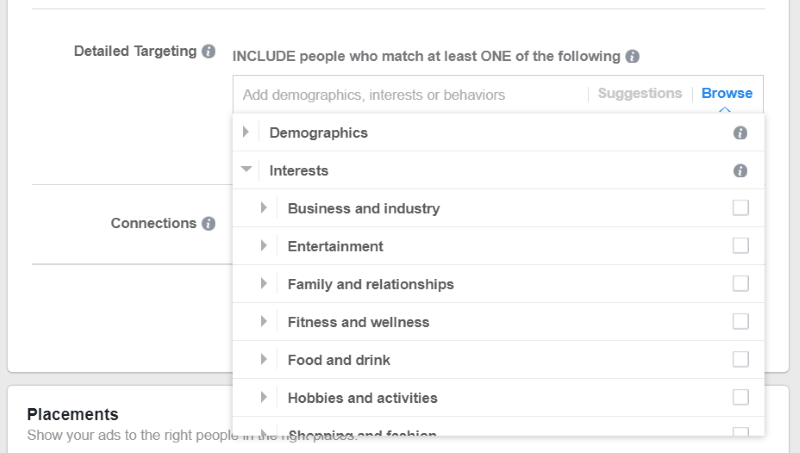
Detailed Targeting lets you choose the demographics, interests, and behaviors from a drop-down list. Each option opens to show you more detail.
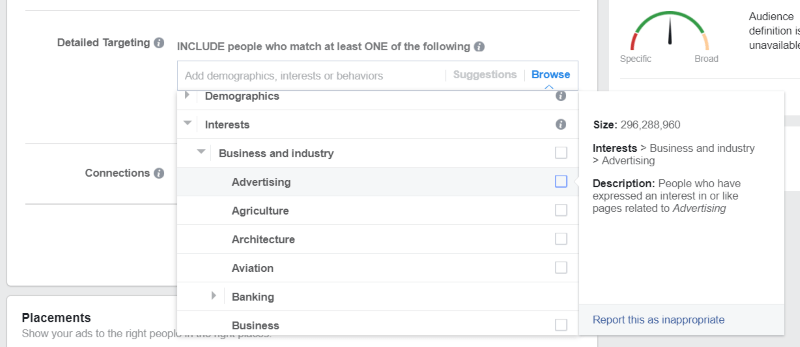
When you hover, a popup shows the audience size, interests, and description. Select as many as you want.
Connections
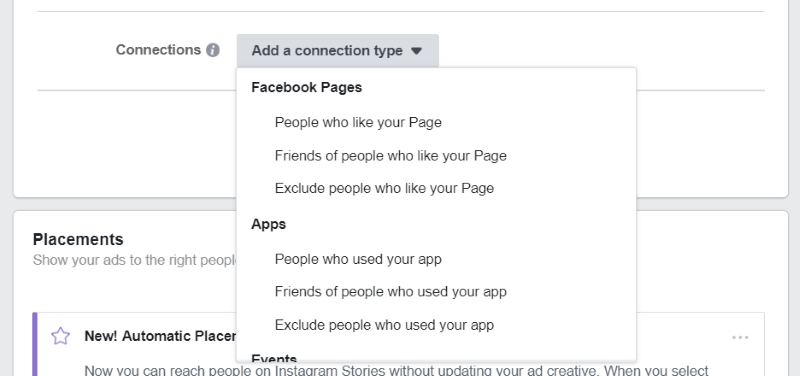
If you want to connect with those who’ve interacted with your pages, apps, or events, choose the connection type from the list.
Setting Your Prices
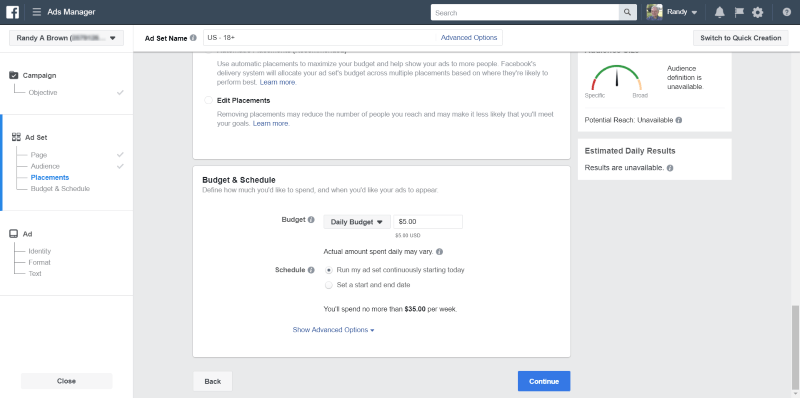
You have full control over your budget including how much you spend and how long it takes to reach your spending limit. Choose between daily and lifetime and enter the amount in the field.
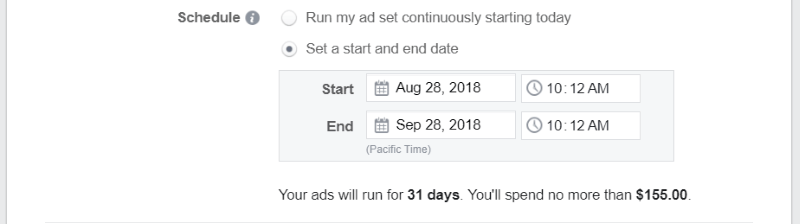
You can have it to run continuously starting today or choose the start and end date manually.
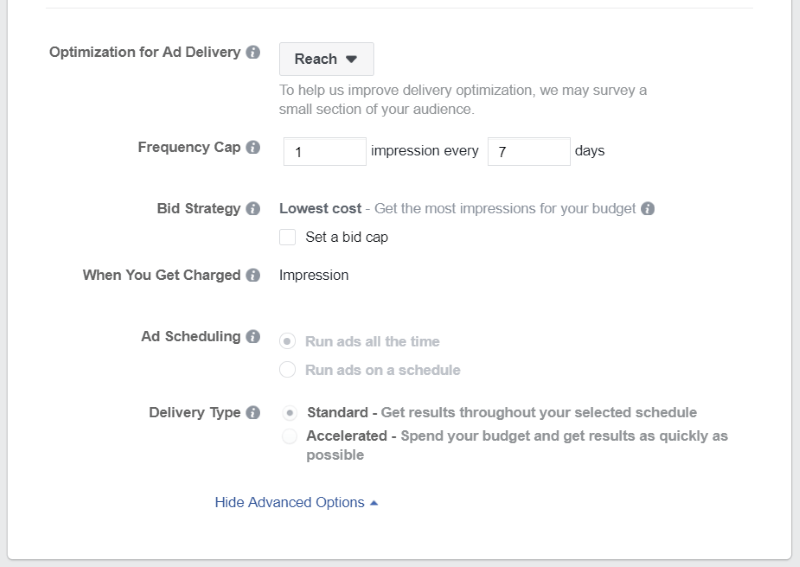
Here’s a look at the Advanced Settings.
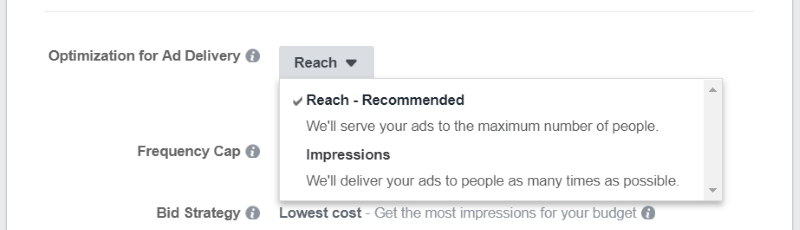
Optimization for Ad Delivery lets you choose between Reach, which targets the number of people that can see the ad, or Impressions, which allows the same person to see the ad multiple times. If you use Reach, you can set the Frequency Cap to limit the number of impressions by a certain number of days in order to keep the same people from seeing the ad too often.

Your Bidding Strategy is set to the lowest cost. You can adjust the bid cap by the number of impressions.
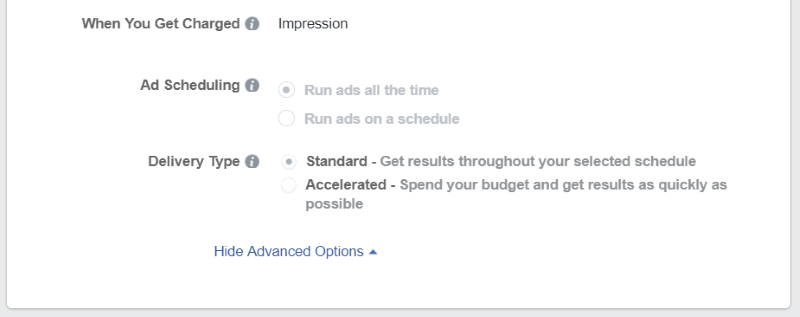
The advanced features inform you of when you get charged, about your ad scheduling, and lets you choose the delivery type, which determines how fast you spend your budget.
Ending Thoughts
That’s our look at how to set up your Facebook Ad Manager Account and see how to select your audience, refine your target, and set your prices for any budget. Facebook is an excellent choice for ads because of the huge audience of 2 billion users per month and the fact that it gives you complete control over your ad management. You can easily reach your target audience on both Facebook and Instagram based on who they are, where they are, or what their interests are.
Have you set up a Facebook Ad Manager account? Let us know about your experience in the comments.

Hey Randy, thanks for sharing your guide on how to create the facebook business manager account. Facebook has certainly gone a long way to improve user controls and access to pages and ad accounts for owners, employees and partners. I put together a blog post that about how to set up your first ad campaign using a fictitious peanut butter and sandwich shop. It explains how to target your ideal audience using boolean logic. Check it out here: https://digitalshiftmedia.com/how-to-create-a-facebook-ad/