
How many times have you read reviews of a product before purchasing? Plenty of times, I’m sure. Testimonials and customer reviews have strong influence over a potential customer, and reading another shopper’s positive experience of a brand can convince them to take the plunge and invest.
Testimonials have the power to turn site visitors into paying customers. They hold a lot of power over their readers, and featuring them prominently on your site will help future customers build trust with your brand from the get-go.

If your website is still not displaying testimonials, you may be missing out on serious opportunities, costing your business countless dollars.
In the following post, we’ll give you a rundown of our plugin, Testify, a leading testimonial plugin for WordPress. We’ll also show you how you can, using the plugin’s latest feature, create a striking testimonial carousel for WordPress and Divi.
New to the Testify plugin? Get a thorough walkthrough of the plugin, including testimonial setup and styling here.
How to Create a Divi Testimonial Carousel
Once you have purchased the Testify plugin from Divi Space’s online store, navigate to the Account section, then to the Membership Details tab and download the plugin. Automatically, a .zip file will begin downloading and will save to your computer’s Downloads folder.
When the download is complete, open your WordPress website and navigate to Plugins > Add New. Follow the prompts by clicking Upload Plugin and then Choose File, then select the .zip file of the plugin from your Downloads folder. Once selected, click Install Now.
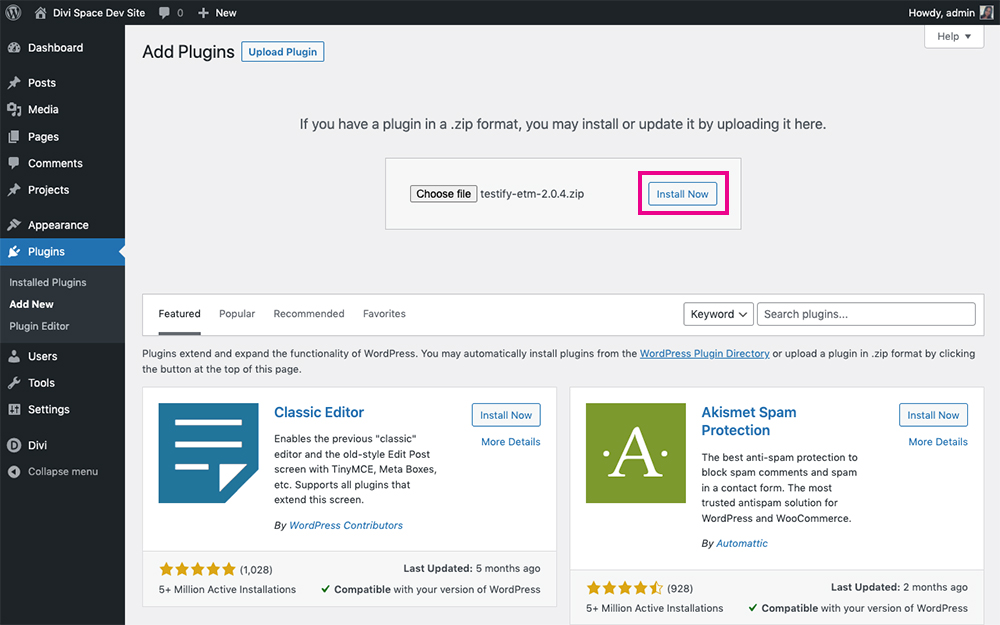
Click Install Now
As soon as the installation is complete, click Activate to finalize the process. If you’d like a detailed run-through, check out this guide to installing and activating a plugin on a WordPress website.
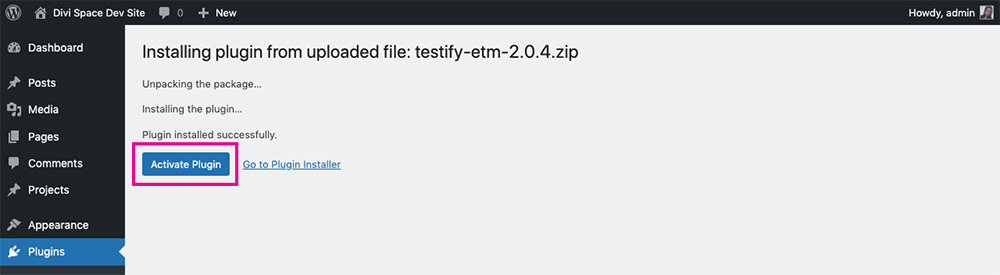
Click Activate Plugin
Once the plugin is installed, it’ll create a new menu in the WordPress dashboard.
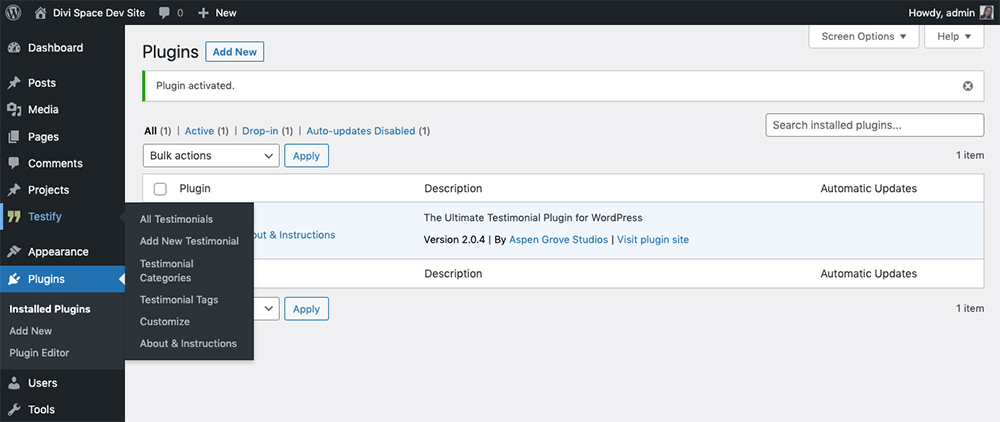
Testify will create its own menu
Before you can create a testimonial carousel, you need to populate the plugin by adding your testimonials. Adding a testimonial is really simple as the plugin interface mimics that of the WordPress editor. You can assign categories, tags and featured images to your testimonial, all from the editor itself. As you add testimonials, they’ll be found in the main plugin dashboard (located when you click All Testimonials).
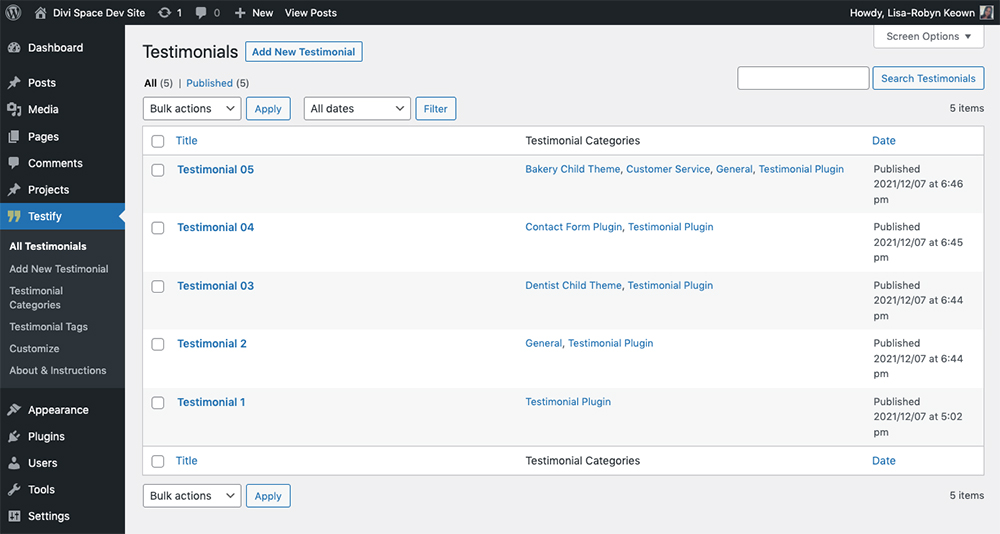
All testimonials
New to Testify? Follow this guide that explains how to add testimonial content to the plugin.
Once you’ve added your testimonial content, you can begin building your carousel. Create a new page, post or project and enable the Divi Builder. The plugin is compatible with both the Divi front-end builder and the back-end builder.
The Testify Testimonial Divi Module
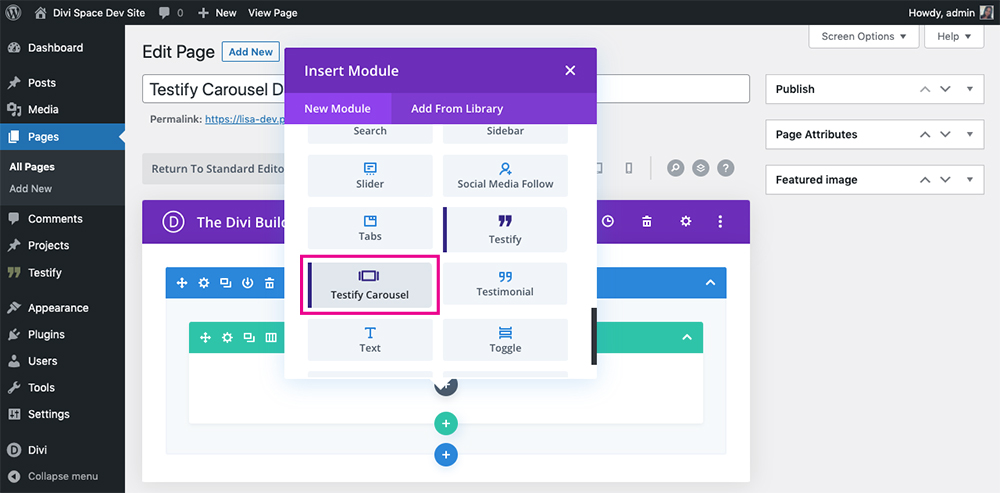
Similarly, working with the front-end builder, create a new section and row, and insert the Testify Carousel testimonial Divi module.
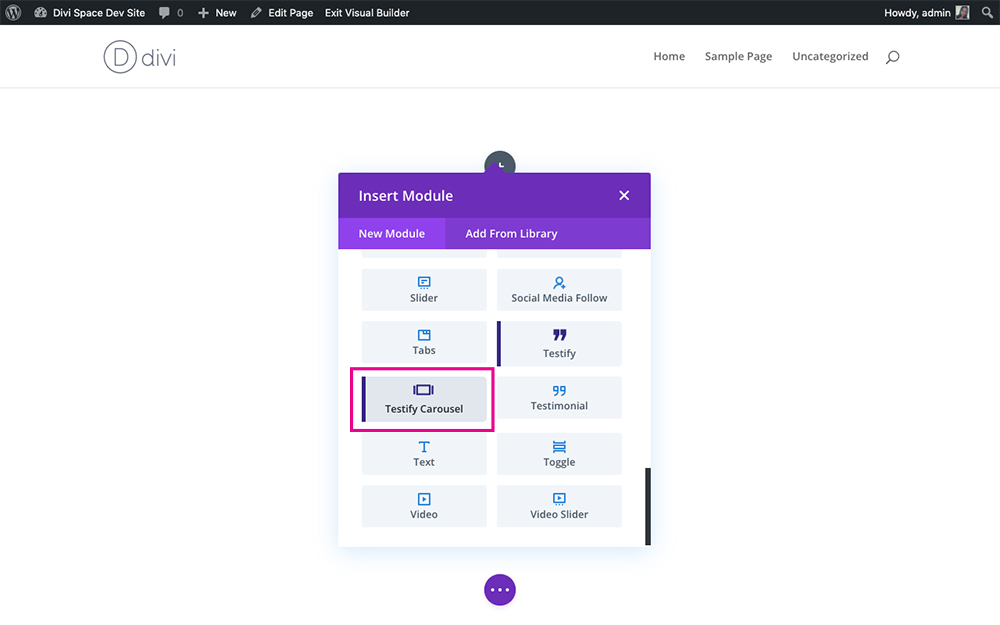
The Testify Testimonial Divi module
By default, as you first add the module, it will display as such:
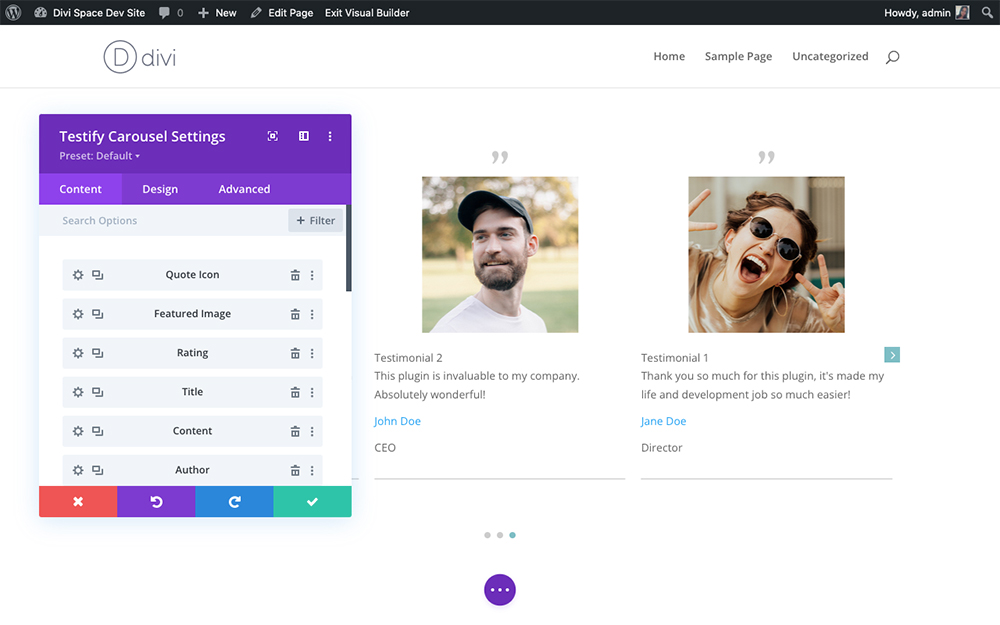
By default, the following elements will display
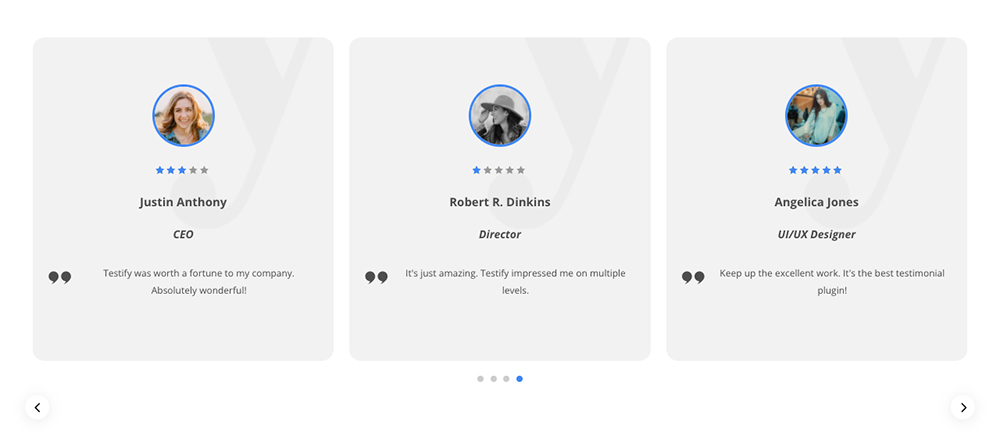
You can see the carousel in action and also toggle between each testimonial using the arrows. The plugin will automatically pull in the default font family and theme accent colors as set in either your child theme’s stylesheet or the Theme Customizer.
Setting up the testimonial carousel
Within the Content tab of the testimonial Divi module, you’ll see a series of configuration options. First you’ll see a list of all of the testimonial elements including the quote icon, featured image, rating and so on. To rearrange the order of these elements, click, hold and drag them around to create an order you like. You can use the trash icon to delete an element that you don’t like. For example, here is a simple layout of the featured image, quote and author name.

Arrange the elements for your testimonial carousel
Next, within the Carousel Content option, you can decide:
- How many testimonials you’d like to display,
- Whether you’d like to display all testimonials, recent testimonials or testimonials by category,
- Whether you’d like the testimonials to display chronologically with the most recent published displaying first, or whether you’d like them to display at random
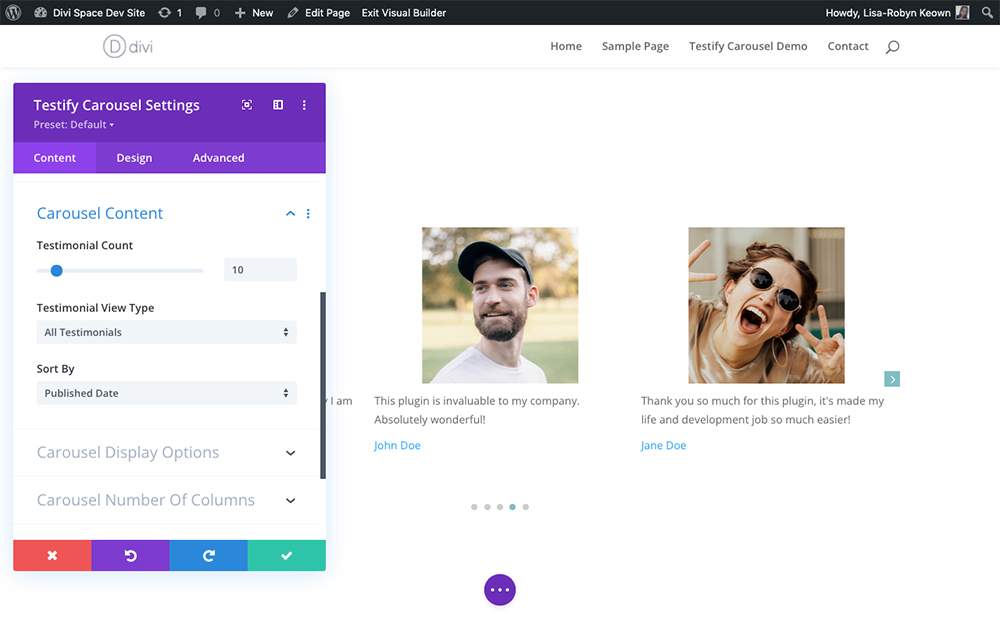
Set the number of testimonials and other details
Next, within the Carousel Display Options section, you can decide various configurations for the transition effect of the carousel, such as deciding how many testimonials will swipe or slide at a time, whether the carousel will loop, whether it will autoplay, and so on.
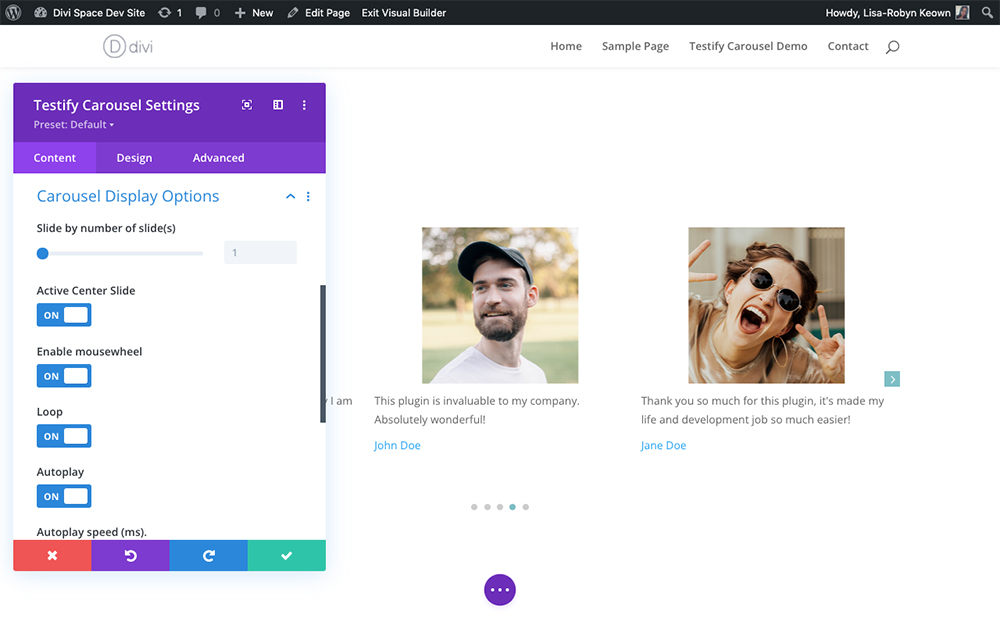
Configure your testimonial carousel
Also within the Content tab of options, you’ll find the ability to set the number of columns for your carousel. Making sure your Divi testimonial carousel is fully responsive, you can choose the number of columns that’ll display on each device: desktop, tablet and mobile.
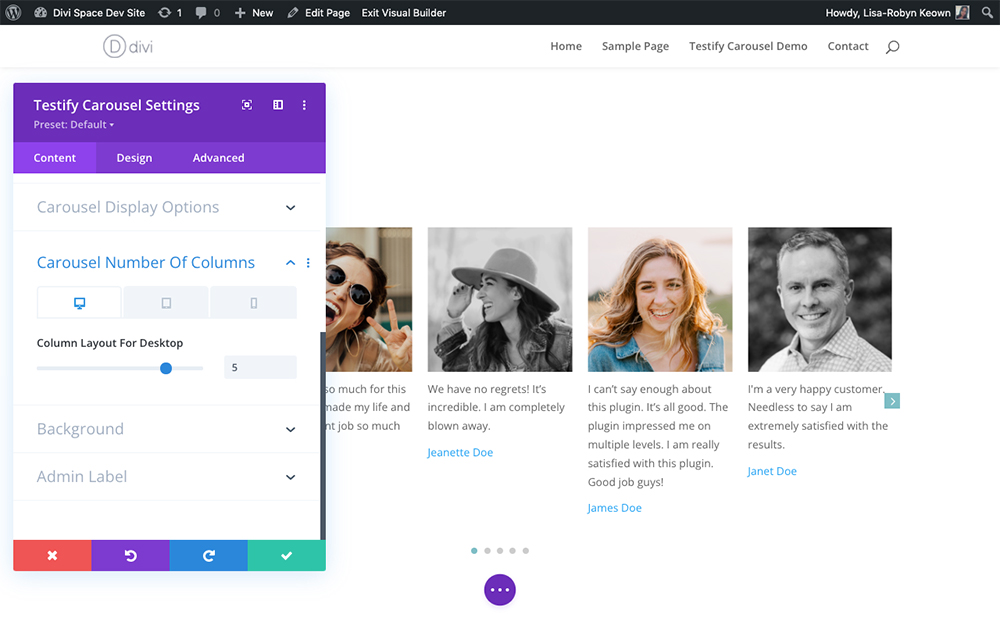
Adjust the number of columns displayed across devices
Styling the testimonial carousel
Once you’ve set up the testimonial carousel to display as you’d like, you can style it to match your website and brand aesthetic. Nead to the Design tab and start moving through the options to style your carousel.
Here you can style each and every element of the testimonial carousel including as well as:
- Changing the font of the testimonial text and author text
- Adjusting the arrows
- Changing the padding between each testimonial
- Setting the display of the pagination
- And much, much more
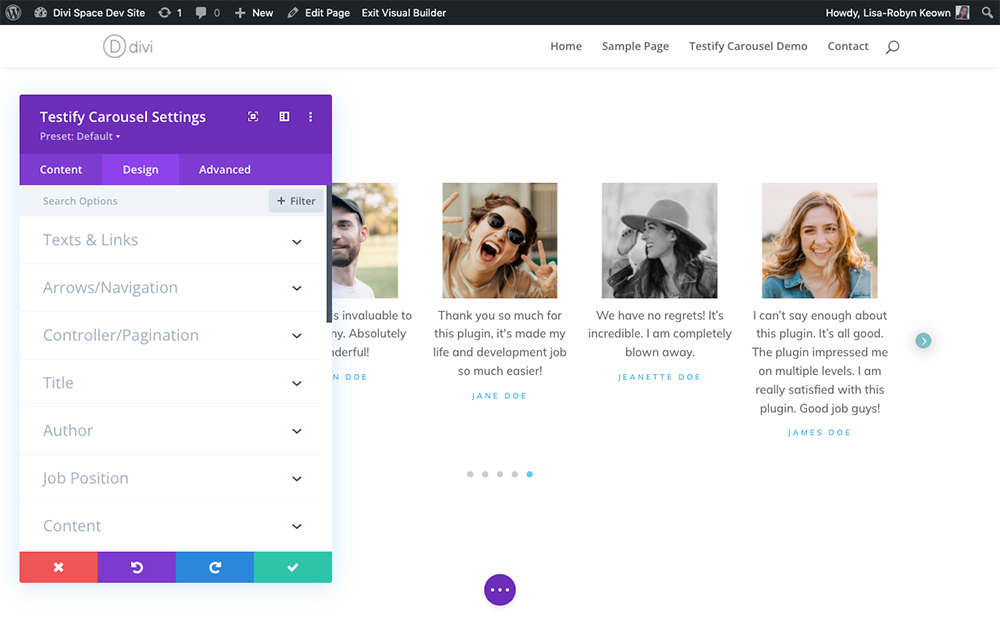
Style the testimonial carousel using the options in the Design tab
Adding advanced configurations to the testimonial carousel
If you need to take things a step further and make your testimonial carousel even more custom, head to the Advanced tab for more options. Here you can assign classes or IDs for deeper CSS customizations, add display conditions or scroll effects, set the module’s positioning and much more.
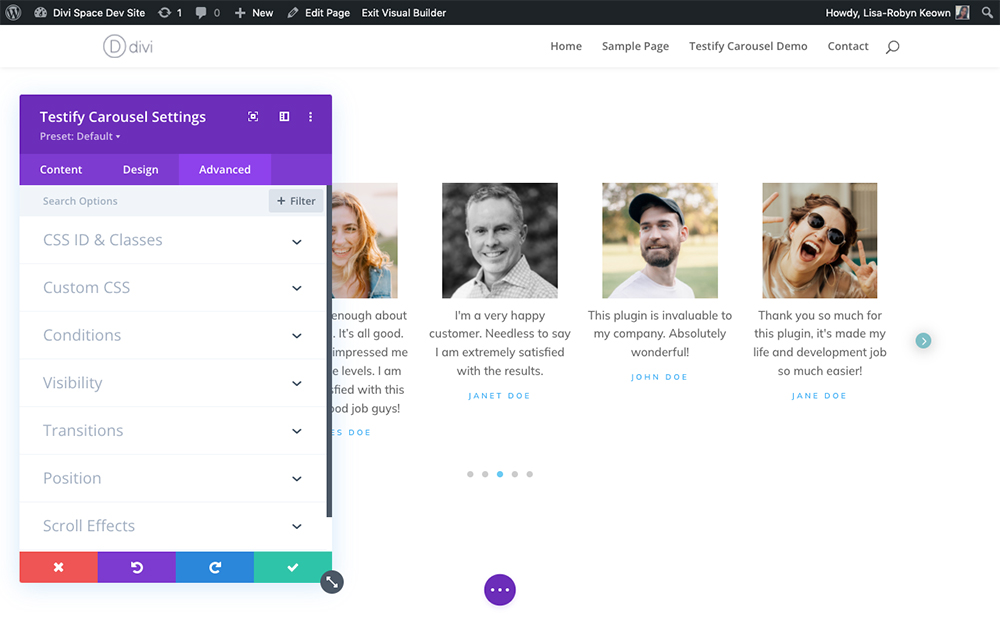
Add deeper levels of customization via the Advanced tab
Experimenting with Testifty’s testimonial carousel feature
Once you’ve gotten the hang of the plugin’s settings, how to create a testimonial carousel and configure it, you can get really creative with the designs.
Adding a background and a rounded corner to the testimonials will give it an edgy and modern look and feel.
Add images, text and author details to your testimonial carousels
If you don’t have featured images of your testimonial authors, no problem. Disable the image feature and opt for a graphic testimonial instead.
An example of an image-free, text-only testimonial carousel
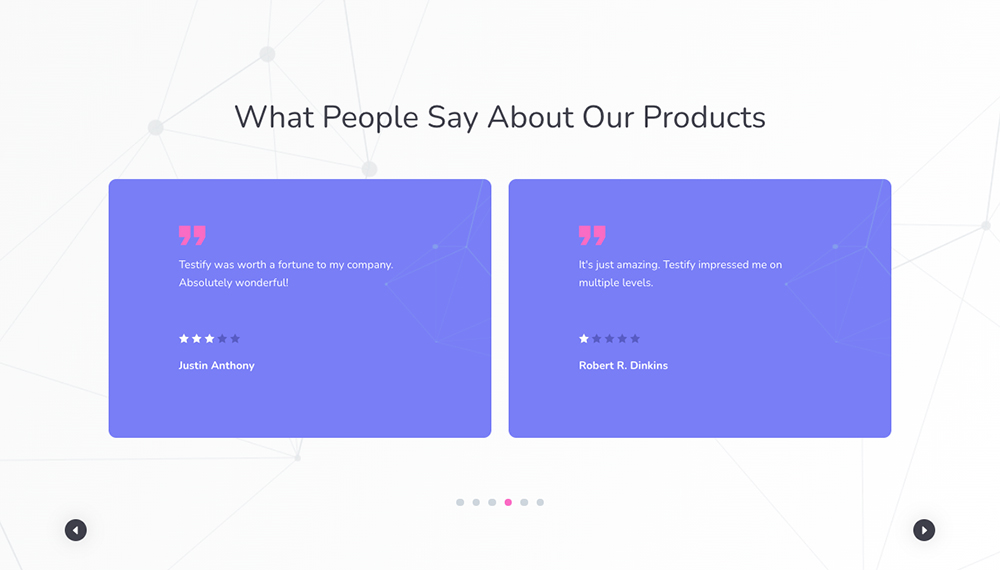
As well as creating a carousel that displays multiple cards at once, you could also create a design that swipes through one single testimonial at a time.

Create interesting layouts and designs
Here’s another interesting example of a single-column row with a testimonial carousel, accompanied by interesting background imagery and text.
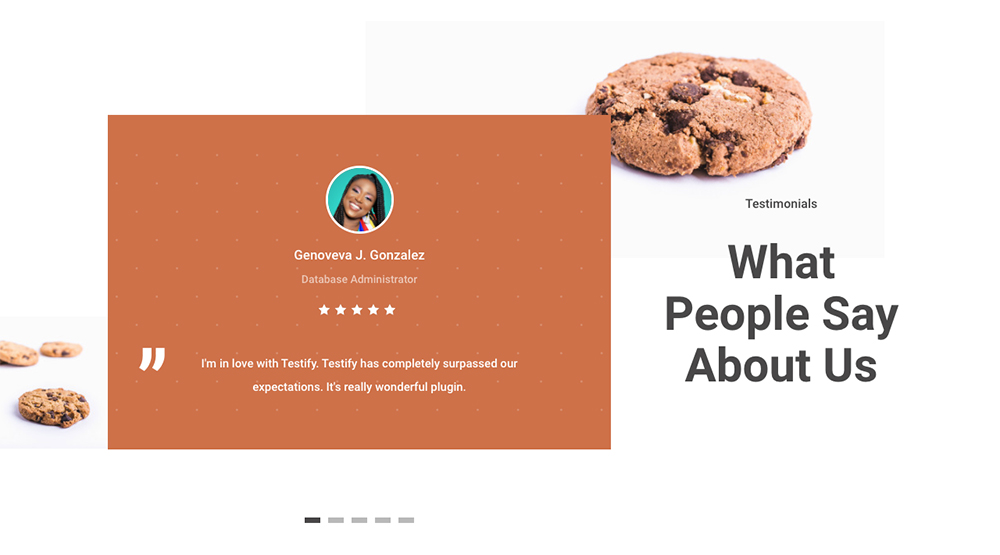
A single column testimonial carousels
Use these layouts in your next design!
If you love the look of our testimonial designs, feel free to use them in your next website project. Each of the layouts on the Testify demo page are included as JSON files with your purchase of the plugin. These JSON files can easily be imported into your Divi Library and then added to a page, post or project.
If you’re a WP Layouts user, you can find the Testify demo layouts with the layouts collection – no need to upload JSON files at all! Simply browse the layout collection, select the one that you like the most, add it to your design and customize it to fit your brand guidelines.
Save Time, Use The Front-End Form Submission Feature
One of the best features of the Testify plugin is that it integrates with leading WordPress form plugins so that you can create an easy-to-use testimonial submission form for your site.
Instead of going back and forth, copying and pasting testimonial text sent by your client from emails, Facebook Messenger chats or WhatsApp text messages, with Testify, you can create a form specifically designed to capture testimonials. This form can be placed on a page on your website, and you can simply send the URL to your client to fill out.

From here, they can enter their details and the testimonial itself, and decide to include an image or not. The plugin will automatically populate the testimonial entry sections with their submission, ready for you to review on the back end. Not only does Testify allow you to share create feedback of your business, products and services, but the plugin also saves you time and streamlines your work processes by assisting you in the testimonials collection phase.
Taking all of the stress and hassle out of displaying social proof, with Testify, you’ll be able to collect, create and showcase testimonials in no time!
Ending thoughts
Testimonials are a must-have element on a website. Not displaying positive customer feedback means you’re missing out on a huge opportunity to convert site visitors to customers. If you are displaying testimonials on your site, make sure they’re standing out from regular text.
If you’re looking for an eye-catching and interesting way to display testimonials on your WordPress site, look no further than Testify. This plugin will revolutionize your website, helping you display testimonials all throughout your site, or get really granular and place them on individual product pages.
Start using Testify today and create striking testimonial carousels for WordPress!
We want to hear from you!
Do you display testimonials on your site? If yes, please share how they’ve impacted your conversion rate. Comment below! If you’re a Testify user, feel free to drop a link to a web page where Testify is in action, we’d love to see your designs!

Recent Comments