When it comes to how your website is laid out, the general advice you’ll often hear is to place the most important elements ‘above the fold’. This means to locate them near the top of the page, so the reader doesn’t have to scroll down. However, this is actually dated advice.
The smarter approach is to ensure that every element of your website is captivating – including oft-forgotten aspects such as your footer.
If the depths of your website’s pages are relatively bare compared to their headers, you could be letting visitors slip away from your website and go straight to your competitors instead. However, by taking some time to design your footer right using Divi and the Divi Footer Editor plugin, you’ll give them plenty of reasons to stick around and explore everything you have to offer.
In this post, we’ll first look at how you should approach designing your footer. Next, we’ll discuss how to actually create one, using Divi’s built-in functionality and the Divi Footer Editor. Let’s get to it!
What an Effective Website Footer Should Contain
The Pixel’s footer is a jam-packed, informative element that offers real value to the reader.
When we talk about footers, we’re (of course) referring to the section well below the fold, at the very bottom of your website. You may think this is a relatively inconsequential part of your website, and it’s true that it’s not an element that’s usually focused on.
However, the layout and design of your footer has more of an impact than you think. In fact, some sites have witnessed up to a 50% increase in conversions after optimizing their footers. In addition, you’ll find that footers often see more activity than you realize. This all points to your footer being a key way to serve visitors and encourage them to convert.
As for what you should include within your footer, there are a few key elements to consider:
- Your social media icons. While this isn’t the only place they should be, including them here reminds the reader to engage further.
- Business and contact information (and/or a location map). Placing these details in the footer is usually smart for online-centric businesses.
- A Call to Action (CTA). This can be a newsletter signup form, links to on-site coupons, and anything else you’d like to give visitors an extra opportunity to interact with.
- Privacy policies, as well as terms and conditions. You have to offer these by law in many cases, although they’re notoriously left unread. Still, including them in the footer keeps them out of the way of your main content.
- Alternative navigation. If you don’t offer a ‘sticky header’, placing navigation in the footer will help readers work their way around your website, and reduce bounce rates.
You’ll often see copyright notices with footers. This is not essential in most cases, since websites are inherently copyrighted. Even so, they do serve as a visual deterrent to content theft. Therefore, including one is a smart idea. However, think twice about including any links to your web designer and developer, since they simply serve as free advertising.
Finally, if other aspects of your website’s design already incorporate the elements we’ve outlined (such as a sticky header that serves as alternative navigation), your footer will actually become more valuable if it contains fewer elements. The less information you include, the more the important details will stand out.
How to Create the Ultimate Website Footer Using the Divi Footer Editor (In 4 Steps)

Sparkbox includes their own development process in their footer – a clever way of showcasing their services.
Throughout the next four steps, we’ll show you how to create a quality footer using the Divi Footer Editor. We’ll also dig into the options available within the WordPress Customizer. These settings can help you quickly develop your footer’s layout before supercharging it with the plugin. Let’s begin!
1. Purchase and Install the Divi Footer Editor Plugin
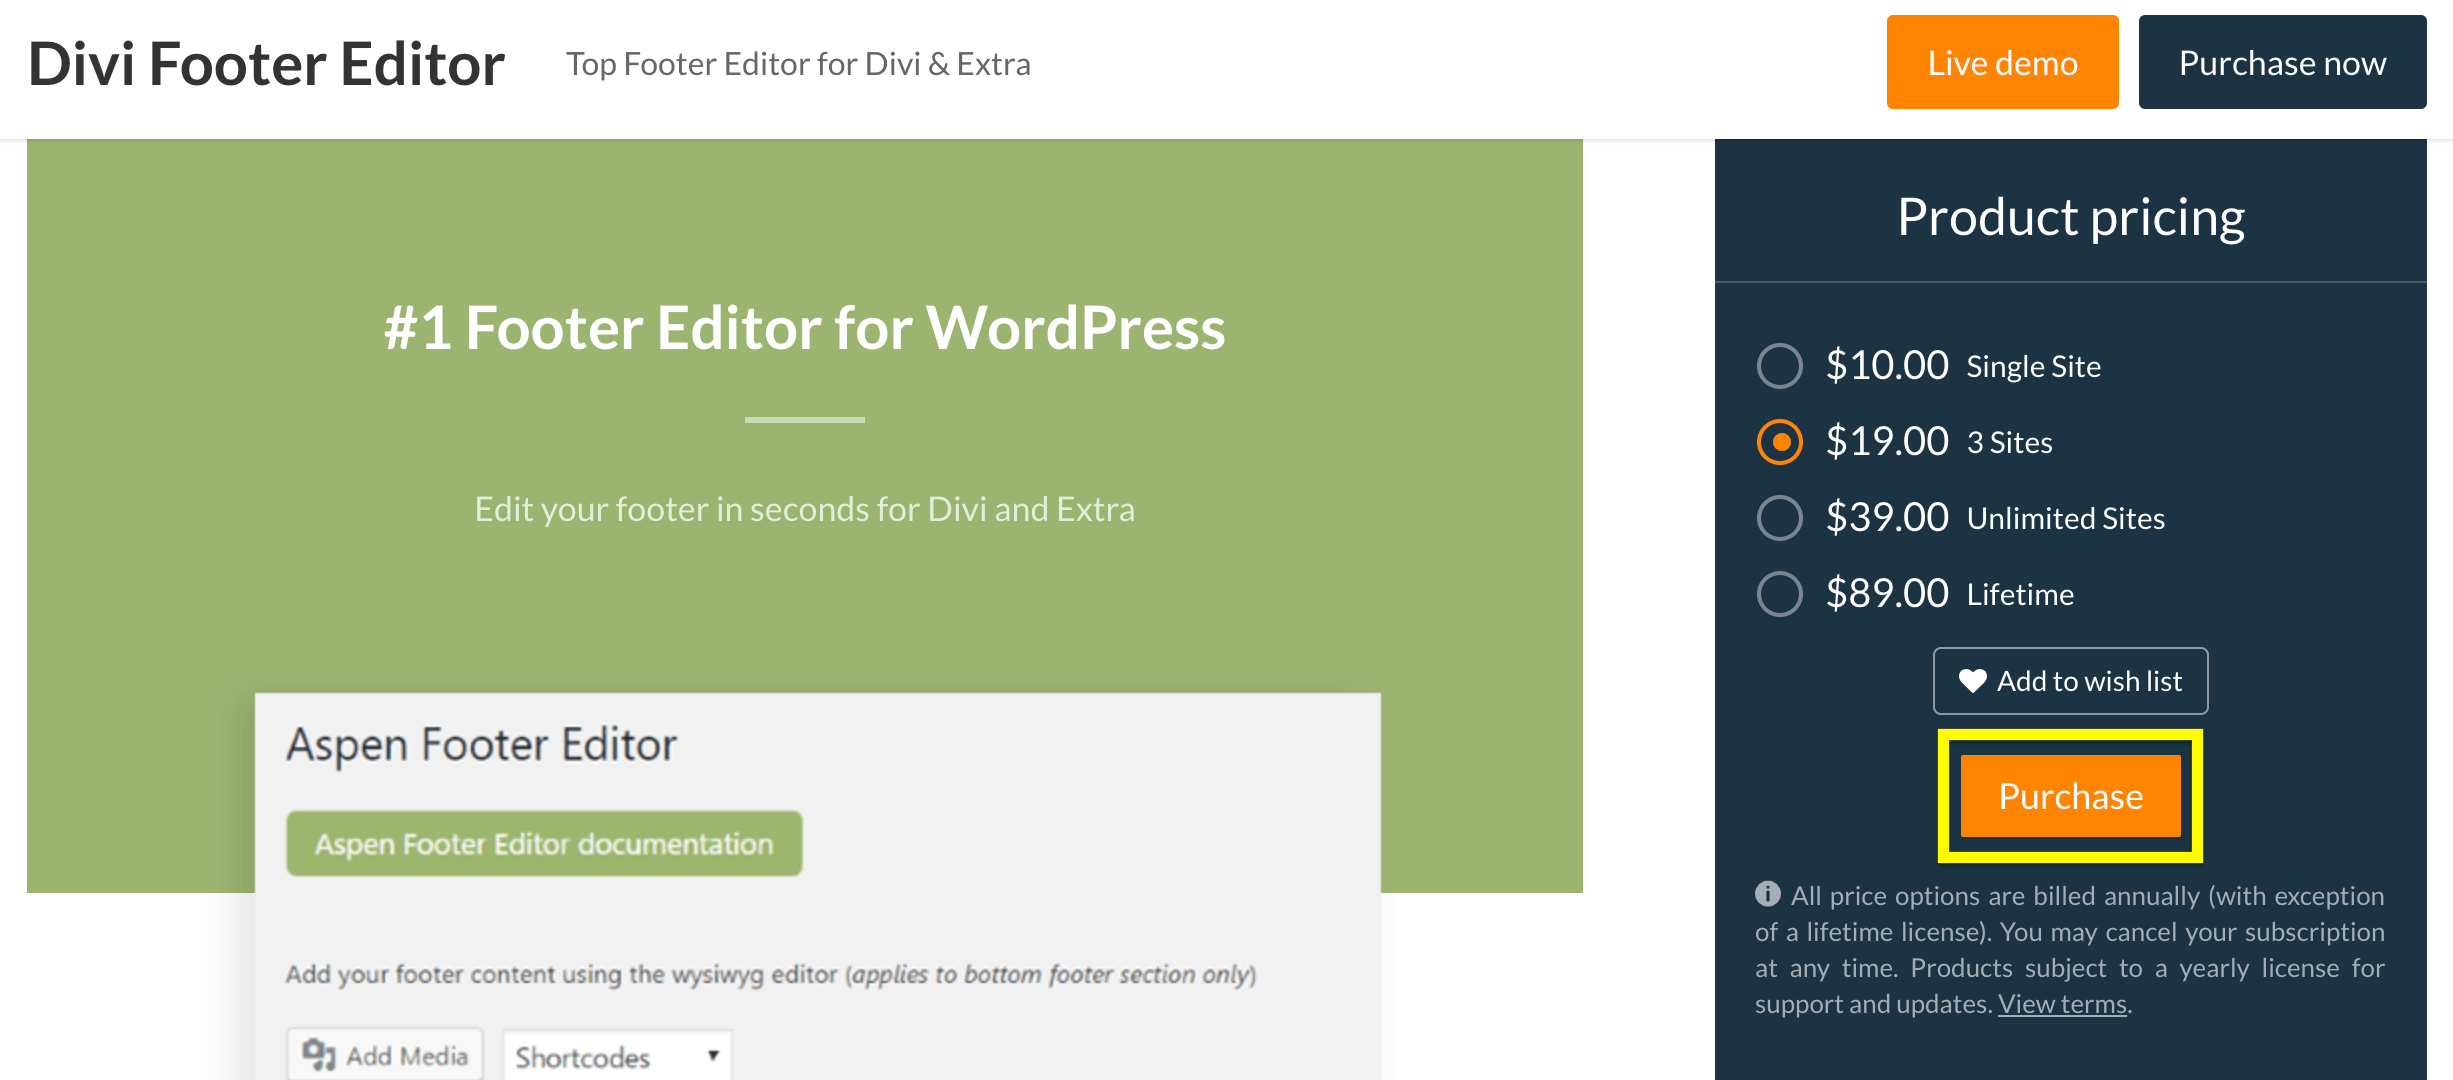
Of course, your first step will be to purchase and install the Divi Footer Editor plugin. Fortunately, the process is simple. Visit the plugin’s product page, and scroll down to the Product pricing box. From here, select a suitable license, then click the Purchase button:
Run through the checkout procedure, and once you’re finished, click the button to download the plugin. You’ll receive an email containing access to your license code, which you’ll need later.
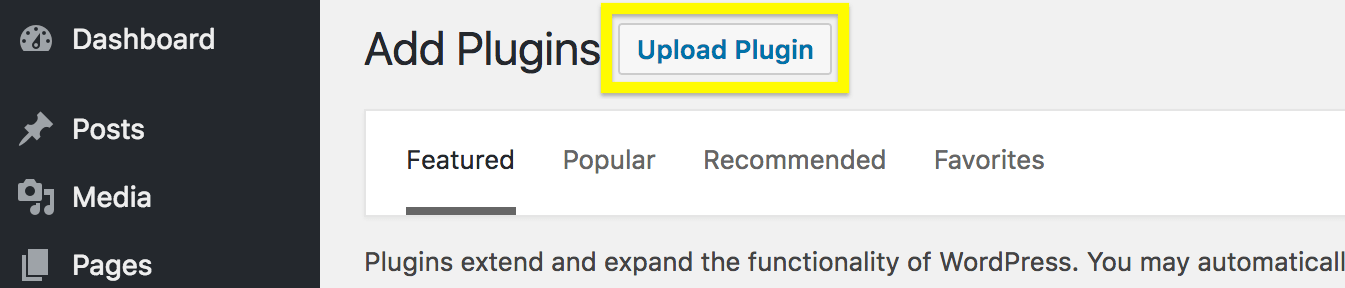
Now you’ll want to visit your WordPress website. Navigate to Plugins > Add New, where at the top of the screen you’ll see an Upload Plugin button:
Once clicked, this will display a file uploader. Locate your plugin’s ZIP file, and select Install Now. When it’s finished, you’ll want to activate it by clicking on the corresponding link.
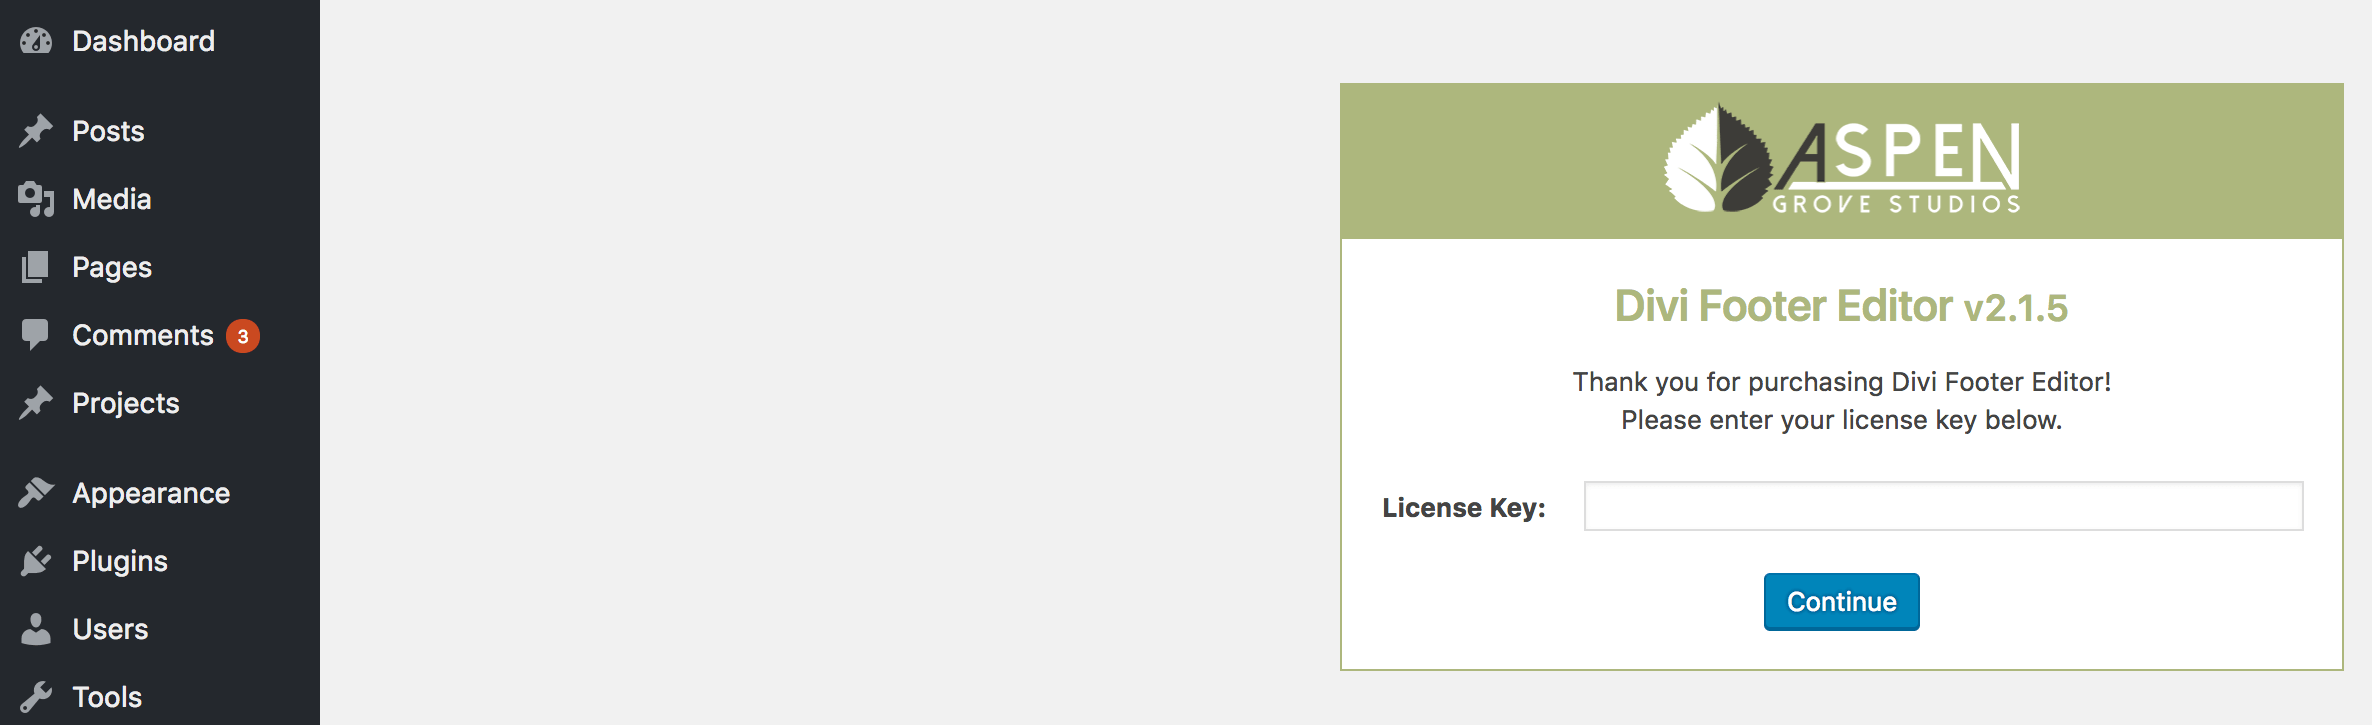
Before you can use the plugin, you’ll need to activate your license as well. By now you should have received an email containing a link to your license key. Navigate to Divi > Aspen Footer Editor, and enter the key there:
Once you get a confirmation, refreshing the page will display the Divi Footer Editor. Now it’s time for the fun stuff – designing your footer!
2. Choose a Layout for Your Footer
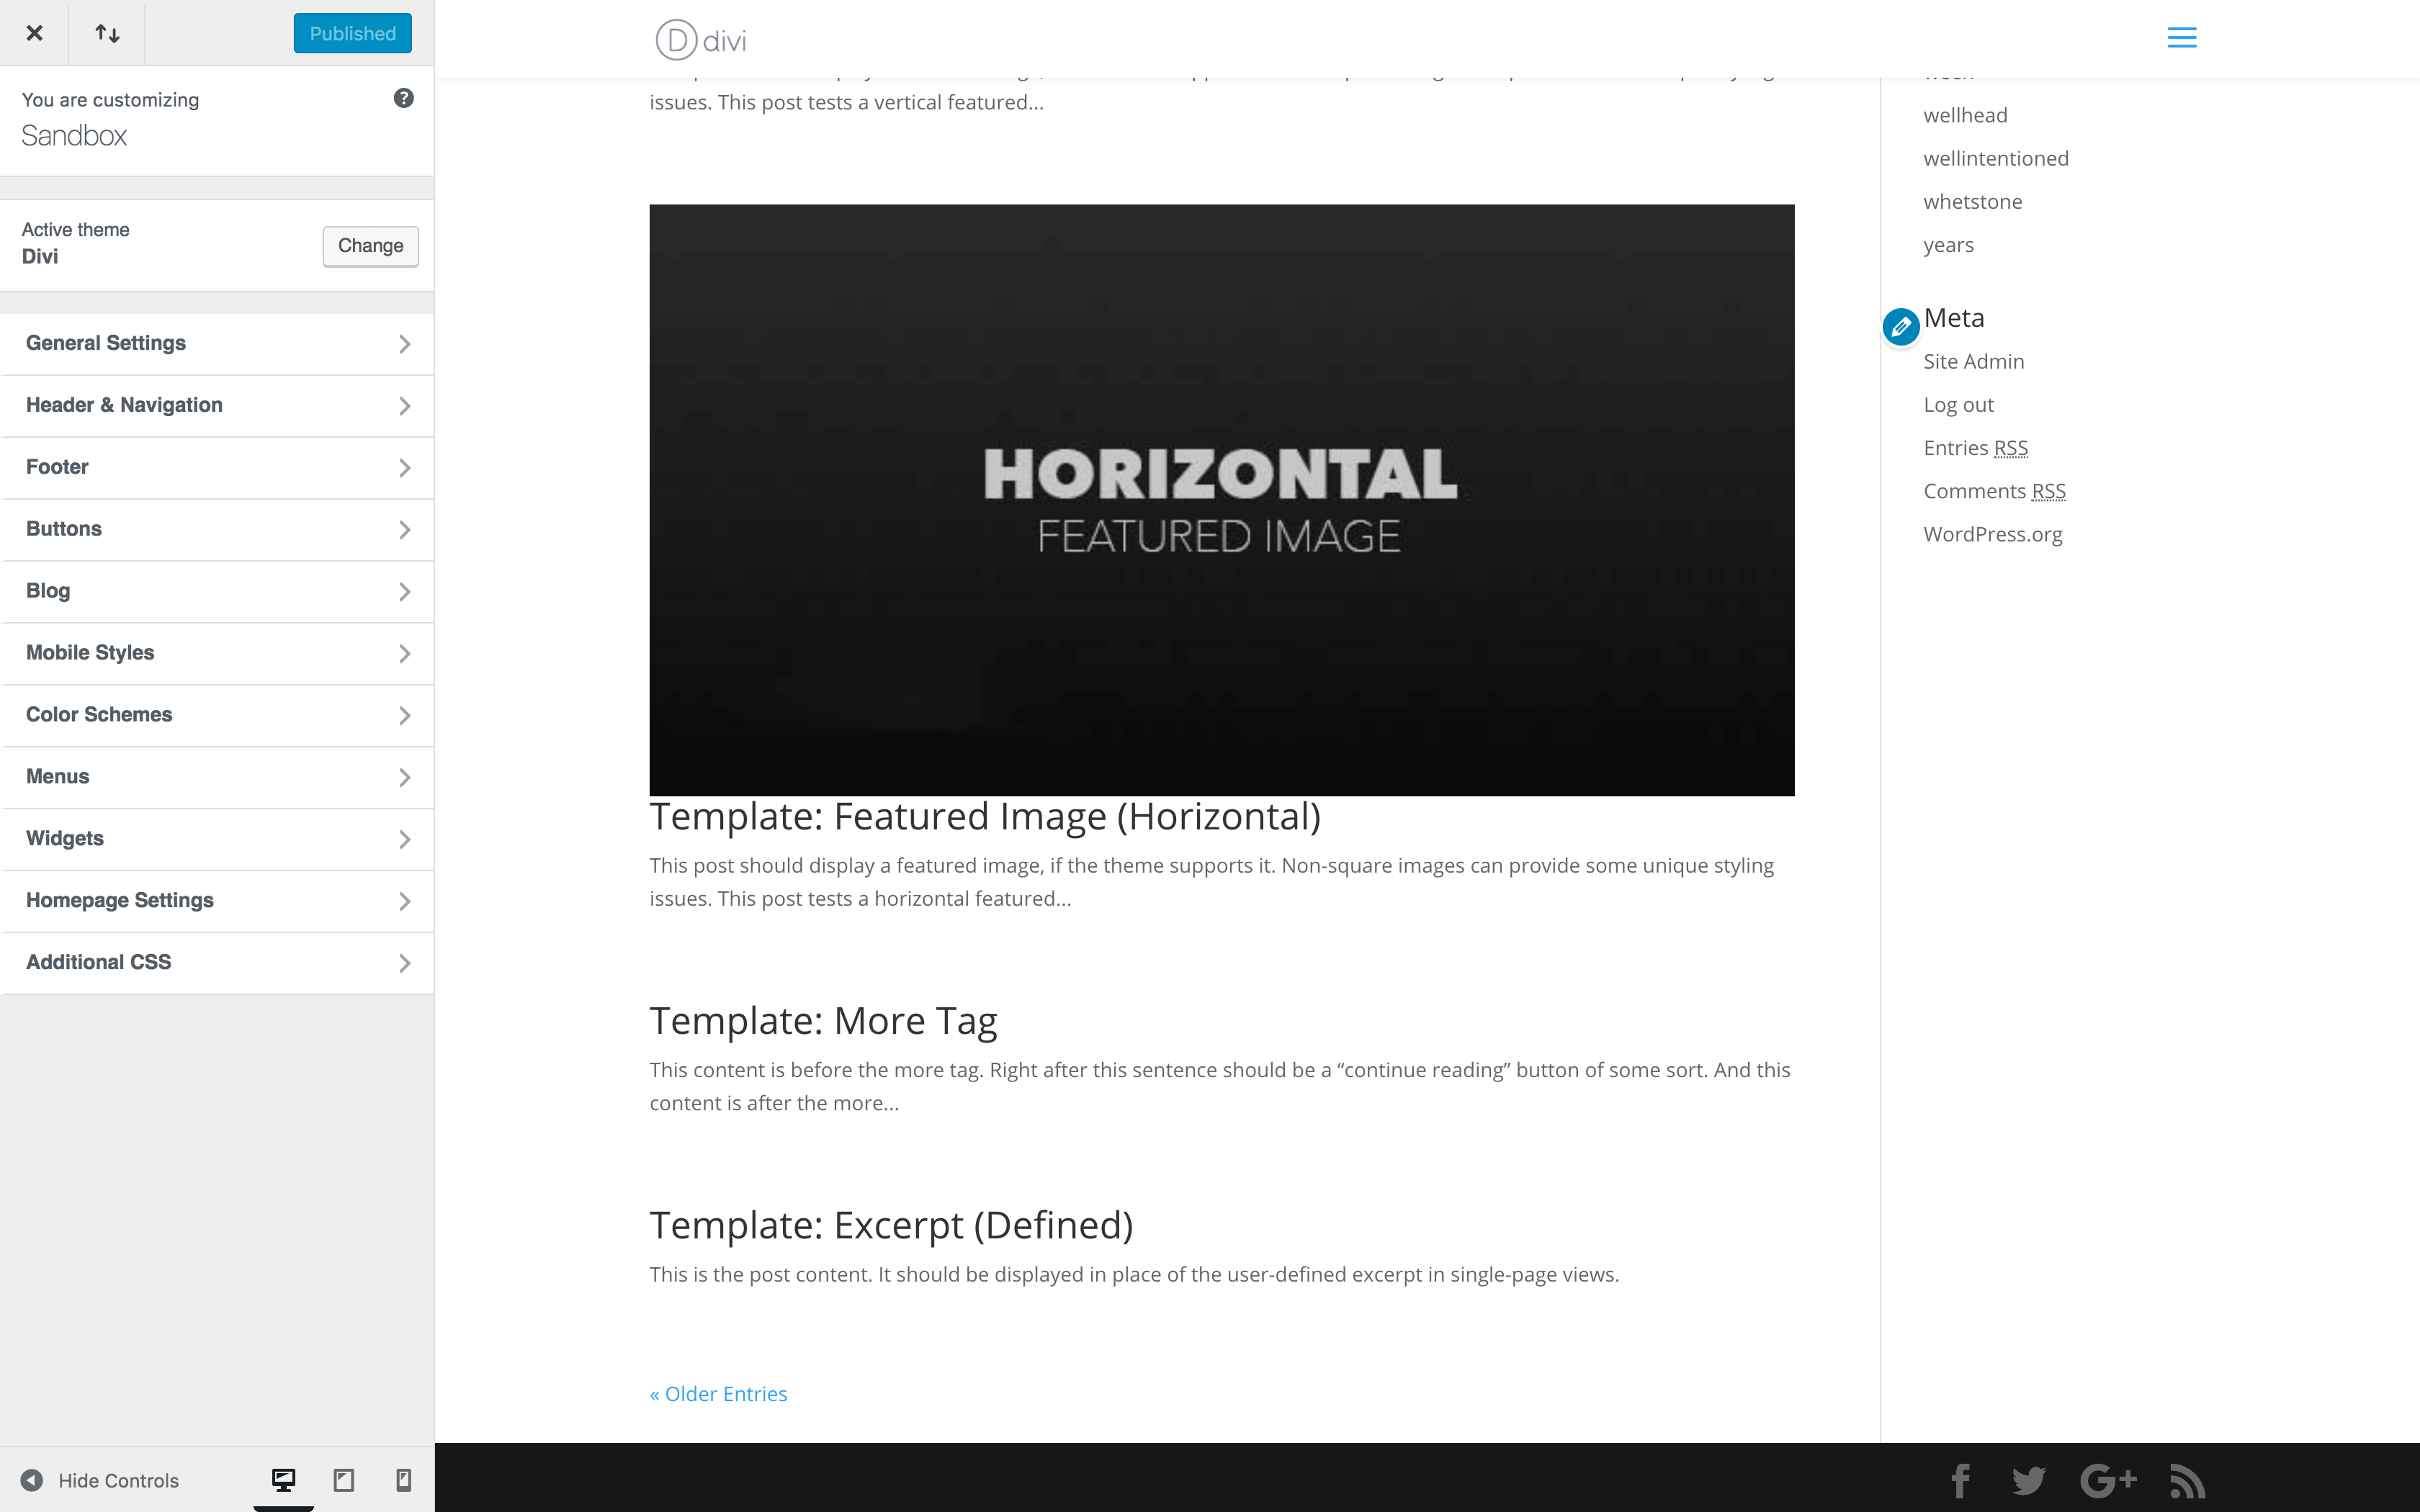
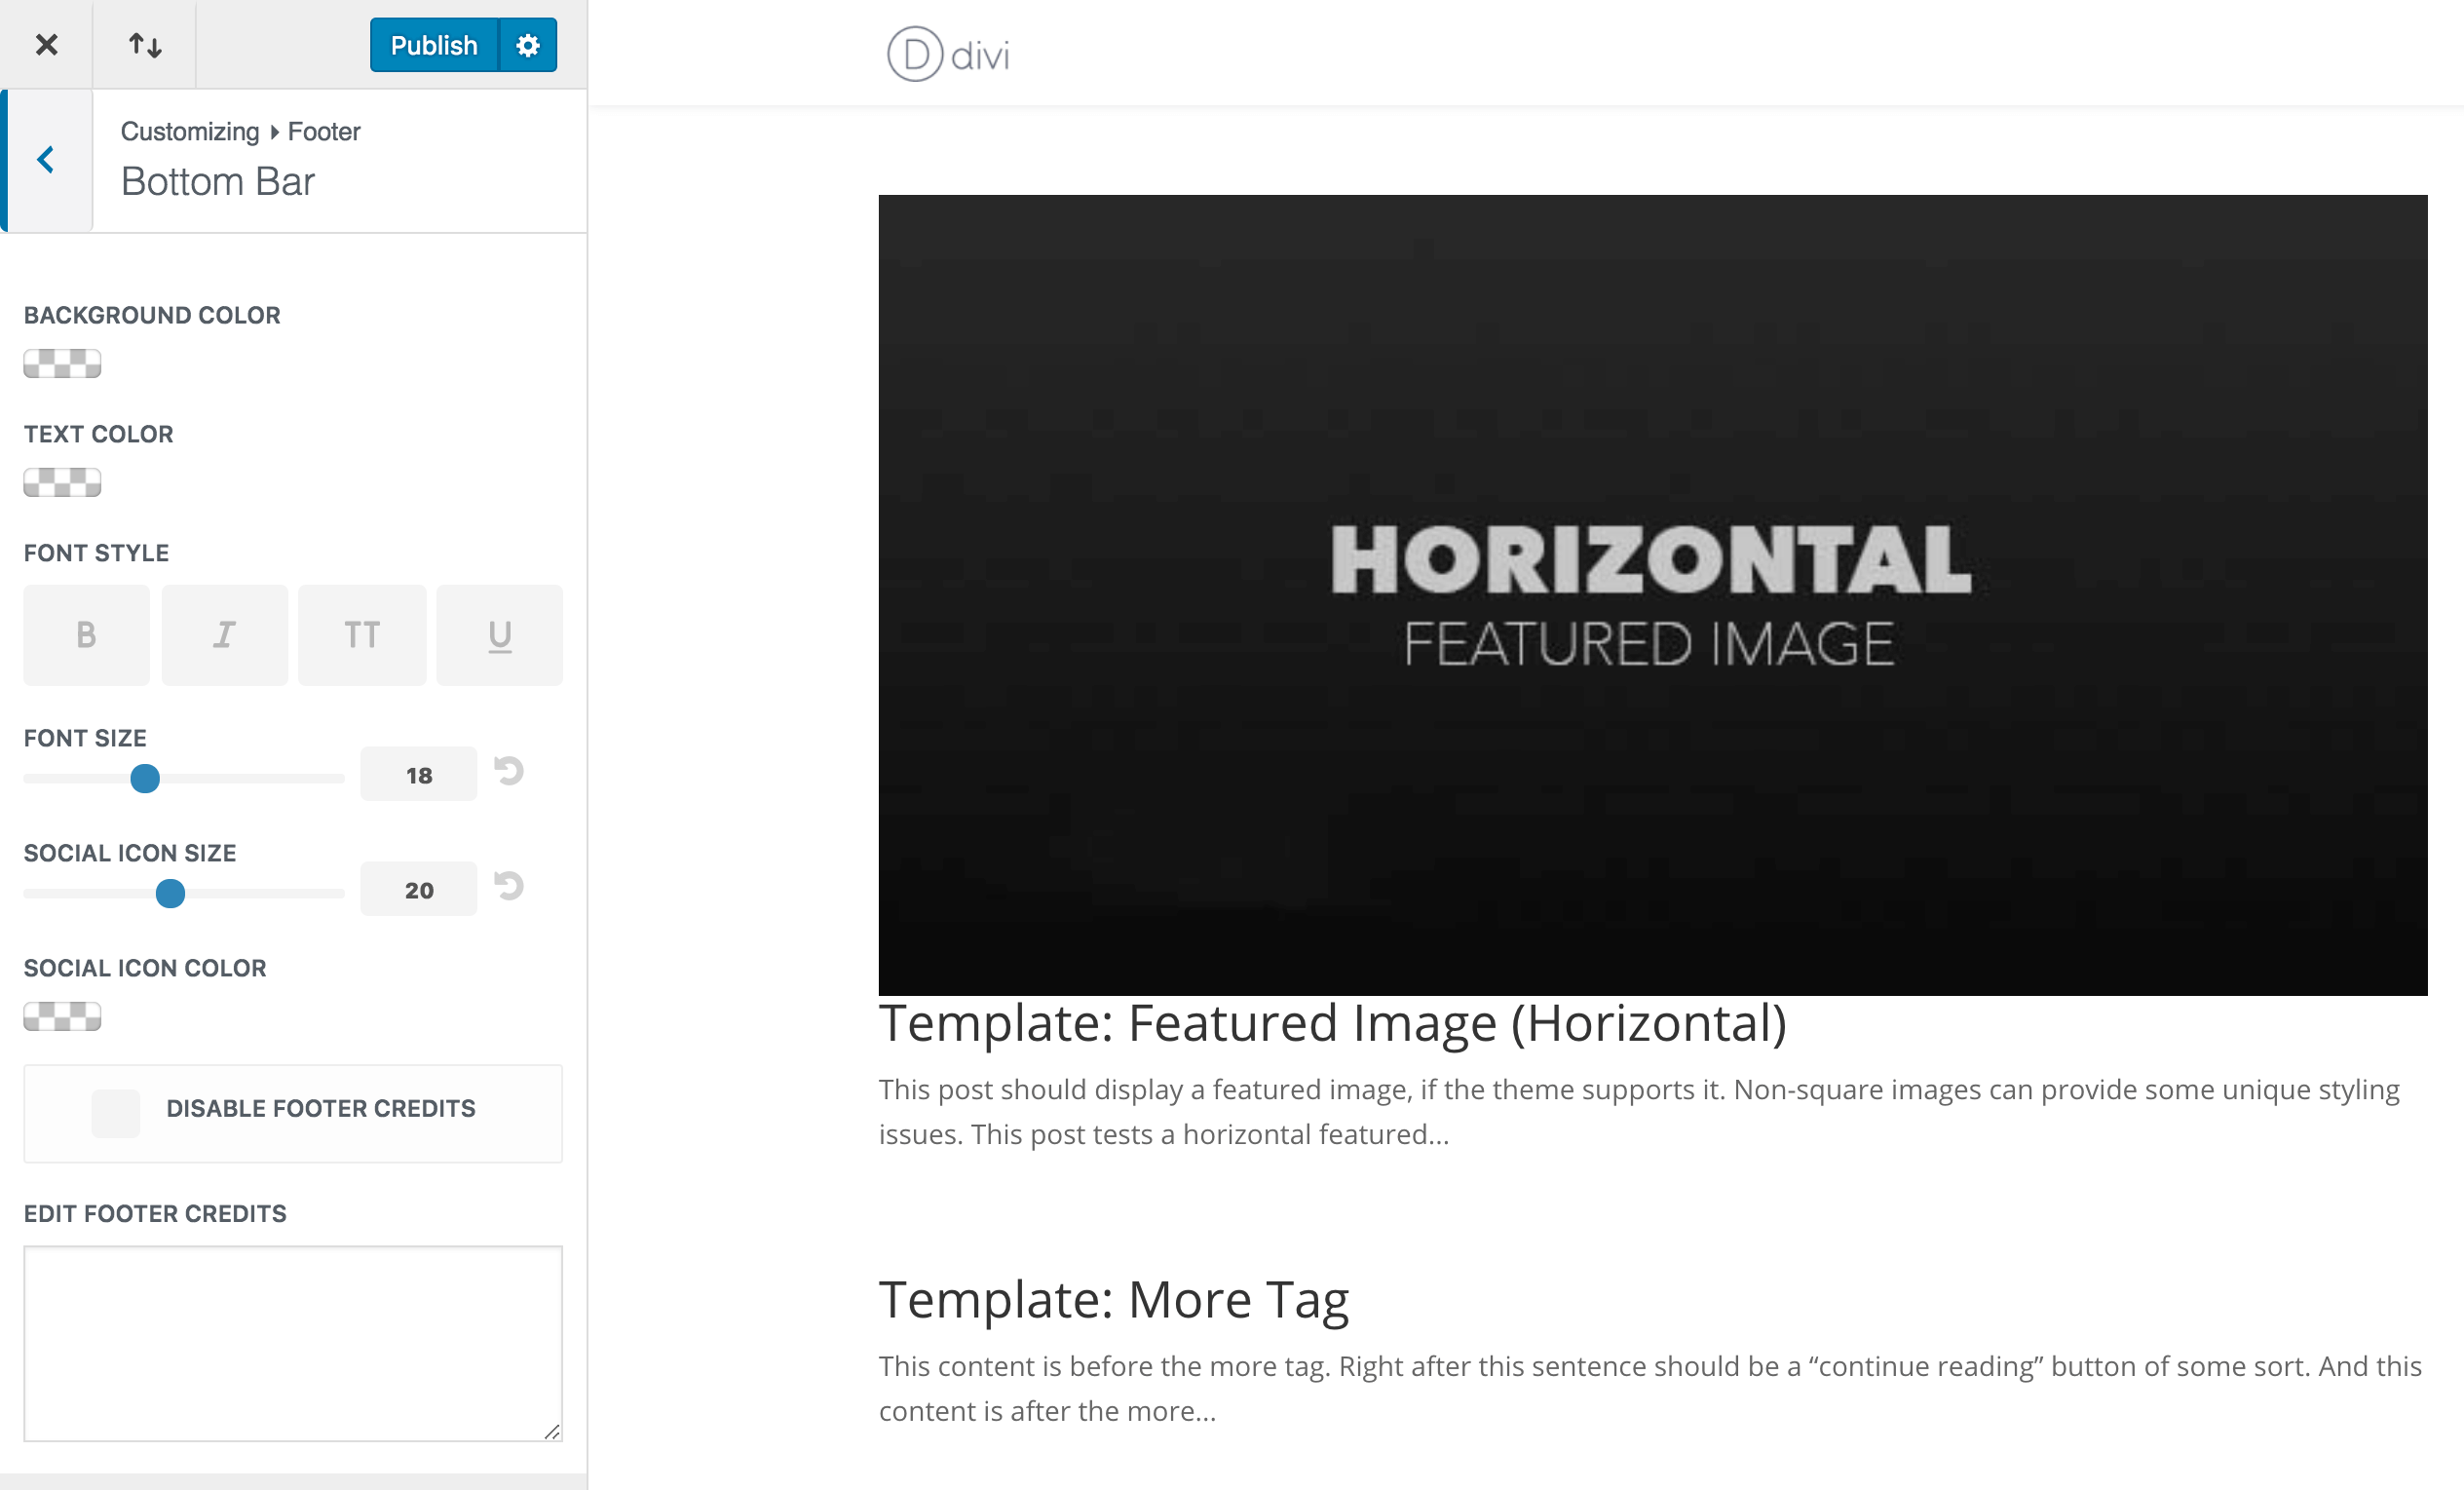
At this point, you can use some of Divi’s built-in options to set a general style for your footer. To do this, go to Appearance > Customize within WordPress. Scroll to the bottom to check out how your footer currently looks:
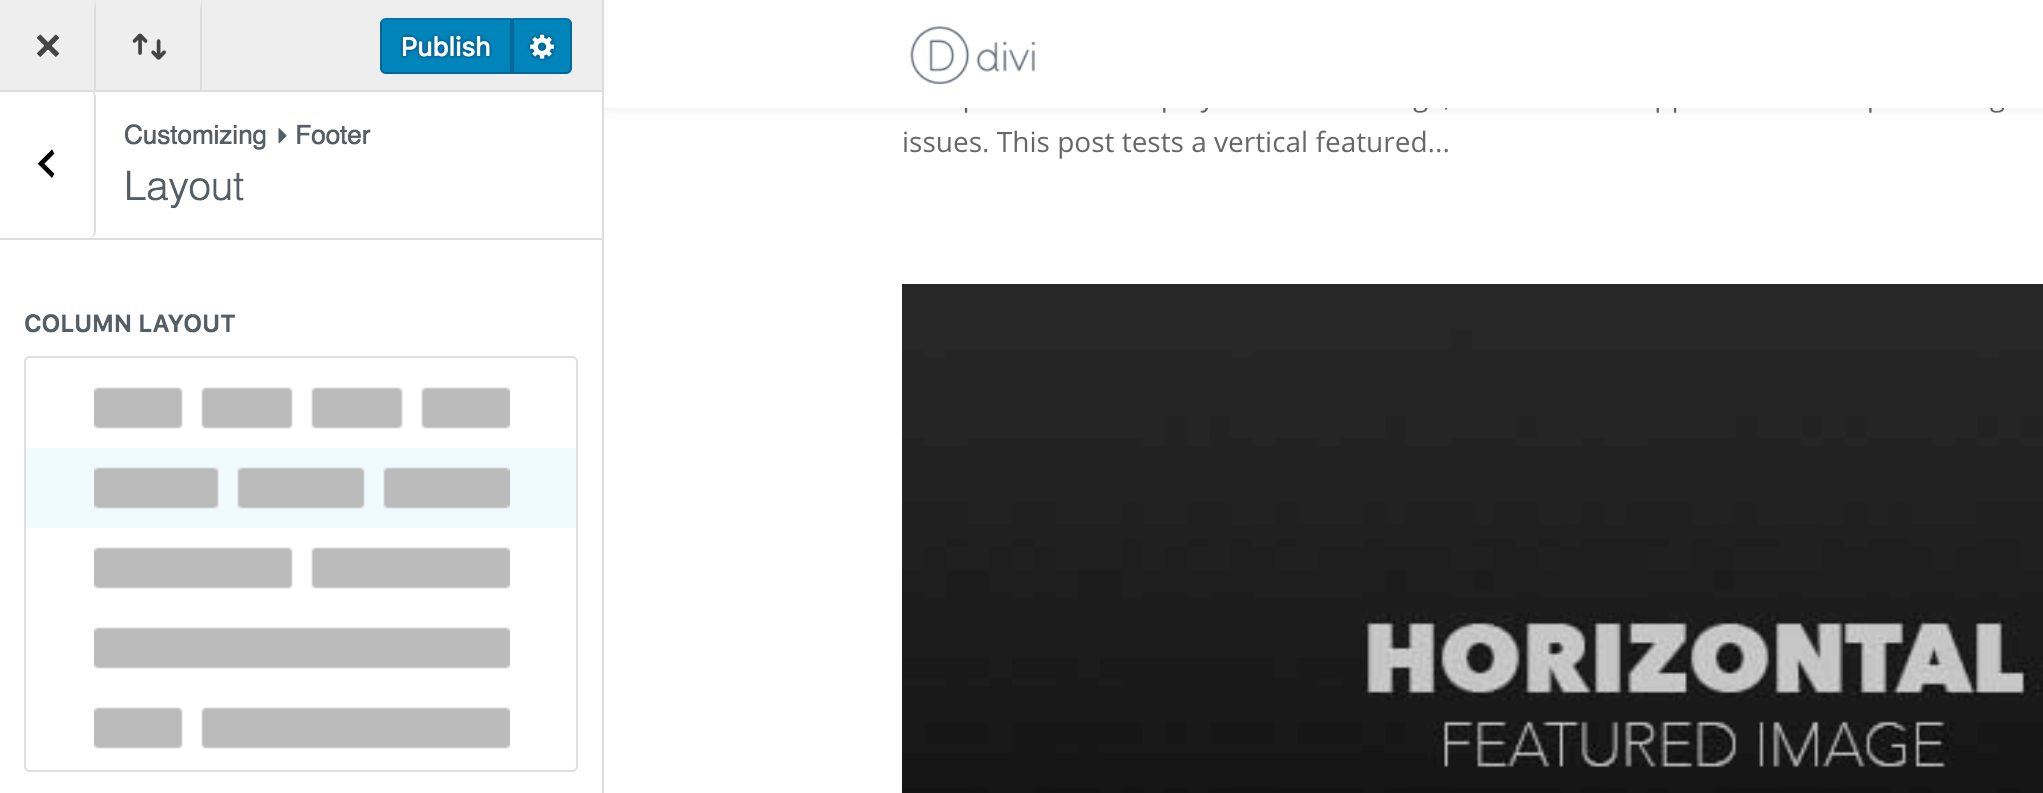
You can change the layout by navigating to the Footer section in the left-hand menu, and selecting Layout. Using the Column Layout drop-down menu, you can choose how to structure your footer:
Regardless of the option you select, you’ll likely see no change if you haven’t added any widgets from the Appearance > Widgets menu yet. Either way, once you’re done click on Publish, and head back to Divi > Aspen Footer Editor to start designing your footer.
3. Design Your Footer Using the Divi Footer Editor
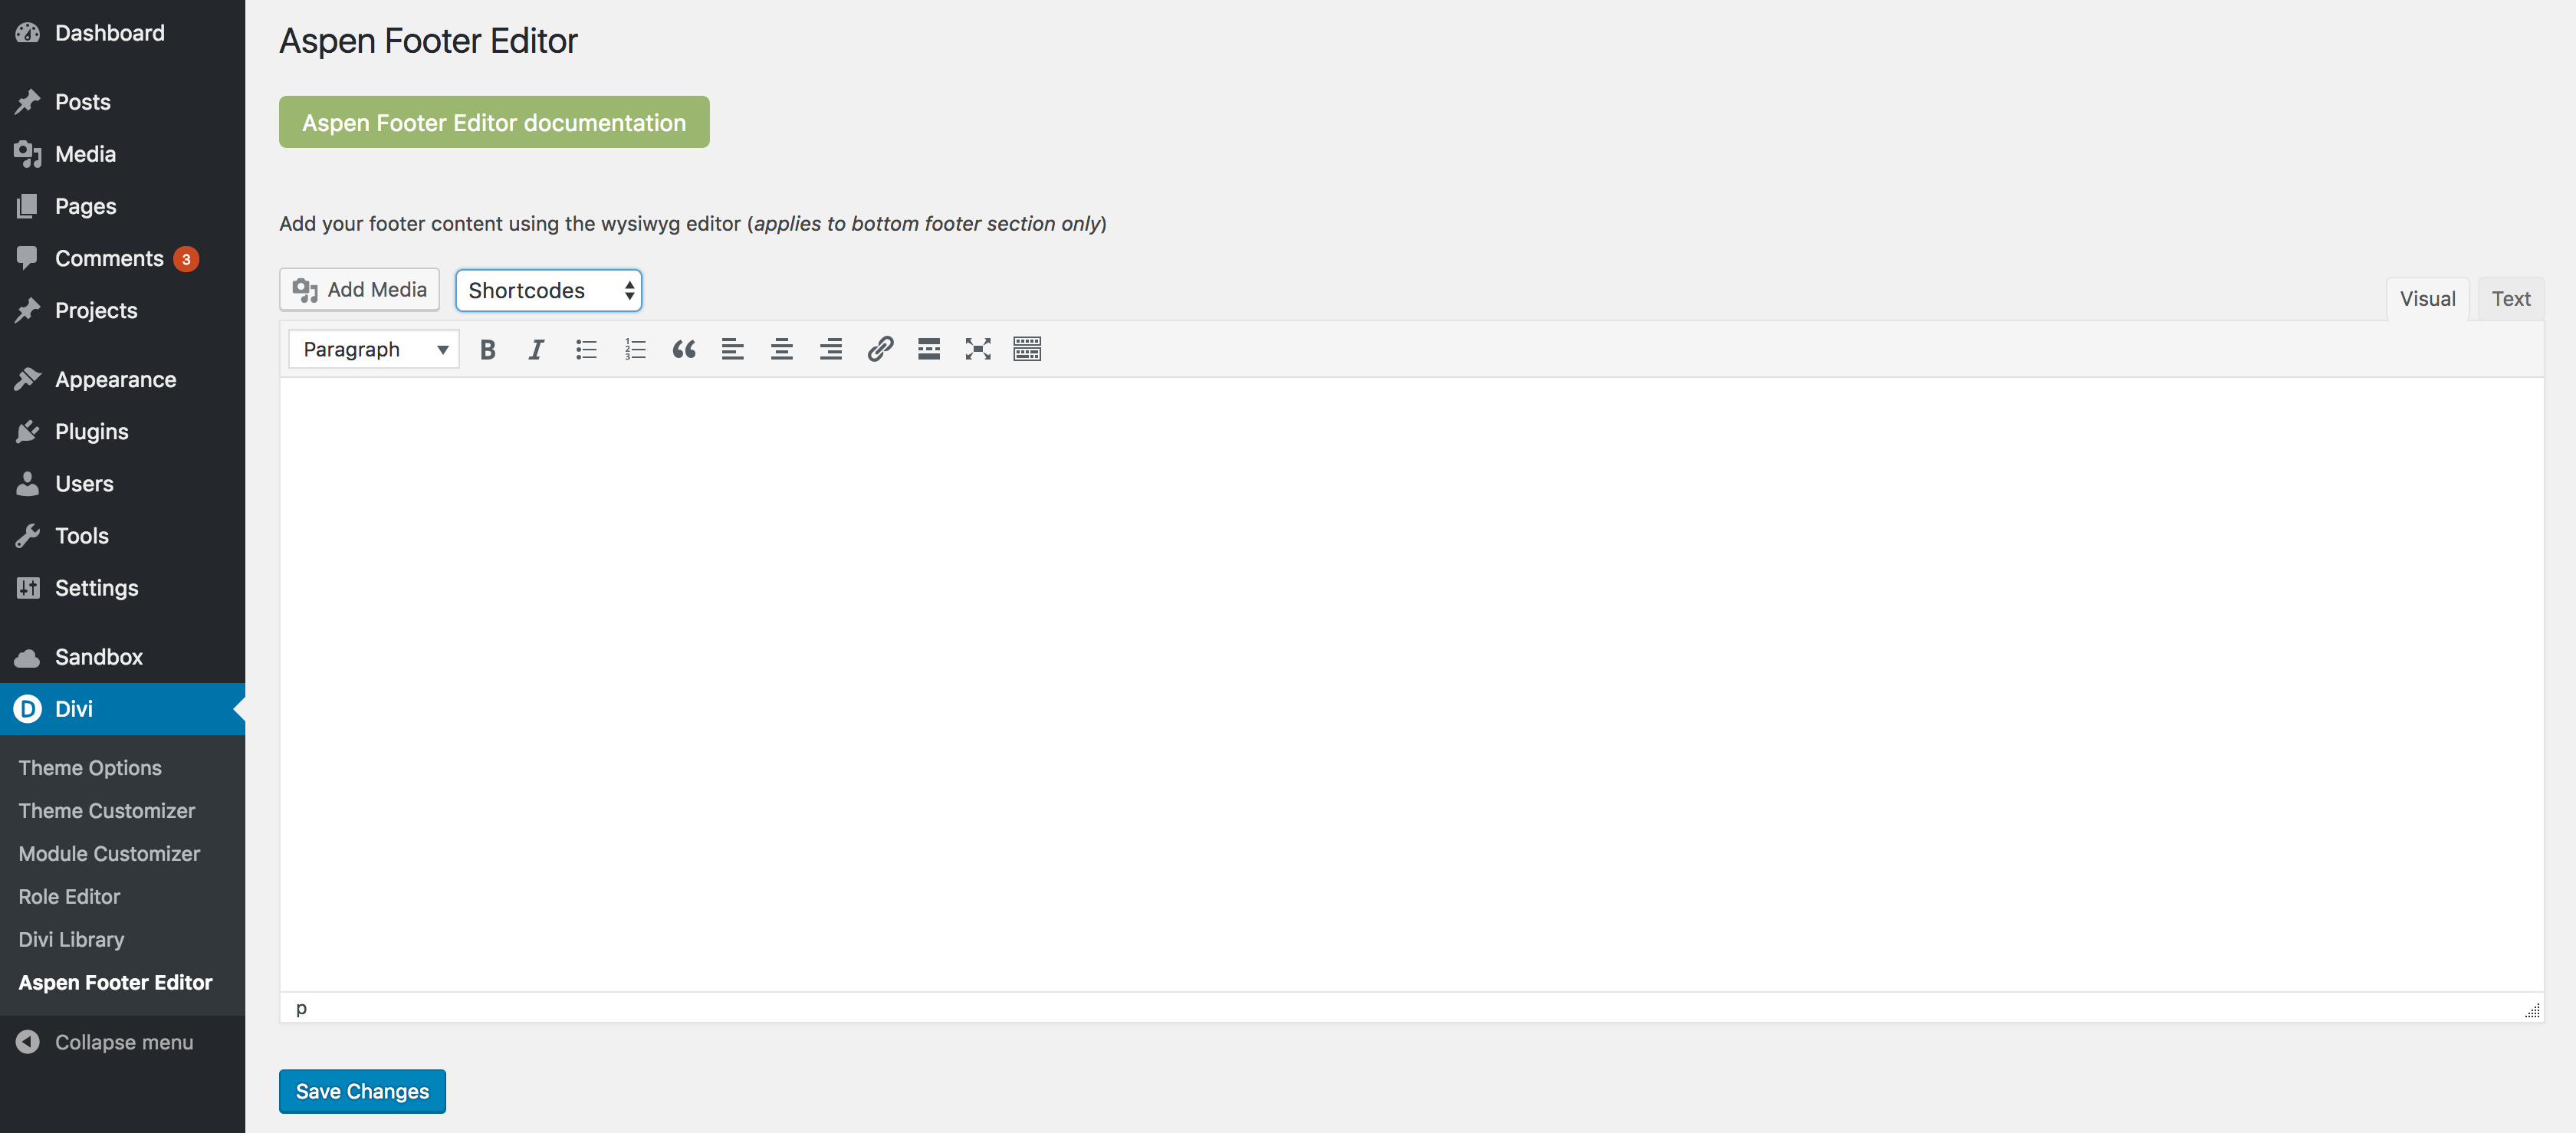
The Divi Footer Editor screen should be familiar to you, as it uses a version of the standard WordPress editor:
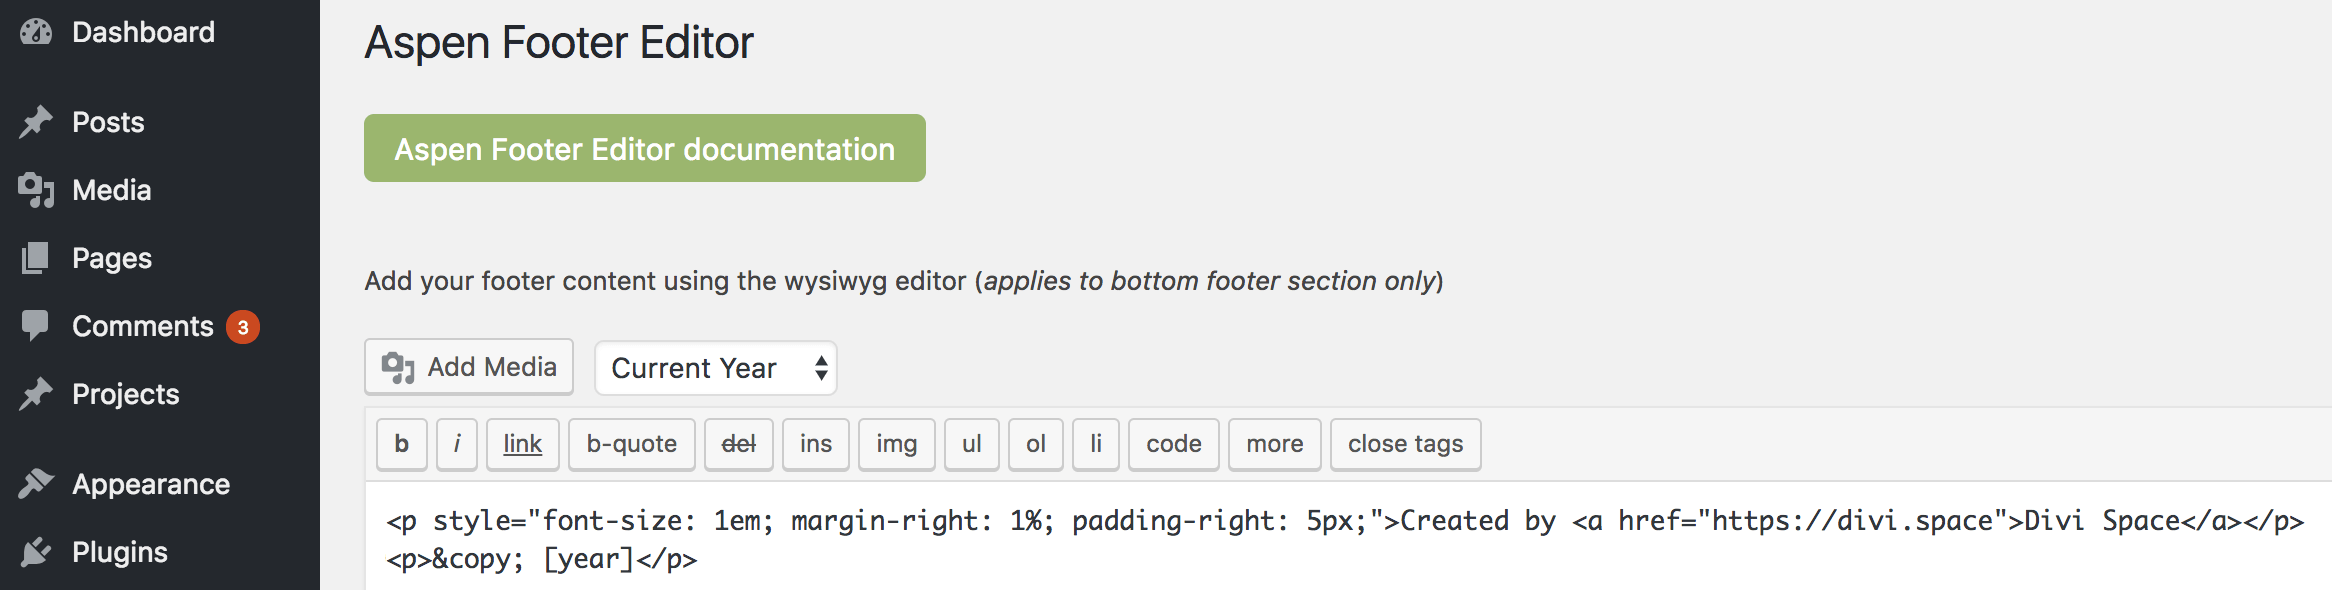
You can make your edits just as you would when creating a post or page. Or, for even more power and flexibility, switch over to the Text editor and use inline CSS. In this example, we’ve decided to add a Created by Divi Space link, and insert a copyright notice using some HTML and the [year] shortcode from the drop-down menu:
While this is a simple addition, the Divi Footer Editor combined with your own expertise means the sky is the limit when designing your footer! If you’re struggling with the ins and outs of using the editor, the built-in documentation should get you back on the right path. Plus, there are some handy hints on what you can achieve below the editor itself.
4. Style Your Footer
You can carry out all of your changes using the Divi Footer Editor (and we recommend that if you’re planning on making wholesale changes to your footer with code). However, the WordPress Customizer also contains some great options for tailoring your footer to your exact requirements. There are options for tweaking your widgets, adding elements such as social media icons, customizing menus, and so on:
While you can do a lot here, in our example we’ve instead decided to keep things simple. We’ve set the footer’s background color to a dark blue, made the text and icons white, and also adjusted their size. Finally, we’ve formatted the text in bold to make it more prominent:
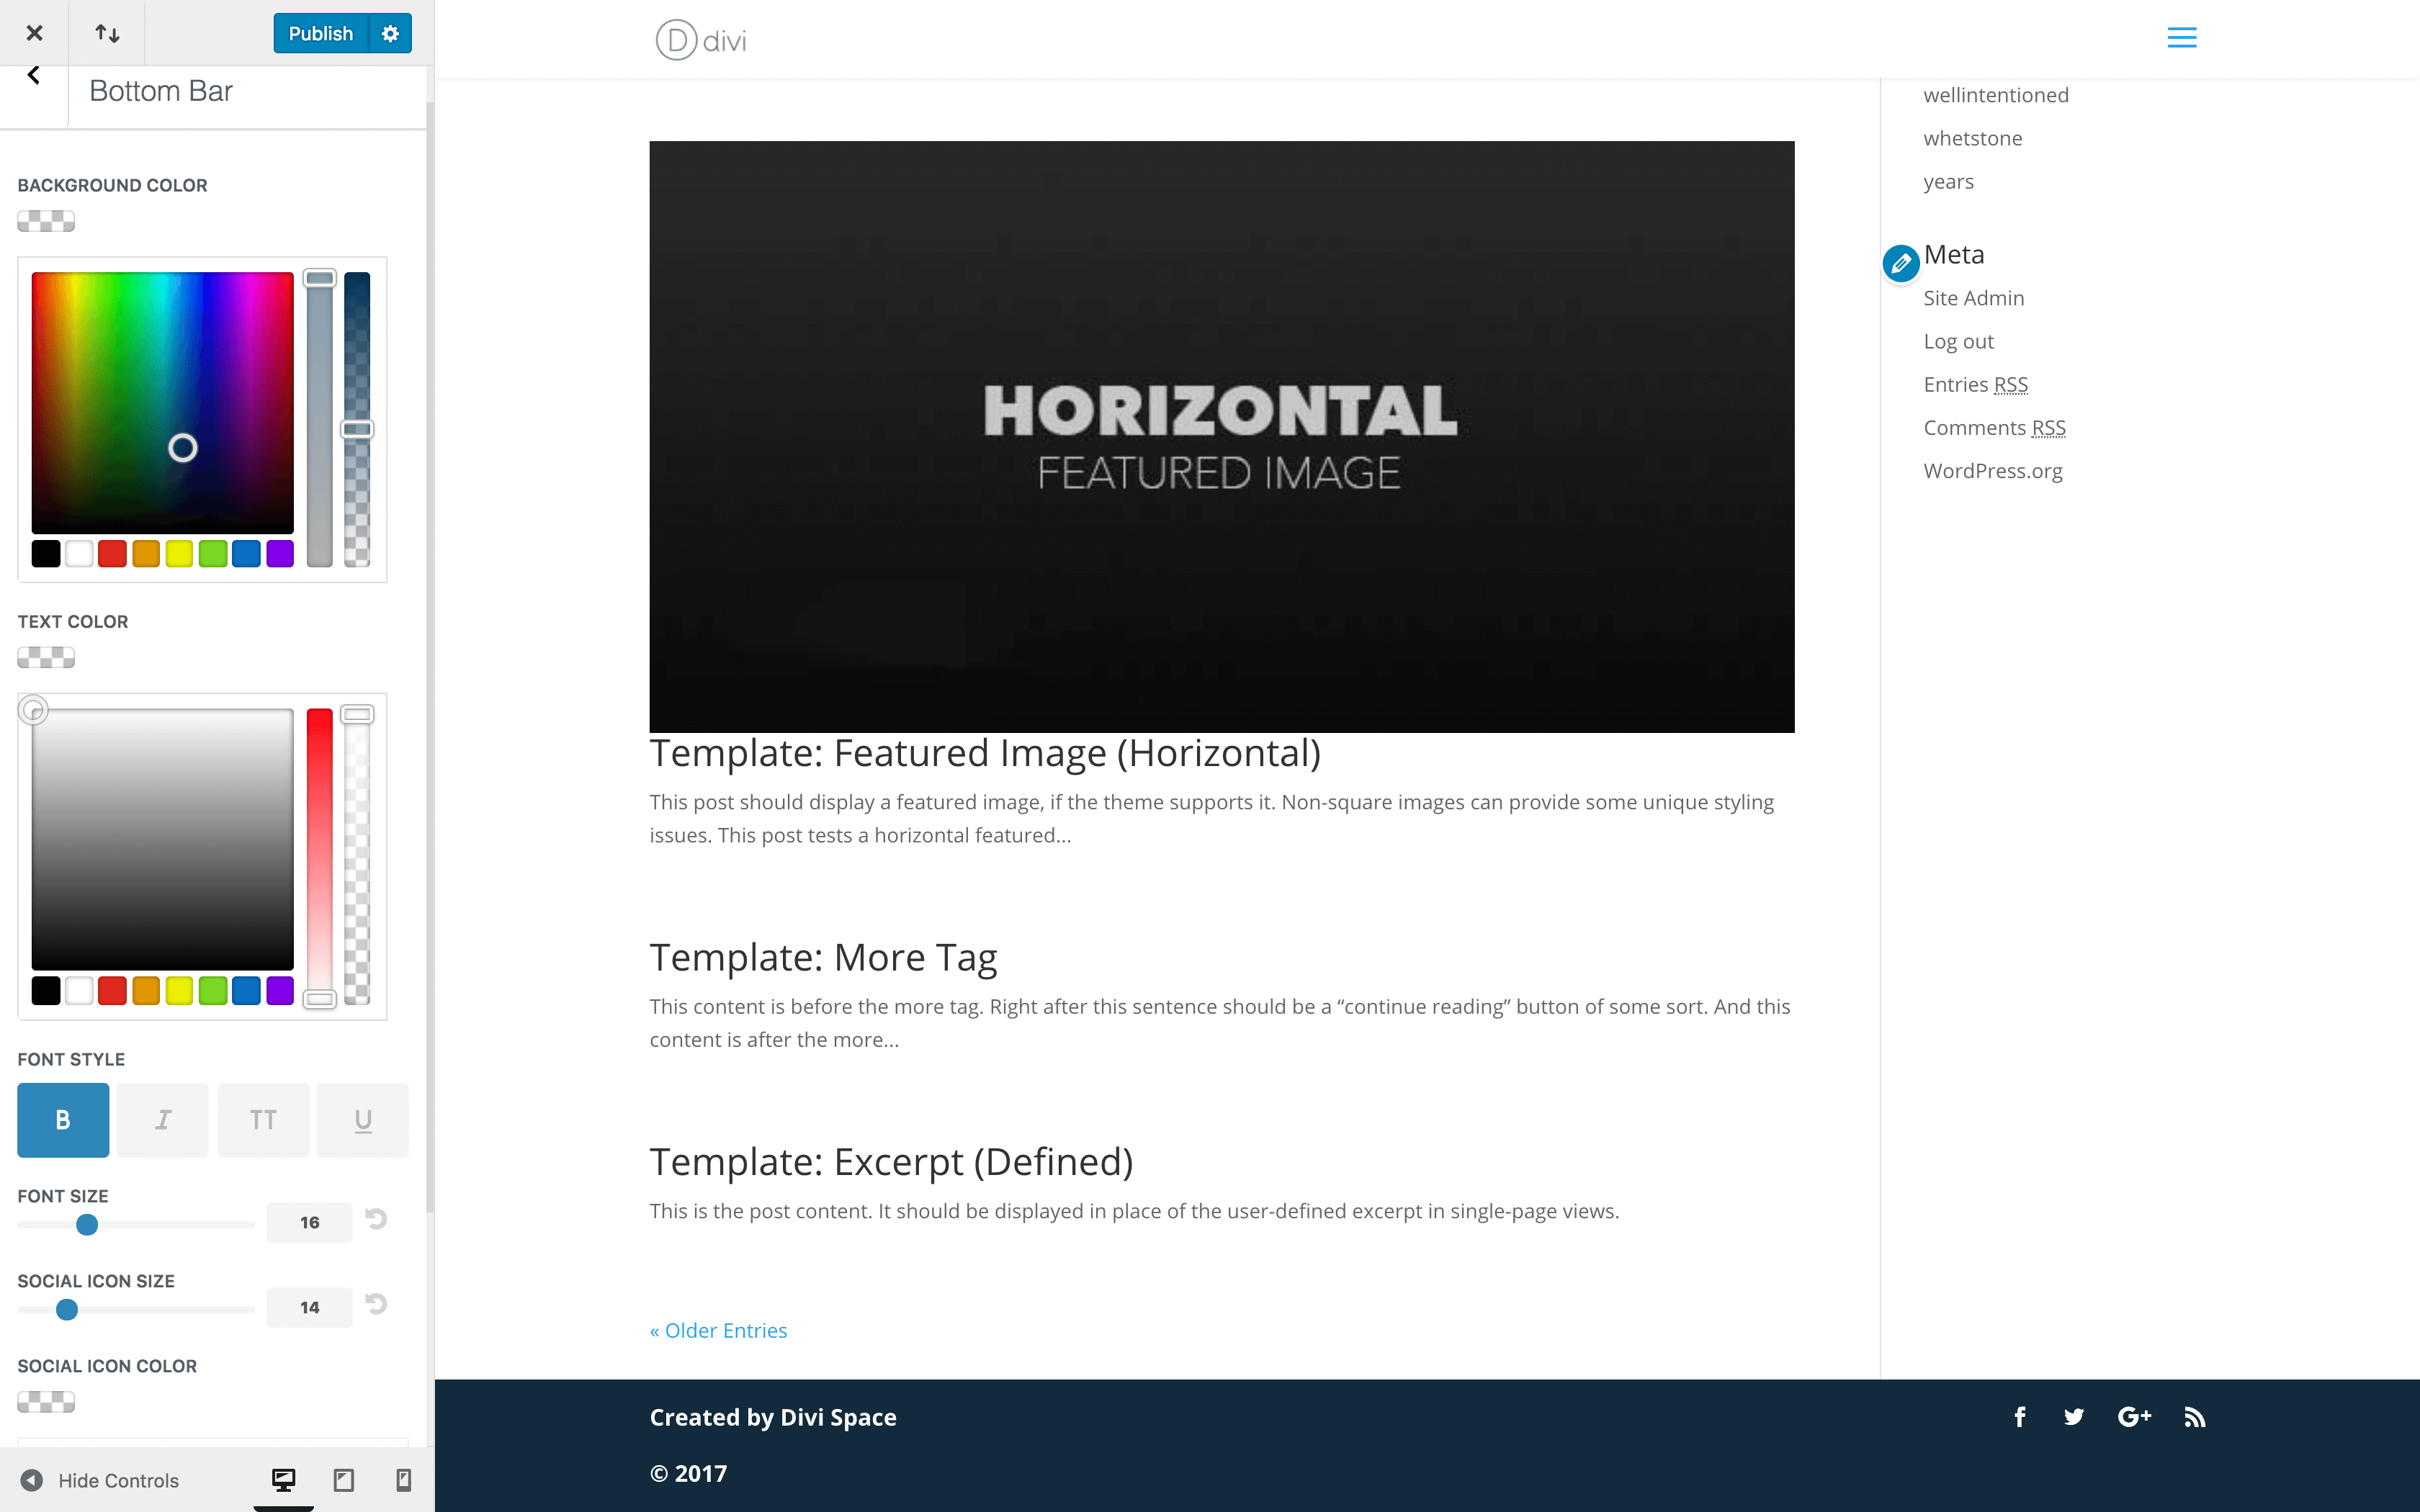
You’ll notice that we’ve used the strengths of Divi, WordPress, and the Divi Footer Editor to make sure this footer meets our exact requirements. We believe that is the key to creating an effective footer.
Given the options at your disposal, you could include a lot of elements in your footer. However, remember to focus on enabling your footer to do its real job – providing the right level of information to visitors who end up at the very bottom of your pages. Doing this well can substantially increase your conversion metrics. Plus, it will improve your users’ experience at the same time.
Conclusion
Your footer is just as important as any other part of your website. By neglecting your below-the-fold elements, you risk isolating visitors and losing sales. On the other hand, a well-designed footer can provide value, decrease your pages’ bounce rates, and much more.
In this article, we’ve explained what constitutes the ultimate website footer, and shown you how to create one using Divi and the Divi Footer Editor. Let’s recap the steps:
- Purchase and install Divi Footer Editor.
- Decide on a suitable layout using Divi’s Customizer options.
- Use the Divi Footer Editor to tweak your footer’s design.
- Style your footer using the WordPress Customizer’s options.
We want to hear from you!
What do you think is an essential footer element to include on your website? Have you struggled to create a footer for a website? Let us know in the comments section below! We love receiving your feedback!
Thanks for reading!

I agree
Thanks for the info.
It would have been nice if we can use the divi builder with this.
Thanks,
Kiran
It might be cool if you included some awesome footer layouts with the purchase of this plugin!
This is a great idea Nelson! Let me see what we can do!