
WordPress is one of the most popular content management systems for building any type of website. One of the advantages of WordPress is the amount of hosting options available. Many have hosting options with WordPress installed and ready to go, but they sometimes have more features if you install WordPress yourself. In this article we will discuss how to install WordPress.
We’ll look at three options for installing WordPress on your server: manually, using software installers, and having your web host install it automatically.
Option 1 – Manual Installation
Manually installing WordPress isn’t that difficult. The manual process includes using FTP, and following these 8 simple steps:
- Download WordPress
- Upload WordPress files via FTP to your server
- Placing the WP folder into the root directory
- Create the database and user
- Populate the wp-config file
- Replace default keys
- Rename wp-config-sample.php file
- Run the installation script
Cory Jenkins has already covered this in detail in the tutorial How To Install WordPress Manually Using cPanel right here at the Aspen Grove Studios blog.
Option 2 – Automatic Installation with Installation Software
There are several software installers that will automatically install lots of apps including WordPress. The installation is based on settings for your host. You enter the settings and the installer does the rest. Two popular software installation apps are Installatron and Softaculous. Here’s a quick look at both.
Installatron

Installatron is a one-click installation and management app. Lots of hosts use it as the automatic installation app within their cPanel. Use it to install or import an existing WordPress install. It’s easy to use but does require you to enter some information. To get started click Install the application.
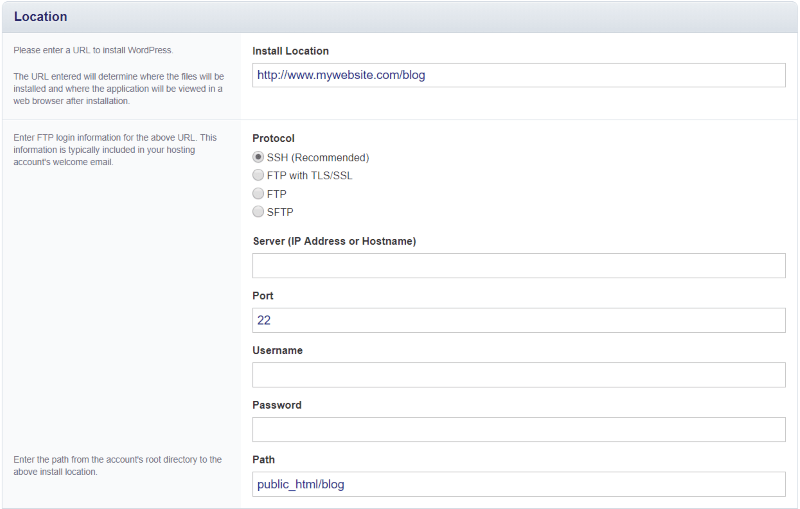
In the Location section, add your URL and enter the FTP login information for that location. Unless there is a strong reason to change it, I use the recommended settings.

In the Version section, select the version of WordPress you’d like to install. The default setting is the latest version and it’s the one I recommend. Accept the agreement and decide automatic updates and backups.
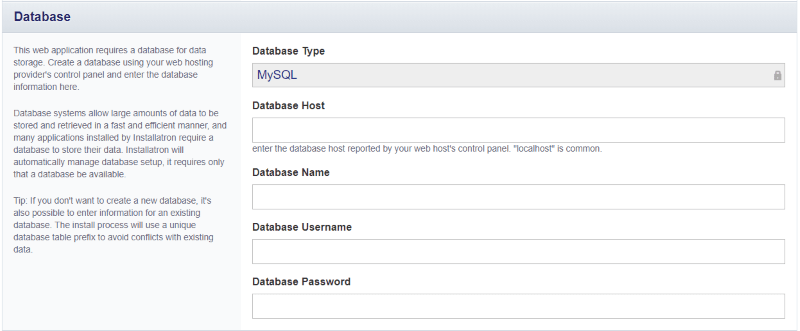
In the Database section, enter the database host, name, username, and password. The Database Host is found in your host’s control panel. The most common is localhost.
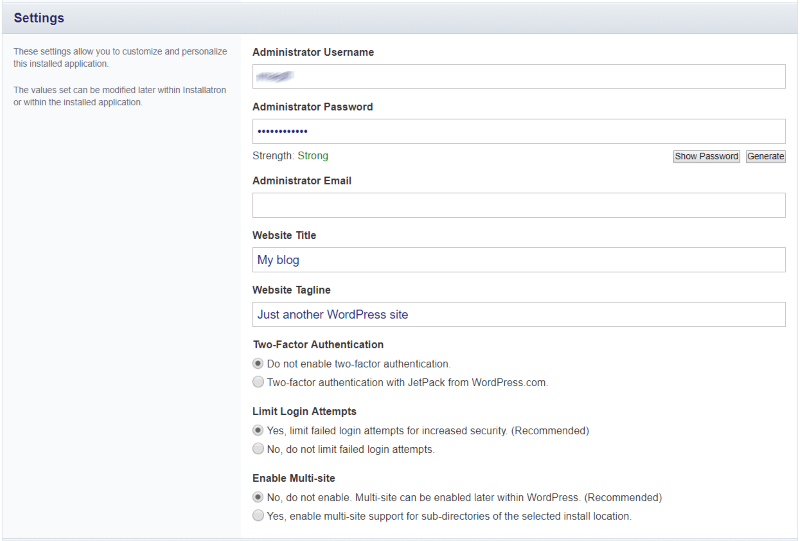
In the Settings section, enter the settings you’d like for your website. This includes admin information, website title and tagline, two-factor authentication, limit login attempts, and to enable multi-site.

In the Advanced section, choose whether or not advanced settings are managed automatically. Click Install when you’re ready. Wait for the installation to complete.

It will provide the links and information once WordPress is installed.
Softaculous
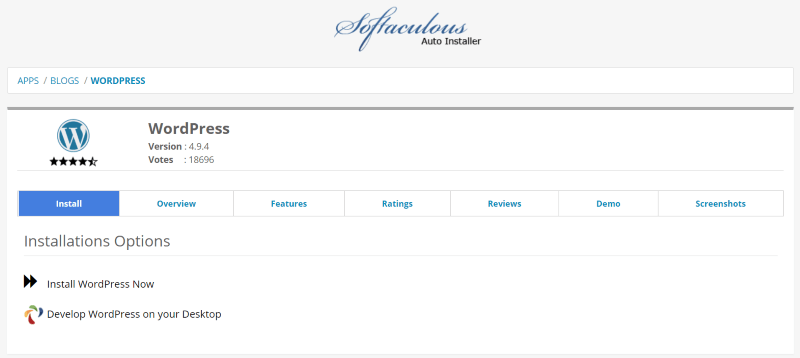
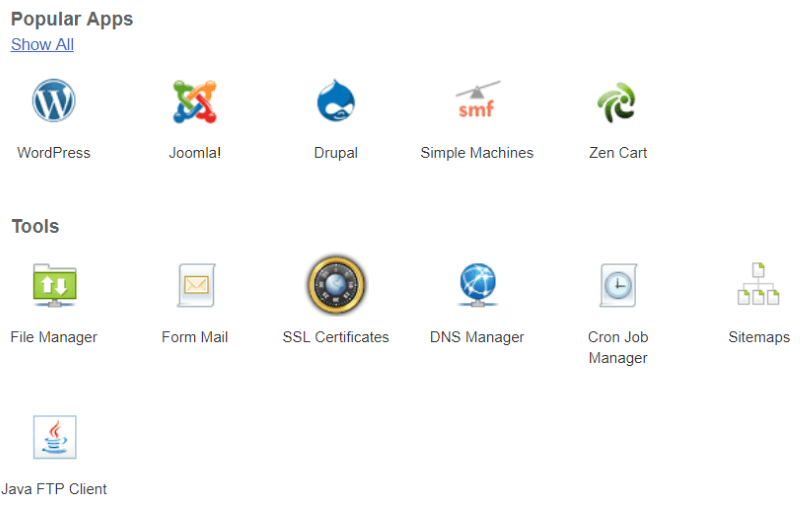
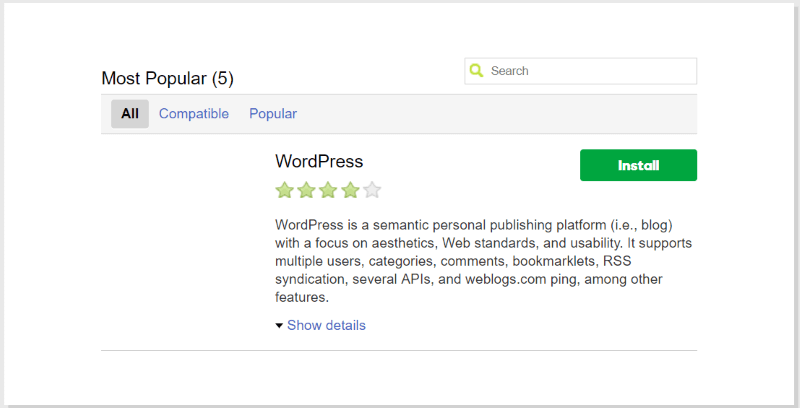
Softaculous is another online auto-installer that can install lots of apps. In the WordPress installation screen click Install WordPress Now and log in if you haven’t already.
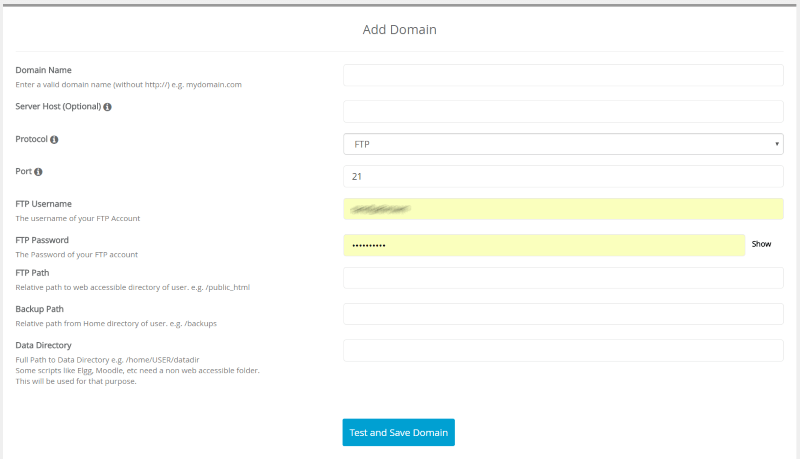
Enter your domain name, FTP information, backup path, and data directory information. Click Test and Save Domain. It will complete the installation and send you the links.
Option 3 – Automatic Installation with your Host’s Installation Tools
Many hosts have tools to install WordPress with a few button clicks. Not all hosts have these tools, so you might need to contact your host to see if it’s available.
Hosts use different tools, so yours may vary. Many hosts have multiple options for servers (such as Windows, Linux, etc.) and they might use different tools for each. Many use installation apps such as Installatron for cPanel and their own installation tool for other servers. Here’s a look at the Linux Server for GoDaddy. Other hosts will look different but the process will be similar.
Host Installation GoDaddy Example
Log in to your hosting account and select WordPress from the list of apps. You might have to navigate to the apps screen.
This will open a screen with a description and an option to install the app. Click Install.

This opens a modal where you’ll enter the domain name, directory to install WordPress to, admin info, and blog title. Click OK.

You’ll then see a message that indicates WordPress is installing. You will be notified in email when installation is complete and it will appear in your list of websites within your hosting page.
Ending Thoughts
That’s our look at how to install WordPress using three easy methods. The route you take will depend on your host and your needs. It’s always a good idea to install it manually at least once for the experience.
Many of the hosts provide simple enough tools that it can be installed with a single click. The advantage of using an automatic install is the database is created for you, and the advantage in using tools for your host is the information is already handled for you. All three are good choices and let you get started building with WordPress quickly.
Have you used one of these methods to install WordPress? Let us know about your experience in the comments.

Thanks for sharing this awesome article, it helped me a lot while installing WordPress on a server and for the rest, I am using Cloudways WordPress optimized hosting and fixed through their managed platform.