By default, when installed and activated, the WooCommerce plugin will automatically add a “My Account” page to a WordPress website. Like other WooCommerce defaults, this page can’t be edited easily. Thankfully, we have a nifty solution that’ll help you customize your WooCommerce my account page.
Out-of-the-box, the default WooCommerce account page gets the job done, but it doesn’t look out-of-this-world amazing. Also, customizing the default account page isn’t an easy feat. Even if you use the Divi theme, the Divi Builder can’t be used to edit the account page so you’re stuck using CSS and PHP.
If you’ve ever wondered how you can edit the WooCommerce “My Account” page, we’ve got the trick for you. If you’re a Divi user, our Divi Shop Builder plugin will help you create a custom my account page for your WooCommerce online store. In minutes, you’ll have a totally unique account page that boasts your brand identity and keeps your customers engaged throughout your entire purchasing experience.
In this post, you’ll get a detailed walkthrough of creating an account page with the Divi Shop Builder plugin. In this post, you’ll learn:
- Why you should customize the WooCommerce “My Account” page,
- How to install and set up the Divi Shop Builder plugin,
- A walkthrough of the plugin and building a WooCommerce account page,
- How you can save time by using our free account page layout packs.
Why You Should Customize the WooCommerce My Account Page
Taking the time to customize aspects of your online store by removing default presets and adding personal touches of your brand will improve the overall user experience of your store. Each interaction with your brand is a contact point, and even after you’ve made the sale, you’ll still be selling. Creating custom Cart, Checkout, Thank You and “My Account” pages will add an extra special touch to your brand and leave your customer feeling satisfied that they’ve purchased with you and excited to come back for more.
The My Account page of a WooCommerce store is a really special and important place. It’s where your customers will log in and keep returning to your brand over time. This section of your site should be well-designed, easy to navigate and optimized to give your customers the best experience possible. By customizing this page, you can also include other web elements that help nurture your relationship with your customer, as well as other elements to help you convert more sales or encourage returning business.
In WooCommerce, to edit the “My Account” page, you’d need to use a round-about code process of creating a new PHP file and styling that with CSS. You could also try to use a WooCommerce “My Account” plugin, but using any third-party plugin can be tricky if it’s not compatible with Divi.
Our plugin Divi Shop Builder helps you create a custom WooCommerce “My Account” page by bringing the functionality of the Divi Builder to the WooCommerce interface. With our plugin, you’ll be able to use the familiar drag-and-drop Divi Builder to construct a custom “My Account” page.
How to Create a Custom WooCommerce “My Account” Page
To begin, make sure you’ve purchased the Divi Shop Builder plugin from the Divi Space online store.
Step 1: Install and Activate the Divi Shop Builder Plugin
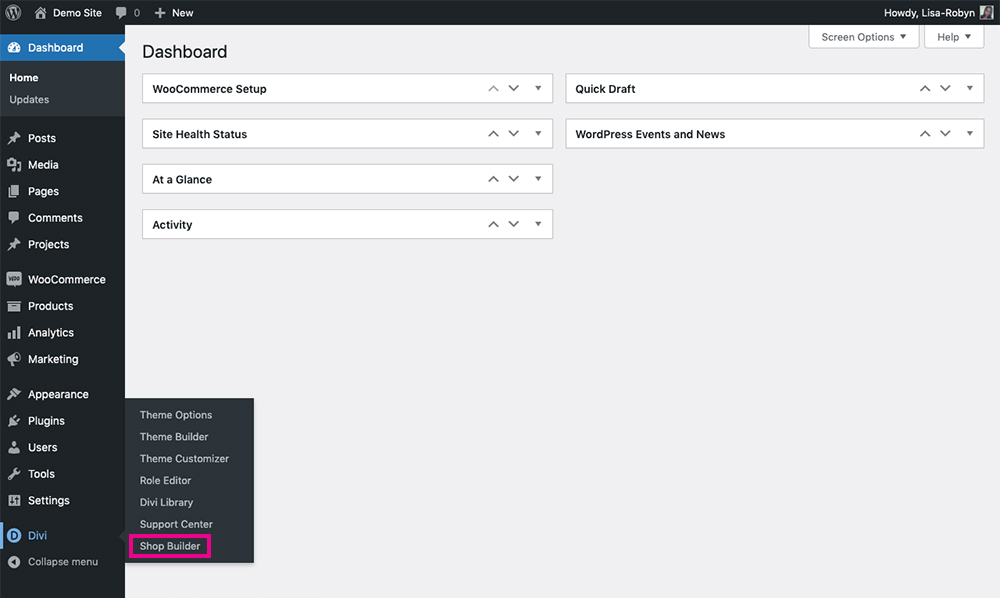
First things first, you need to install the plugin in the standard method. When the plugin has been installed, make sure to activate it too. When complete, the plugin will display in the Divi menu.
Before you can use the plugin, you’ll be asked to authenticate your plugin purchase by entering a license key. You can locate your license key by logging into your Divi Space account. Head to the Membership Details section and you’ll find your license key. Copy it and return it to the Divi Shop Builder plugin menu. Paste in the license key and you’re good to go!
You can begin using the plugin immediately as it doesn’t have any setup or configuration steps. The plugin dashboard page simply shares the plugin features and a link to the plugin documentation.
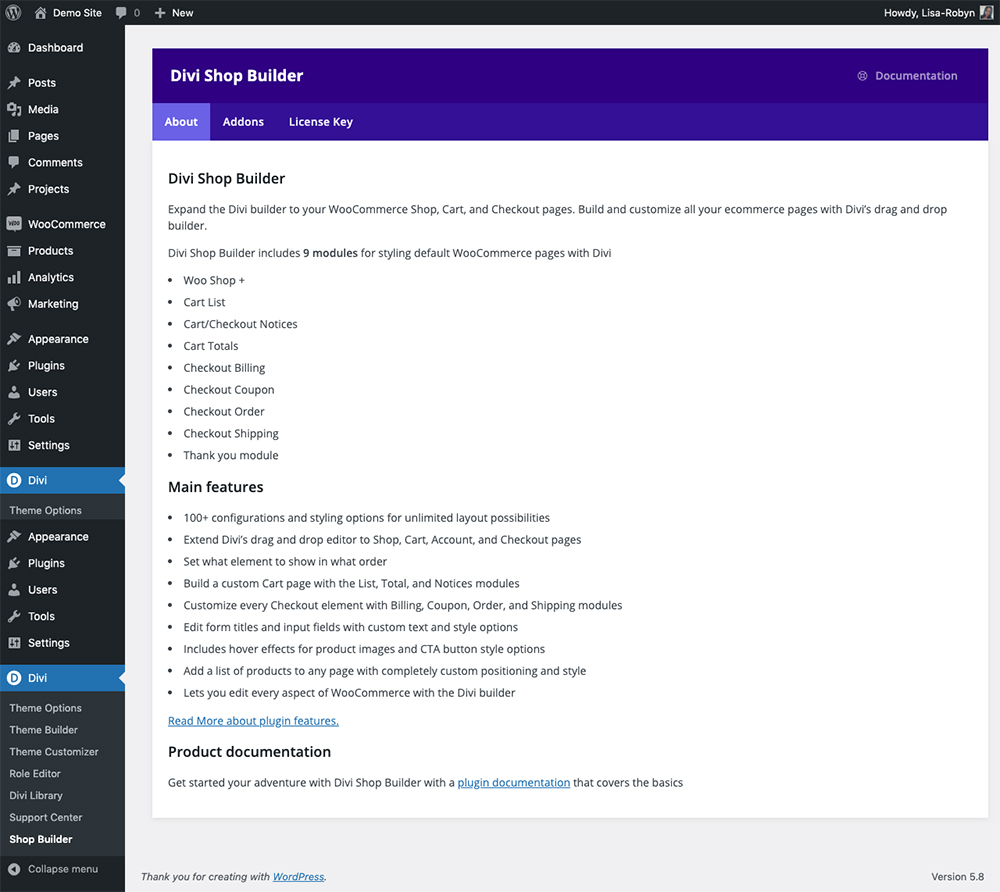
The Divi Shop Builder plugin details
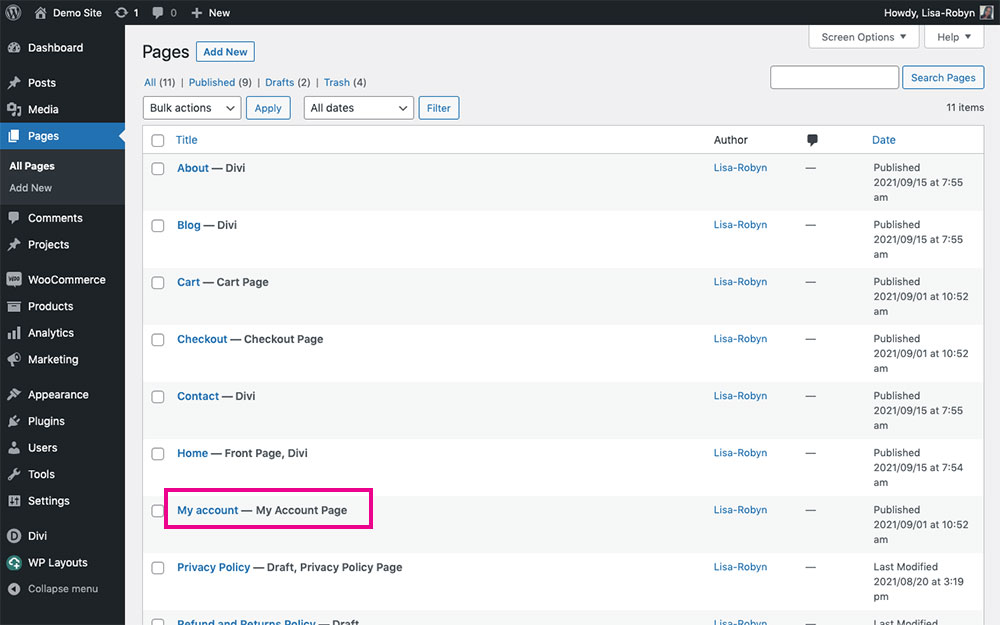
Step 2: View the “My Account” page
By default, WooCommerce will create a basic “My Account” page for your online store. To create a custom design, open the page and enable the Divi Builder.
The default WooCommerce “My Account” page
With the plugin set up, you can begin using the plugin to build a custom WooCommerce “My Account” page!
Step 3: Create a Custom WooCommerce “My Account” Page
To begin, add a section and row as per usual. When you open the Divi Builder, you’ll see four new modules:
- Account Content
- Account Navigation
- Account User Image
- Account User Name
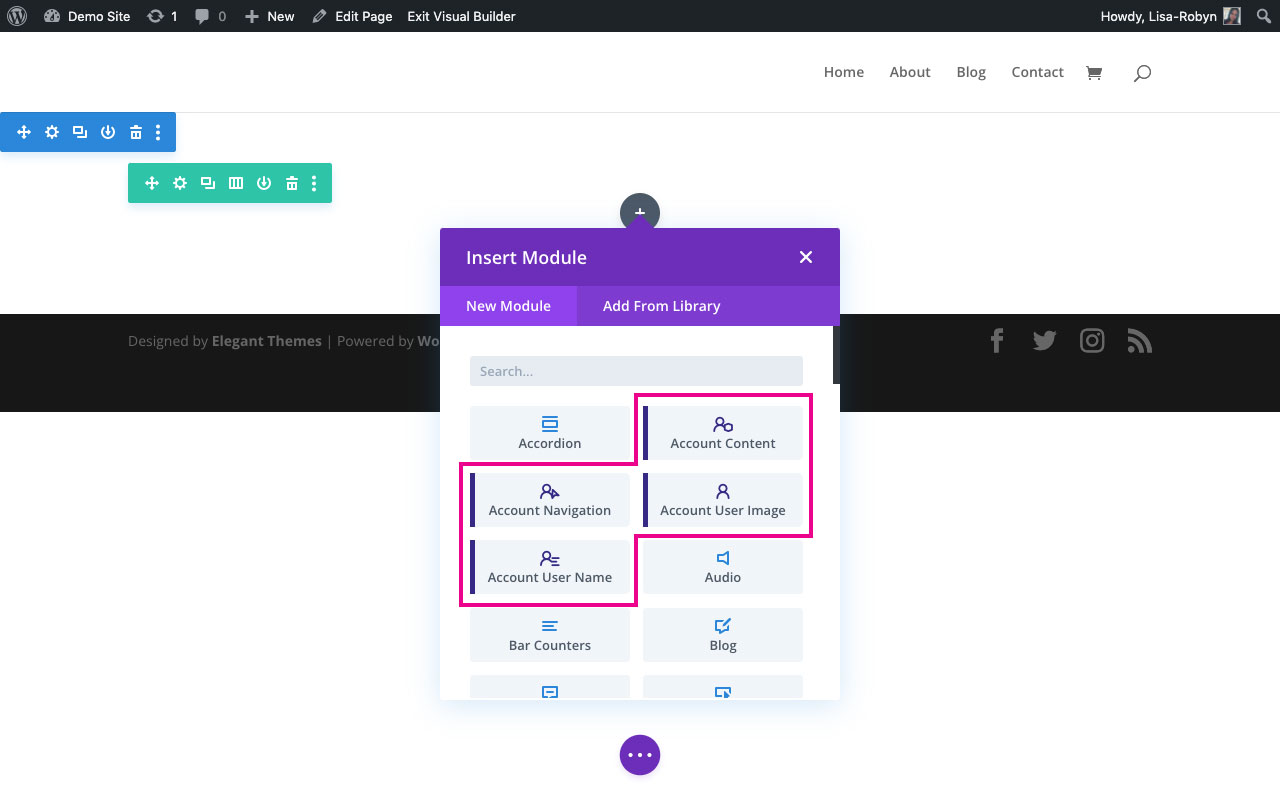
View the “My Account” page modules
Account Content
The first module, Account Content, adds a summary of the user and their details.
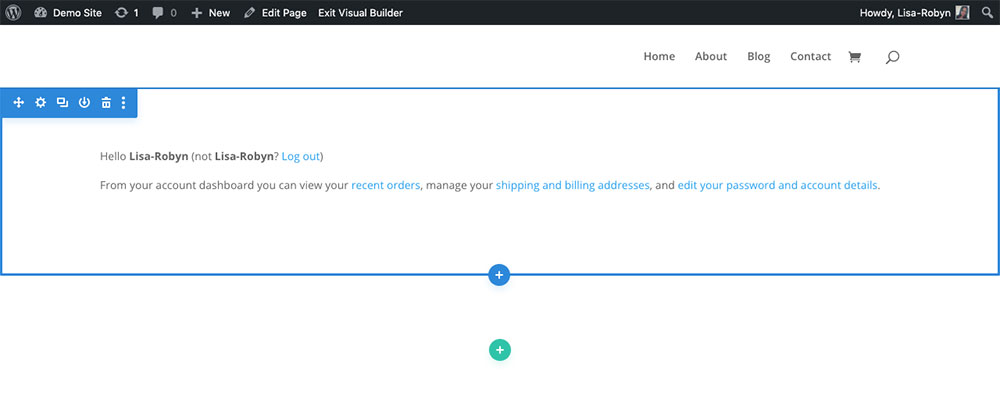
The default look of the Account Content module
When you open the module to edit it you’ll see a list of options:
- Dashboard
- Orders
- Downloads
- Addresses
- Account Details
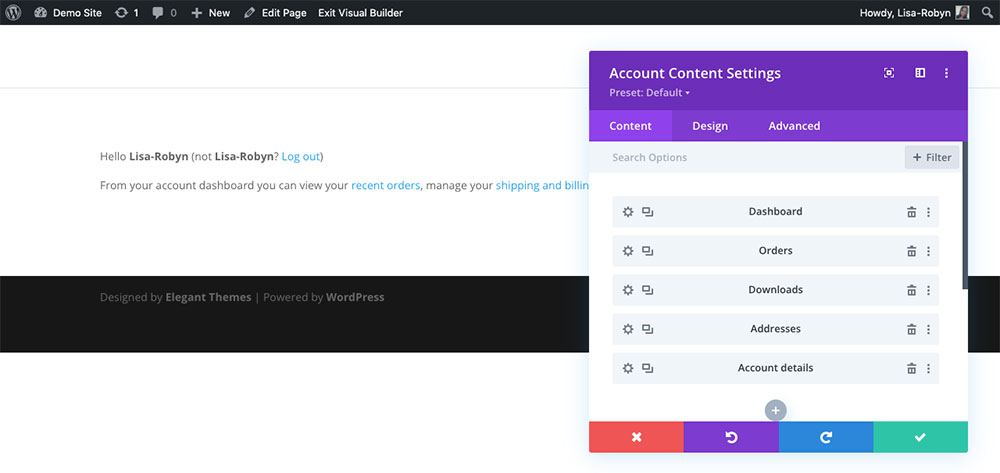
Select one of the Account Content options to edit
Clicking into each of these will let you edit the respective display of each section. The content itself can’t be changed, but you can use the Design tab to change the aesthetic display of each element. Here’s an example of the Account Details option.
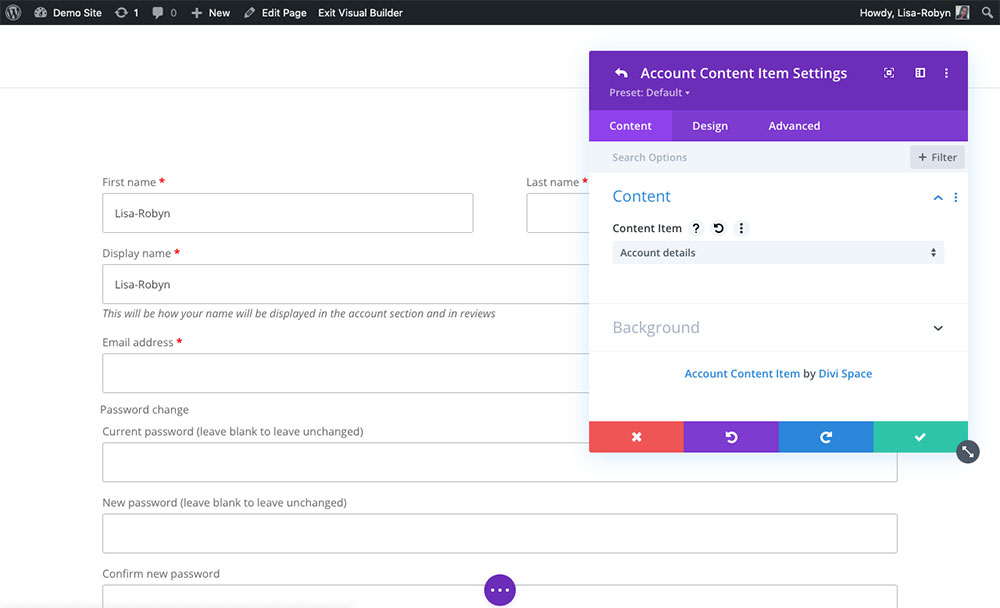
An example of the Account Details option
Here’s an example of the styling of the Addresses option.
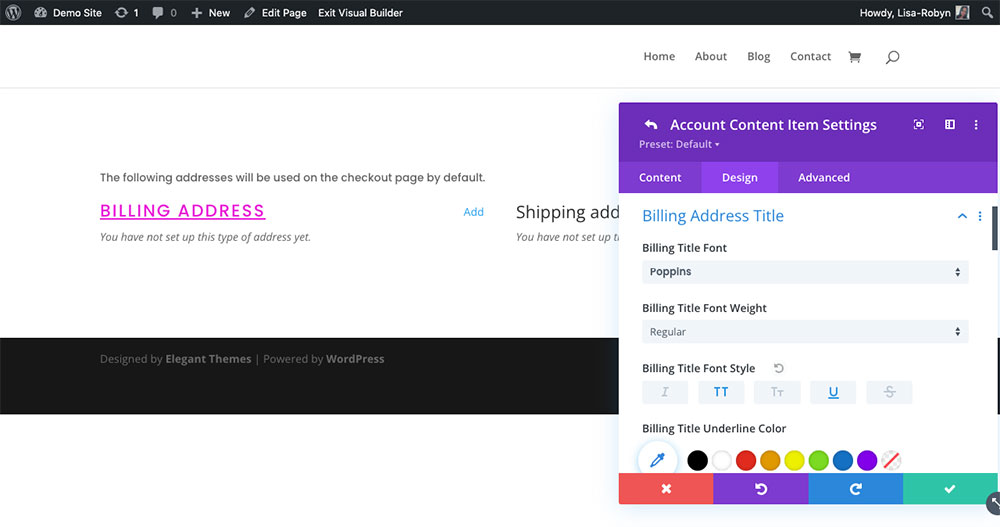
Use the Design tab options to style each element
Account Navigation
The next module, Account Navigation, enables the ability to move through each of the options above. By default, it displays as a list in vertical navigation.
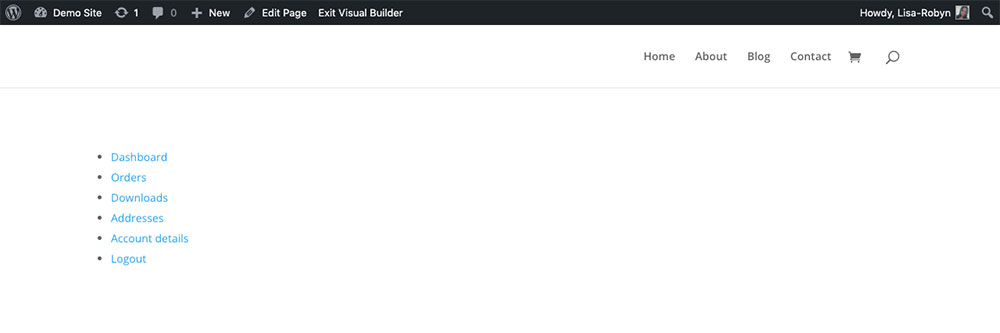
The default look of the Account Navigation module
In the Content tab, you can add a few embellishments. First, you can rename each of the options to something custom.
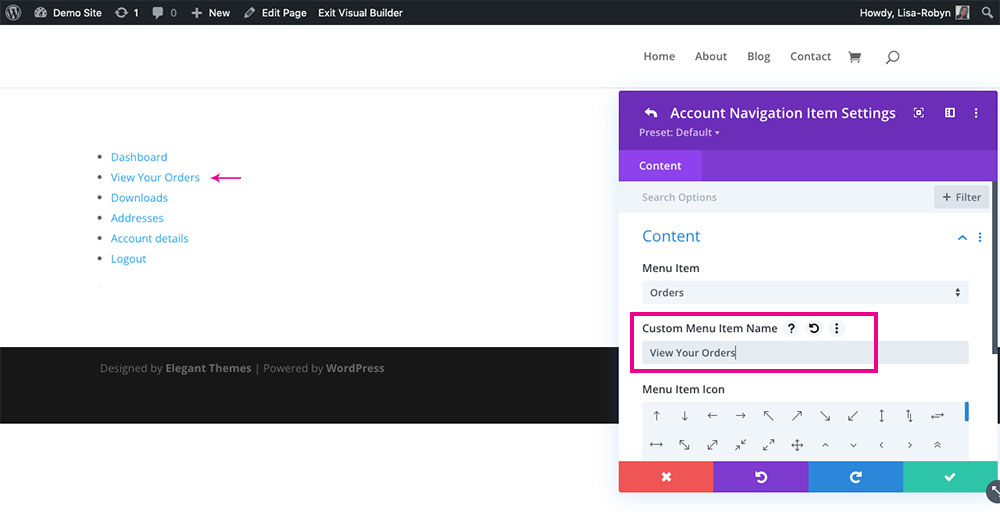
Change the text to fit your style
You can also choose to add an icon to the option name.
Add an icon
Depending on the nature of your layout, you can decide where you’d like the icon to be positioned.
Select the icon position
If you don’t like the vertical navigation, you can select a horizontal orientation.
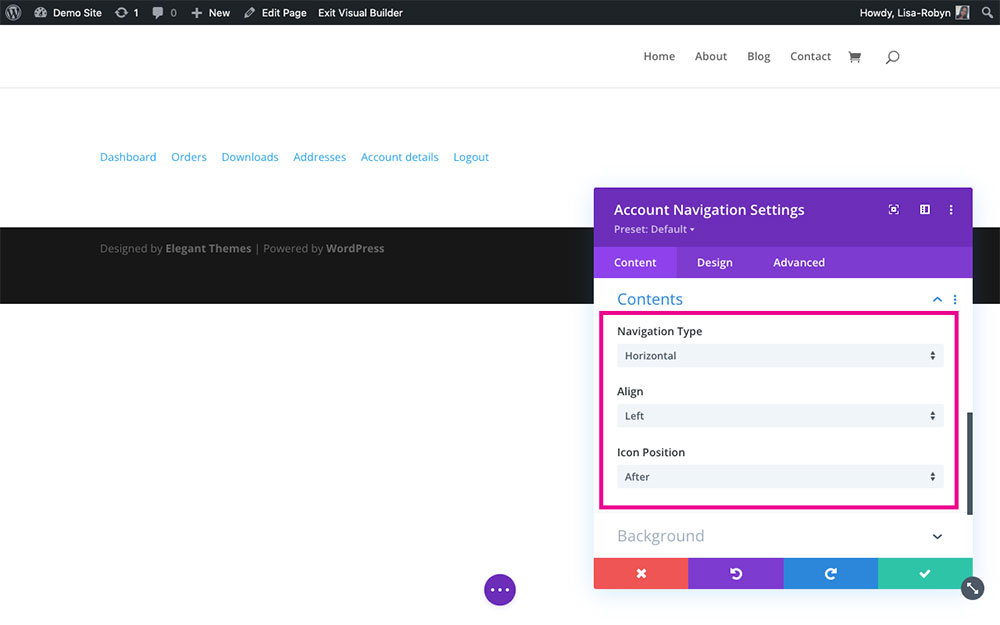
If you select the horizontal navigation type, you’ll have a few extra options to choose from
Playing around with the Design tab styling, you can create a really eye-catching design for the navigation.

You can style the horizontal navigation any way you like
Account User Image
The next module, the Account User Image module, adds an image of the user to the “My Account” page. It looks a bit strange and out of place by itself, so I’ve added the Account Content and Account Navigation Modules to give the Account User Image module a bit more context.
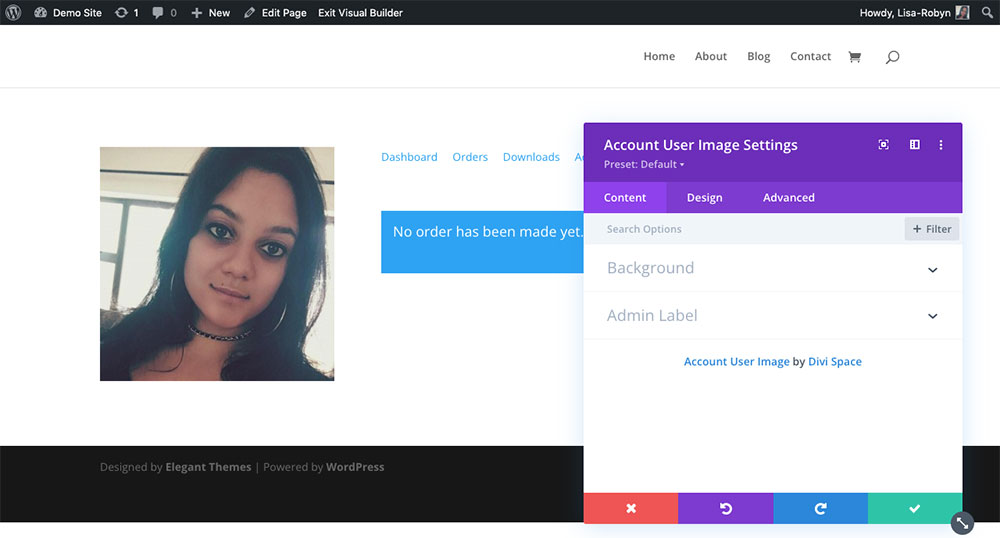
The default look of the Account User Image module
You can play around with the column structure and style the module using the Design tab options to create a great design.
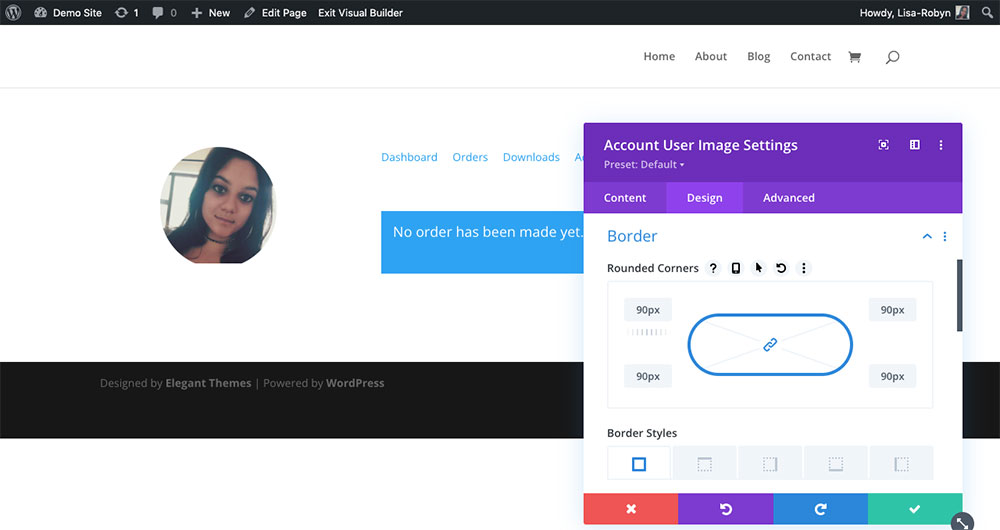
Use the Design tab to customize the look and feel of the account user image
Account User Name
The final module is the Account User Name module. This module adds a user name to the “My Account” page, giving it an extra personal touch.

The default look of the Account User Name module
You can choose from one of the existing formats for the username.
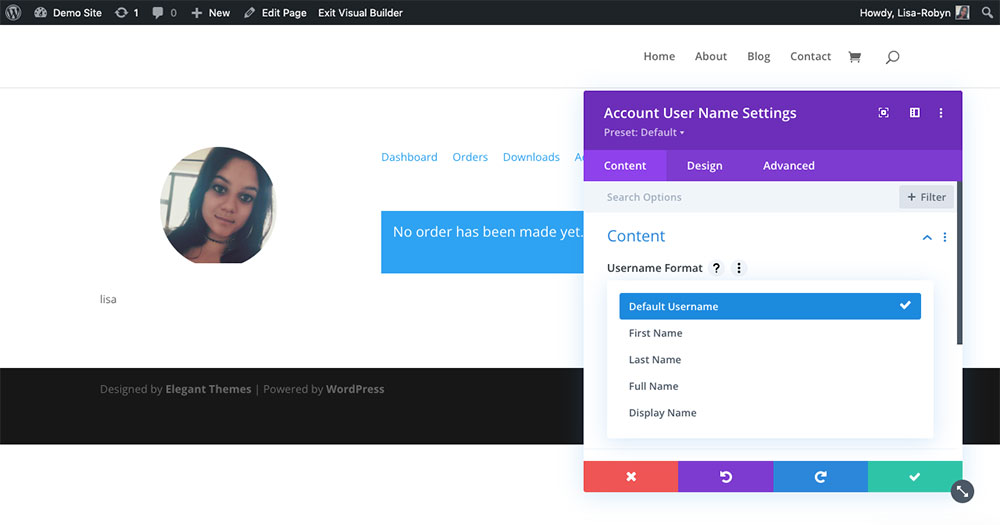
Select one of the many username formats
You can also choose to add in text before and after the username. Here you can get really creative in engaging your customer.

Enter custom text to read before and after the username
Customizing the WooCommerce “My Account” page
Like all the Divi Builder modules, each element added with the Divi Shop Builder plugin can be custom styled using the options in the Design tab. Use these options to create a design that matches your brand identity or design.
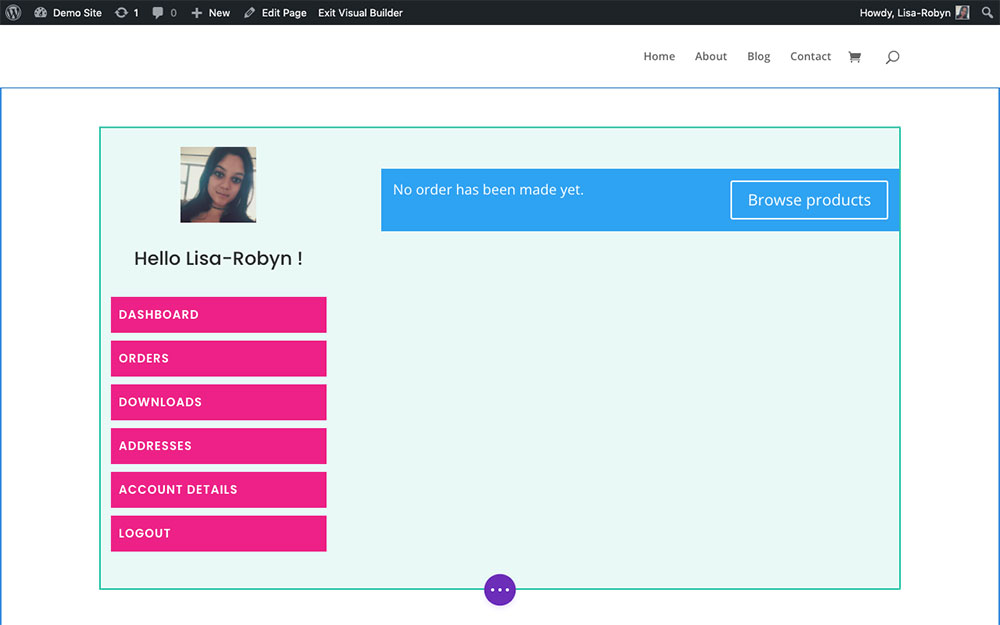
A basic example of how you can style the “My Account” page
If you want to add further customization to the “My Account” module such as custom classes and IDs, and also set the module’s positioning, transitions and more, all of this can be added in the Advanced tab.
Create Custom WooCommerce Thank You Pages Using Our JSON Layouts
To help you create a beautiful “My Account” page in rapid time, our design team has compiled a collection of custom-designed JSON layouts, specifically as “My Account” pages for the Divi Shop Builder plugin. These JSON files can be imported into your Divi site and used as WooCommerce “My Account” page templates. You can use them as-is or tweak them to suit your site and store design. Here’s an example of one of our layouts:
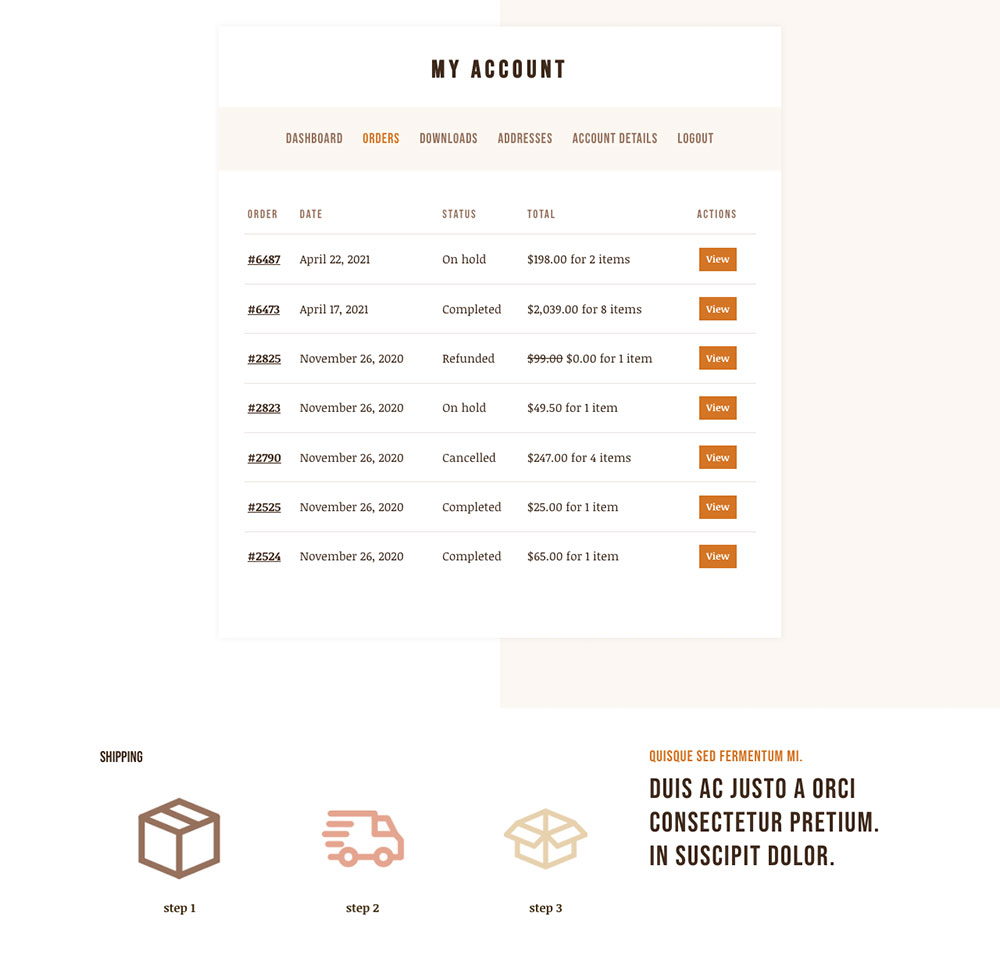
Here’s an example of one of our custom designed JSON layout
This JSON layout and plenty more are free when you purchase the Divi Shop Builder plugin. Once you purchase the plugin, download the layouts you like and import them into the Divi Library. You’ll have a stylish and striking “My Account” page up and running in seconds.
Download the Divi Shop Builder Layouts
New to the Divi Library? Here’s a step-by-step process for using our Divi Shop Builder layouts on your Divi site.
- Once you’ve purchased the plugin, head to the JSON layout demo showcase page and download the “My Account” page layout of your choice. A download will automatically begin, and a zip file will complete on your computer. Unpackage the file and locate the JSON layouts inside.
- Next, head to the Divi Library. Click on the Import & Export button and a pop-up will appear. Here, click the Import tab and select the JSON layout from your computer. Once the installation is complete, the JSON layout will be sound in your Divi Library.
- Go to your Pages dashboard, open the My Account page and enable the Divi Builder. These layouts are all full-page layouts. When you add them, don’t create a new section, instead, open the Divi Builder console and hit the plus icon. This will open the Divi Library and other layouts. Click the Your Saved Layouts tab and locate the layout and add it to the page.
- Let the layout install, and once complete, you can customize all of the elements in the Content tab and then style them in the Design tab. In minutes you’ll have a stunning “My Account” page for your online store.
Ending thoughts
Taking the time to create custom pages on your online store can seriously improve the overall user experience of your site. Designing a beautiful “My Account” page will keep your customers engaged, hopefully, increase repeat purchasing and help you land raving fans and loyal customers.
As well as a custom “My Account” page, the Divi Shop Builder plugin also lets you create a custom Cart and Checkout page, as well as showcase your WooCommerce products in list view, create a product carousel and so much more! Get started now! Start building beautiful online stores, purchase the Divi Shop Builder plugin from Divi Space!
Are you using the Divi Shop Builder plugin? Let us know what your experience has been like with the plugin! Also, drop a link to your WooCommerce store, we’d love to see your custom-designed pages. Thanks for reading!

can i add fields with ACF?
Can we add more fields to our login form? Such as security questions?
This can be done with additonal plugin, for example Login Recaptcha