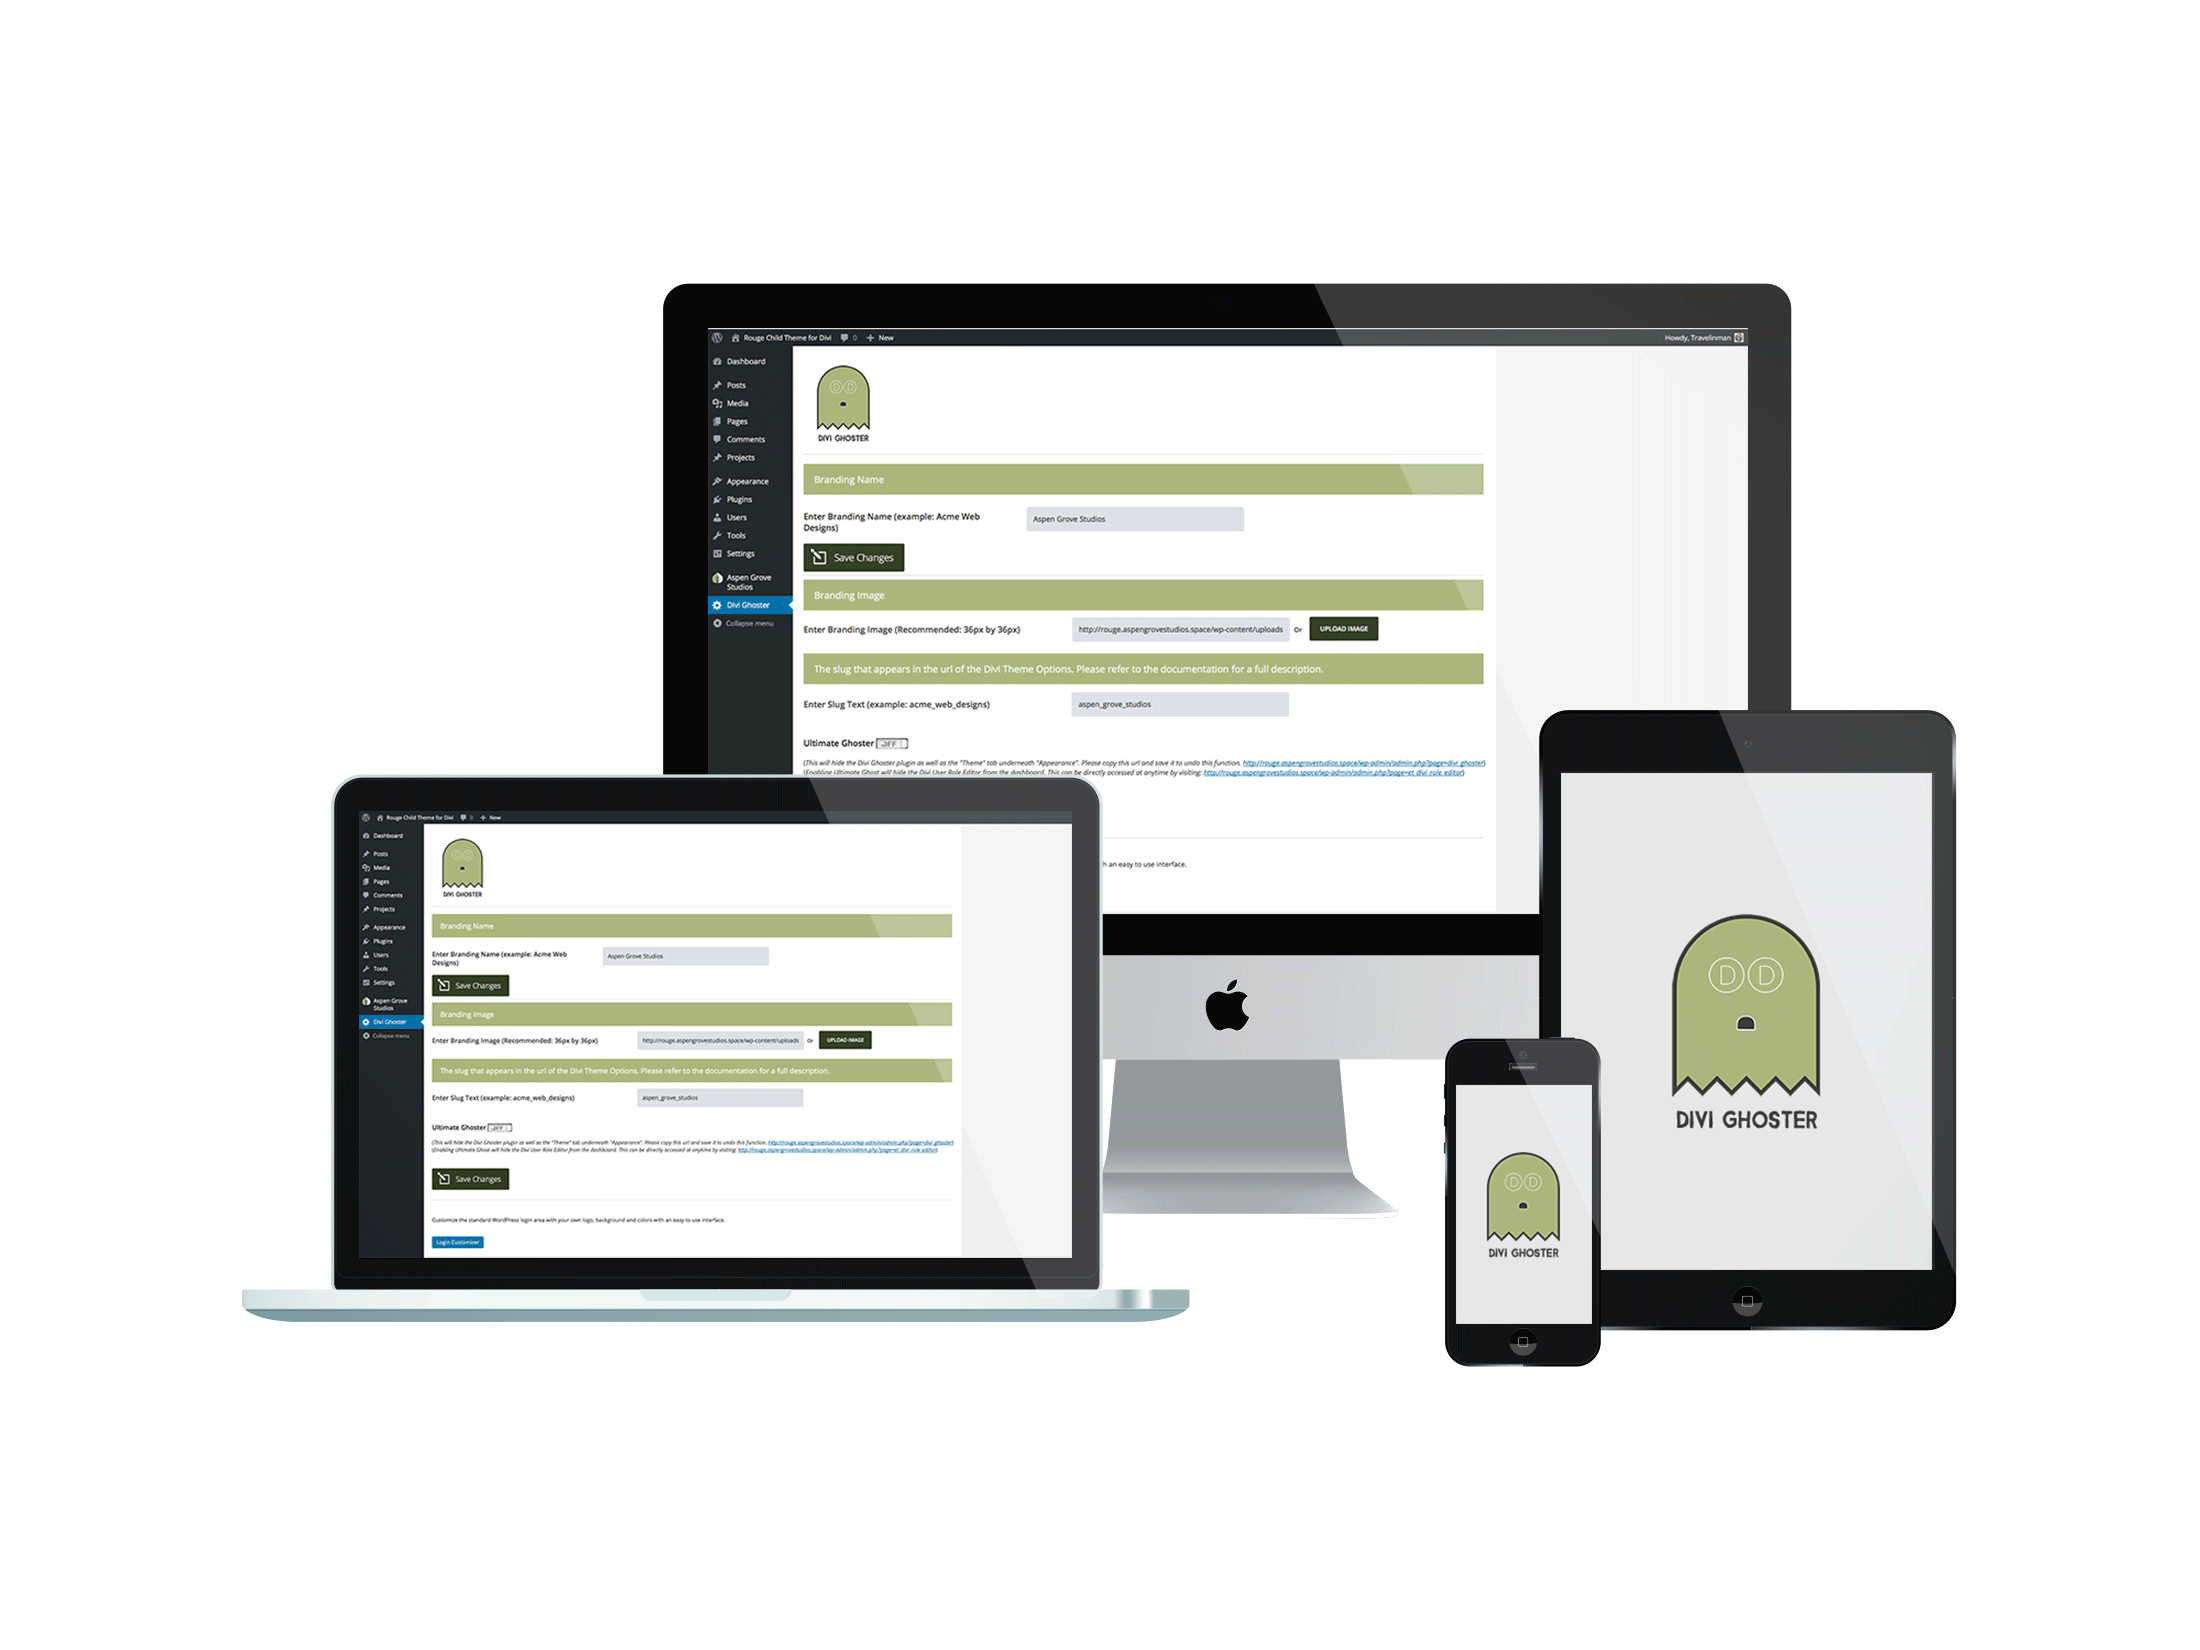
We at Aspen Grove Studios are pleased to announce that the original white label Divi plugin, Divi Ghoster, is now compatible with Extra!
Through Divi Ghoster 2.1, you’re able to create and promote an extra personalized feel for a website build by not only replacing all instances of Divi or Extra with custom text and branding – either your own or that of your clients – but too, you’re able to style out a custom login screen for the default WordPress sign-in console with the Login Customizer.

Also, great news for those of you who are using (and loving) the latest version of the Divi theme, Divi Ghoster 2.1 has been tested and works perfectly with Divi’s 3.0 front-end builder. So whether you’re building websites using Extra’s drag-and-drop modular builder or if you’re using Divi’s react.js front-end builder, you’ll be able to experience all of Divi Ghoster’s white-labelling power and put your web build into stealth mode with ease.
Divi Ghoster 2.1 Features
Enter a Custom Branding Name
This will replace each and every site-wide occurrence of either Divi or Extra related text with a custom brand name (either yours or your client’s). Now, your custom text will reflect within the Page Builder, Page Settings, Theme Settings consoles.
Upload a Custom Branding Image
This image will remove either the Divi or Extra icons from the back end of your WordPress website and replace it with a logo or graphic image of your choice.
Enter Custom Slug Text
Now, any URL that would include the terms ‘Divi’ or ‘Extra’ will reflect with custom text relating to either your or your client’s brand.
Ultimate Ghoster
Activating Ultimate Ghoster will hide:
- The Divi or Extra theme from the theme selector console within the Appearance Tab
- The Divi Ghoster plugin from your WordPress dashboard
- White label slug with custom text for site-wide URLS
- Other Divi-Related plugins (including Divi Switch, Divi Booster, Aspen Footer Editor) from your WordPress dashboard
- Your use of the Divi or Extra theme from source code (now, when inspecting your website by using the Google Chrome Developer Tools, your website will display the relevant custom text entered through the Divi Ghoster Dashboard)
- Your use of the Divi or Extra theme from theme detectors.
* Note: To enable Ultimate Ghoster, your permalink structure must be set to any option other than Plain. To change your permalink setup, navigate to Settings > Permalinks and choose any other option but Plain
* Note: Make sure that you save the specified link before activating Ultimate Ghoster (provided within the plugin’s dashboard). You’ll need to visit this link in order to deactivate Ultimate Ghoster and resume building as normal, so save this link in a very safe place.
HOW TO INSTALL DIVI GHOSTER 2.1
Once the plugin download is complete, navigate to Plugins > Add New and upload the downloaded .zip file of Divi Ghoster to your WordPress back-end. Once you Activate the plugin, you’ll see a brand new Divi Ghoster tab in your WordPress Dashboard menu.
Thanks for reading!


Is this only for fresh installs of WordPress? Can it be used for a site that already has content and is live?
Hi Sam,
Ghoster can be used on fresh installs or existing sites.
Hi ,
Nice work 🙂
Is there any way to add this Features in the next update :
1-white label divi switch and divi booster so NO NEED to hind and our clients can use them ?
2-change the purple color in the theme control panel .
3- ad photo for the theme details and some texter .
Thanks
Any chance it will receive Multisite support in the future?
Hi David, multisite support is definitely on our list of future upgrades… we can’t give you an exact date as there are a number of complexities we have to overcome for this. Keep your eyes peeled tough 🙂
Awesome. Thank you very much!