If you’ve chosen PayPal as one of the payment gateways for your WooCommere store, you’ll need to create and connect a PayPal account to your online store. This quick guide will show you how to set up PayPal for WooCommerce.
Connecting PayPal to WooCommerce isn’t that difficult, but there are a few advanced features you’ll need to know about. In this tutorial, we’ll show you what you need and walk you through the steps of how to set up a PayPal account for your WooCommerce store.
Hang around until the end for a few WooCommerce plugins that provides tools to analyze your store’s performance and give you insights on how to make that PayPal account grow.
PayPal Accounts You’ll Need
Aside from a WooCommerce installation, you’ll need a PayPal account. This account is free.
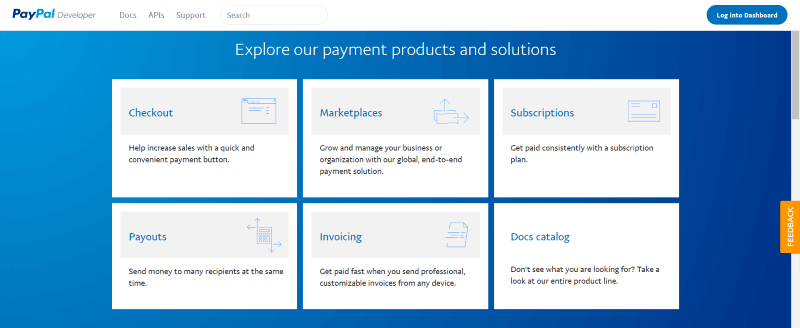
I also recommend having a PayPal Developer’s account. This will allow you to test your store’s settings and create API’s that you’ll need to handle returns. This account is also free.
Setting Up PayPal for WooCommerce
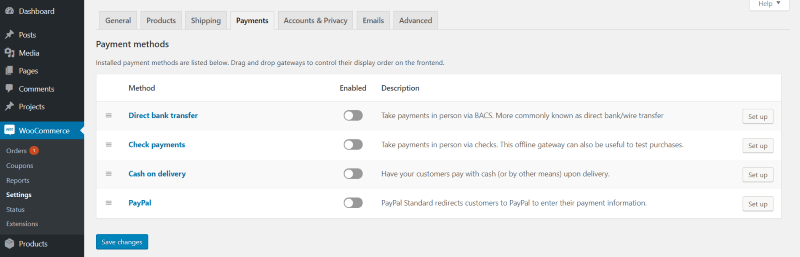
WooCommerce has PayPal settings built into the payment methods. You’ll find the payment methods in the WooCommerce Settings. Select the Payments tab. Click the Enabled toggle for PayPal and then click the Set up button or on the name PayPal.
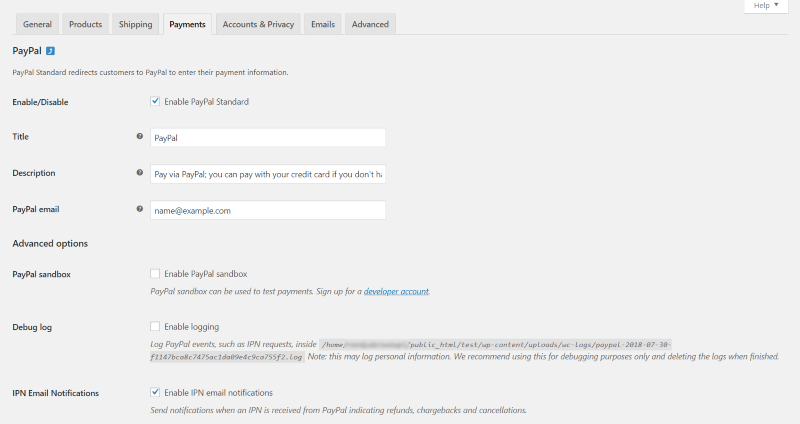
This opens the PayPal settings screen. Many of the settings include defaults. It has 3 sections:
- Standard Settings
- Advanced Options
- API Credentials
Here’s a look at each section. The Advanced Options has the most settings. I’m breaking it into smaller sections to make it easier to follow.
Standard Settings
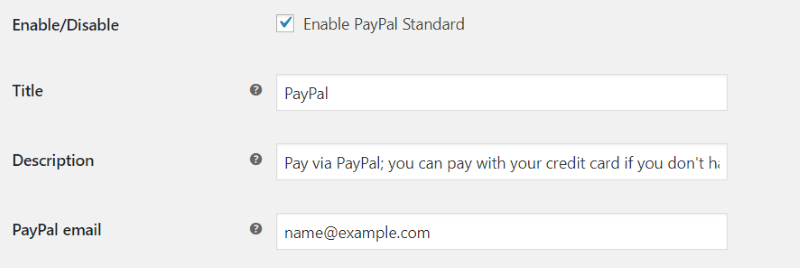
Enable/Disable enables PayPal Standard. This takes customers away from your website to PayPal’s secure payment site. This is enabled by default.
The Title is what checkout will show as the title for the PayPal portion of the checkout page.
The Description lets you create a description for the PayPal portion of the checkout page so customers will know what’s happening during checkout.
PayPal email is the email address for your PayPal account. The payments will be sent to this account.
Advanced Options
The WooCommerce PayPal Sandbox is an interesting tool to test your store during the development phase. Selecting this lets you test the payment process without actually taking money. It requires a developer’s account. When setting up your WooCommerce store it’s a good idea to use a sandbox PayPal account.
The Debug Log keeps a log of all PayPal events. This is also useful for testing during the store development phase.
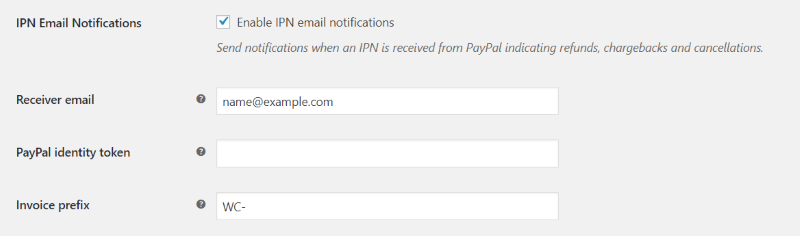
IPN (instant payment notifications) Email Notifications is a notification that indicates a refund, chargeback, or a cancellation.
Receiver Email is the email where the notifications will be sent.
The PayPal Identity Token is used to verify payments without the need for IPN. It’s only needed if you sign up for the Data Transfer option at PayPal.
The Invoice Prefix lets you identify the store within the invoice number. This is helpful if you’ve connected your PayPal account to multiple stores. Anything will work. Just use something that makes sense to you.
Shipping Details lets PayPal create shipping labels for you instead of billing the customer.
Address Override prevents the address from being changed. It can cause errors, so WooCommerce recommends keeping it disabled.
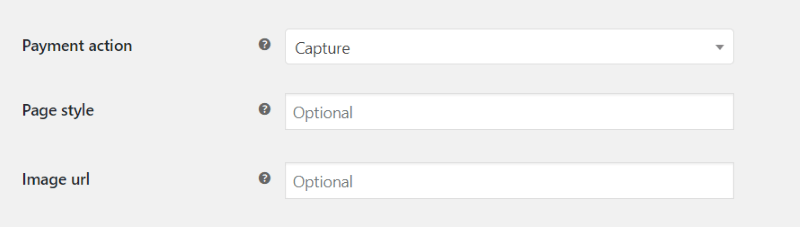
Payment Action lets you capture the funds or authorize the payment to be made once the status of the order is changed to Processing or Complete. Authorize requires API credentials.
Page Style lets you enter the name of the PayPal page style you want to use for your classic checkout page. You can see the styles within your PayPal account.
Image URL lets you enter the URL for a 150 x 150 image that will display on your checkout page. This is great for displaying your logo.
API Credentials
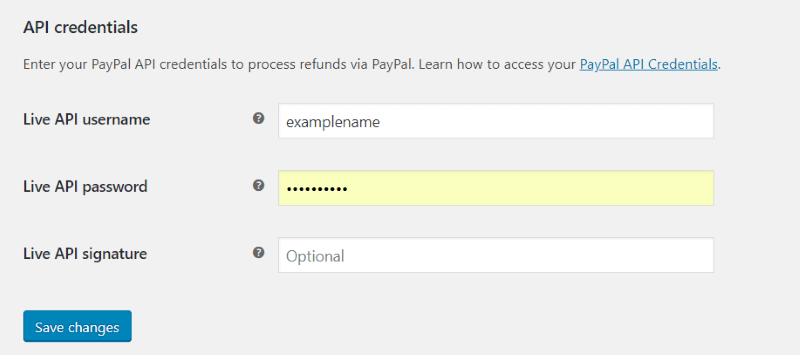
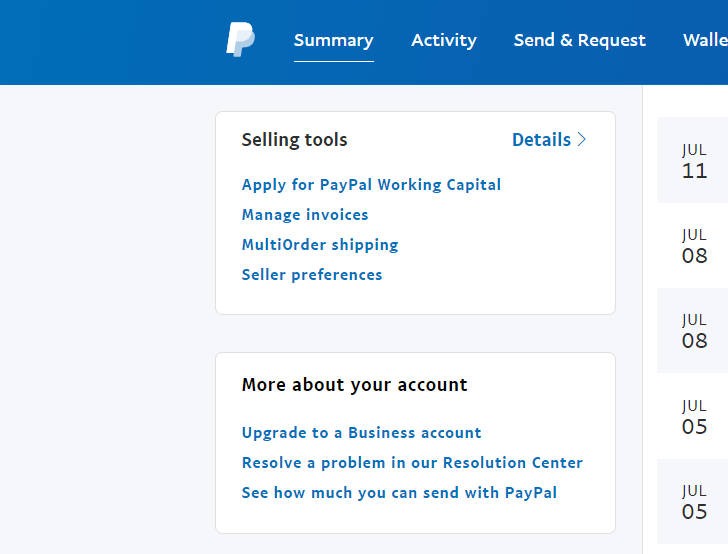
The API Credentials will have to be set up in order to process refunds. The Live API Username, Password, and Signature come from the PayPal API Credentials. Log in to your PayPal account, go to My Selling Tools > API Access. Next, select the NVP/SOAP API integration (Classic) > View API Signature. Here you can copy your API Username, API Password and API Signature from there.
WooCommerce PayPal Example
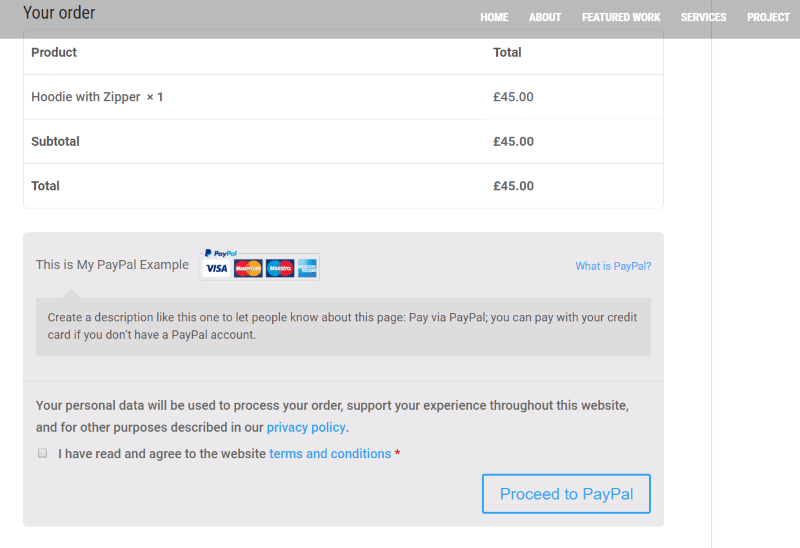
Once connected and set up your PayPal account your customers will see the customizations you’ve made to your checkout page. You’ll also receive payments into your account and reports sent to your email address. Here’s the PayPal notification that appears at the bottom of the checkout page. I’ve added an example title and description. This is great for providing further instructions or information.
WooCommerce Reports
One of the most useful tools to help grow your PayPal account is a detailed analysis of your sales. If you’re interested in a few plugins for WooCommerce that will expand your reporting features take a look at these plugins at Aspen Grove Studios.
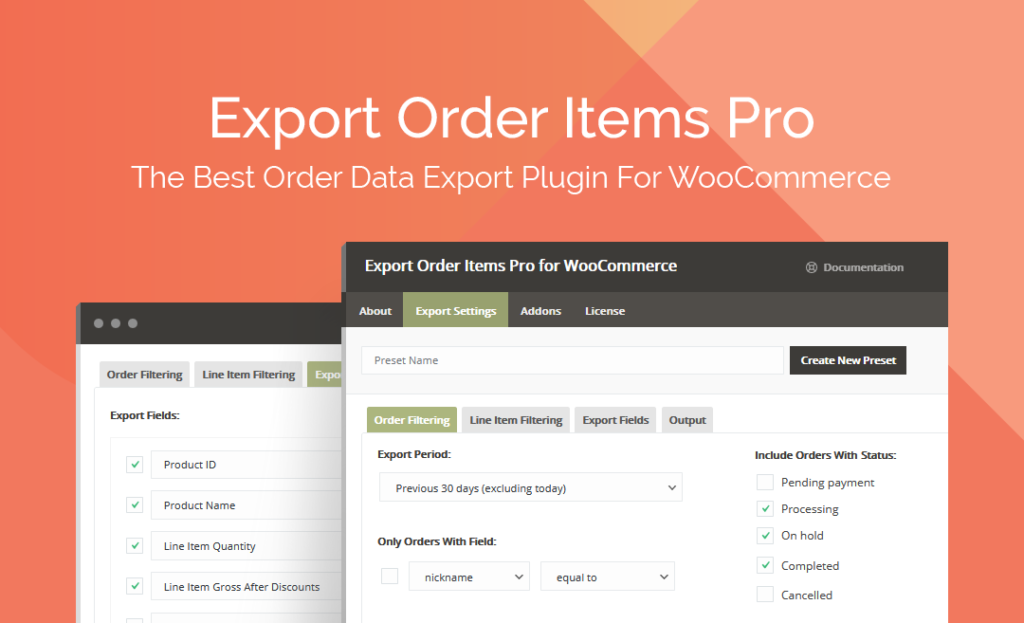
Export Order Items Pro for WooCommerce
Export Order Items Pro for WooCommerce makes it easy to export WooCommerce data to other apps such as accounting, analysis, and fulfillment software that do not directly integrate with WooCommerce.
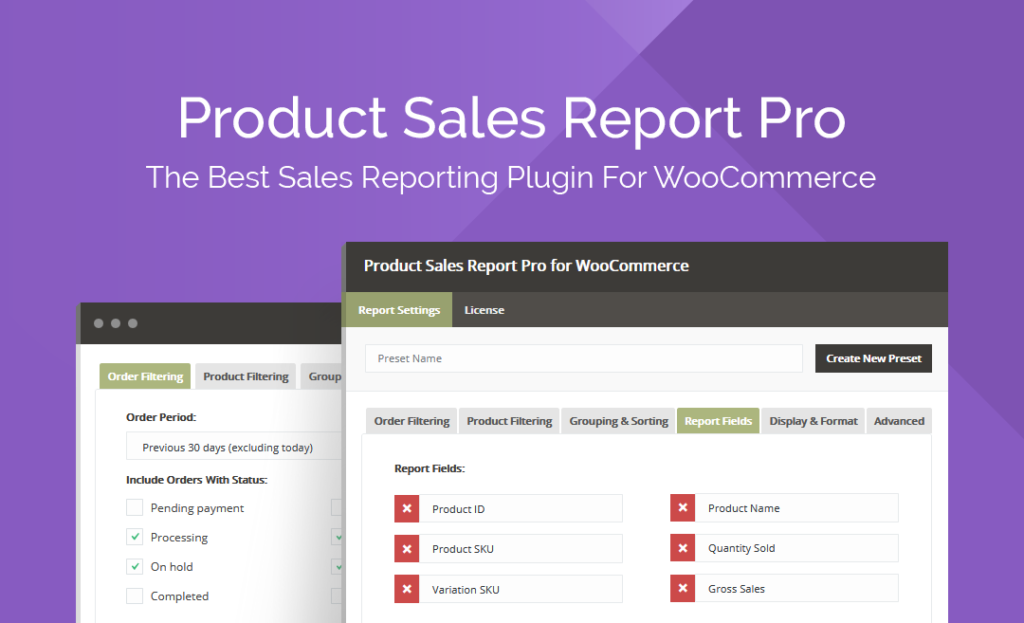
Product Sales Report Pro for WooCommerce
Product Sales Report Pro for WooCommerce creates reports based on the sales of WooCommerce products that are sold for a specific date range.
Ending Thoughts
WooCommerce and PayPal make a great pair for any eCommerce website. Fortunately, it’s not difficult too to connect your PayPal account to your WooCommerce store. It’s a good idea to use PayPal’s sandbox feature when setting up PayPal to receive payments. This helps iron out any problems before your store goes live. Don’t forget to check out the WooCommerce plugins available at Aspen Grove Studios.
Have you set up PayPal for WooCommerce? Let us know about your experience in the comments.

Hello,
yes. paypal standard account is not a business account,
Thank you for reading and for the feedback. I will have the writing team review the post and update as needed. Cheers!
Hello
I think the information you provided is wrong.
You do not need a PayPal business account to use WooCommerce.
Just enter your personal PayPal account email.
The same goes for the easy digital downloads plugin
A PayPal Standard account is NOT a business account, and a business account is NOT required to use PayPal with WooCommerce.
I want to offer an upsell between a customer adding an item to their cart and going through the payment process. I am wondering if Tim Strifler’s divibars is a way to do this, and if so how, or whether you can suggest an alternative way? Thanks, Martin
I am not sure how this would trigger Tim’s divibar to display the appropriate content at the right time without some custom javascript… are you looking to achieve something like this? https://wordpress.org/plugins/woo-boost-sales/