Instagram is one of the most popular social networks on the web. It’s primarily a mobile platform and is a great way to share your images and build an audience. One of the best ways to use Instagram is to embed your feed into your website. This helps keep your content fresh, display it the way you want to, and increase social engagement.
There are several ways to embed Instagram into your website. Instagram provides embedding tools for developers. This works great if you’re interested in using oEmbed endpoints, URL append endpoints, and building shortcodes with parameters. You could simplify this by copying the URL of a single post and adding parameters, but of course this doesn’t embed a feed, meaning you’d have to embed every post individually.
Fortunately there’re a far better and easier way to embed an Instagram feed. In this article we’ll look at how to set up an Instagram feed on your website using a free WordPress plugin.
WordPress Plugin: Instagram Feed

Instagram Feed is a free plugin from Smash Balloon. With over 500,000 active installs, it’s the most popular Instagram plugin in the WordPress repository. It’s easy to set up and can display feeds from multiple accounts in the same or separate feeds. It’s customizable to fit within your website’s design.
Display a header and bio text at the top of your feed and customize the font colors individually. It includes a load more button and an Instagram follow button, which can be displayed or disabled.
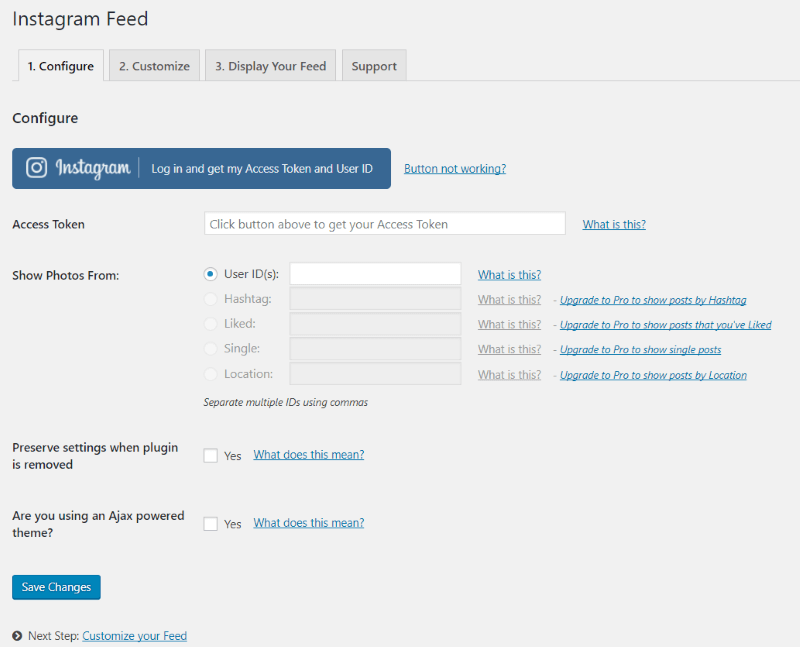
In order to connect your Instagram feed, install the plugin and select Instagram Feed in the dashboard menu. In the Configure tab click the Instagram button. This will log into your Instagram account and obtain your access token and user ID for you.
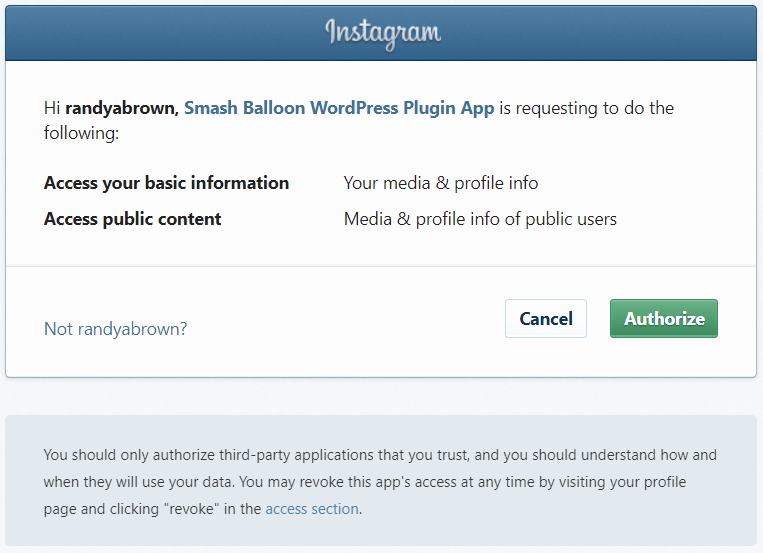
You’ll get a popup from Instagram that asks if it’s okay to authorize this plugin to access your media and content. Click Authorize. Your access token and user ID will be added automatically, so there’re no extra steps on your part.
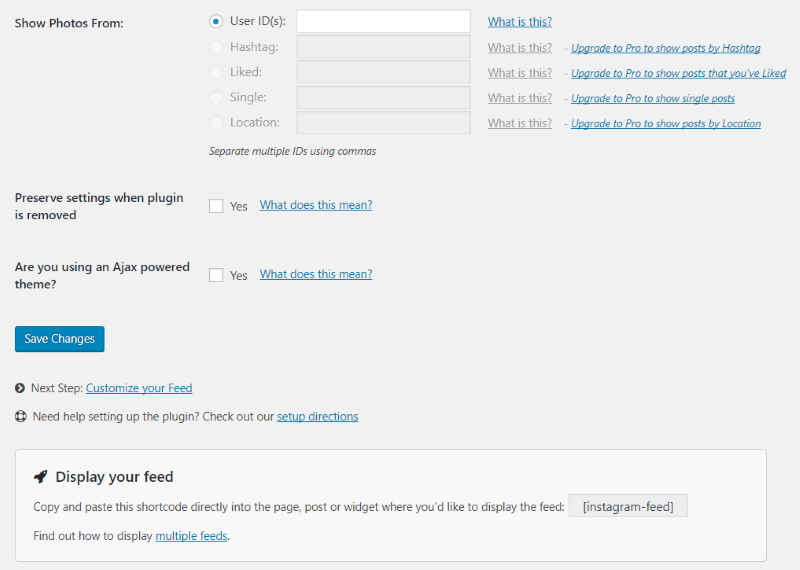
Next scroll down and click Save Changes. Your Instagram feed is ready to use. To place it within your content copy the shortcode [Instagram-feed] and paste it into your pages, posts, and widgets.
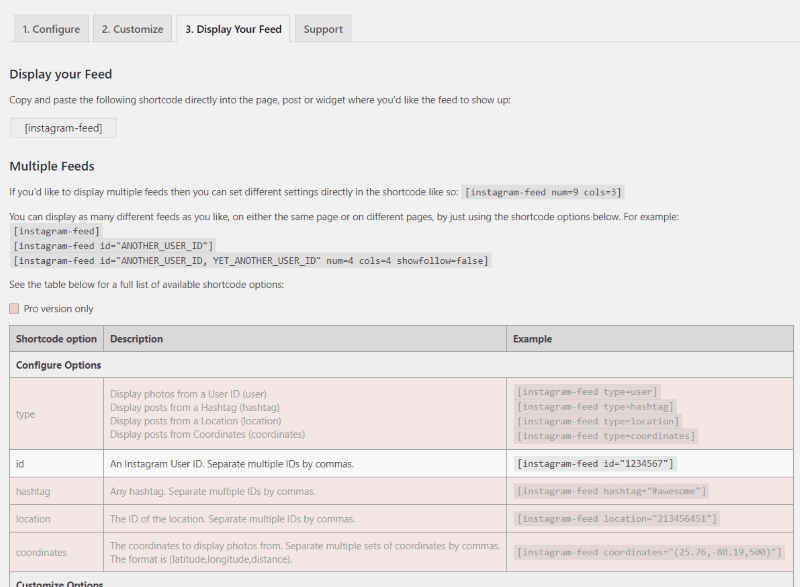
You have access to many more shortcodes, which gives you more choices of what your feed displays and how it displays it. The shortcodes are available in the settings screen within the tab called Display Your Feed.
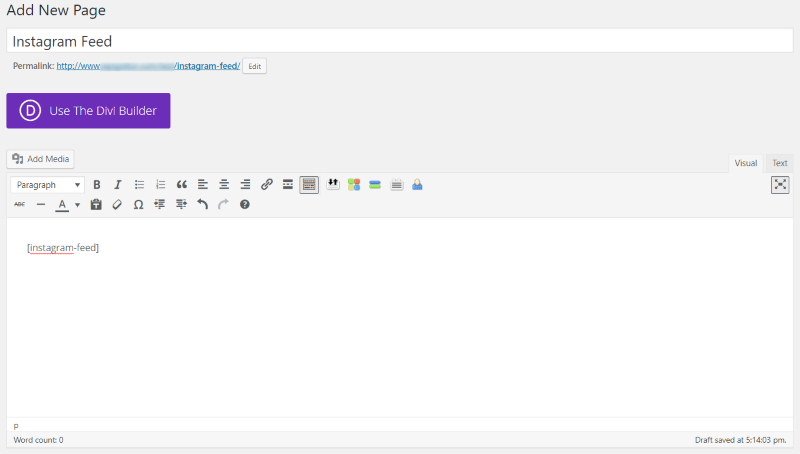
Here’s the standard shortcode placed within the WordPress editor.

The result is a four-column feed of my latest posts (that I copied from Aspen Grove Studios) complete with links so readers can follow me on Instagram. Links include my avatar and name at the top, and a button at the bottom. Each of these elements can be customized.
Display Feeds from Multiple Sources
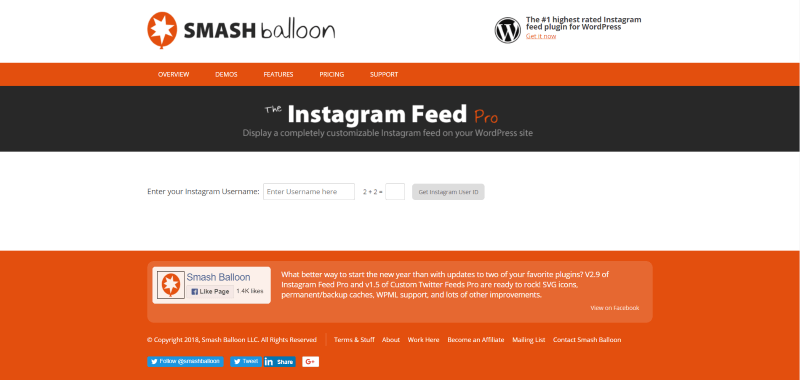
Another of the strengths of this plugin is it can show feeds from more than one source. To do this you need the Instagram ID’s of all the feeds you want to display. Smash Balloon provides a tool to make this easy. An Instagram user ID is not considered private information. It just isn’t readily displayed. We can find this ID using a tool called Find Instagram User ID.

In this example, I’m using the feed from a company called Aspen Grove Studios (maybe you’ve heard of them). This is the screenshot from the website on my laptop (so it might look different if you’re using an Instagram app).
You’ll see the name as well as the user name. Their company name is Aspen Grove Studios, but the user name is aspengrovestudios. The user name is the text we need to copy to get the user ID.

Paste the ID’s of all the feeds you want to display into the User ID(s) field, with each ID separated by a coma. Save the changes.
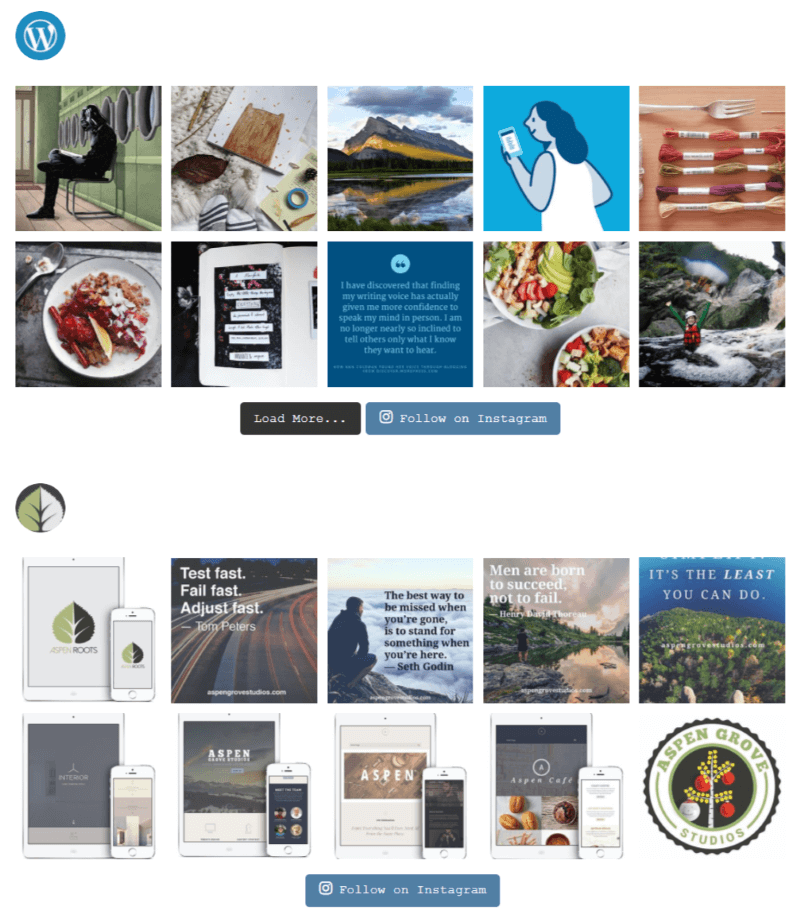
The feed now includes feeds from anyone I add. The standard shortcode displays them all together. For this example I’m using a shortcode for each feed, with the ID of the feed that I want to display. This provides the header and buttons for each feed individually. Using a shortcode to determine which displays means you could display different feed on different pages or within different areas of your layout.
Notice that the image above has five columns instead of the default four. The layouts are one of the many things that are customizable.
Customizing Your Instagram Feed
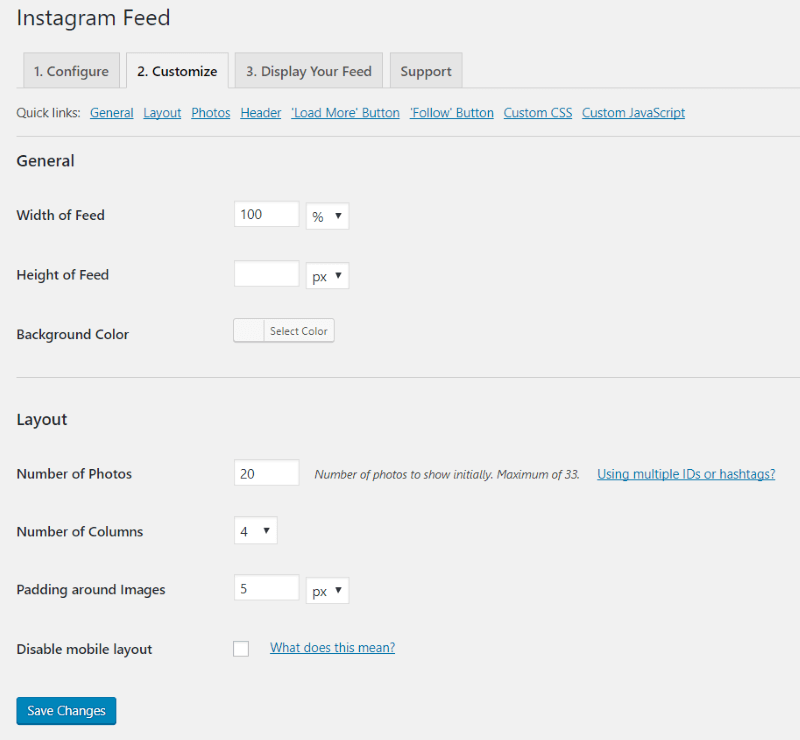
You can customize the look of your Instagram feed to fit within your website’s styling. To customize your Instagram feed, select the Customize tab.
Here you can customize the width and height of the feed, select the background color, choose the number of photos to display, set the number of columns, and add padding to images. You can also choose how the photos are sorted, set the resolution, customize the header, load more and follow buttons, add your own CSS, and lots more. The Pro version adds even more options.
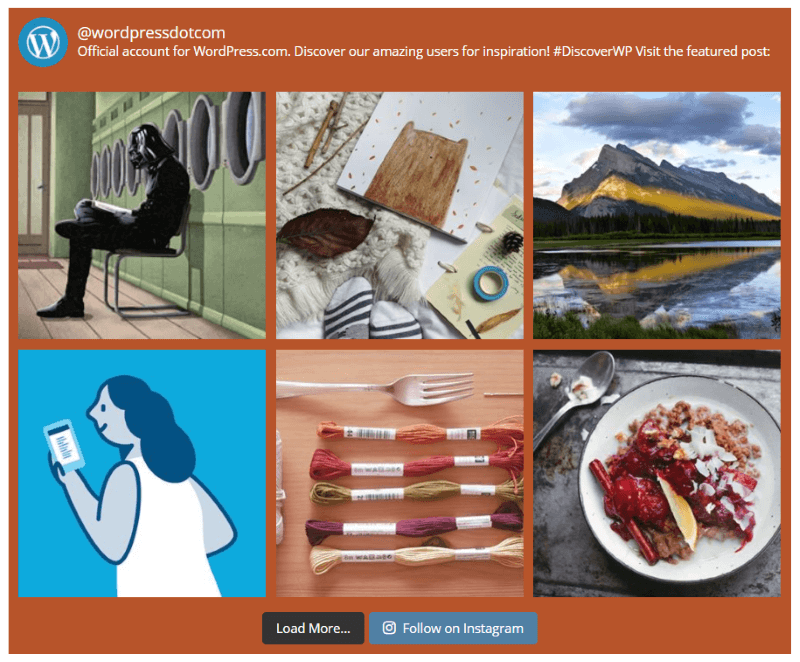
Here’s the feed from WordPress.com. I’ve limited the feed to 6, set the layout to 3 columns, and adjusted the header text color. The adjustments are simple but they can make a major difference in how the feed is presented. Another option is to place the feed within a layout such as a Divi child theme.
Using Your Instagram Feeds with Divi
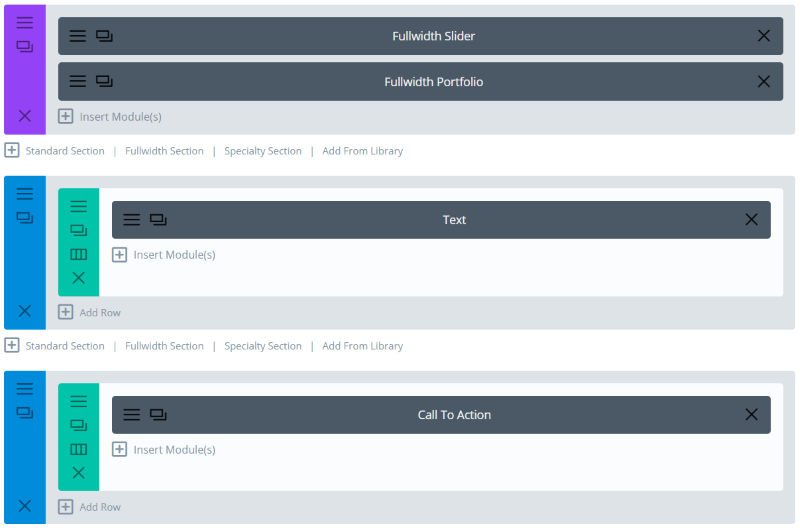
To use the feed with Divi simply add the shortcode to a text module. Since you can use the Divi Builder, you can fit your Instagram feed within any Divi layout you want.
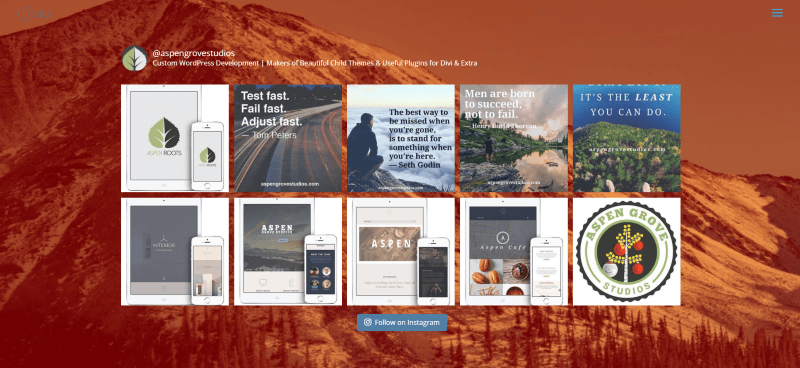
Here I’ve set it to display 10 images in 5 columns. I’ve created the background within the Divi section using an image of Aspen with an orange overlay.
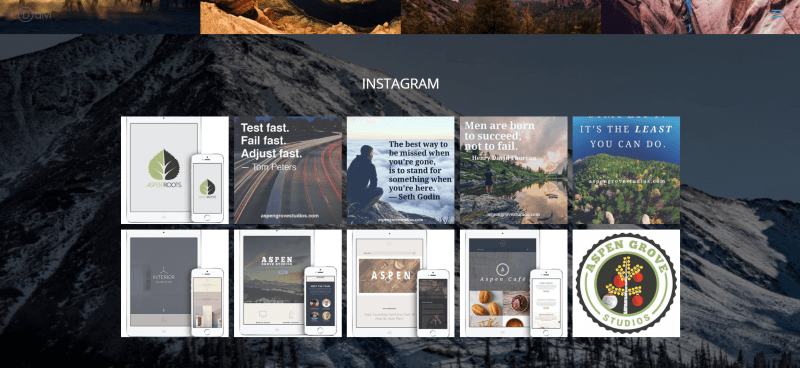
For this example I’ve disabled the header text, bio text, follow buttons, and load more button. I’ve set the feed to display 10 posts in 5 columns, given it a new overlay color, and added my own header.
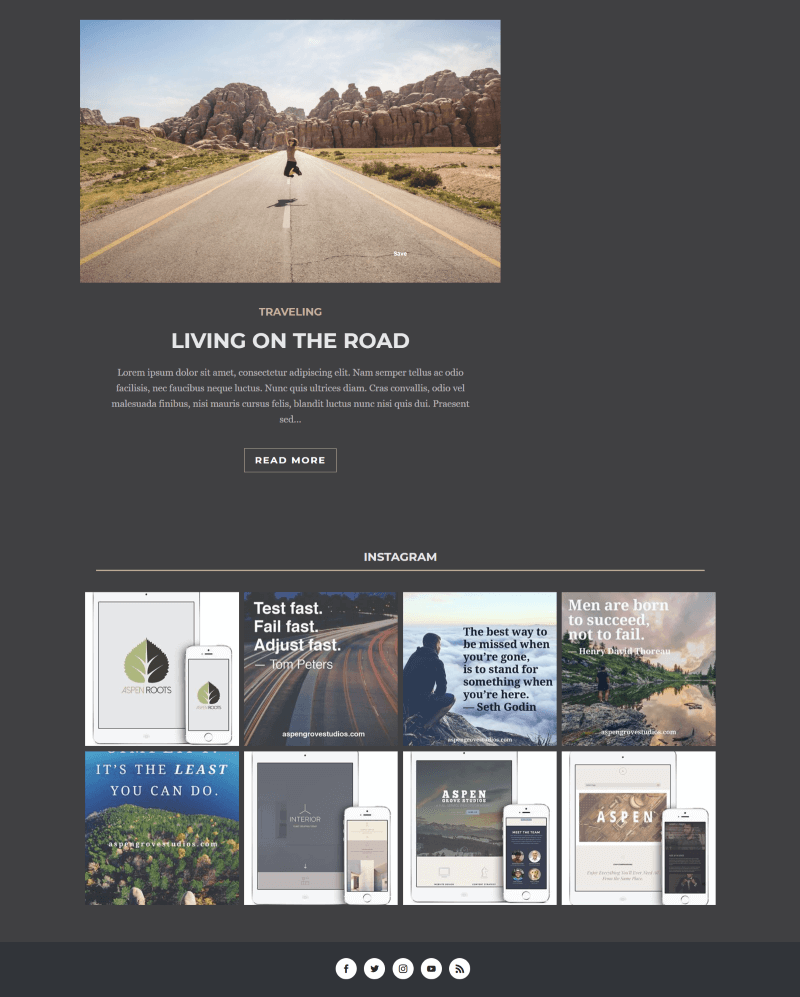
Here’s an example of using Instagram Feed with our child theme called Open Road. This uses a 4-column feed with 8 posts, and I’ve disabled the text and buttons so it will fit within the child theme’s design, which already includes a header and follow buttons.
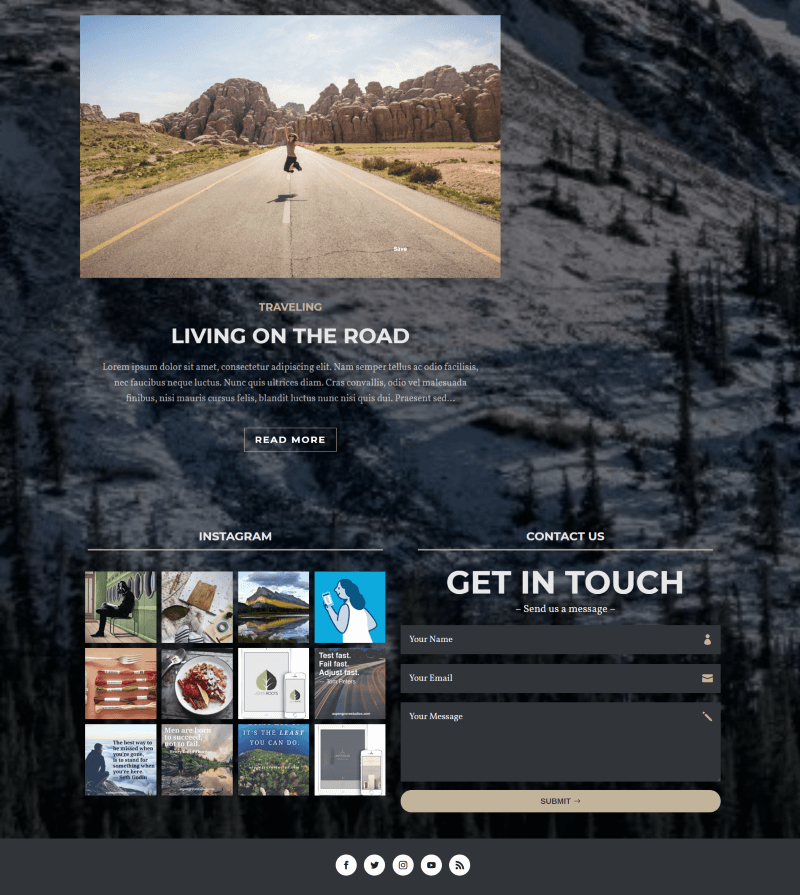
Of course we’re not limited to full-width columns. This one places the feed within a two-column layout with the contact form in the other row. I’ve placed a background image with overlay behind the section (which includes the blog feed) so the elements share a background, tying them together within the design.

The feeds can also be used within a widget. In this example I’ve added the shortcode to the sidebar within a text widget. I’ve included the header and bio text as well as the load more and follow buttons.
Ending Thoughts
Instagram is a popular social network and it can be a great advantage to embed your feeds into your website. It can keep your content fresh, display your work, and increase social engagement. A free plugin called Instagram Feed makes this process easy. Add any feed to any page, customize the layout and colors, and add it to your Divi layouts. You can even add multiple feeds and control which feeds are displayed within specific pages or layouts. Using the tips we’ve provided you can have your Instagram feed running on your website in no time.
We want to hear from you. Have you set up an Instagram Feed on your website? Let us know about your experience in the comments.


Can someone tell me why my IG feed is displaying on each page of my website even though it was embedded on the home page only?
Maybe the shortcode [instagram-feed] was added to the child theme files ?
I cannot get the feed to display. I am using Divi theme and followed the instructions to a t. I do see the name of the account and “follow on instagram” button but no images appear (and there are thousands on the instagram account). Am I doing something wrong? https://paulseidell.com
I am currently using the FREE version of your plugin.
Hello, this plugin is not developed by us, only recommended. We suggest contacting the developer, Smash Balloon
Lovely, thank you! Is there a way to make custom links when clicking the instagram images?
I have tried loading shortcode to text modeules and code modules and when i do the instagram grid doesnt appear, instead the divi loading bubble just keeps going and going…
I have the same; only on mobile. Any solution?
Had the same issue. You have to customize it in order for it to show up and stop loading 🙂
Splendid article. Exactly what I was looking for. Many thanks.
I love this plugin! Use it on a few sites. ?
Thank you for this! I was just thinking that there had to be a better way than using TintUp to implement this. TintUp is cool, but has their darn logo unless you pay a monthly fee.