Broken links, deleted pages, moved posts, and mistyped URLs can all lead your site viewer to a dead end when browsing through your website. Not only are they unable to find what they were looking for, but they’re given no explanation as to why their browsing processes ended in failure or where they should go to next.
This is really bad for the user experience of on-site browsing and it might even be a strong enough deterrent to stop a user returning to your site again.
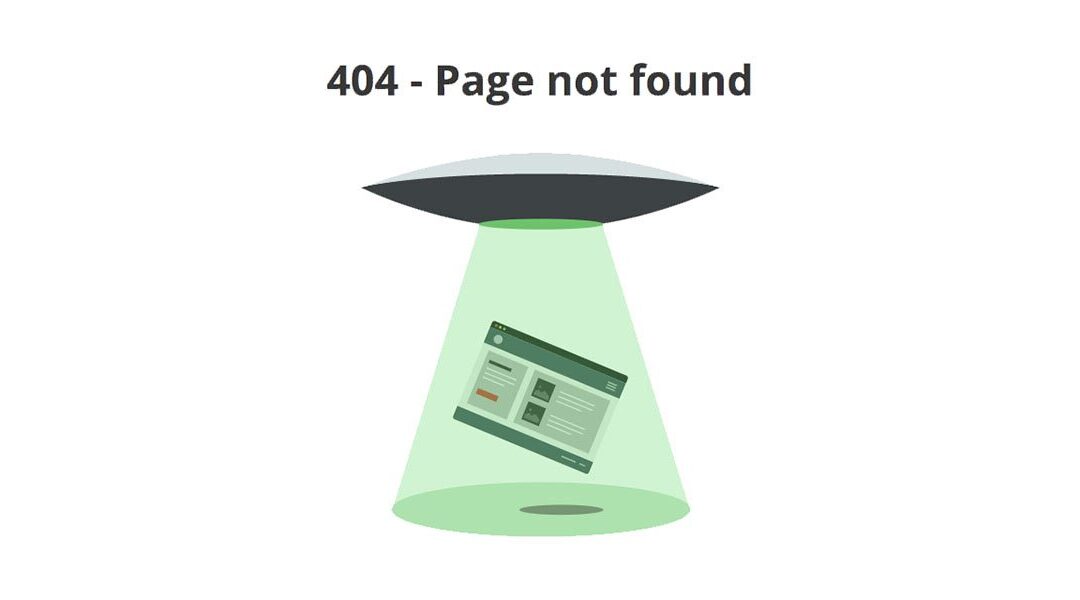
What is a 404 Error?
When a site viewer browses through a site, a call is made to the website’s server to pull on the resources available in the root folder. When a URL is either entered into a browser or clicked on via an available link, the server returns the call by displaying the requested page. In the event that the requested page associated with the URL does not exist, the server returns a 404 error message.
The 404 “Not Found” message is an HTTP response status code that the server returns when the requested content can’t be found. The 404 status code falls into the “Client Error” category of HTTP response codes, and is defined by a three digit numeric value, prefixed with the number 4. If you ever come across either ‘4XX’ or ‘40X’ on the web, it will more than likely be referring to the group of HTTP Client Error response status codes.
When the requested page can’t be located on the server, the site viewer will be met with a rather unfriendly and somewhat irritating default message: “The page cannot be found. The page you’re looking for might’ve been removed, had its name changed, or is temporarily unavailable.” This default message doesn’t offer any help to your viewer, and in most cases, they’ll move off from your site altogether.
With this, it is the responsibility of the web developer to set up a 404 page to help site viewers navigate their way out of a dead-end.
What Should I Include in My 404 Page?
A 404 page should be helpful when steering site visitors to a relevant alternate page within the website. Below are a few considerations when planning your 404 page.
- First, it’s worth using empathetic copy when telling site viewers that the page can’t be found. The tone should be friendly and personable, and can even include a short apologetic message.
- For navigation purposes, consider adding either prominent menu items or a search bar within the 404 page. If you have a vast number of pages on your site, it might be a good idea to consider including a sitemap.
- If your site pushes a lot of content, it could be a good idea to add a number of links to popular blog posts.
- It might also be a good thing to include a way for the site viewer to report a broken link. This will help you troubleshoot the 404 error.
- You could turn your 404 page into a sales asset by including lead magnets or offering coupons to keep visitors on your website.
- Finally, make sure that the 404 page is consistent with the overall look and feel of your site.
As 404 pages can often be pretty stiff and rigid, adding some humor or lightheartedness to the copy and/or content (if in accordance with the brand identity and tone) might be a tactic to keep site viewers happy.
Here are some great examples of 404 pages, as curated by Hongkiat, Creative Bloq and Really Good 404.
How to Set up a 404 Page for Divi
If you are using the Divi theme and would like to bypass using PHP, follow this Divi Space tutorial to learn how you can set up a custom 404 page using the Divi Builder.
If you are not using the Divi theme, visit the WordPress Codex for a 404 Error Page tutorial.
Before we begin it’s important to note the following:
- Without delving too deeply into template hierarchy, it’s worth mentioning that WordPress works by reading and displaying the child theme files before the parent theme files. If you have a 404.php file in a child theme, WordPress will display this file, and bypass the 404.php file in the parent theme directory. If not, WordPress will look for and display the 404.php file in the parent directory as a default.
- For this tutorial, we’ll be creating a new file (404.php) and adding it to our child theme folder. If you are unfamiliar with the nature and workings of child themes, please have a read through of this blog post to better understand why they are important for your WordPress website, and also how to set one up. Once the file is set up, all styling will be done using CSS.
- For the .php script, you could either make use of the standard Text Editor on your computer, or you could download a free IDE such as Brackets or Sublime.
- If you are working on a local host, adding the final file to your child theme is as simple as dragging it into the relevant folder. If you are working on a live site, use an FTP client such as FileZilla or Cyberduck.
Creating the 404.php file
Open your text editor or IDE, create a new file and enter the following code:
<?php get_header(); ?>
<div id="main-content">
 <div class="container">
 <div id="content-area" class="clearfix">
 <div id="left-area">
 <article id="post-0" <?php post_class( 'et_pb_post not_found' ); ?>>
 <h1><?php esc_html_e('Page Not Found','Divi'); ?></h1>
 <p><?php esc_html_e('Oops! The page you were looking for does not exist.', 'Divi'); ?></p>
</article>
 </div>
 <?php get_sidebar(); ?>
 </div>
 </div>
</div>
<?php get_footer(); ?>
Save the file as 404.php and move it into your child theme folder either in your local site folder or via FTP for a live site.
If you navigate to Appearance > Editor, you should see the 404.php file in the Templates section on the right-hand side. On the front-end, it will look something similar to this:

Note: By default, the Divi bottom bar does not automatically stay at the bottom of the page. To make your footer bar stick to the bottom of the page, follow this quick tutorial.
Changing the Display Text
As this method pulls in a file to display as a page, it can’t be edited using the Divi Builder. For a tutorial to enable the Divi Builder on the 404.php page, follow this Divi Space tutorial. In this example, styling is executed through the style sheet.
To change the display text, edit the first parameter within the function. Note the use of h1 and p tags – these will pull in the font styling as set in the style.css file of the child theme. Remember to keep the apostrophes both before and after the sentence, and include a comma after the apostrophe to register the string.
Also, if you’d like to use contractions in your text, you’ll need to add a backslash (\) before the apostrophe. In the PHP function, an apostrophe signals the start or end of a parameter in the string. The backslash signals that the contraction apostrophe is grammatical, and not a part of the function.
Examples:
<p><?php esc_html_e('Oops! The page you were looking for does not exist.', 'Divi'); ?></p><p><?php esc_html_e('Uh oh! This page has vanished.', 'Divi'); ?></p><p><?php esc_html_e('The page you were looking for doesn\'t exist.', 'Divi'); ?></p><p><?php esc_html_e('We can\’t find the page you are looking for.', 'Divi'); ?></p>Customizing the 404 Page
You can easily add just about anything to the 404 page using HTML and style it with CSS, as long as it falls within the article tags.
In this example, I’ve added an additional line of text (h1, h3 and p), a search bar, a link back to the Home Page, as well as a link to a series of popular blog posts. Here, you could add images, animations and even embed code from YouTube, Spotify or Soundcloud players.

Code
<?php get_header(); ?>

<div id="main-content">
 <div class="container">
 <div id="content-area" class="clearfix">
 <div id="left-area">
 <article id="post-0" <?php post_class( 'et_pb_post not_found' ); ?>>
 <h1><?php _e('Well this is awkward...','Divi'); ?></h1>
 <h3><?php _e('We\'re sorry, the page you were looking for doesn\'t exist.', 'Divi'); ?></h3>
 <p><?php _e('Return to the <a href="http://webite.com/">Home Page</a>, use the search bar below or read some of our Popular Blog Posts.', 'Divi'); ?></p>
<br>
 <ul>
 <li><a href="http://www.website.com/post1">Popular Blog Post Title 1</a></li>
 <li><a href="http://www.website.com/post2">Popular Blog Post Title 2</a></li>
 <li><a href="http://www.website.com/post3">Popular Blog Post Title 3</a></li>
 <li><a href="http://www.website.com/post4">Popular Blog Post Title 4</a></li>
 </ul>
 <?php get_search_form(); ?>
 </article>
 </div>

 <?php get_sidebar(); ?>
 </div>
 </div>
</div>

<?php get_footer(); ?>
We want to hear from you!
We hope that you’ve enjoyed reading this post. If you have any queries or questions, please feel free to share them below. We love hearing your feedback. Thanks for reading!
Image Source: For this blog post, we used the actual 404 Error page of CodyHouse as the featured image.

Thanks Maciej,
I will try to get this fixed on Monday.
The code and images on this post are not displaying.
Hi Tess,
We are working on getting all of this restored. Some things did not carry over on the site redesign and migration. Thanks for the heads up!
fantastic tutorial it was a great help
Simple and effective! thanks
Thank you for a great tutorial. I was just thinking about creating a 404 page for my blog, so now I know how to do it.