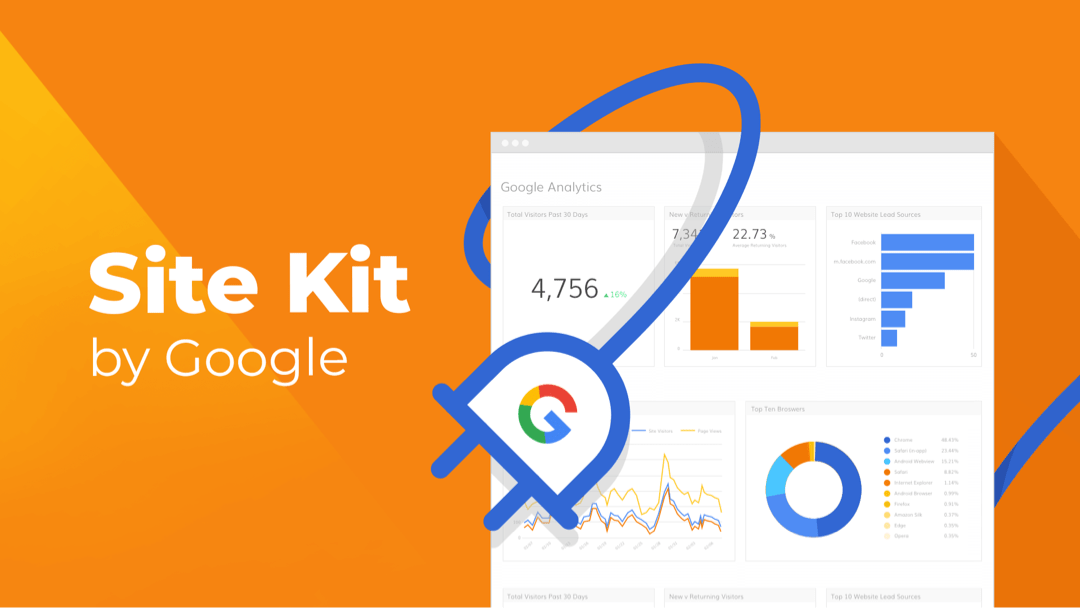
Site Kit is Google’s WordPress plugin that provides information within the WordPress dashboard about how visitors find and use your website. It includes up-to-date insights from Search Console, Analytics, AdSense, PageSpeed Insights, Tag Manager, and Optimize. Site Kit seems complex and the amount of information Site Kit provides can be overwhelming. In this article, we’ll look at Google’s Site Kit, see what it can do, and see how easy it is to use.
Installation and Setup

In Plugins > Add New, search for Site Kit or Site Kit by Google. Install and activate it.

Once it’s activated it will ask you to start the setup.

First, you’ll need to verify that you own the site. Sign in with your Google account.

Choose your sign-in and allow it to view and manage search console data.

Next, allow it to manage the list of sites and domains you control.

Confirm the choices you’ve made and select Allow.

Next, click to add an HTML verification token to your site. It adds this for you, so you don’t have to handle the code.

Next, allow your site to access the Google Account data.

Now you can go to the dashboard and add the specific tools you want.
Dashboard

From the dashboard, you can see an overview of how your site is doing in Google searches. You can also add modules for AdSense, Analytics, and PageSpeed Insights. Click on any of the modules to add them. Click the Ok, Go It! link to close this section.
Connecting Services

Connecting each of the services requires you to step through the same connection process as setting up the plugin. Once they’re connected, you’ll need to go through each one and make selections such as which website to configure.
Site Overview

The Site Overview provides information about the search funnel and the popularity of the content. Once you get your site set up it will populate this area with charts and insights.
All Traffic

All Traffic shows how visitors have found your website. It shows the information in a pie chart with the percentages of where your traffic is coming from. It breaks the traffic down into organic, direct, and referral.
Search Funnel

Search Funnel shows the number of impressions, clicks, and unique visitors from Search. It also provides information about the percentage that each has changed, using color and an arrow to show if it rose or fell, and a link to see the source of the information.

This section also includes a goal system. Create a new goal and it will compare your traffic to your targets. For my example, I’m creating a goal for visitors to share my content on social media. Go through all of the settings and save your goal.

Search Funnel now shows how many of my goals are completed.
Popularity

Popularity shows your top 10 search queries with the number of clicks and impressions and top 10 most popular content with the number of views. Clicking on any of the links for the most popular content opens that content in another tab.

Clicking on a search query opens that query in the Google SearchConsole where you’ll see interactive charts. Select tabs to see queries, pages, countries, devices, search appearance, and dates. You can filter the results and include a different date range.

The dashboard adds a section at the bottom with a search feature so you can see insights on specific pages and posts. This is helpful for those that are not in the top 10. Just enter the title or URL. It provides links to articles that match the keywords or URLs. It provides the same insights as the entire site, but for a specific page or post.
Speed

PageSpeed Insights shows information about your site’s load time. It shows a score for desktop and mobile with real user speed data and the time to become fully interactive. A scale shows the colors and scores. Clicking on the source the detailed PageSpeed Insights page.
Search Console

The Search Console shows how your site is discovered and displayed in a Google search. Track the number of people that saw your site in the results and see the search terms they used. It provides an interactive chart with the total number of clicks, impressions, average CTR, and average position. The graph displays both the total clicks and impressions by default. Clicking on one shows just that information on the graph. Click the link to see the full stats in the Search Console.

Under the chart is the list of the top search queries with the keywords, number of clicks, and number of impressions.
AdSense


Site Kit will connect your website to AdSense to show how much your site it earning. Create an AdSense account to integrate with your WordPress dashboard.

Once your AdSense account is set up, the dashboard will show the earnings for each of your ads. It might take a while to complete the setup, and you’ll have to create ads, but it will show the results as dollar amounts.
Analytics

Analytics shows how users navigate your site and tracks your goals. It provides several chartsURLs including an audience overview. It shows the number of users, sessions, bounce rate percentage, and session duration. The interactive graph compares the current month to the previous month.

It lists the top content and includes the title with a link to see the content, number of page views, unique page views, and the bounce rate for each one.

A pie chart shows the top acquisition sources. It includes the medium (organic, direct, and referral), number of users, new users, sessions, and the percentage.
Optimize

Optimize lets you connect your site to your Optimize account and perform A/B tests. It’s found in Settings. You’ll need to paste in your Optimize ID.

Creating an account lets you choose how you want to optimize your website. Enter the name, URL, and select an option from A/B Testing, Multivariate Test, Redirect Test, and Personalization.

Select Connect to Analytics and add the code to the header of your website in order to connect Optimize with your Analytics.

Add your Optimize Container ID and Optimize will now track the optimization that you set up.
Tag Manager

Tag Manager connects to your Tag Manager account to manage your tags. It’s also found in the Settings.

Create the account and add the code to the header and body of your website.

You can now use your Tag Manager account with your WordPress website.
Ending Thoughts
Site Kit by Google provides a lot of insights and tools about your traffic. See stats from multiple tools in a single dashboard and manage permission from several Google products within WordPress. I found Site Kit easy to use and the tools provide a lot of useful information.
I’m sure I’m not alone in that I’d like to see everything connected to a single account. I’d also like to see Optimize and Tag Manager fully integrated within the WordPress dashboard like the rest of the apps in this suite. Of course, this doesn’t diminish the value of Site Kit. If you want easy access to Google stats and tools, Site Kit is easy to recommend.
Have you tried Site Kit? Let us know what you think about it in the comments.

Thank you for this complete file
Any reason to use SiteKit if you have already configured GA, GTM, Search Console, etc? Does it add any new value?
I am not keen on sharing any more data with Google. After recent stories of Google selling data, no thank you. I will have to gather data in other ways. I don’t want Google inside of my site beyond the intrusion of analytics.