Adding a Google map to your website is a great way to show your location, provide directions to your physical location, and improve your local SEO. Fortunately, it’s easy to use Google Maps with Divi. In this article, we’ll look at 3 ways to add Google Maps to your Divi website.
Hang around until the end to see a cool plugin that provides lots of free premade styles for your Google Maps.
1. Embed Google Maps Code – without API Key
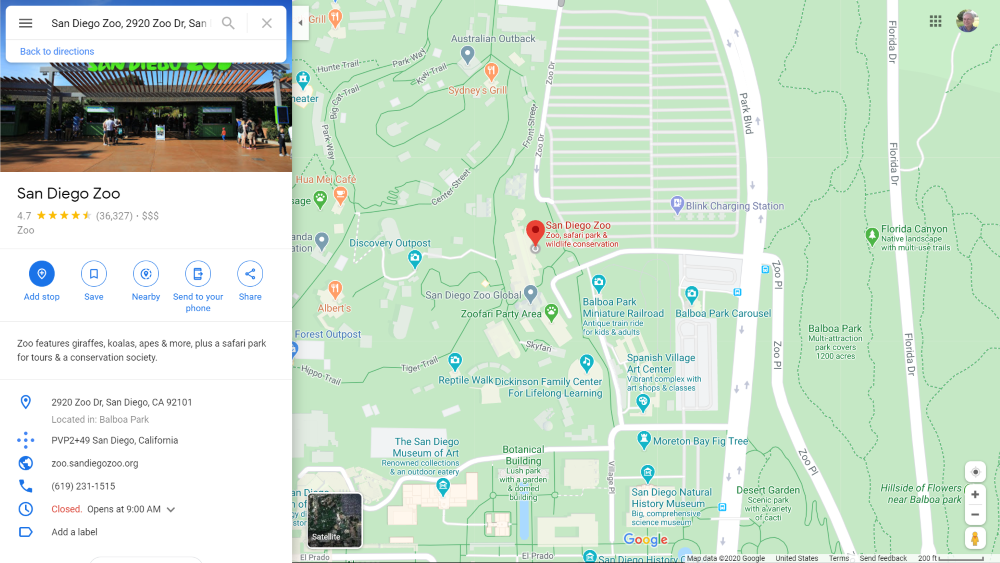
You can embed a fully interactive Google map within your website by pasting in embedded code that you can from any Google map. Go to Google Maps and search for the location you want to create a map for and then zoom on the location until you see the exact map you want. In this example, I’ve searched for the San Diego Zoo. Select Share from the list of options on the left.
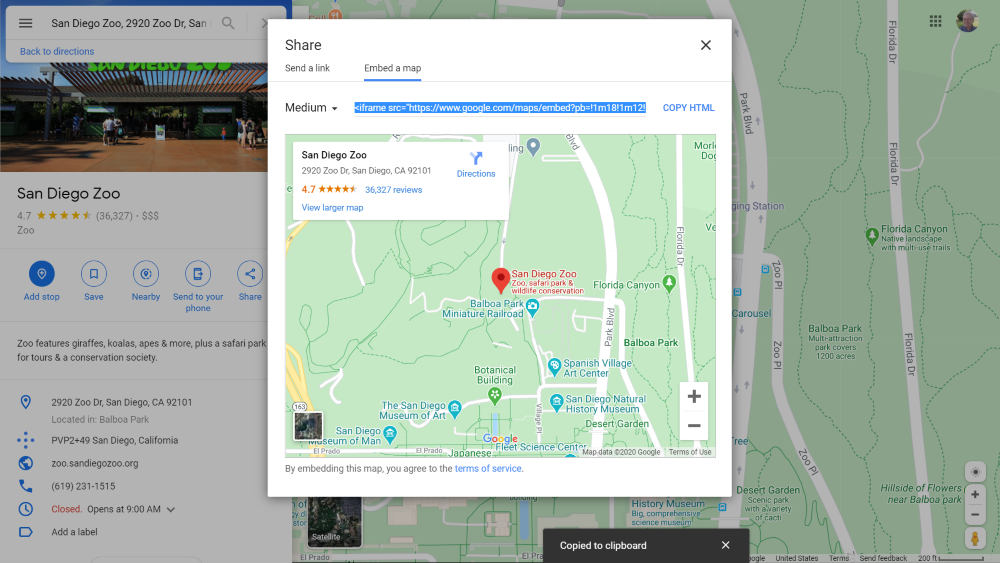
This will open a modal where you can send a link or embed the map. Click Embed a map. Here, you can adjust the zoom and map even further. Once you’ve got the exact map you want, click COPY HTML. The map will look exactly like the modal, complete with directions, zoom, and the satellite view.

Next, paste the code into your content. If you’re using Gutenberg to create the page or post, highlight over the content area where you want to place a block and select HTML.
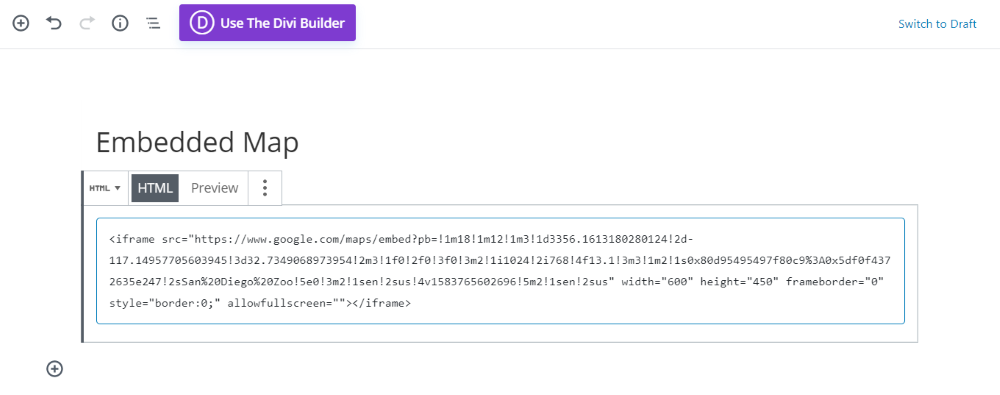
Paste in your HTML and save it.
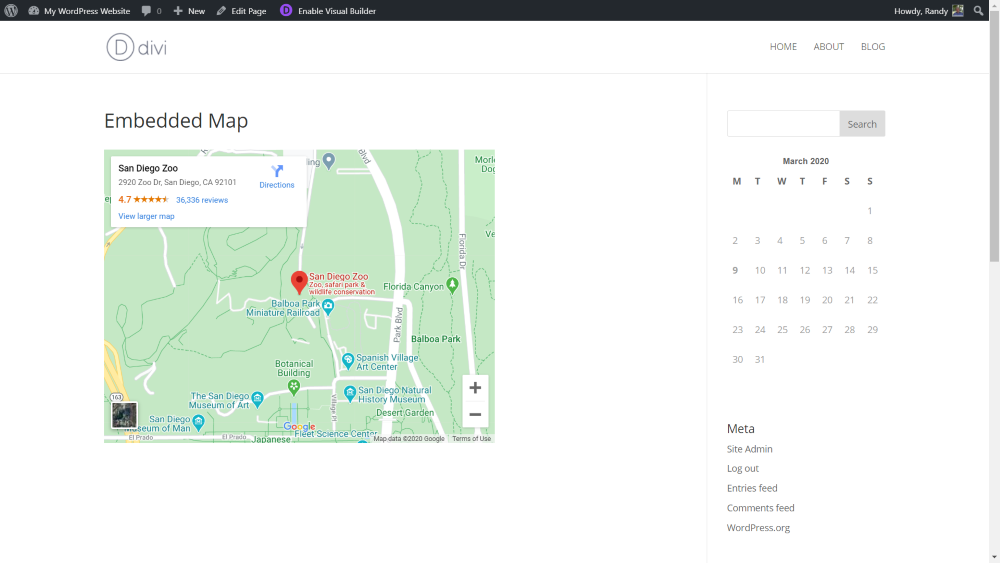
This will place the embedded map within your content, as seen in the example above.
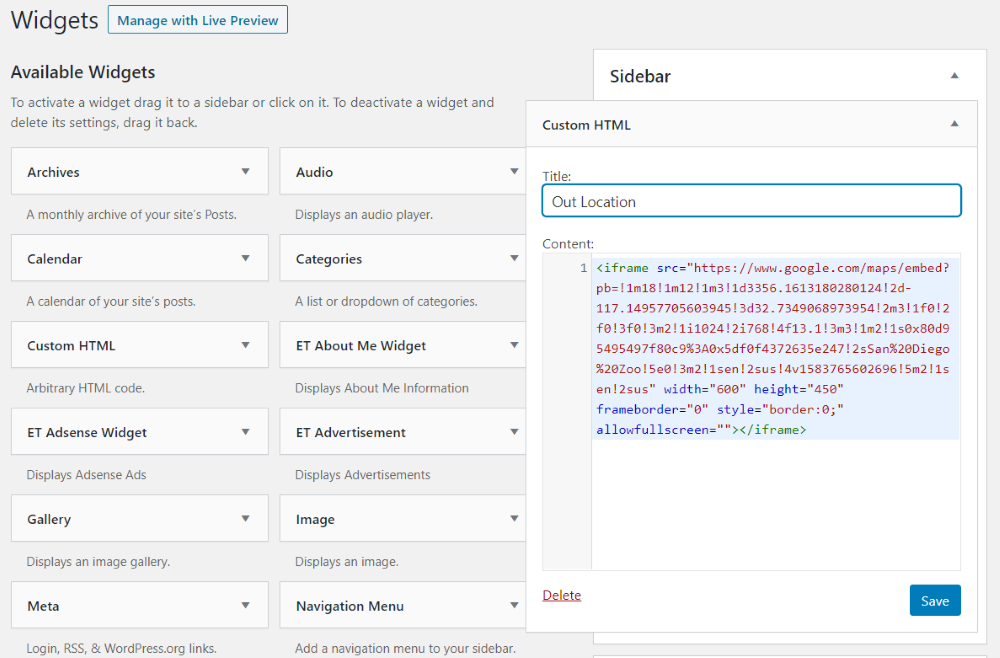
You can also use it within widgets. Simply drop a Custom HTML widget in your sidebar and paste the HTML.
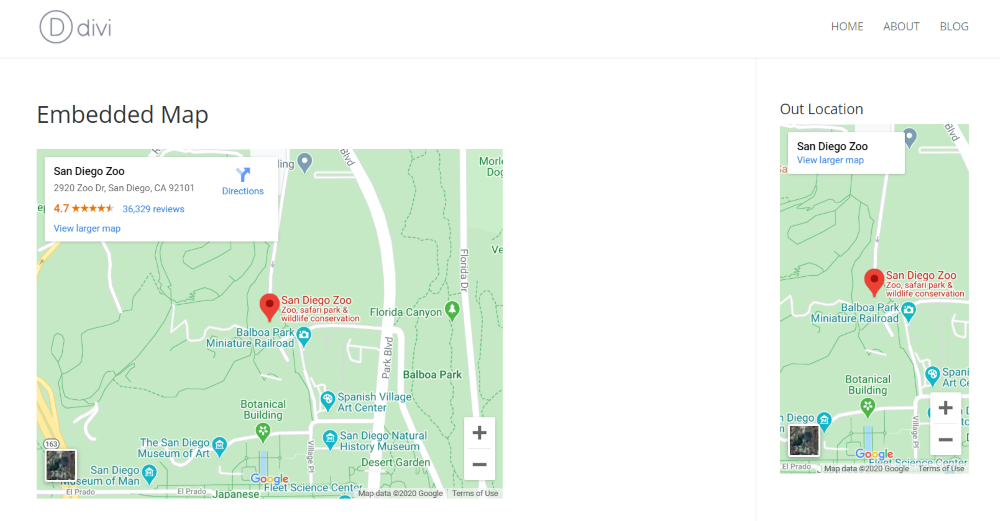
Here’s the embedded map within my content and my sidebar.
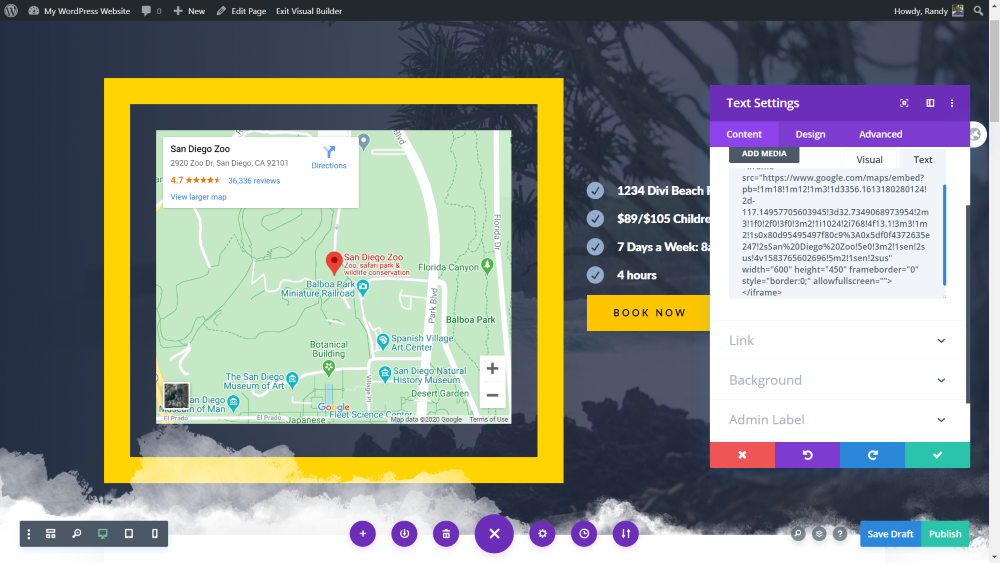
You can also place it within your Divi layouts. In this example, I’ve pasted the embed code into a Divi text module within the text tab. You can also paste the code into a code module.
Google Maps API
Before you get started using Google Maps with Divi, you’ll need to create a Google Maps API key.
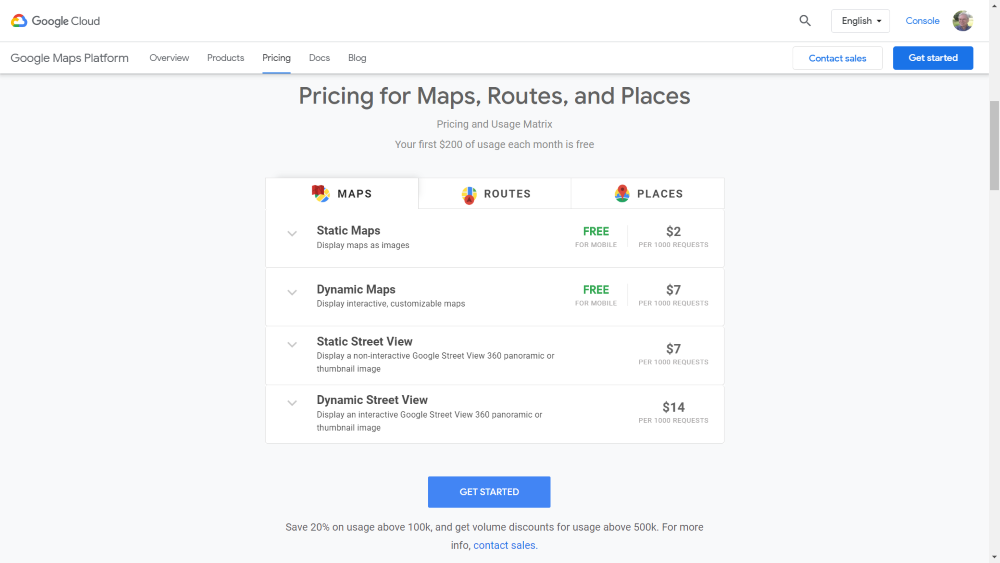
The Google Maps Platform provides an API key to use Google Maps with your website. Using the key, you can embed static or dynamic maps, show a street view, and add features for routes and places. The service does require a fee, but you do get credit for a lot of uses before they start charging. It has a lot of options to choose from to build the exact types of maps you want. Click Getting Started to create your account and choose your plan.
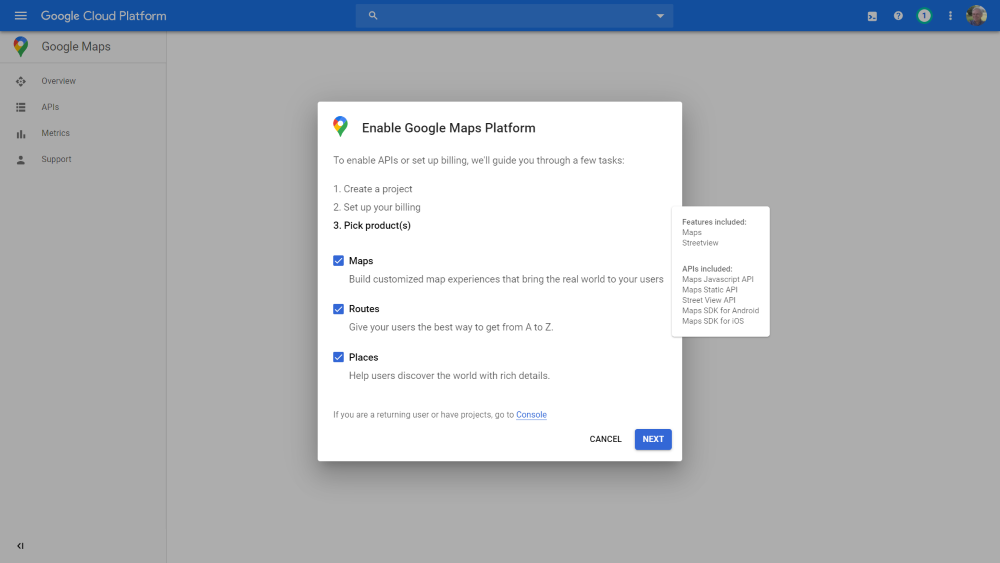
Choose the products you’d like to use with the Google Maps Platform. You have 3 choices:
- Maps – lets you display maps with both overhead and the street view.
- Routes – lets your users choose their path from any location.
- Places – shows users other places to visit.
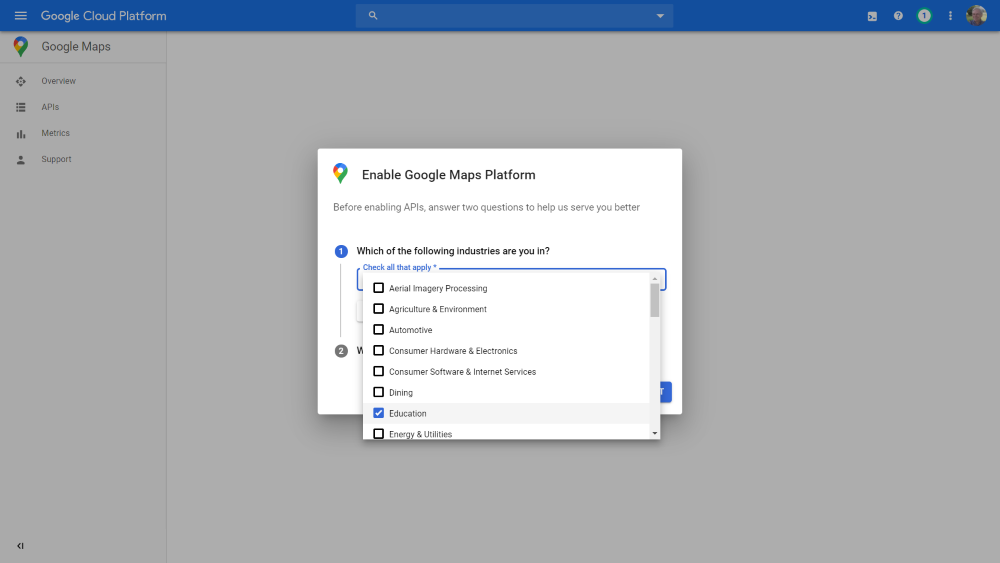
Choose your industries. This lets Google know more about how to categorize your business. You can skip this if you prefer.
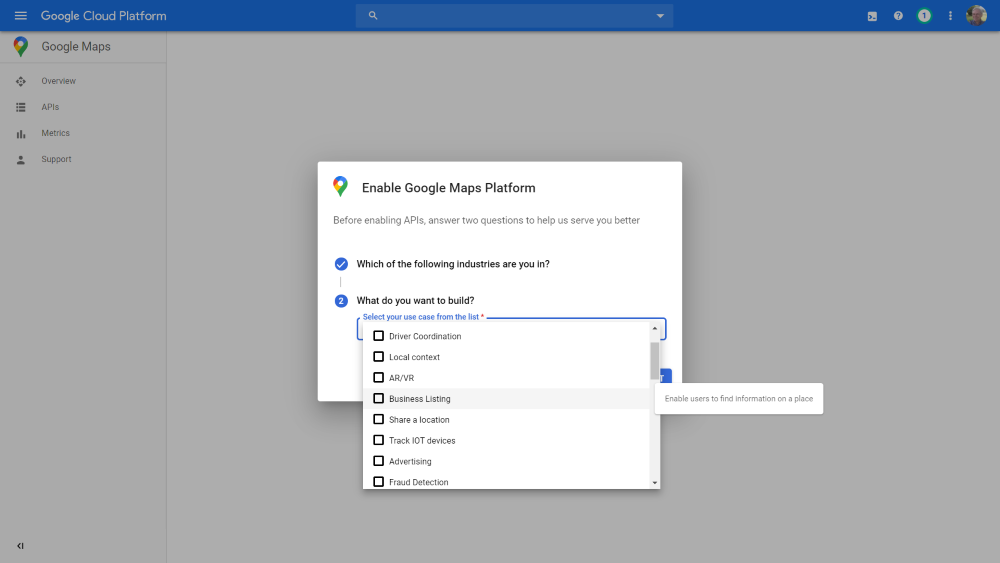
Choose what you’d like to build. This includes some business listing and advertising features to help your business stand out.
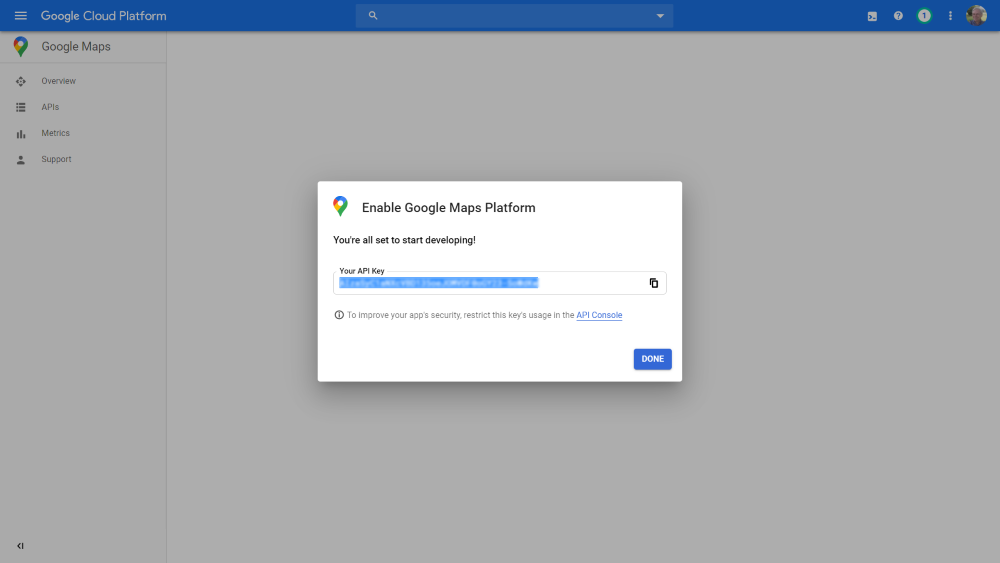
Once you’ve completed the setup, it will provide you with an API key. This key works with many of the available plugins and it works with Divi.
2. Divi Map Module
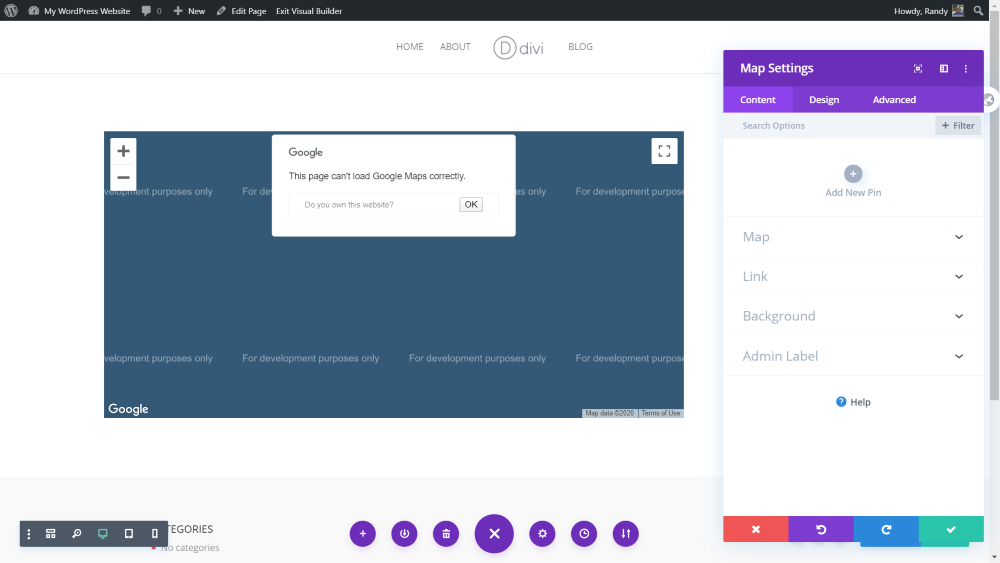
Divi includes a map module that you can place anywhere within your Divi layouts. This is the view from the Visual Builder. The module includes pins to add an address, map to add your Google API key, and lots of options for styling and map controls.
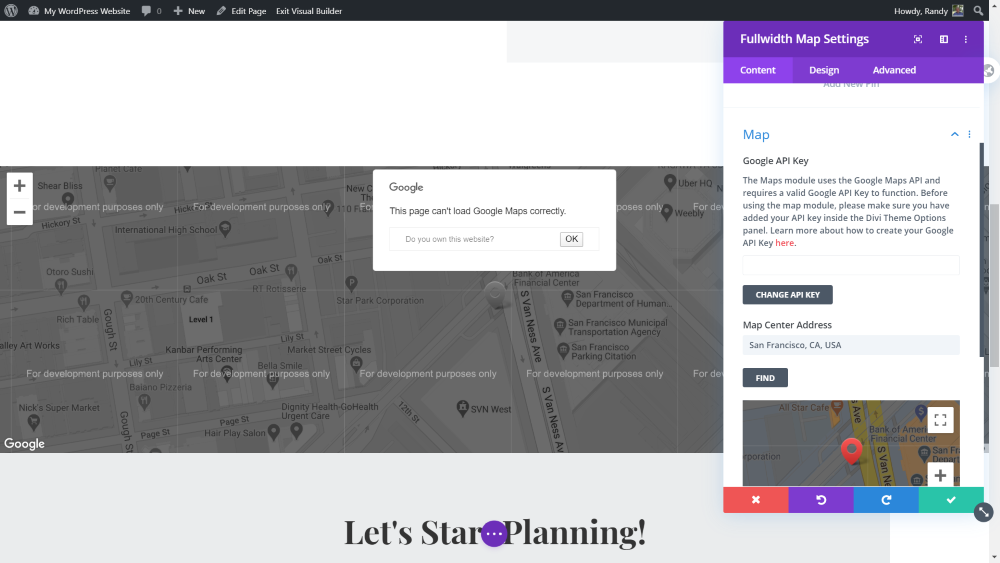
Divi will not display the map correctly until you enter the API key. Open the Map filed in the Content tab and enter your key, or add it to the theme options.
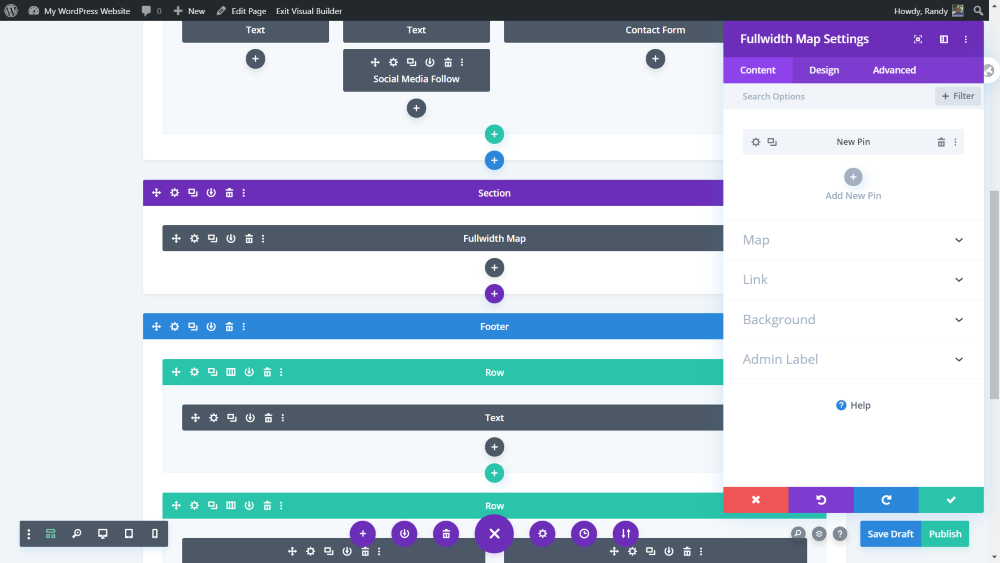
Divi also has a full-width map that works in full-width sections. It has the same features as the regular map but automatically displays in full-width.
API Key
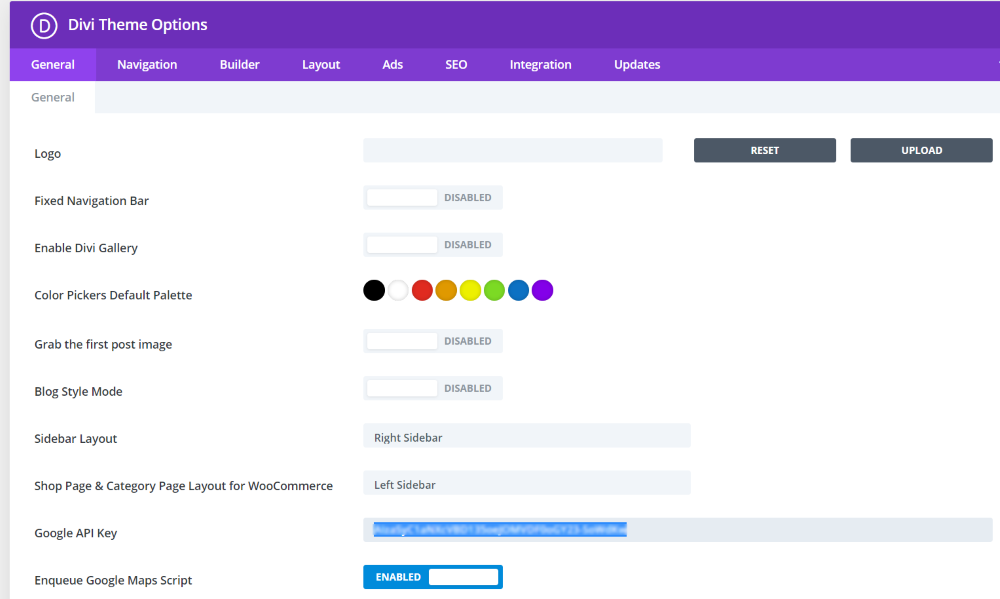
To use Google Maps with Divi, you’ll need to add your Google Maps API key to the Divi theme options in the general tab. This will automatically place the API key within your Divi map modules throughout your website.
Pin
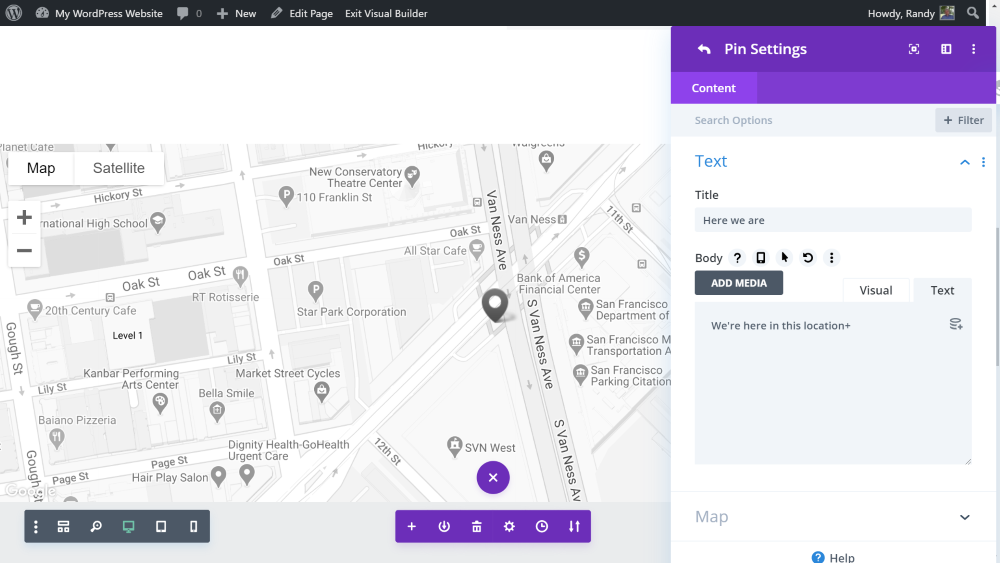
Divi can add a pin to spotlight a specific location. To create a new pin, click Add New Pin. Here, you’ll see a field for text and a field for the map. In this example, I’ve added a title and content with the Text field.
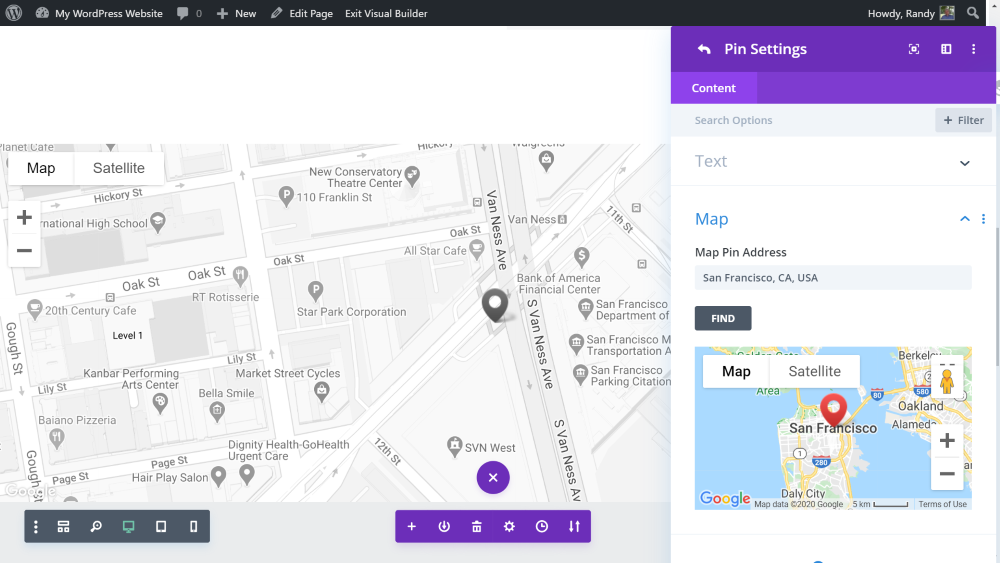
Open Map and enter the map pin address in the field. The map will display in the settings and show you where the pin will be placed.
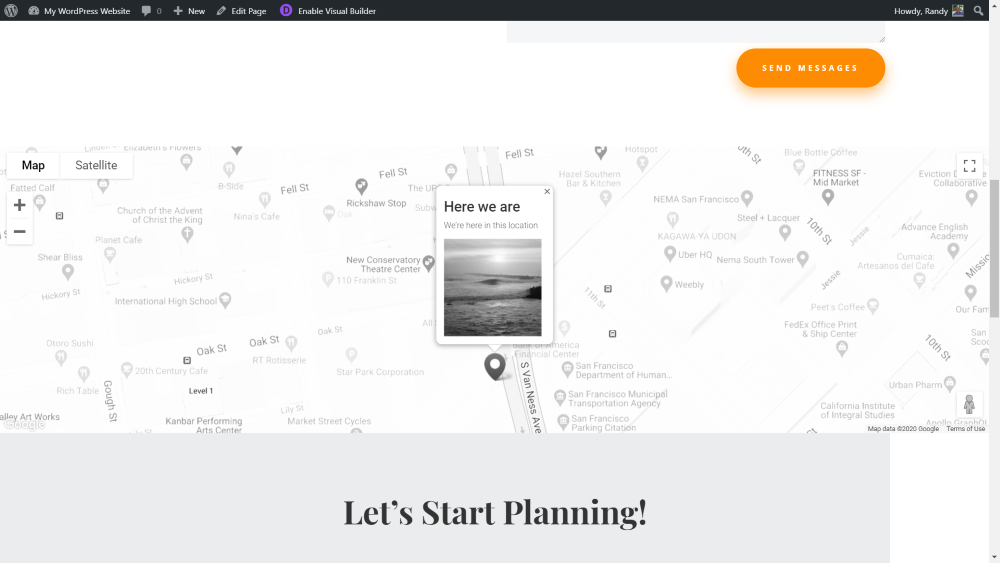
Here’s the full-width map in a Divi layout. It displays the pin address. It displays my content when I hover the mouse over the pin. I’ve clicked on the pin to show the content that I’ve created, which includes text and an image. Add as many pins as you want with any type of content you want.
Controls and Styling
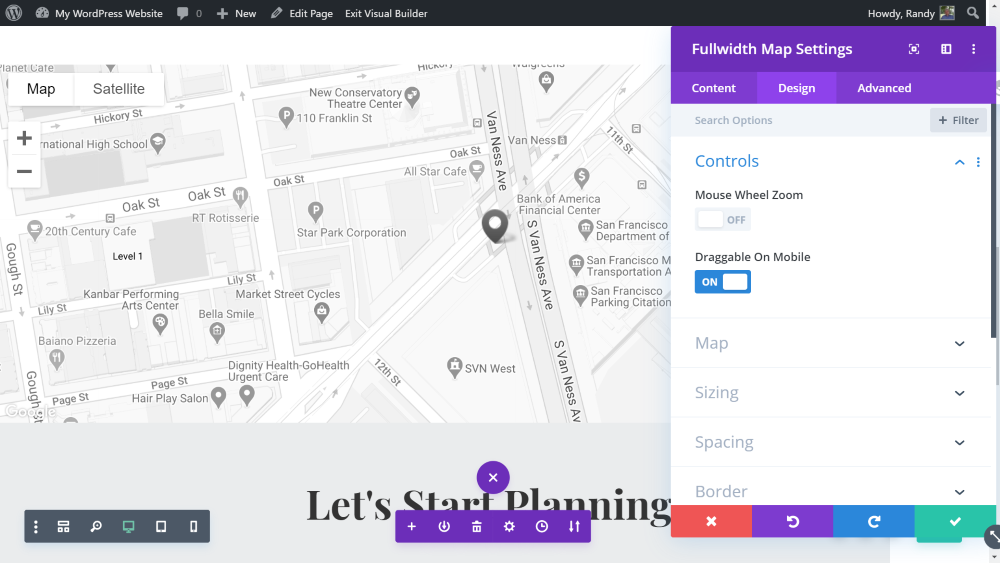
The Design tab has settings for controls and map styling. The controls allow you to enable mouse wheel zoom (I personally always turn this off because the map stops and zooms while I’m scrolling down the page) and draggable on mobile.
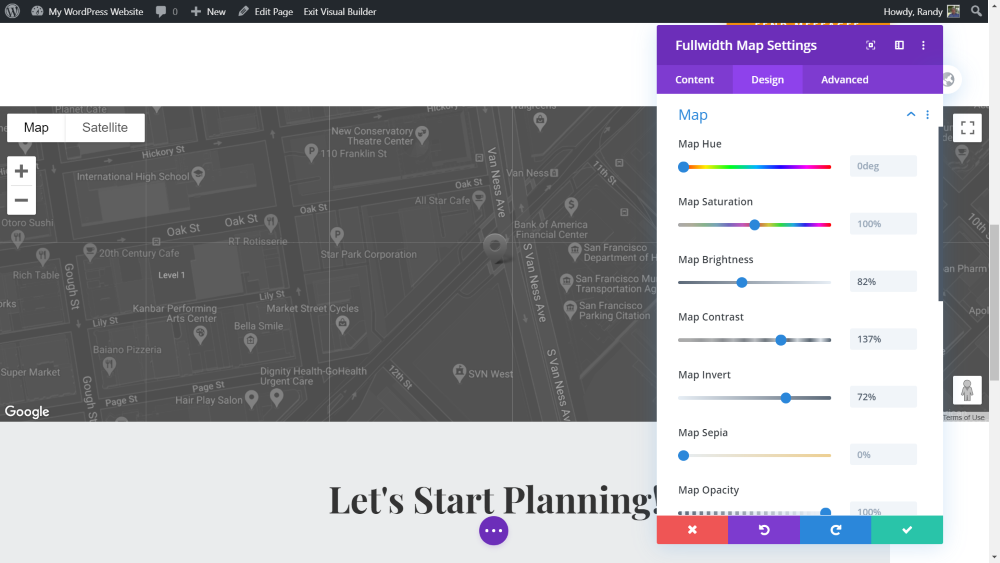
The Map settings allow you to adjust the hue, saturation, brightness, contrast, invert, sepia, opacity, blur, and blend mode. In this example, I’ve adjusted the brightness, contrast, and the invert settings.
3. Google Maps Plugin
There are lots of WordPress plugins available to embed Google Maps. Here’s a look at a popular maps plugin and a plugin that we like to style maps that are embedded with plugins.
WP Google Maps

WP Google Maps is the most popular free Google Maps plugin in the WordPress repository. Paste in your Google API key and then start creating your map.
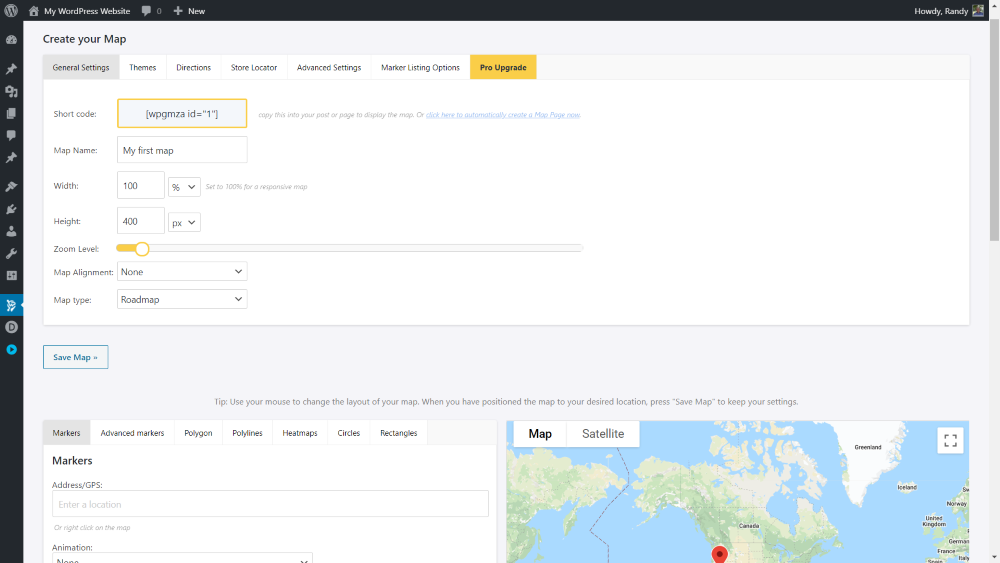
Create the map’s design, choose a theme, enable directions (requires pro version), set up the store locator, choose the types of traffic and other advanced settings, and set up the marking listing options.
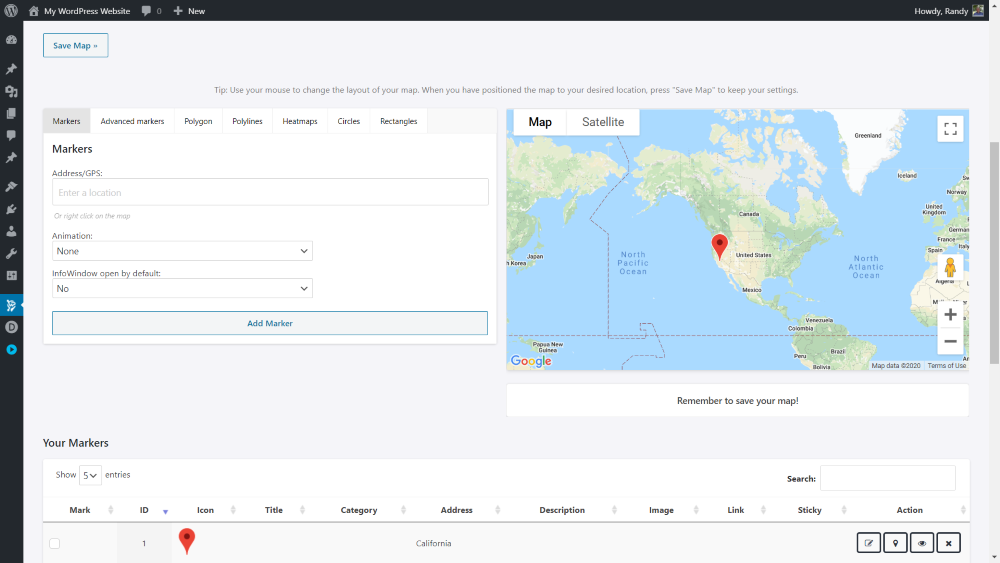
Set up your markers. This includes the address and marker design. The design options require the pro version.
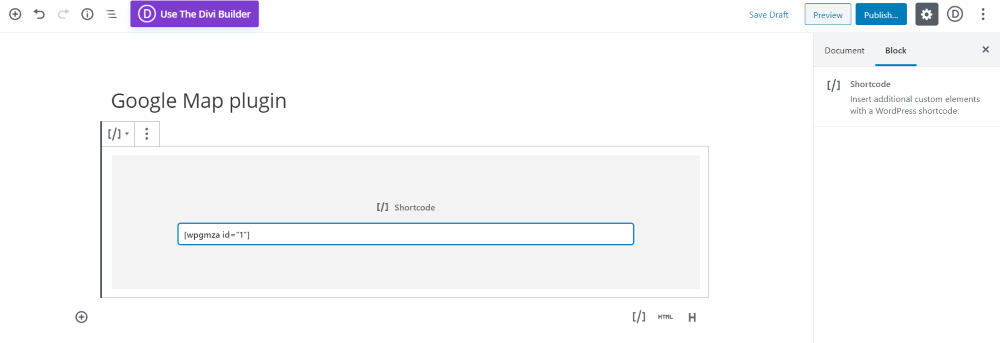
To use the map with Gutenberg pages or posts, paste the shortcode into a shortcode block.
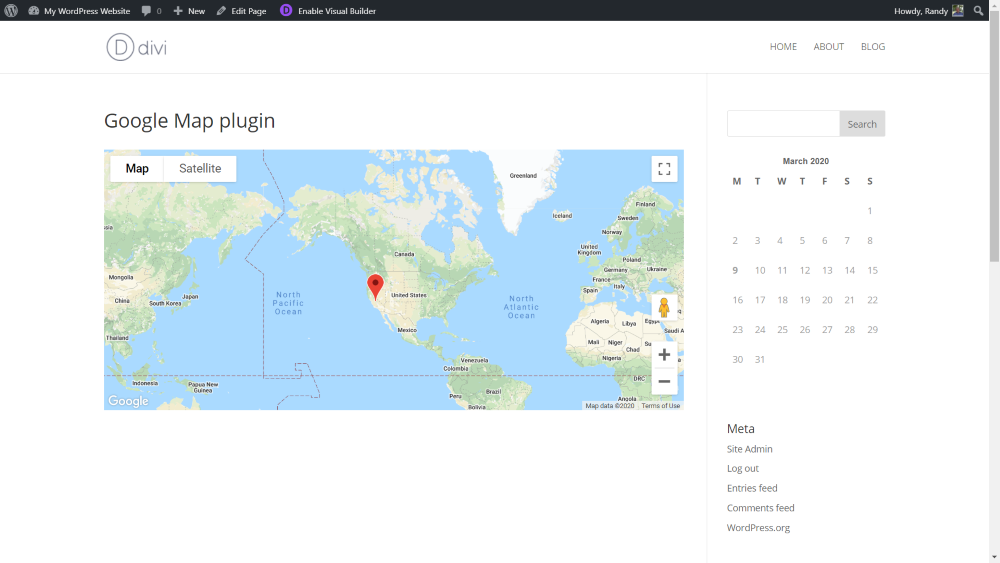
Here’s how the map looks on the frontend.
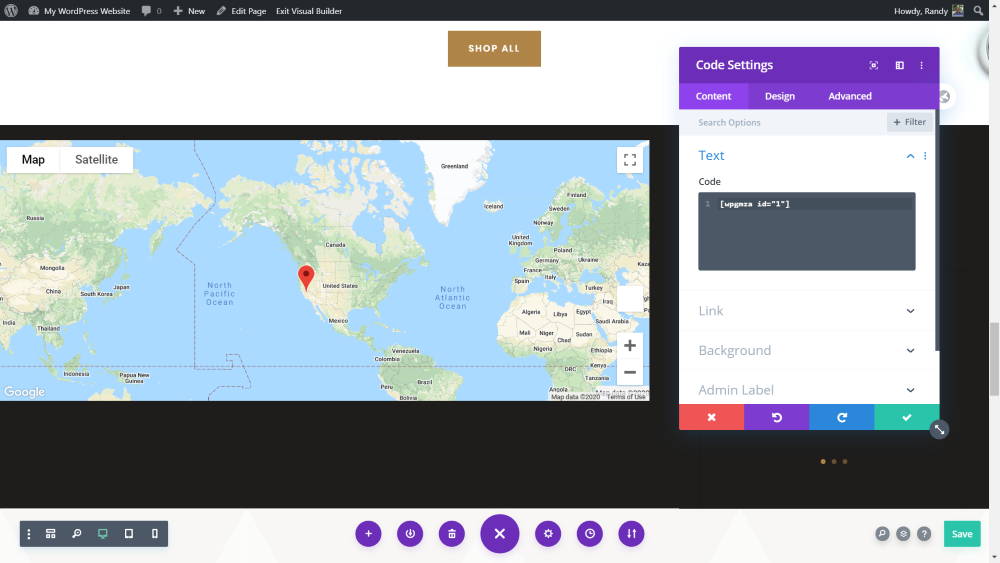
Here’s how it looks within a Divi layout. I’ve pasted the shortcode into a code module. You can also use a text module.
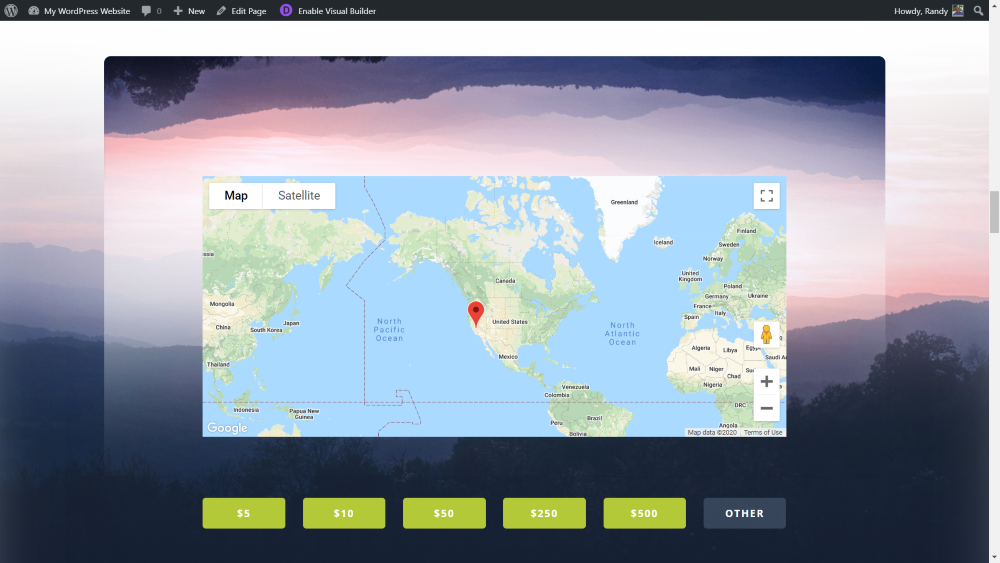
Here’s another example. It includes the options to see the map and satellite, toggle full-screen, drag the map, and zoom. I’ve placed the shortcode in a text module. The row includes a background image.
Snazzy Maps

Snazzy Maps is a map styler. It has lots of pre-styled designs that you can use for your maps. The styles apply to your existing maps that are added with plugins.
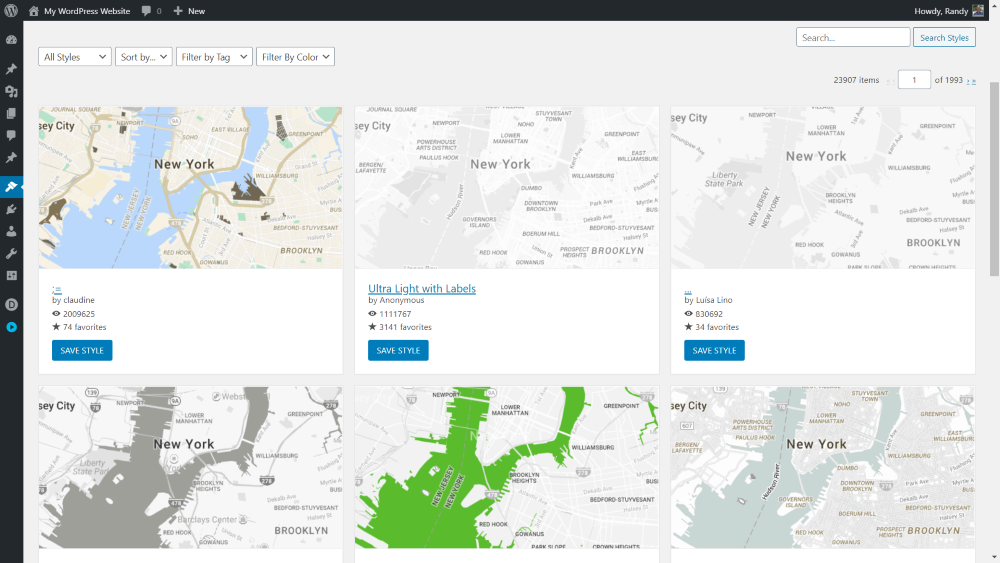
Choose the styles you want. There are close to 24,000 styles to choose from. Search the styles, filter by favorites, color, tag, popularity, age, etc. Once a style is enabled, your maps will use that style. It shows the name of the style, the name of the designer, the number of views, and the number of favorites.
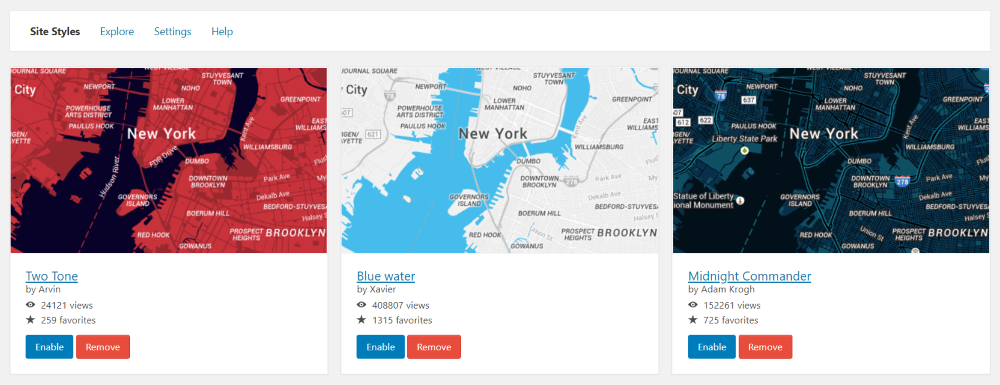
You can store multiple styles and enable the one you want. In this example, I’ve saved 3 map styles.
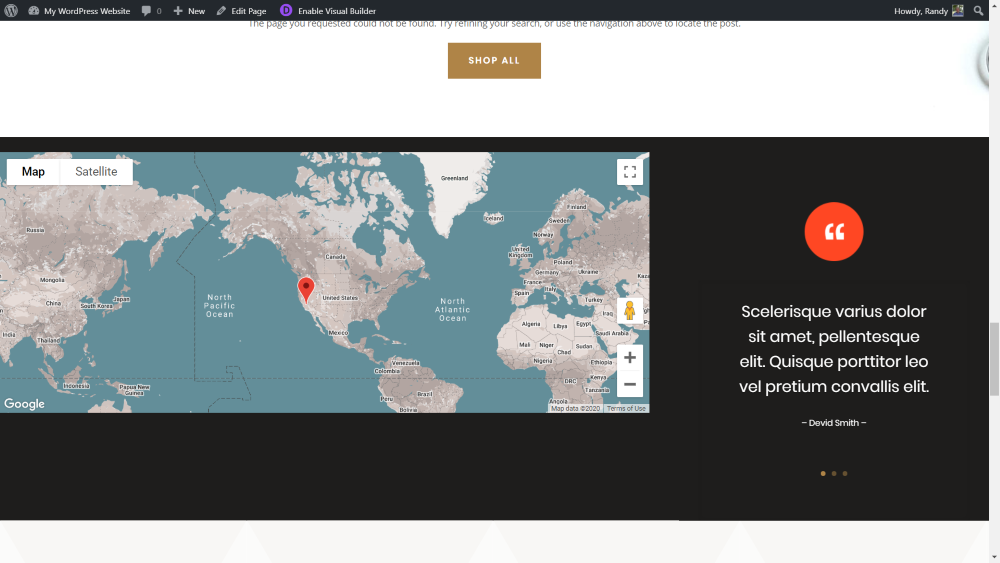
Here’s the Divi layout using the map from the WP Google Maps plugin. I’ve applied a Snazzy Maps style.
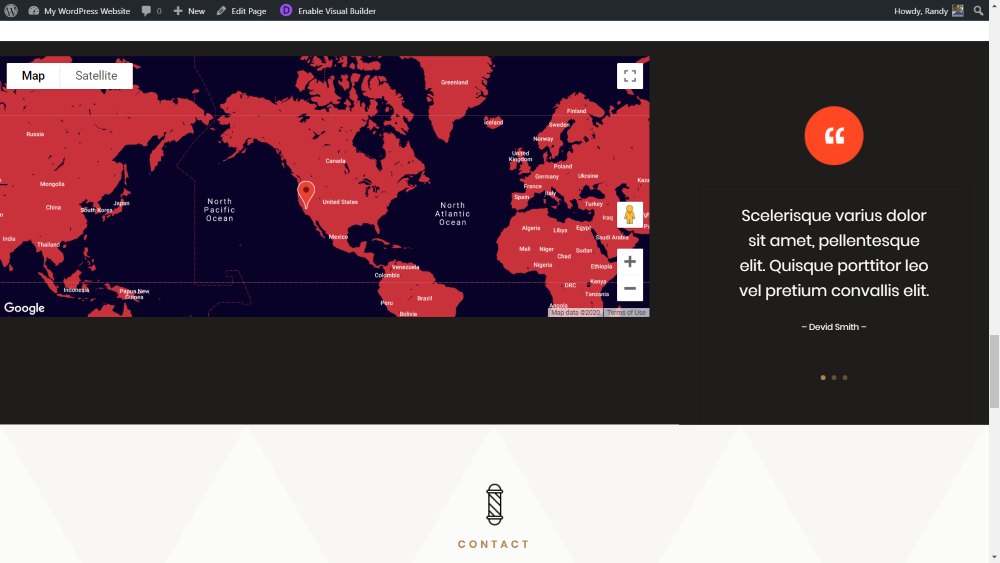
Here’s another style for the same map. It’s easy to change between styles.
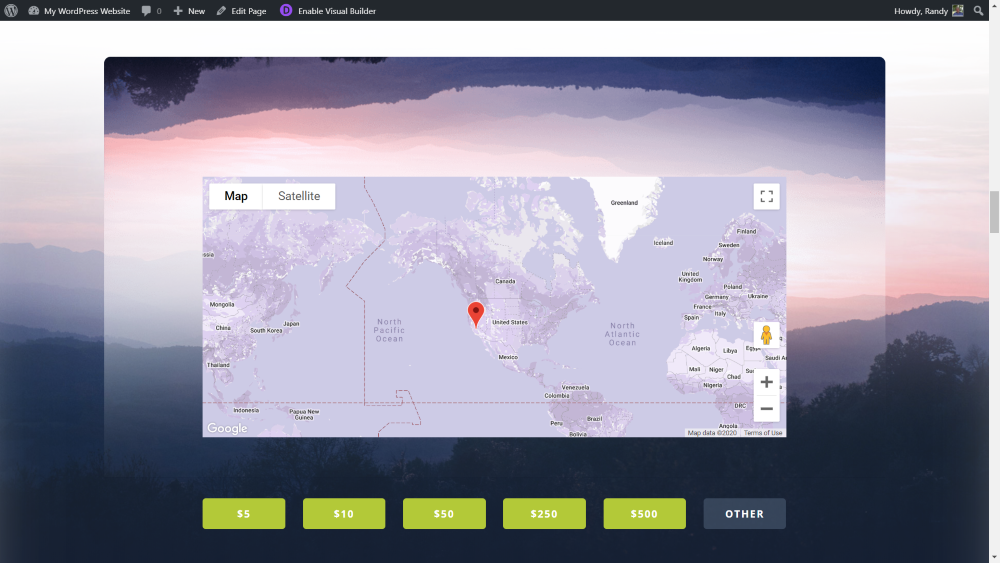
For this example, I’ve chosen a purple style that matches some of the colors in the background image.
Ending Thoughts
That’s our look at 3 ways to add Google Maps to your Divi website. Google Maps are a great way to show your location, provide directions, and improve your local SEO. Google Maps can also build your credibility, which builds trust in your business. Fortunately, it’s easy to add a Google Map to your Divi website. The 3 methods we’ve covered here are easy to use. Following any one of these methods will help you get a Google Map on your website in no time.
We want to hear from you. Have you used any of these methods to add a Google Map to your Divi website? Let us know about your experience in the comments below.

Thank you. I was having issues with a google api. Love the first option
Hello Randy. Thanks a lot for the article.
This is what I will like to do in my website and the maps. Hopefully I can explained myself.
I want some pictures of my website that when clicked, this action open up a map showing the location where the picture was taken. Let’s say a picture of my house. You click the picture and a map opens up letting the user know where my house is located.
Any way I can do this? Any plugin?
Thanks a lot
Nice article Randy! We have used all of these, but mainly prefer using Divi with the Google API.