Divi provides a tremendous amount of capabilities out of the box, but often we need to find ways to extend or improve upon what is provided by default.
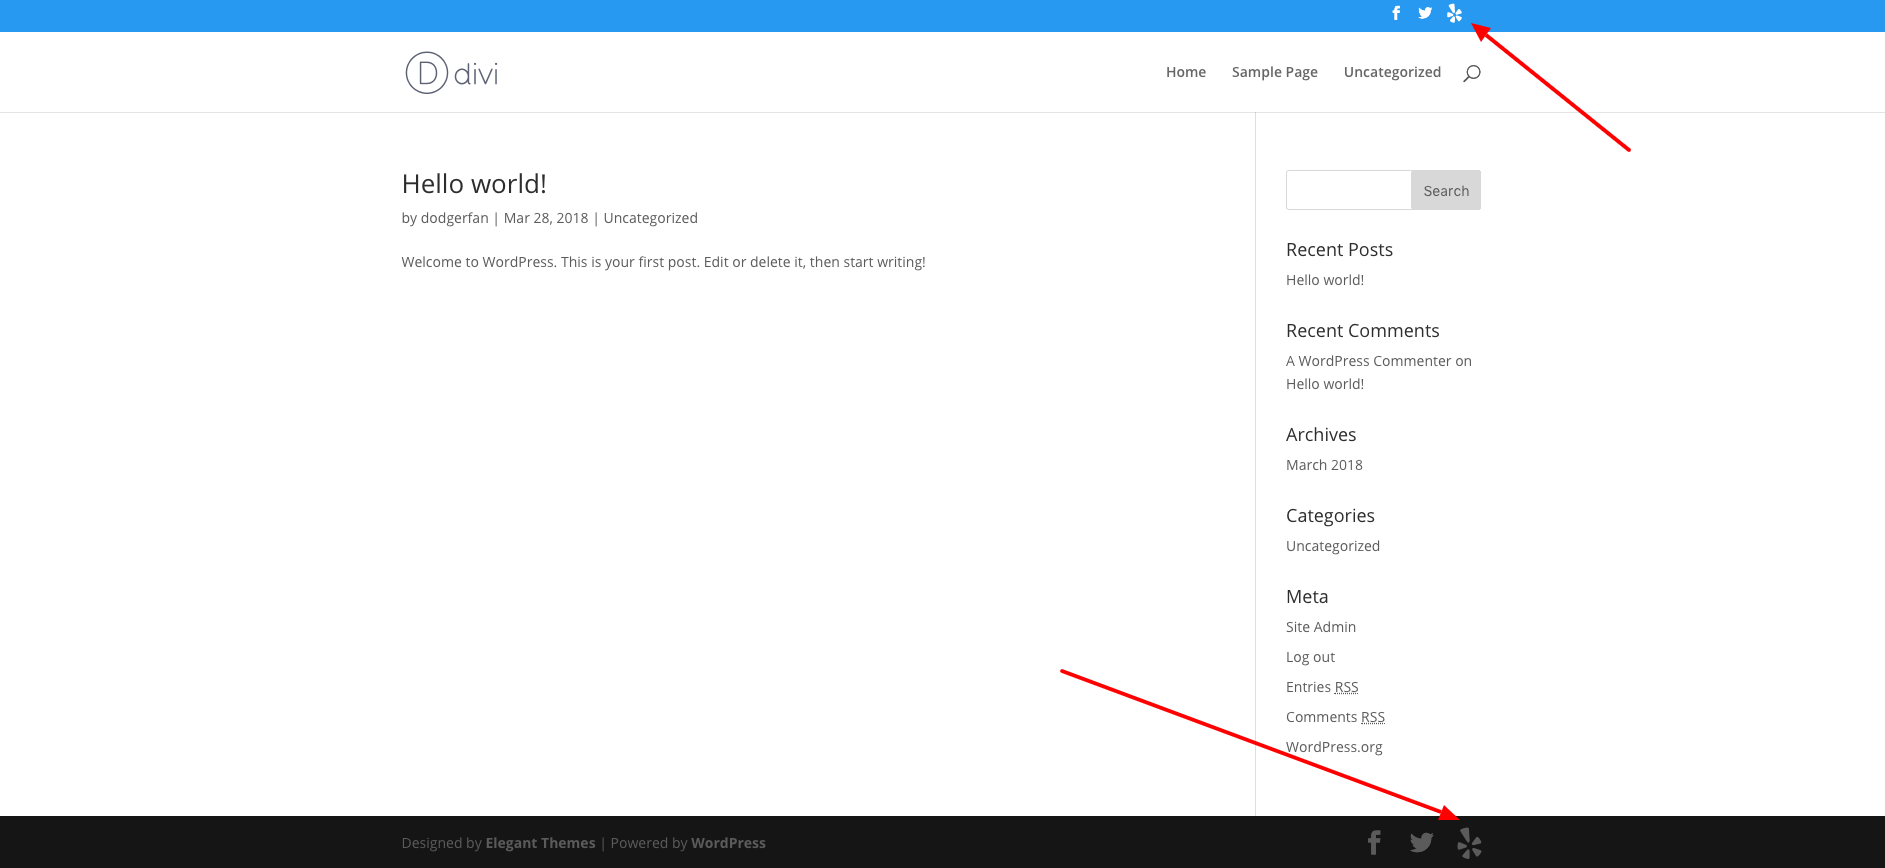
In this particular case a client asked to add Yelp along side the other social media share icons showing in their secondary header and footer. By default, Divi offers Facebook, Twitter, Google plus and RSS, which can be toggled on and off in the theme Options. Since Yelp isn’t available in the Theme Options and isn’t part of the standard Divi icon font list I had to seek out an alternative method which opened up a huge range of options… enter Font Awesome.
Sounds pretty cool, right? Let’s get started.
Now that we have a child theme we need to create an “includes” folder via FTP or cPanel and place within it the “social_icons.php” file from the Divi theme. To do this, extract the Divi theme file downloaded from the Elegant Themes Website, locate the “includes” folder and “social_icons.php” file and then upload it to the “includes” folder of your child theme via FTP or cPanel. The final structure will look like this: wp-content > themes > your-child-theme > includes > social_icons.php
Next, let’s enqueue the Font Awesome Free CDN library into our Divi Site. To do this go to Divi >> Theme Options >> Integration and place the below script in the “Add code to the < head > of your blog” section

<link rel="stylesheet" href="https://use.fontawesome.com/releases/v5.0.8/css/all.css" integrity="sha384-3AB7yXWz4OeoZcPbieVW64vVXEwADiYyAEhwilzWsLw+9FgqpyjjStpPnpBO8o8S" crossorigin="anonymous">
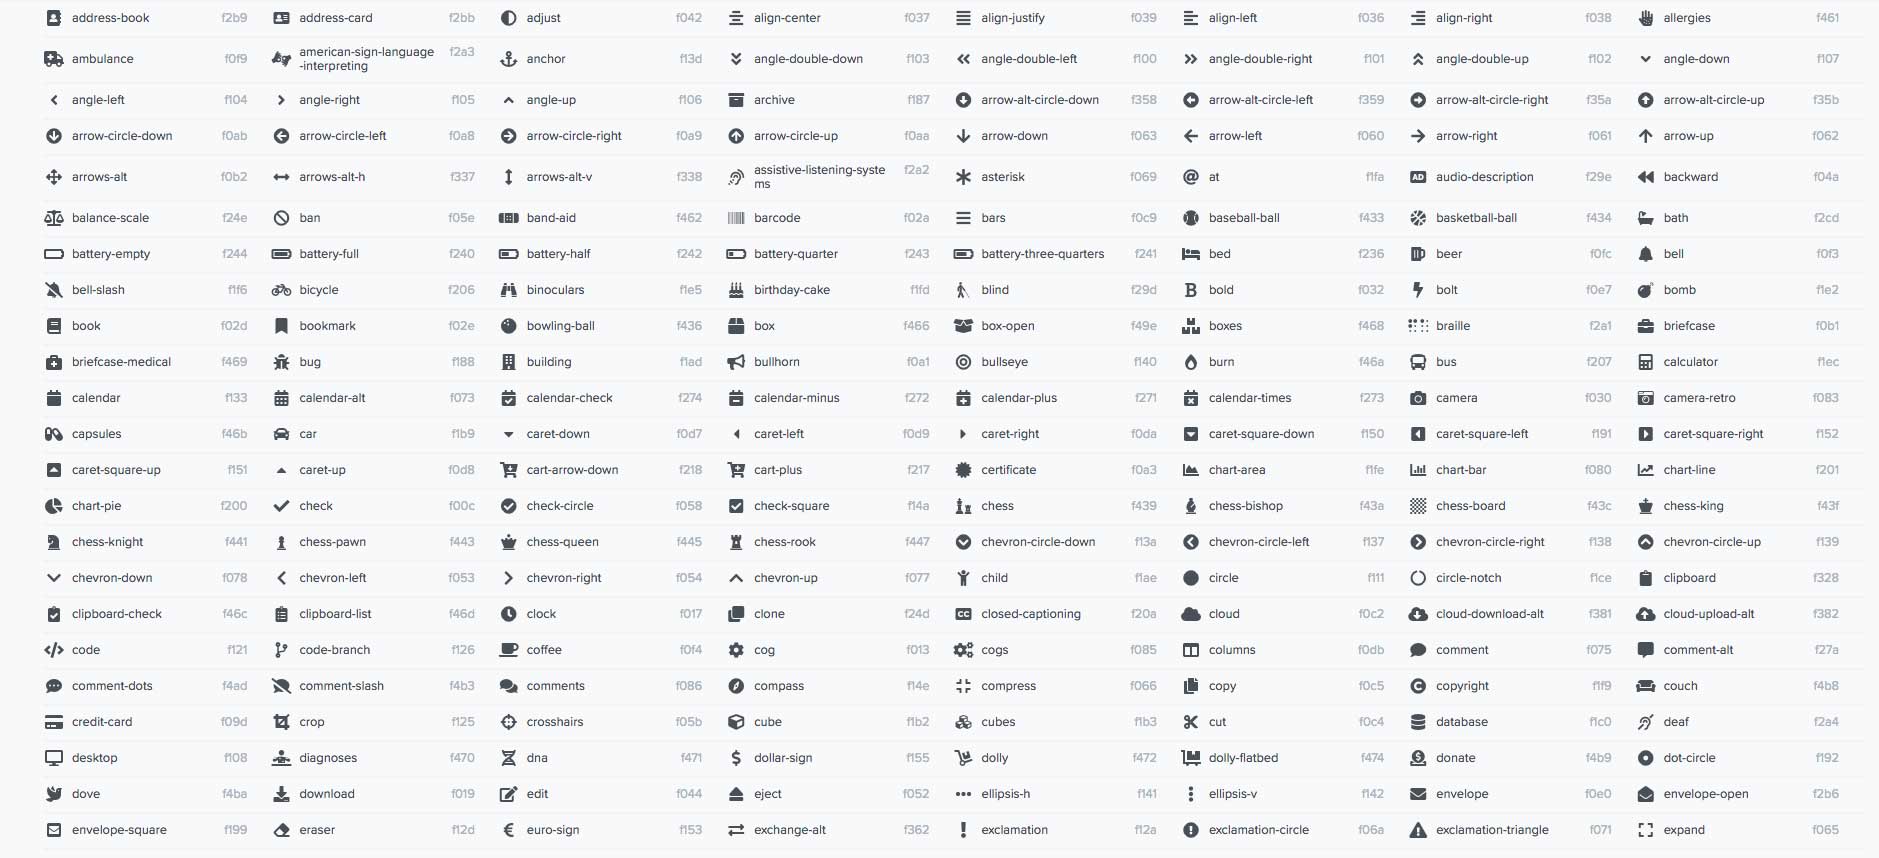
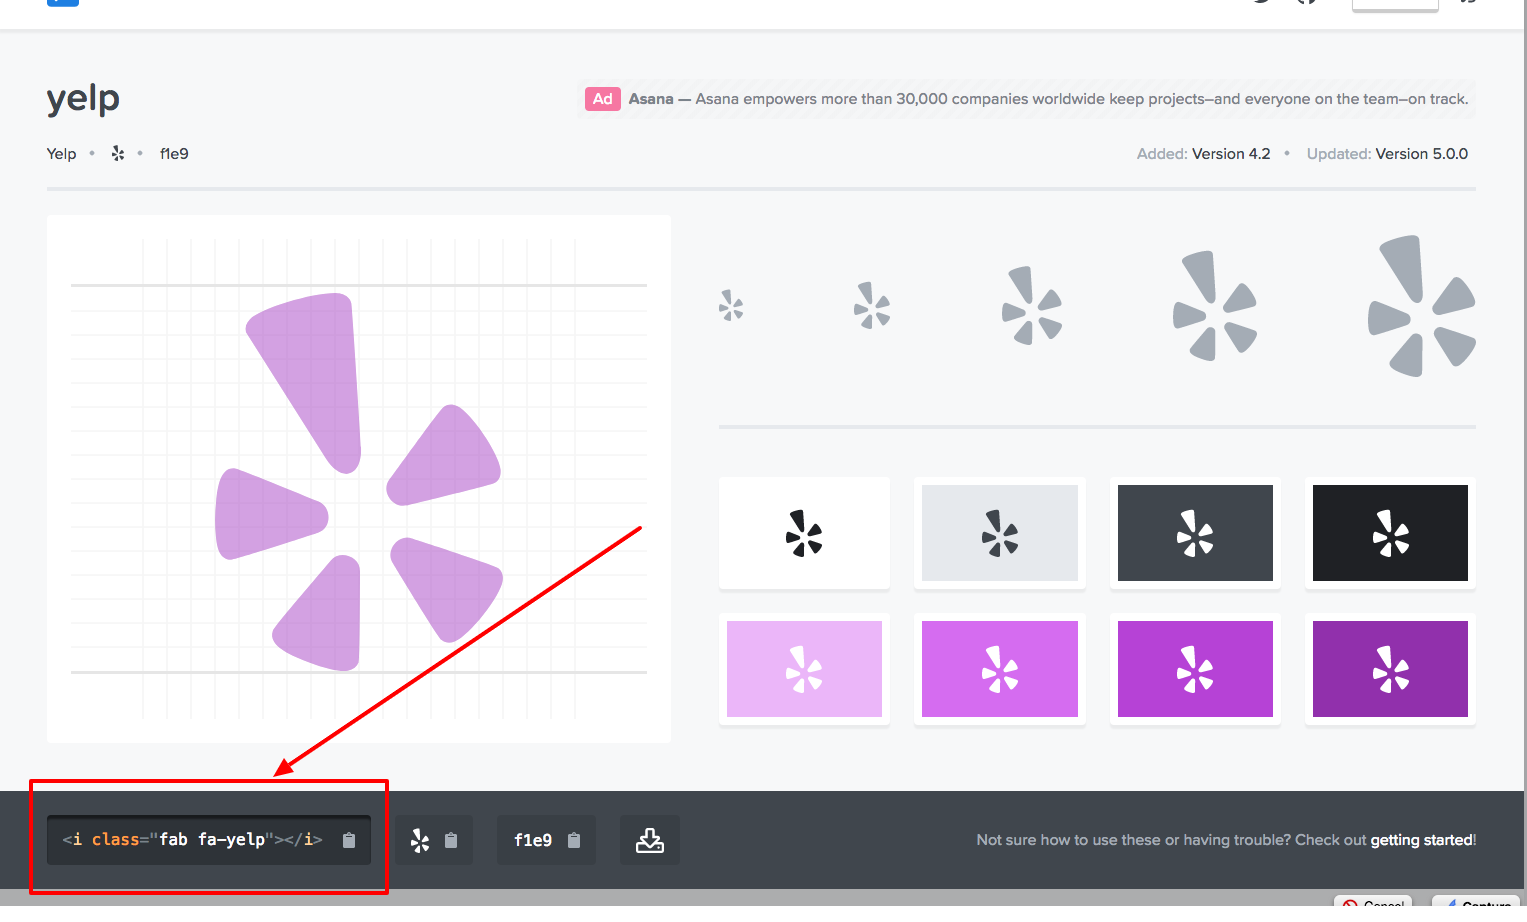
You are now ready to use Font Awesome on your site. That was easy, right? Now head on over to the free font awesome library and locate/click on the icon you are wanting to use… we will come back to this momentarily https://fontawesome.com/icons?d=gallery&m=free
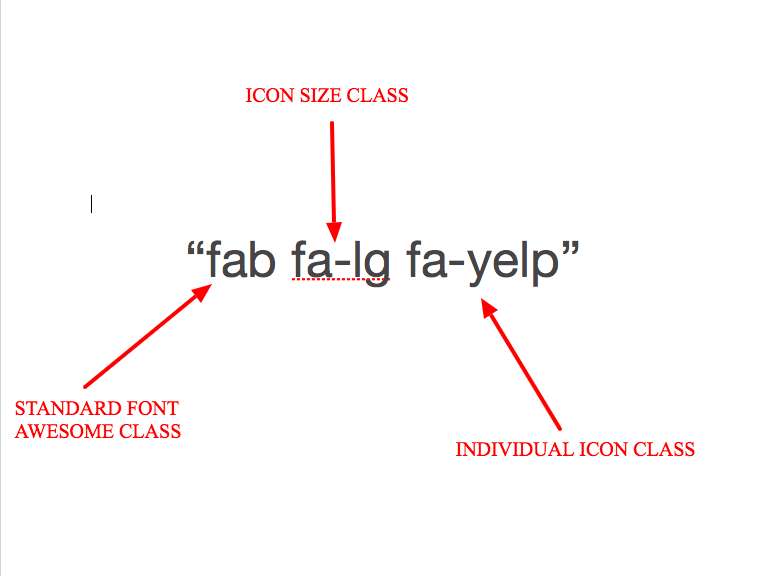
<li class="et-social-icon"><a href="https://www.yelp.com/"><i class="fab fa-lg fa-yelp"></i></a></li>

Very helpful and easy to follow tutorial. Thank you so much!
Hello,
Can I integrate bootstrap cdn on DIVI.
If you need to add 4 or less social media accounts, there is a pretty easy way to do it. You may change the default URLs and icons under the Divi > Theme Options.
Just change the URL of any social media that you don’t use.
For example, you may type your LinkedIn company URL into Google+ Profile URL field.
If you save it and refresh your site, It will list your LinkedIn Company URL with Google Plus icon.
Now go to Custom CSS section under the same page and paste the code below.
/* replace google-plus icon with linkedin */
.et-social-google-plus a.icon:before {content: “\e09d”;}
You may any other social account included in Divi’s style.css by replacing the last 4 character code above (“e09d”) with the icon of your preferred social account.
Here is the current included social icons under style.css.
—–
.et-social-facebook a.icon:before{content:”\e093″}
.et-social-twitter a.icon:before{content:”\e094″}
.et-social-google-plus a.icon:before{content:”\e096″}
.et-social-pinterest a.icon:before{content:”\e095″}
.et-social-linkedin a.icon:before{content:”\e09d”}
.et-social-tumblr a.icon:before{content:”\e097″}
.et-social-instagram a.icon:before{content:”\e09a”}
.et-social-skype a.icon:before{content:”\e0a2″}
.et-social-flikr a.icon:before{content:”\e0a6″}
.et-social-myspace a.icon:before{content:”\e0a1″}
.et-social-dribbble a.icon:before{content:”\e09b”}
.et-social-youtube a.icon:before{content:”\e0a3″}
.et-social-vimeo a.icon:before{content:”\e09c”}
.et-social-rss a.icon:before{content:”\e09e”}
—–
To see all social icons included with the default style.css go to this file.
yourdomain.com/wp-content/themes/Divi/style.css
Thank you, Cory for your help.
A very good explanation of allt.
I tried to find the icon I need at https://fontawesome.com/icons?d=gallery&m=free.
But it’s not there.
I need the google scholar icon, that I’ve seen in thousand of pages. But it’s not there.
Do you know another site where I could find it?
Thanks again
please ignore my last comment, i figured out what I did
I applied these changes, and now I have mysteriously lost custom fonts and styling on my site. I reversed the changes, and it still looks the same – with lost customizations. Any clues??
Thanks for posting this….it worked great.
I have followed this to the ‘t,’ without getting my yelp icon… Ahhhhhhhhh… please help!
Thank you
Hey Cory!
I have to say that this tutorial is much cleaner to implement. I saw some other tricks where you have to override the existing codes but this one is the best so far.
Thanks!
ErnestPH
This is a really good tutorial . 🙂
This is an awesome tutorial! Although many WordPress users especially bloggers and business owners don’t have the basic web development skills, this might be a very good and easy well-documented tutorial but this is still way to hard to accomplish for most. It would be nice if you can make a plugin for this.
Hello, we do have a plugin for this 🙂 https://wpzone.co/product/divi-icon-party/
Hi! Thanks!
How to make it work on mobile?
Hi Cory,
I followed the tutorial step by step and it did not work. Can you please advise.
Hi Corey. One of the most infuriating point in web development for me is that I am not good at code scripting csss code or similar as that is really why you are the experts.
Surely with such advanced tech skills which you have a simple plug is much easier, avoids having to create a child theme and for beginners is a must.
To add even a popular list of social media icons in the divi header and footer area is not asking too much.
Hello, we do now have a plugin for this and are in the process of adding more icons: https://wpzone.co/product/divi-icon-party/
For the love of God, Elegant Themes. ADD the instagram icon to the DIVI theme!!! Your techs give us a work around to add an Instagram icon, then you update the theme, then something goes wrong. The Instagram icon either doesn’t work or it disappears altogether. This has happened 4 TIMES in 5 months. MILLIONS OF PEOPLE USE INSTAGRAM. You’re charging your customers to use this theme – save EVERYONE time and frustration and just build in the instagram icon!!
You can use the method they provide or the one I have shown here and as long as you have a child theme the changes won’t be overriden. Alternatively you could use our plugin: https://wpzone.co/product/divi-icon-party/
Sarah, that’s how I feel about Pinterest. I don’t know how to code so I’m stuck without an icon to my biggest traffic driver until I’m ready to pay someone to do it for me.
I’d prefer to put host the social icons that I will add to my footer on my server, not a third-party. Where are the actual social icon images in Divi stored? Or can I create an icon and just place it on my server and use that path to pull the image?
By default they are icon fonts and not images.
Hello,
great tutorial! Worked like a champ. Thanks! I would like to a new tab be opened when clicking on the social media icon. How can this be done?
Many Thanks!
Hello, for this use can use the blank target attribute:
Hi Corey, I have closely followed you instructions to add a linked logo to the header and footer but no matter what I do: it does not seem to appear? Could you help me out and have look? Not sure what I’m doing wrong…. Thanks
Hello there, this could be due to a number of things. If you want to shoot me an email with your website credentials I can take a closer look. [email protected]
Brilliant piece Cory, well done it worked for me. Thank you
Hi Cory,
Great post, but somehow its not working for me either. I followed all your steps and even just copying your code directly with no alteration…nothing. Any guesses?
Hello, the other commenter that had trouble is dealing with another section not relevant to this tutorial (the sidebar widget). It is hard for me to tell why it is not working on your end but a few things to make sure of are that you have cleared your cache, that the social_icons.php file is in a folder named “includes” and that you are not missing any closing tags in the copied code. If you want to send me login creds to the site I can take a quick look… [email protected]
Thanks!
I sent you my credentials. Thanks for any help in advance.
Hey Cory, how do I enqueue the Font Awesome 5 in my functions. The way I did it with Version 4 (see code) doesn’t seems to work with Awesome 5. Am I missing something?
// FONTAWESOME 4 INTEGRATION
add_action( ‘wp_enqueue_scripts’, ‘enqueue_load_fa’ );
function enqueue_load_fa() {
wp_enqueue_style( ‘load-fa’, ‘https://maxcdn.bootstrapcdn.com/font-awesome/4.6.3/css/font-awesome.min.css’ );
}
hi benny, I would recommend the method I use in this tutorial that requires no code in functions.php… I believe this is an older method you are using
This might be a better way of accomplishing the same goal, as it requires fewer external files to be loaded: https://www.elegantthemes.com/blog/divi-resources/how-to-add-more-social-media-icons-divi
Just throwing that out there. Nice guide!
Hi Scott, yes but then you are limited to Divi’s library of icons, which doesn’t include yelp for example.
Ugh! This process is the bane of my existence. I’ve honestly spent hours trying to sort this to no avail. Whatever I do, the site doesn’t seem to recognise what I have going on through the PHP file on the child theme, and I’m so sick and tired of trying. I have no more patience for this. Programming is not my forte, and this method seems well beyond my skillset to troubleshoot. Getting this email today has just aggravated me further that I still can’t manage to sort it. Divi, why am I limited to 4 social media icons? People have been demanding a fix on this for years, seriously, I’ve been Googling to try to sort this since the beginning of the year!
hi Kimberly, we certainly did not mean to aggravate you, we are simply trying to help fellow Divi users. It sounds like perhaps your theme isn’t being enqueued properly or perhaps the scoial_icons.php isn’t located within the “includes folder. If you want to send me an email with your login credentials I would be more than happy to take a look for you 🙂 [email protected]
Thanks!
For those of us who don’t use child themes, a plugin with this functionality would be nice.
Thanks ken, we will definitely look into this as an option 🙂