A few weeks ago, we discussed one of our favorite WordPress plugins, Ahoy.
 Ahoy is an incredible plugin that we would highly recommend for e-commerce store managers wanting to increase conversions and land sales with ease.
Today, we’ll show you exactly how we have set up and configured the plugin on our website so that you can implement the same strategies and start reaching your sales targets.
What Is the Ahoy Plugin?
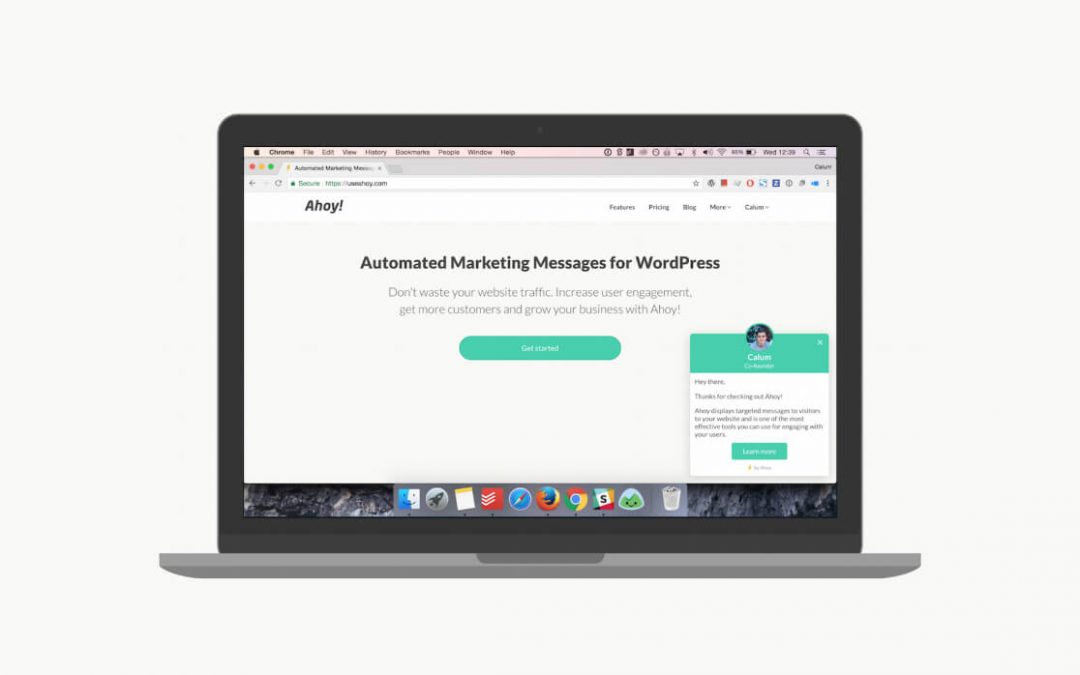
Compatible with both Easy Digital Downloads and WooCommerce, Ahoy lets the site owner create messages that are scheduled to pop up in the event of a certain user interaction. At the perfect moment, the plugin will display an automated message that’ll guide site visitors toward taking a specific action.
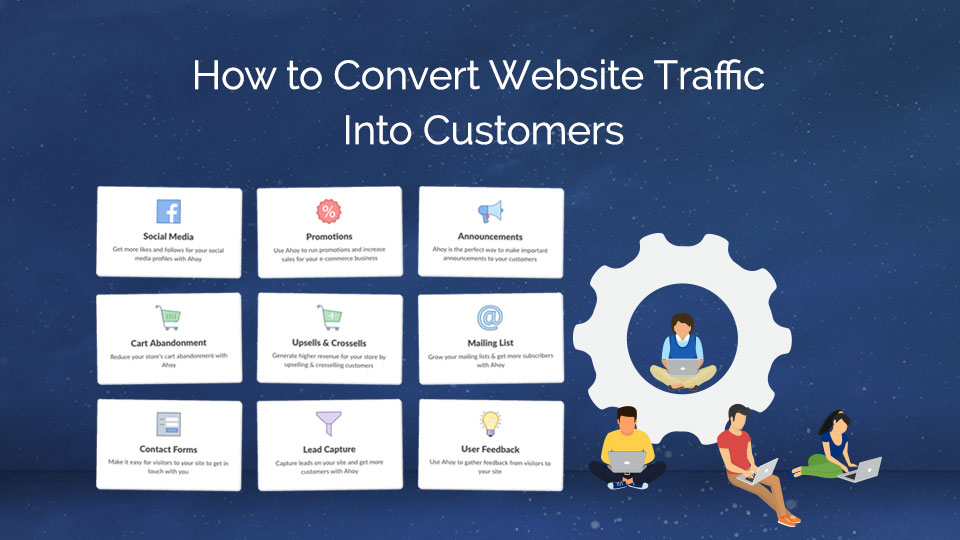
Ahoy can be used in a plethora of ways, a number of which were explained in our previous blog post, Increase Conversions and Grow Profits Using the Ahoy Plugin for WordPress. Our primary use for Ahoy has been to reduce cart abandonment by employing one of the core features of Ahoy, Exit Intent.
With the exit intent add-on, the plugin is instructed to look for browsing patterns and trigger accordingly. For example, if a site visitor begins to leave a product page, the plugin will pop up and display a message box just before the user leaves. The message will encourage the site visitor to continue shopping and complete a purchase.
Since using Ahoy, we’ve seen a significant increase in sales. In the following post, we’ll show you exactly how we’ve set up Ahoy.
How To Install the Ahoy Plugin
Once you have purchased the Ahoy plugin, you’ll be able to download the plugin files. These will save in a .zip file to your computer. To install the Ahoy plugin, navigate to Plugins > Add New in your WordPress dashboard. Upload the Ahoy plugin .zip file and click Install. When the installation has run its course, click Activate.
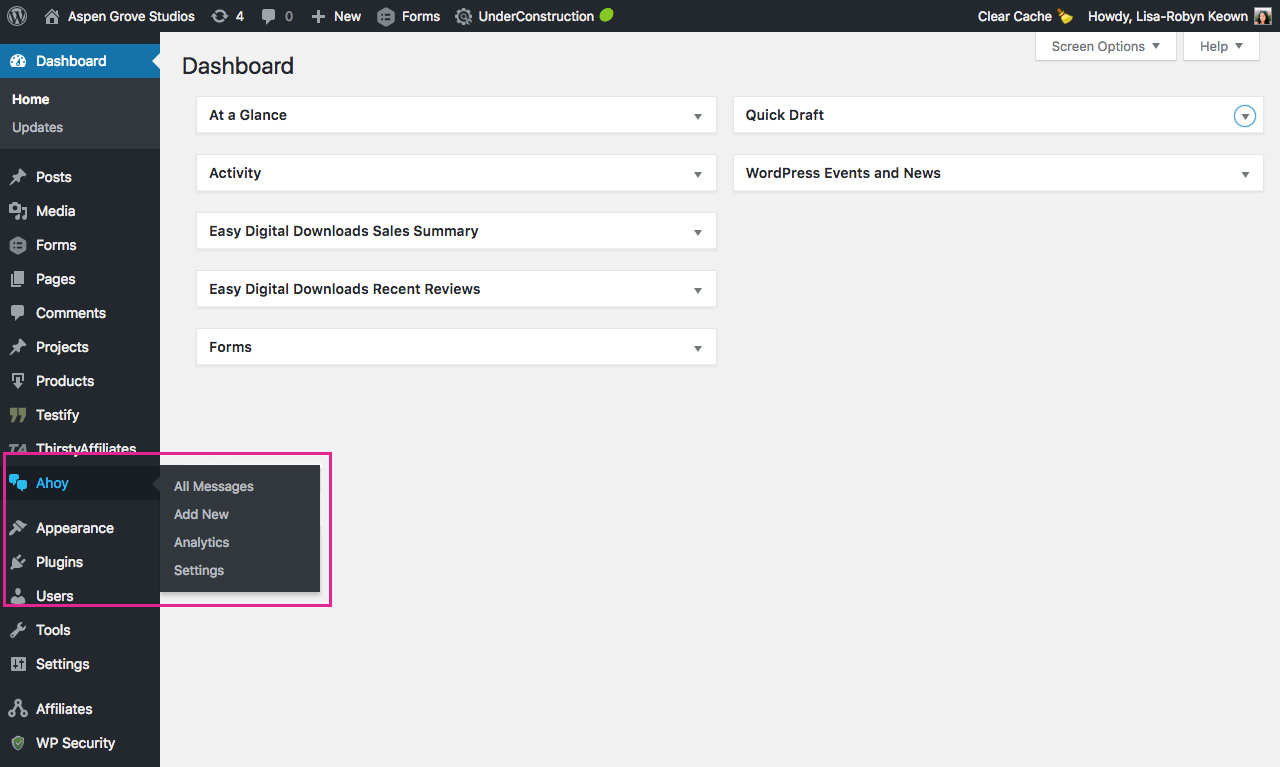
Once the Ahoy plugin has been installed and activated, it’ll create its own menu item in the WordPress menu.
For an in-depth guide to adding a plugin read our guide, How to Install a WordPress Plugin (Step by Step Guide for Beginners).
How To Set Up the Ahoy Plugin
Now that the Ahoy plugin has been installed, you can start creating your Ahoy messages.
The plugin offers the following menu options:
- All Messages – Displays all of the messages created as well as a general overview of the number of message opens and conversations, as well as the total conversion rate.
- Add New – Allows you to create a new Ahoy message alert
- Analytics – Displays data and statistics relating to the performance of your Ahoy messages.
- Settings – Here you enter your license key, set default styling for messages, configure certain analytics options and more.
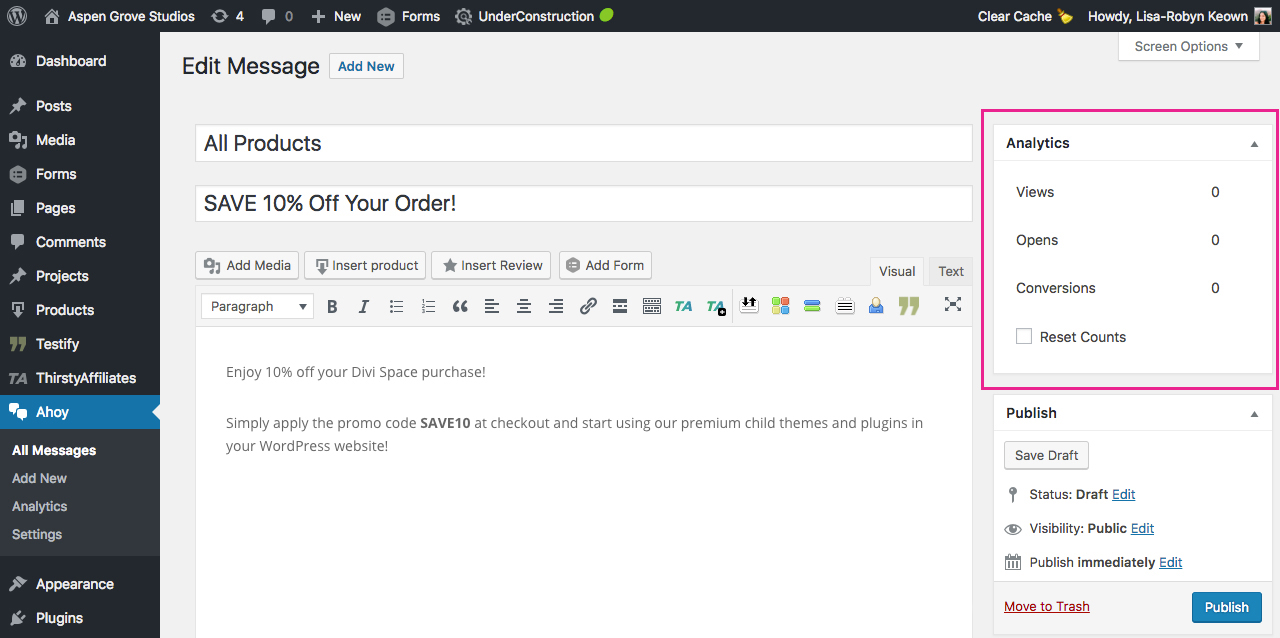
In the tutorial, we’ll be creating something similar to the Divi Space Ahoy message, pictured below. The message offers the site visitor a coupon code that can be added to their cart at checkout.
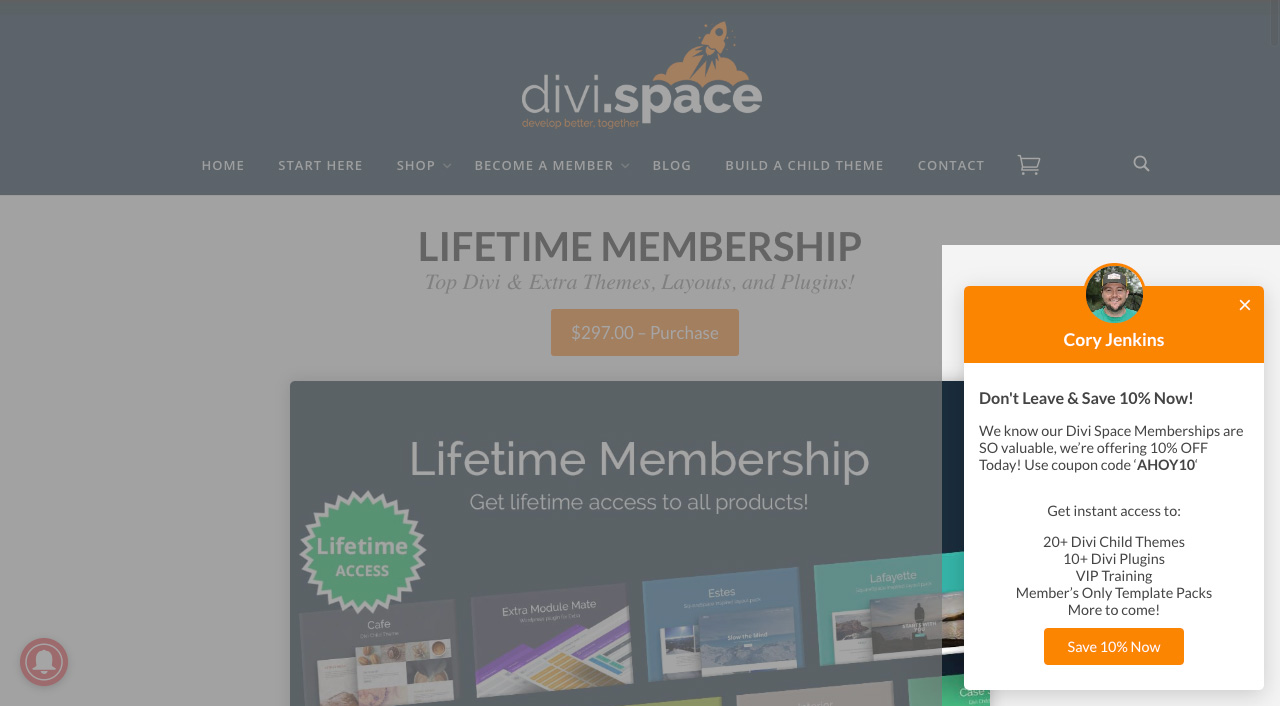
To begin, click on the Add New Message either in the menu, or at the top of the All Messages tab.
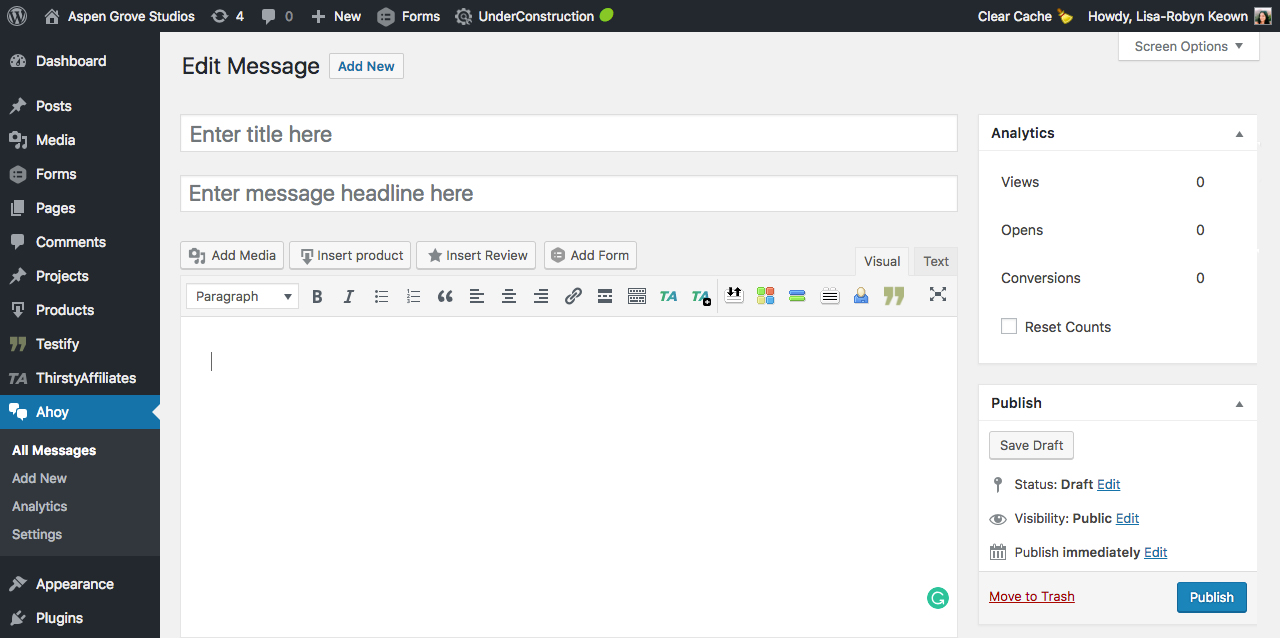
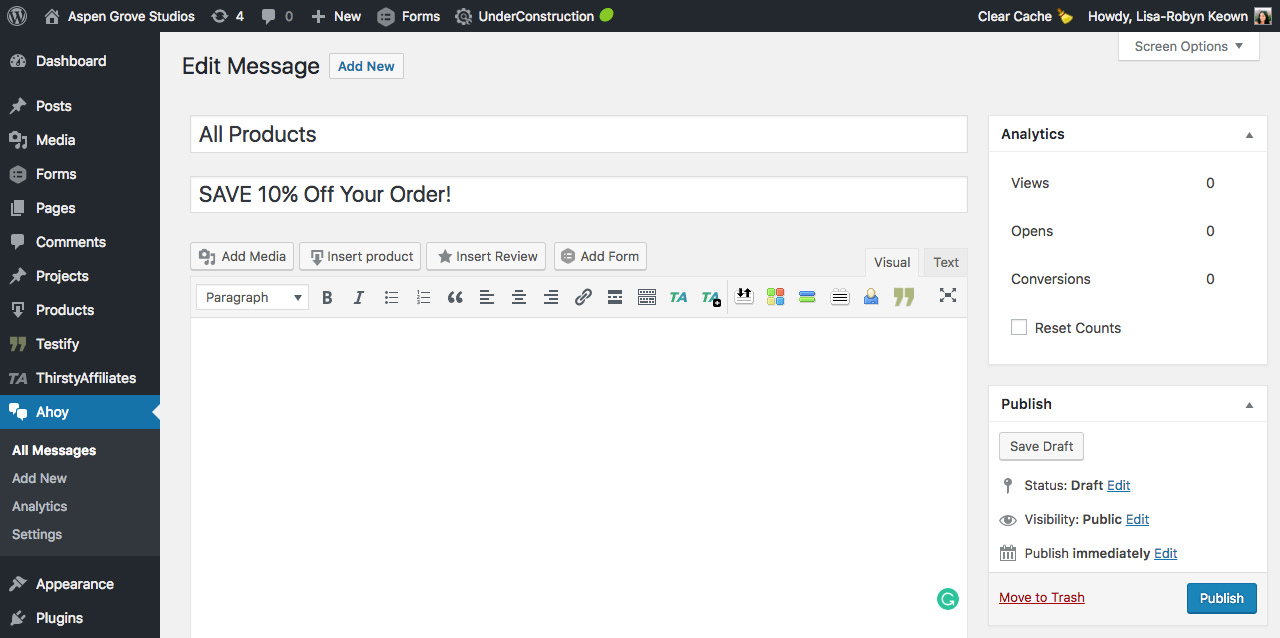
Start by assigning your message a unique name, entered into thetitle field. This title will not be displayed anywhere in the pop-up message, it’s merely for naming purposes.
Next, add an enticing, catchy headline to the second field. This headline will display in the Ahoy message as the first line.
Then, in the main text console, enter the text you’d like to display as the main body of the pop-up message.
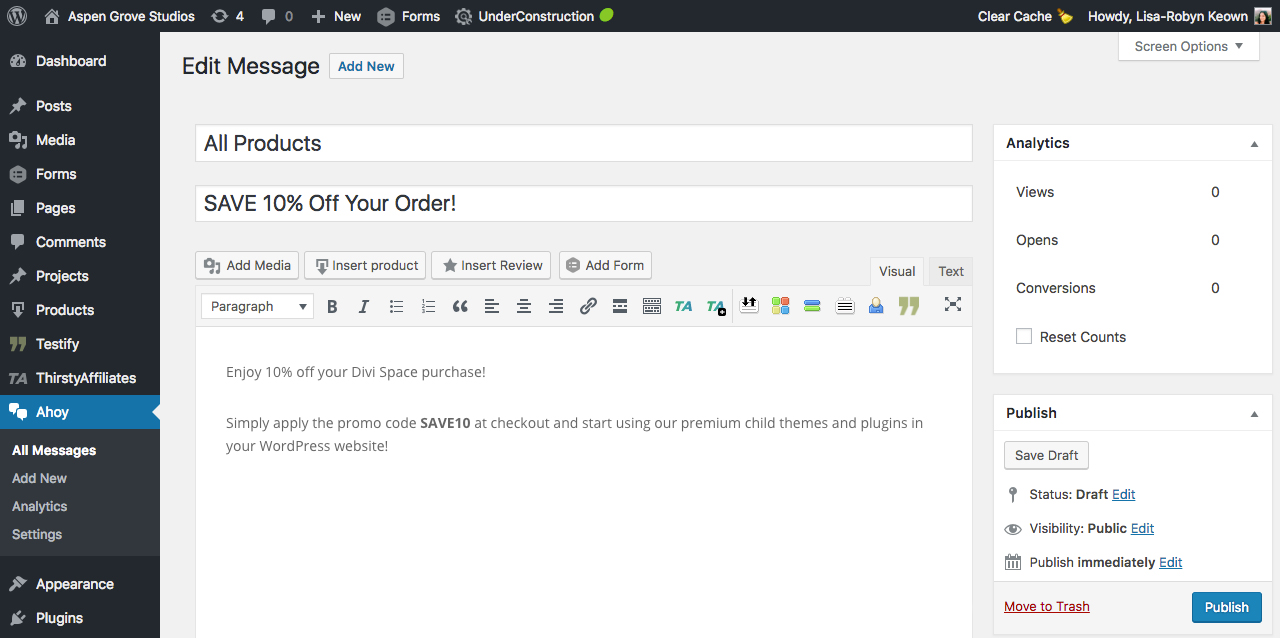
Once complete, scroll down and you’ll see the Ahoy message box setting options.
First is the General tab.
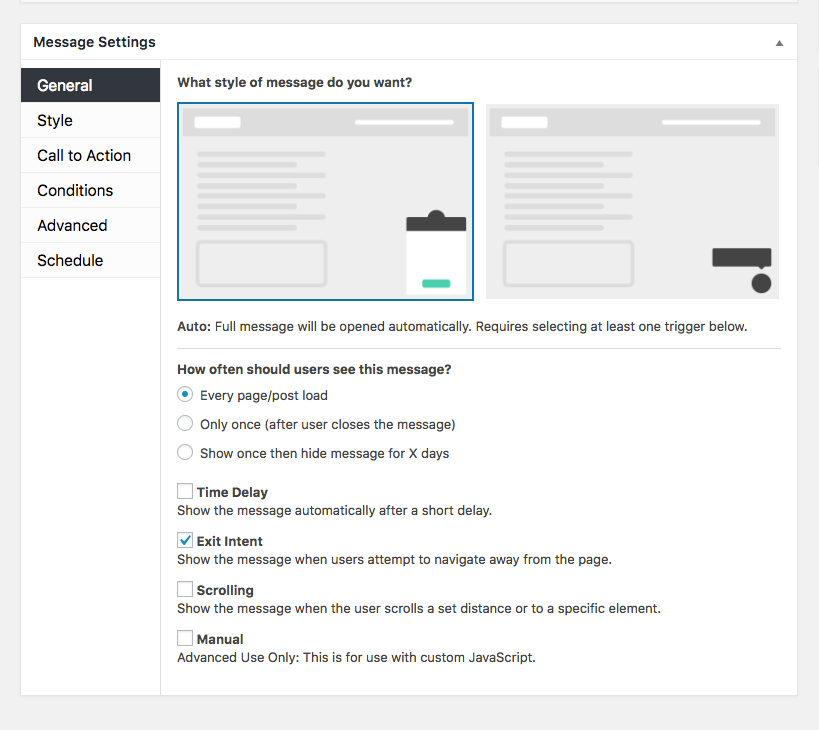
Here you can set the following:
- The appearance of the message alert – whether you’d prefer the Click or Auto message style.
- The message frequency – how often you’d like the message alert to display
- The message trigger – what you’d like the trigger action to be (either Time Delay, Exit Intent, Scrolling or Manual).
We have the Exit Intent option selected. As mentioned above, this sees the plugin look for signs of the user wanting to exit the page, such as moving their cursor to the top of the screen to access the back button or to close their browser.
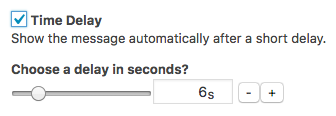
If you select the Time Delay option, you’ll be able to set the time period in seconds that will elapse before the message pop up displays.
If you select the Scrolling option, you can either:
- Set a percentage distance for the screen, or
- Use either a shortcode or CSS selector as an element with various states.
Next is the Style tab.
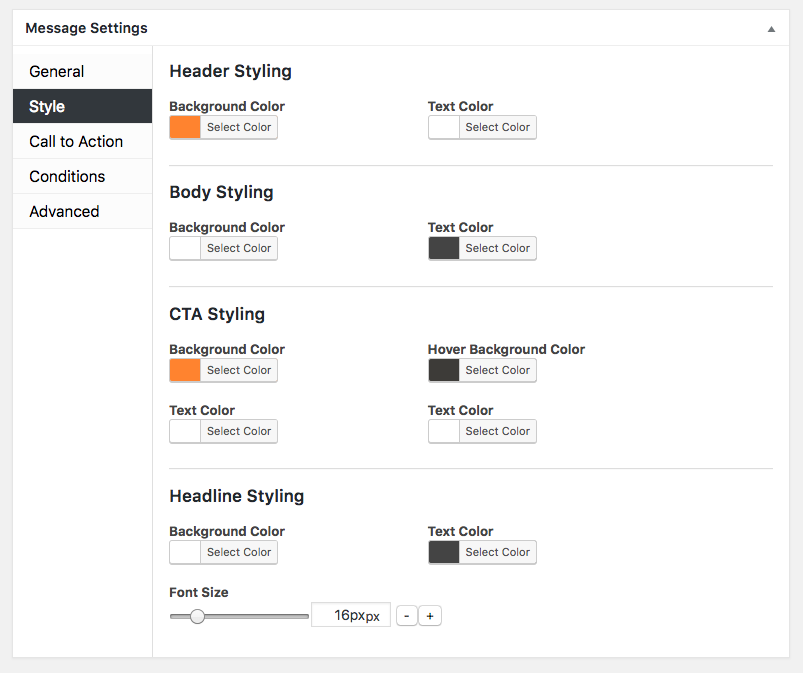
Here you can assign hex codes to various aesthetic aspects of the message pop up.
After setting the color scheme of the message box, the next tab allows you to decide on the Call to Action.
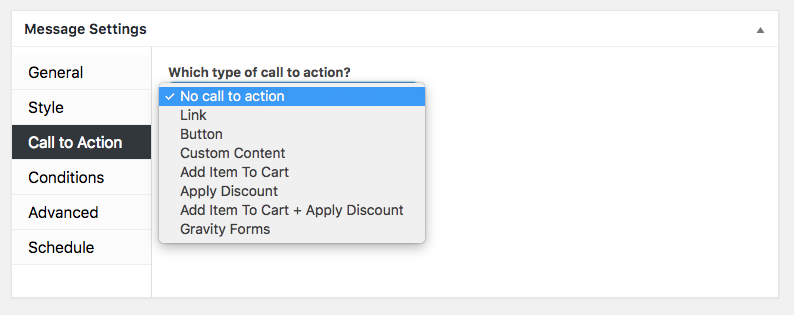
Here you can select from a number of call to actions, such as using a button, a link, integrating a form or more.
Now, for the Conditions tab.
Here, you’re able to set the various conditions for the message pop up display. In this example, I’m choosing three product pages for the message to display on. The conditions also allow for conditional logic. Here, you can get extremely granular with the display of your message alerts, setting them to display in an array of fashions.
The magic of the Ahoy plugin is that conditions can be set to a number of different pages, post types, media files, categories, tags, users, URLs and more.
Finally, in the Schedule tab, you can set the lifespan of the message – either letting the message run until it is manually turned off, or have the message run on a specific schedule.
Once you’ve finished setting up the Ahoy message, click Publish and the alerts will start displaying in the designated areas on the website.
One of Ahoy’s great features is that it comes complete with analytics. Over time, the plugin will accumulate data and statistics relating to the performance of each message.
Each message includes an Analytics overview from within the message editor. Detailed data can also be viewed through the Analytics tab.
Ending Thoughts
Ahoy is a robust, powerful plugin that’ll transform the way your website visitors engage with you online.
Thanks to the plugin’s myriad of configuration combinations, you’re able to create message alerts for a wide variety of applications.
As you can see, Ahoy is incredibly easy to use and requires very little set up. If ever you get stuck, the plugin developers offer thorough documentation as well as support.
We highly recommend using the Ahoy plugin for either your WooCommerce or Easy Digital Downloads store. Available in three packages; Basic, Plus or Pro packages, Ahoy will practically pay for itself within the first few days of using the plugin. Head over to the Ahoy website now to purchase!
We want to hear from you!
We hope you’ve enjoyed reading about the Ahoy plugin and can see just how easy it is to use! If you have any questions about the plugin, please feel free to post your comments or queries below. We love receiving your feedback!
Thanks for reading!

Recent Comments