In the process of converting a sale on your online store, the last hurdle you need to have your customer cross is typically the checkout process. Depending on the types of products you sell, this may involve entering billing and shipping addresses, choosing a shipping method (and seeing the associated cost), and entering payment details. Making sure your customers are guided through these steps as smoothly as possible should be a key user experience priority to help maximize conversions.
Instead of asking for all of the information needed to complete checkout at once, a more user-friendly and aesthetically pleasing approach can be to break the data collection process up into multiple smaller screens. This is where a multi-step checkout process comes into play.
By default, WooCommerce only supports a single-screen checkout form, but if you’re using Divi Shop Builder to create and customize your shopping experience, you can use the Woo Multi-Step Checkout module along with the standard checkout modules in Divi Shop Builder to adopt the multi-step format for your site! Not only can you show the checkout forms in a multi-screen format, but you can also add custom content and custom steps to suit your needs!
Designing Your Checkout Flow
Before you dive in and build your multi-step checkout with Divi Shop Builder, you should plan how best to guide your customers through the checkout process, both to help maximize conversions and in light of any other goals you would like to achieve during checkout. For example, a very basic checkout might have the following steps:
- Billing Details (contains Divi Shop Builder’s Checkout Billing module)
- Shipping Details (contains Divi Shop Builder’s Checkout Shipping module)
- Review Order (contains Divi Shop Builder’s Checkout Order module, and maybe the Checkout Coupon module so customers can’ enter discount codes)
In addition to the core modules listed above, you may also want to include text modules with instructions or reassurances for the customer, such as mentioning your refund guarantee or warranty, shipping policies, etc.
If you are using a plugin to manage upsells for WooCommerce, you might want to add a step before the final step to suggest other products that the customer might be interested in before they finalize their order. For example, if the upsells plugin supports outputting product suggestions via a shortcode, you could add a library layout based step asking customers if they are interested in these suggested products, along with the shortcode in a text module.
If one of your goals is to incentivize subscriptions to your mailing list, you could add a checkout step offering customers a discount on their current order if they subscribe. This step’s content could be a Divi library layout with a Text module explaining the offer, a module containing an email sign-up form, and a Checkout Coupon module for applying the discount that your customer receives by email after signing up.
Creating Checkout Steps
Each step in your multi-step checkout process is added to the Woo Multi-Step Checkout module as a child module. The step has a text label as well as a slug (an ID in lowercase with no spaces). You can also choose to show a step number, image, and/or icon for the step in the step navigation area; these options are all configurable on an individual step basis in the Content tab of the child module settings.
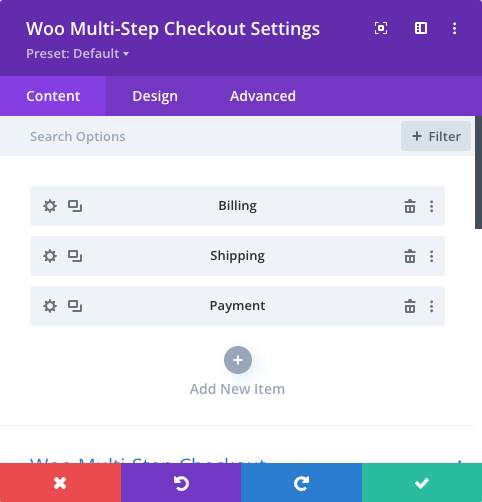
The content for each step can be defined in one of two ways: either as a Divi section on the same page as the Woo Multi-Step Checkout module, or as a layout in the Divi Library. If you choose the on-page option, all you need to do is create the Divi section on the page, ensure it includes a Checkout Billing Info, Checkout Shipping Info, or Checkout Order Review module (it can contain other modules as well), and select this module in the Woo Multi-Step Checkout child module’s Primary Module field so that it can be identified (this should automatically hide the section until it is needed). Alternative, if you select the option to load the checkout step content from the Divi Library, you’ll just need to create the layout in the Divi Library and choose it in the Woo Multi-Step Checkout child module’s Library Layout dropdown.
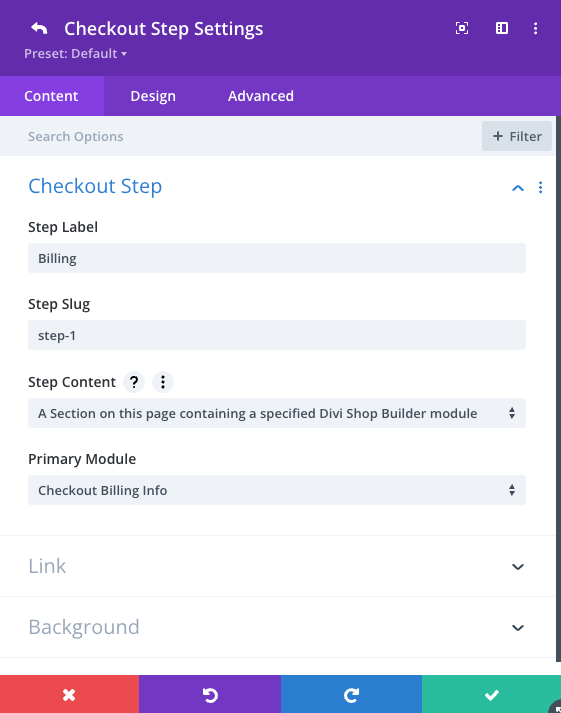
Here’s some pros and cons of each option to help decide which is best for your needs:
Pros and Cons of On-page Divi Section and Divi Library Layout
| Option | Pros | Cons |
|---|---|---|
| On-page Divi section |
|
|
| Divi Library layout |
|
|
Once again, the Step Content setting is defined on a per-step basis and it’s perfectly fine to mix steps with different content sources in the same multi-step checkout implementation.
Customizing the Checkout Experience
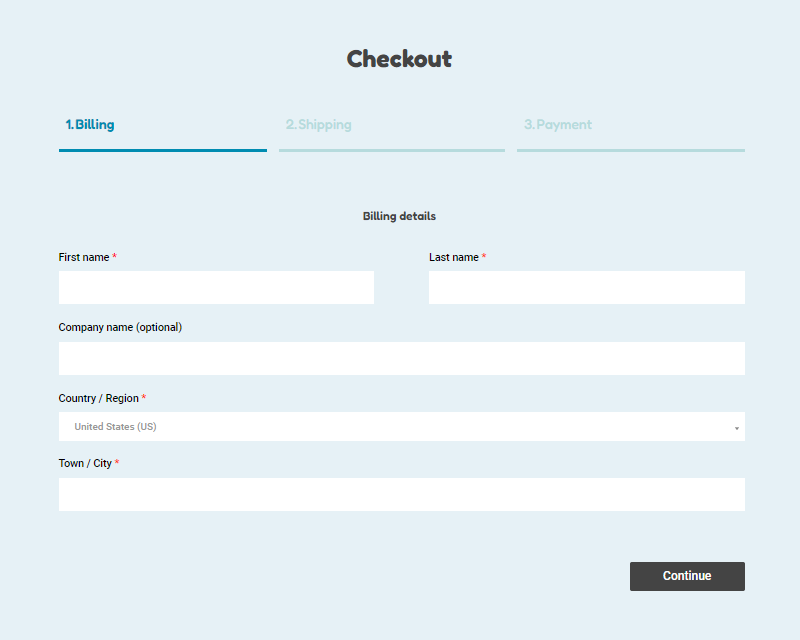
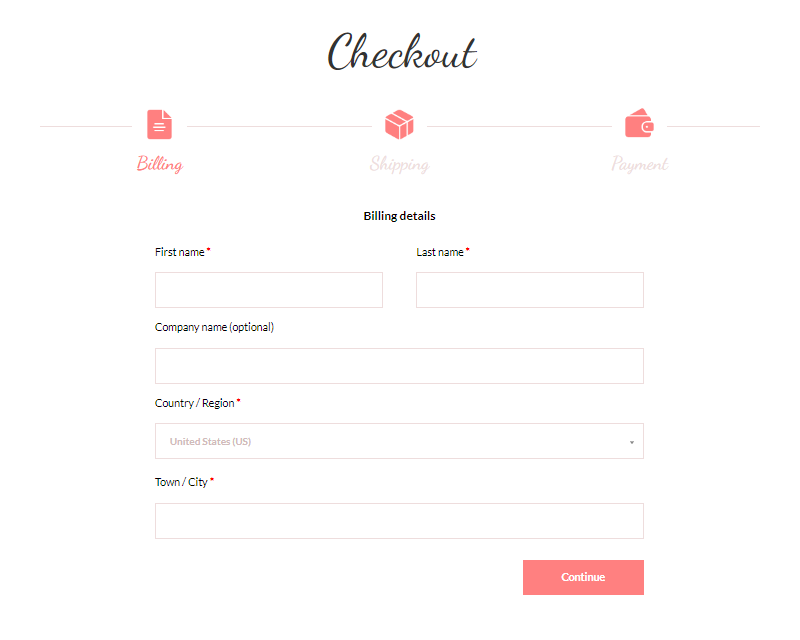
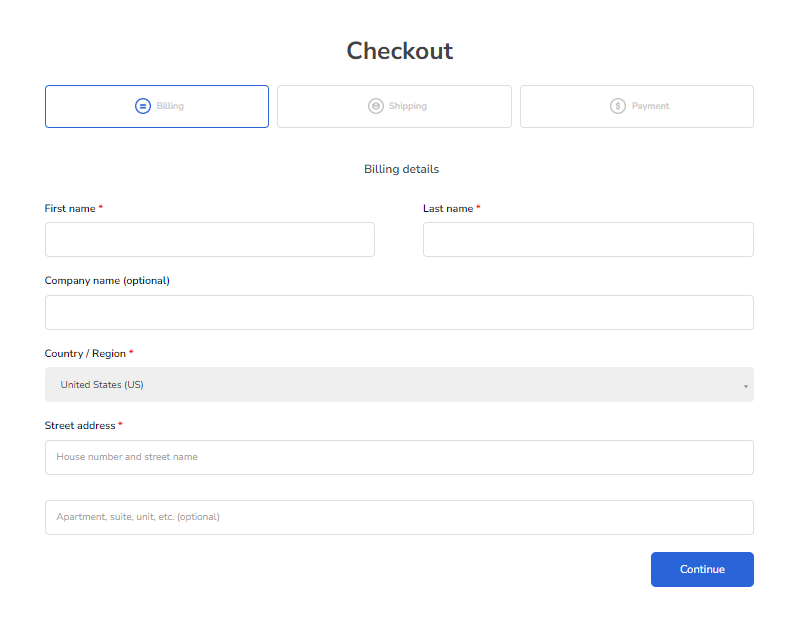
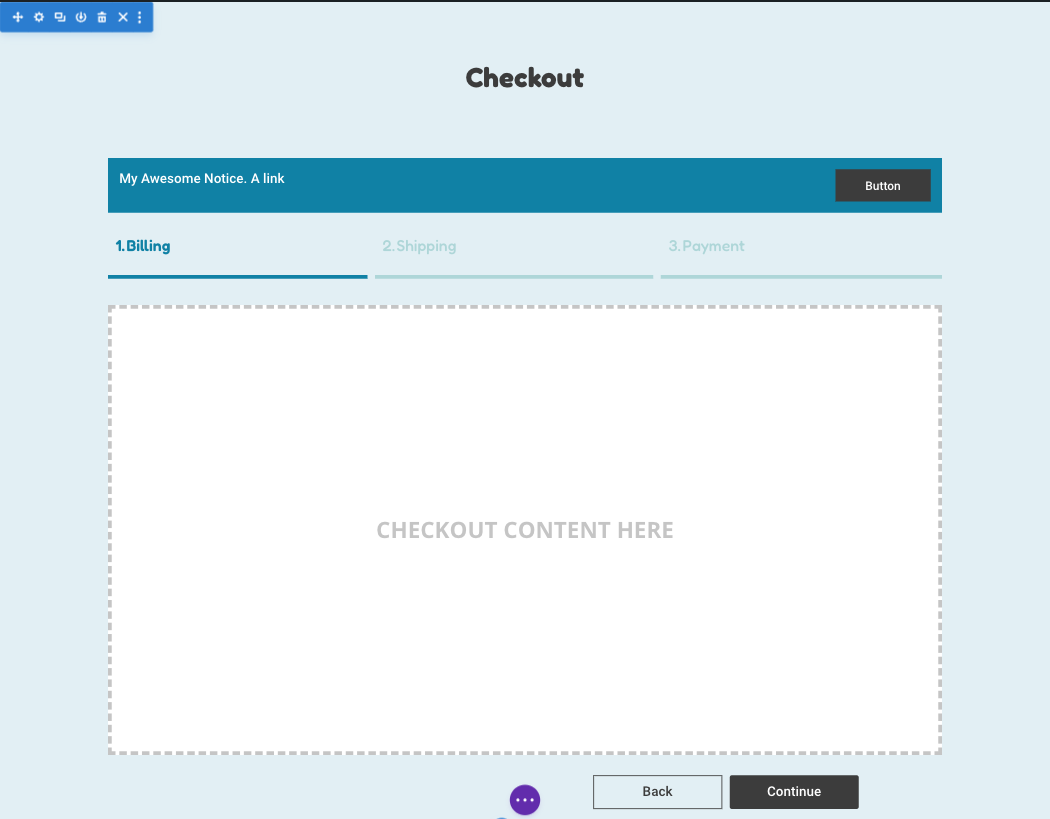
Taking a step back from individual checkout steps, the Woo Multi-Step Checkout offers many different options for tailoring the checkout experience to your site. In the Content tab’s Layout toggle, you can choose your navigation style; at the time of writing, these 11 styles are available (colors and other characteristics can be customized separately:
Other settings in the Content and Design tabs allow for fine-grained customization of colors, fonts, text copy, sizing, and more, to help ensure that the Woo Multi-Step Checkout module integrates seamlessly with your site’s look and feel.
In Summary
With the Woo Multi-Step Checkout module, Divi Shop Builder has added yet another way to customize and optimize your WooCommerce store in conjunction with the Divi builder. Adding this module to your site can help improve the user experience during checkout and contribute to maximizing conversions, while providing opportunities for implementing upsells and other promotions.
If you have an active Divi Shop Builder license key or a WP Zone membership, you automatically have access to the latest release of this plugin which includes the Woo Multi-Step Checkout.
If you haven’t experienced the power of Divi Shop Builder yet, what are you waiting for? Buy the plugin or become a member today!

Hi. I loved the blog, now I will try to implement these steps while creating a multi step woo commerce checkout. Thank you.