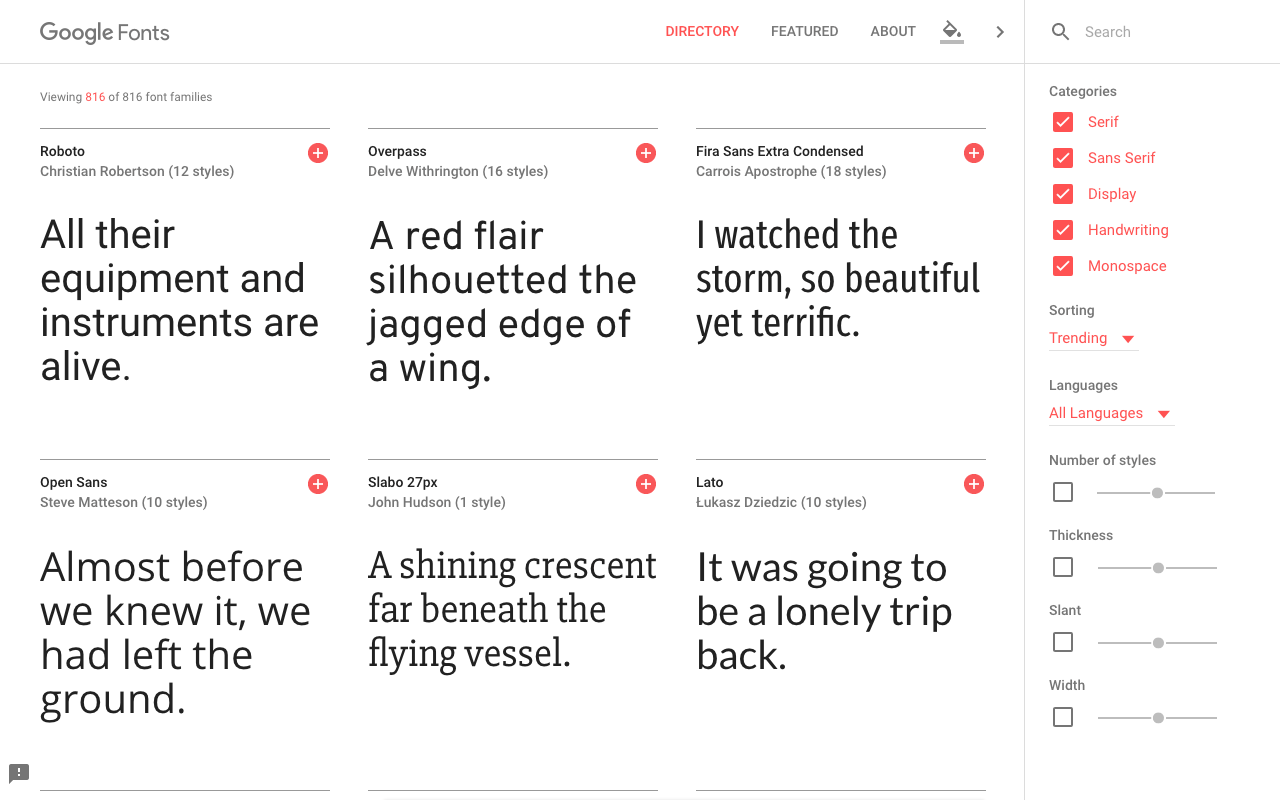
There are thousands and thousands of fonts, and while most of these fonts are only available via the purchase of a license, Google has been releasing a series of free, already-licensed and web-safe fonts for web developers and designers to use in their projects.
Based on the sheer number of possible combinations, choosing which fonts to use in a web project might be a bit of a challenge, but once you’ve made your decision, adding them to your WordPress website is a breeze.
If you’re using the Divi theme by Elegant Themes, you’ll know that there are a number of Google fonts already available within their theme packaging, but if you’re looking for something a little more unique, follow the quick tutorial below to add your own selection of Google fonts to your WordPress and Divi websites.
How To Add Google Fonts to Your WordPress and Divi Website

While not set in stone, there is a general rule that a website should not include more than three fonts. This helps to retain a unified look and feel across a website.

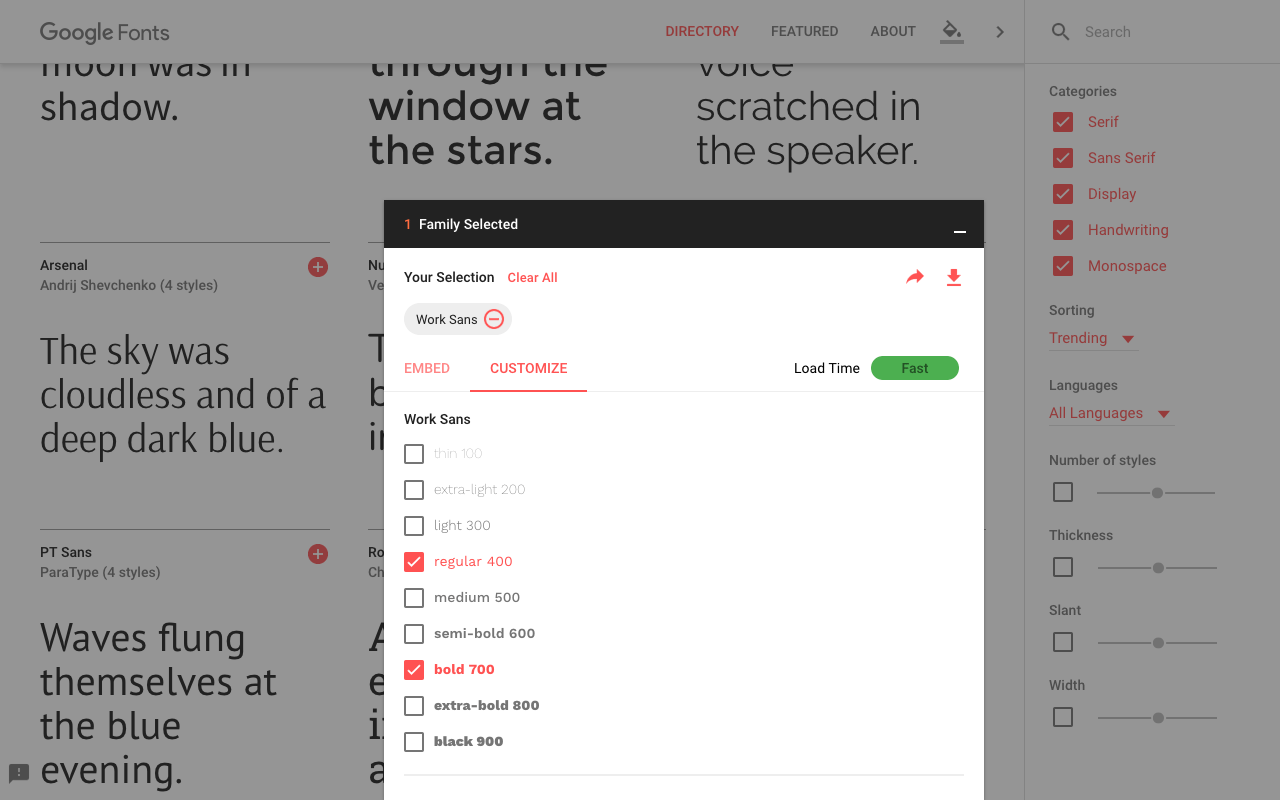
Both the LINK and @import rules are merely two alternate methods for including stylesheets within a web page. The LINK method is preferred over the @import rule as it is better at performance.
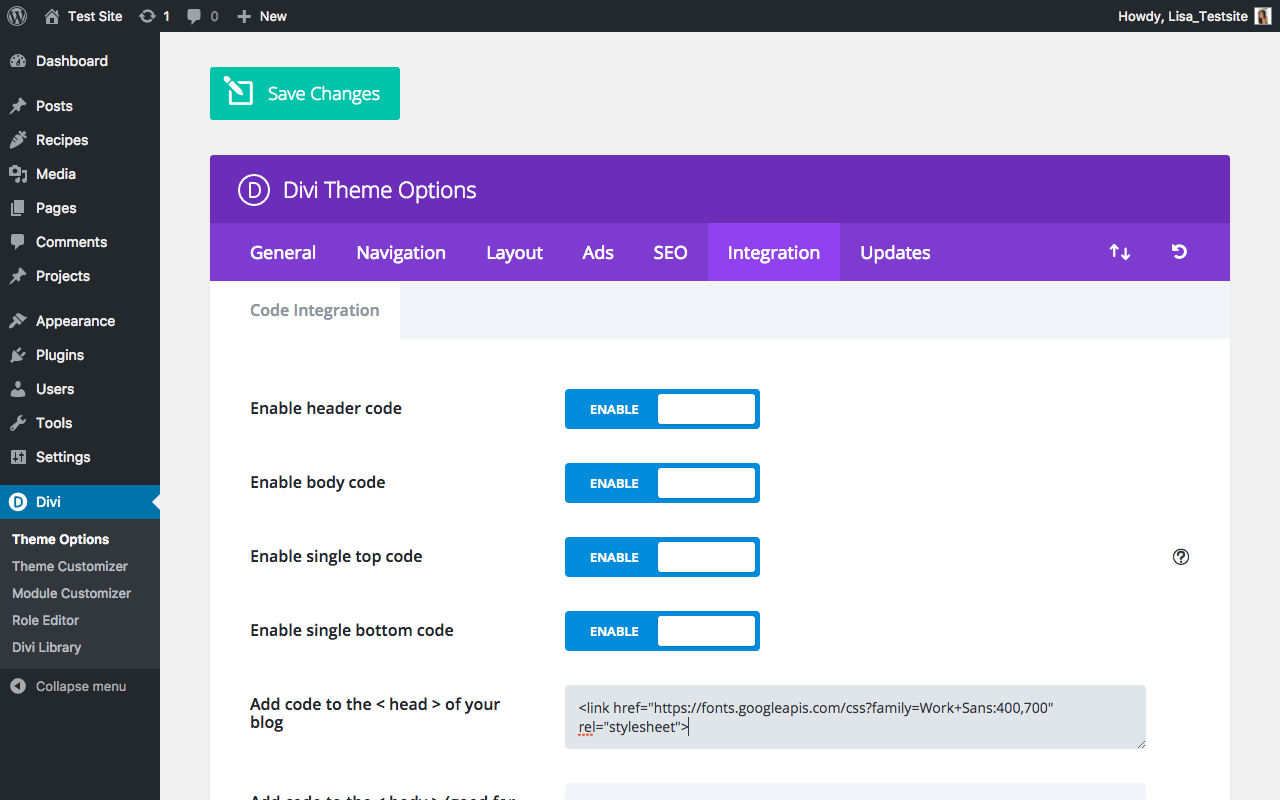
Once you’ve copied the code within the LINK tags, head over to your WordPress website.

 h1, h2, h3, h4 {
    font-family: 'Work Sans', sans-serif;
}
function load_fonts() {
   wp_register_style('googleFonts','https://fonts.googleapis.com/css?family=Font+Name:weight,weight');
   wp_enqueue_style('googleFonts');
     }

add_action('wp_enqueue_scripts', 'load_fonts');
function load_fonts() {
   wp_register_style('googleFonts', 'https://fonts.googleapis.com/css?family=Work+Sans:400,700');
   wp_enqueue_style('googleFonts');
     }

add_action('wp_enqueue_scripts', 'load_fonts');
If you’re working locally, the child theme folder will be located within your computer files. If you’re working on a live site, either access the functions.php file by using an FTP client (such as FileZilla or Cyberduck), or edit the file from within your server console or from within the Appearance > Editor console on your WordPress dashboard.
Whichever method you choose, make sure you save your changes.
In the Google Fonts console, they offer the CSS rule which can be used to declare to the font code, example:
font-family: 'Work Sans', sans-serif;
 h1 {
    font-family: 'Work Sans', sans-serif;
    font-weight:700;
    font-size: 28px;
    color: #333;
}

p {
    font-family: 'Work Sans', sans-serif;
    font-weight: 400;
    font-size: 16px;
    color: #333;
}
If you have any further queries or questions, please feel free to leave a comment below. We love receiving your feedback!
Thanks for reading!


Brilliant. Fixed a problem that had been vexing us for days. Thank you!
Hello Martin,
We have edited the post as per your suggestions.
The part between
and
is intended for non-divi users.
Hello Randy, what it means is that if you copy the code published in this post, where it says:
You need to remember to change ‘Work Sans’ to the font you chose for your project. It’s just a reminder for some users who copy the code snippet and forget to personalize.
Thanks for this, but I got a bit confused where you said> “If you’re not using Divi by Elegant Themes, you’ll need to do a bit more code work to embed your fonts.”
I AM using Divi (and after all the post title is how to add Google fonts to your Divi website). So I’m guessing what immediately follows describes what needs to be done if I’m NOT using Divi. But I’m not clear where that part ends and if I need to edit my functions.php.
Perhaps you could make it explicit what DIVI users need to do and either remove the ref to non-DIVI code work or place it in a toggle panel.
All this wonderful description and action steps and then there is this undefined statement, “Remember to change the font-family declaration to mirror your chosen font.”
That sounds terribly important but is totally meaningless to me.
I guess I’ll have to try the plugins.
Great post Lisa-Robyn. Perhaps and idea for a future post is how to remove references to unused external fonts and remove older font formats like EOT, TTF, and OTF. Particularly in DIVI. Slows all my site speeds and performance scores. Thanks for the great info!