Add CSS to Divi Using Inline CSS
Any module within the Divi theme that has a content area (i.e. a place where custom text can be entered such as the text module, blurb module etc.) will allow for inline styling.
To add inline styles to a section of an element, you’ll need to target the element itself and add the < style > attribute, thereafter you can add any number of styling properties that relate to the specific element you’re trying to target and style.
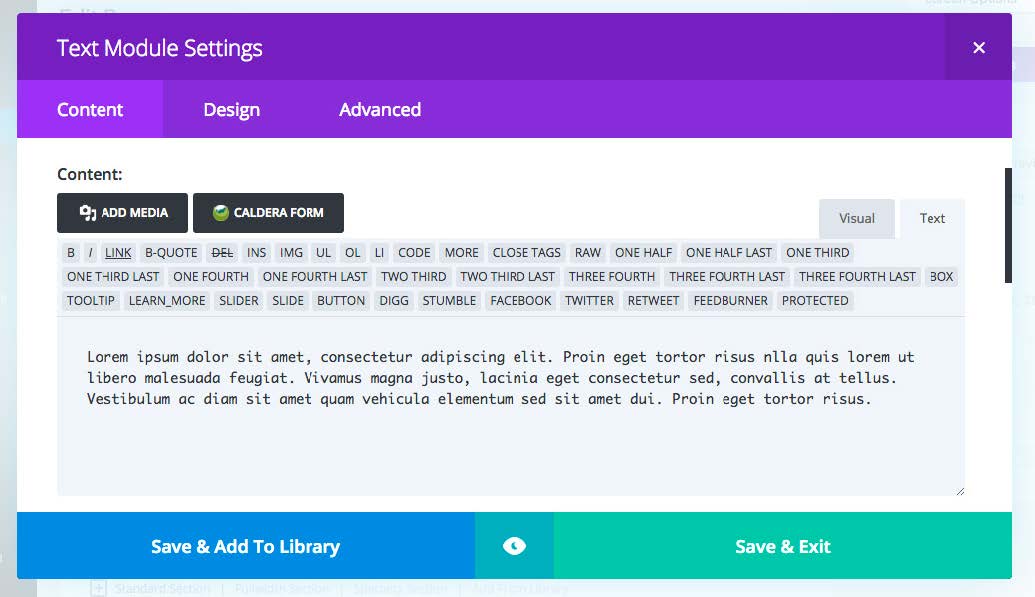
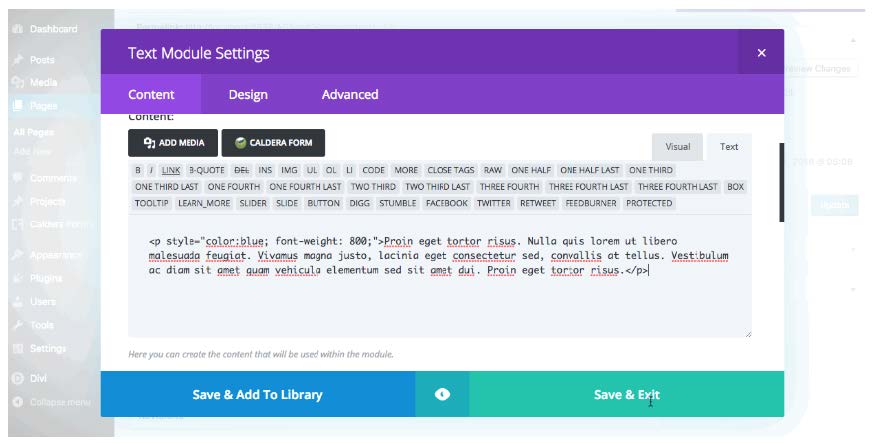
To add inline CSS to a module in the Divi Builder (provided it has a content area), open the WYSIWYG Text editor, not the WYSIWYG Visual editor.
Next, assign a tag to the element. In this case, we’ll assign a < p > tag to make it paragraph text, and apply the < style > attribute. Once the style tag has been added, you can add various properties and values.
In this example, we’ll take the first text the first text module and style the text to have a heavier font weight and a different color (blue).
Pros and cons of using inline styling
Pros:
✅ Adding inline styles is a quick workaround for a simple change to a single element
Cons:
❌ Using this method means that you’ll need to style each individual module element in the same fashion, which is incredibly time wasting, especially if there are many of the same styling changes and you’re working on a large website
❌ In the same regard, it’s really easy to forget about inline styles especially in a large web build with many pages
❌ As the inline styles are so deeply baked into the modules themselves, they cannot be targeted and edited using media queries, which could pose a problem later down the line