Divi Health Clinic
Designed for doctors' practices, health clinics, and medical facilities, the Divi Health Clinic child theme helps medical professionals get their website up and running. Save time, energy and effort creating your website, use this visually appealing child theme for Divi to share your clinic or practice's information and services with potential patients.
Quick Links
FAQ
- What are the child theme server requirements?
- What is demo data and how it works?
- Where to find help?
- What is a child theme and why should I use one?
- What is the difference between Divi Space's premium child themes and a standard (blank) child theme?
- What do I get when I buy a child theme?
- How do I choose the right child theme for my website?
- I don’t know how to code. Will I be able to customize my child theme?
- I’m looking for a standard, blank Divi child theme. How can I make one of those?
- What about support, licensing, and updates?
- Are child themes included in your membership?
Whenever you update child theme, all of the files are updated so if you have made any changes to these files, those changes will be erased. We don't recommend making any changes to the child theme files.
Requirements
Before you can install and use our child theme, you need to ensure that you have the proper environment setup. The requirements are provided here
Install the child theme
In this section, we will be installing Divi Health Clinic. Before you can upload the plugin, you first need to download it from our website, WP Zone. Login to your account, go to the "My Account" page, click "Purchase History." Click the "download" button to get the zipped file.
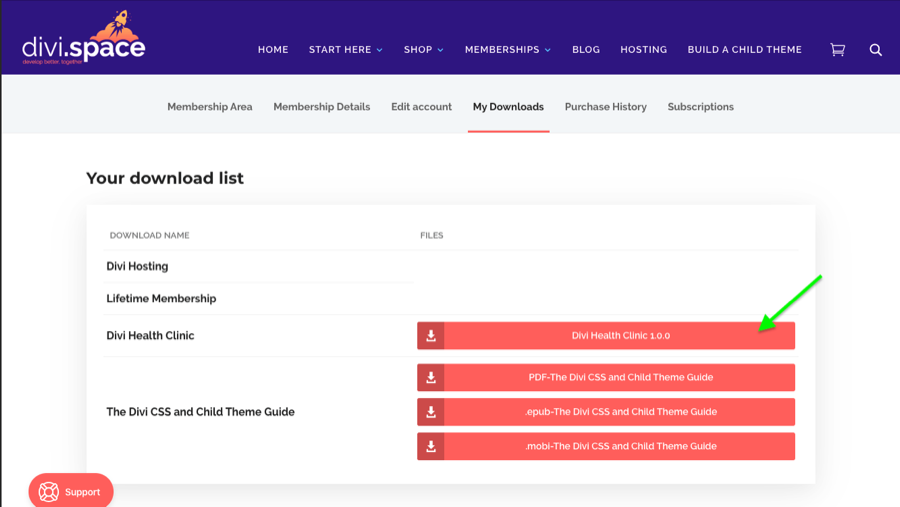
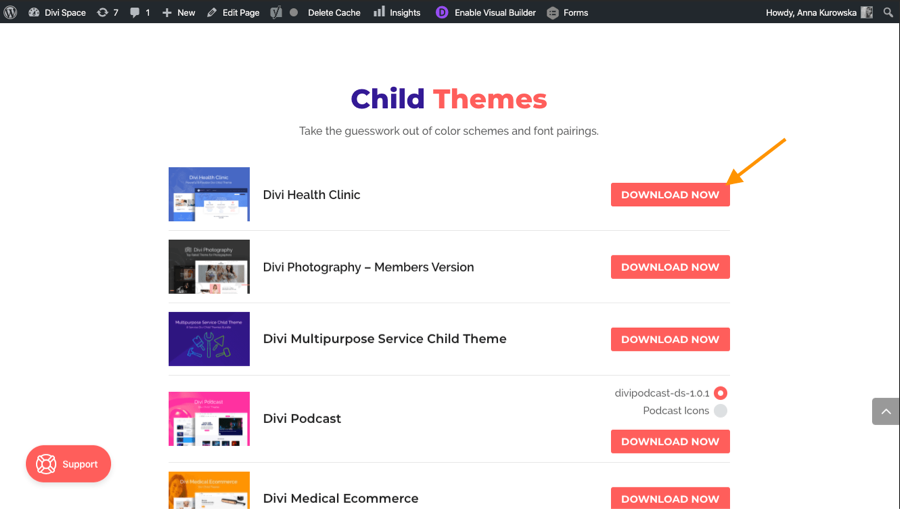
If you are a lifetime or annual member, you can download the child theme from Members Area on WP Zone (depending on where you made the purchase).
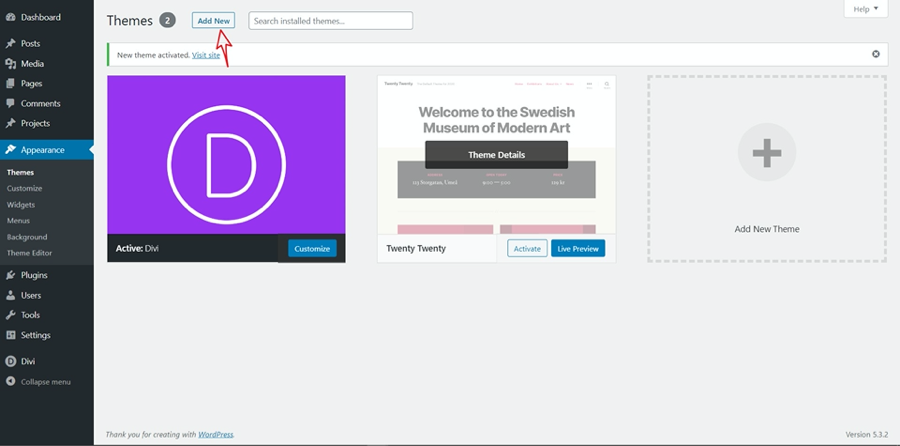
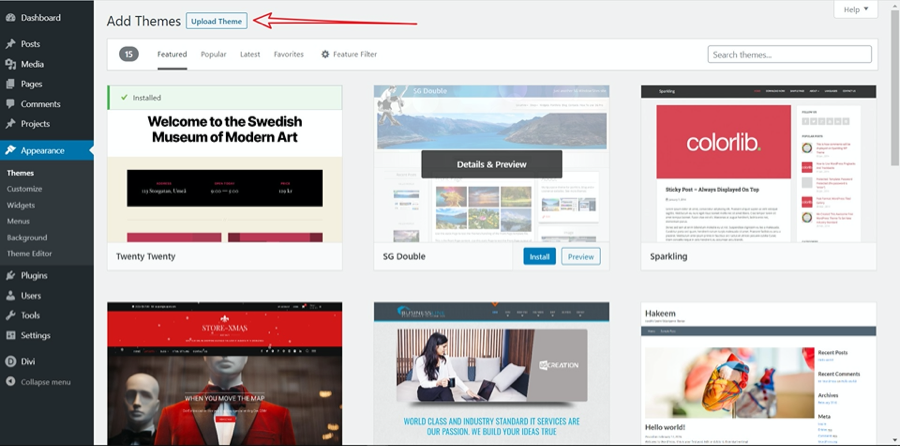
To upload your theme, you first need to log in to your WordPress Dashboard. After you have logged in, click the Appearances > Themes > and Add New
On the next screen, click the "Upload Theme" button on the top of the page. This will bring you to a new page with an upload link. Click the "Choose File" button to open up a window to browse your computer. Locate the .zip file that you just downloaded, and select it.
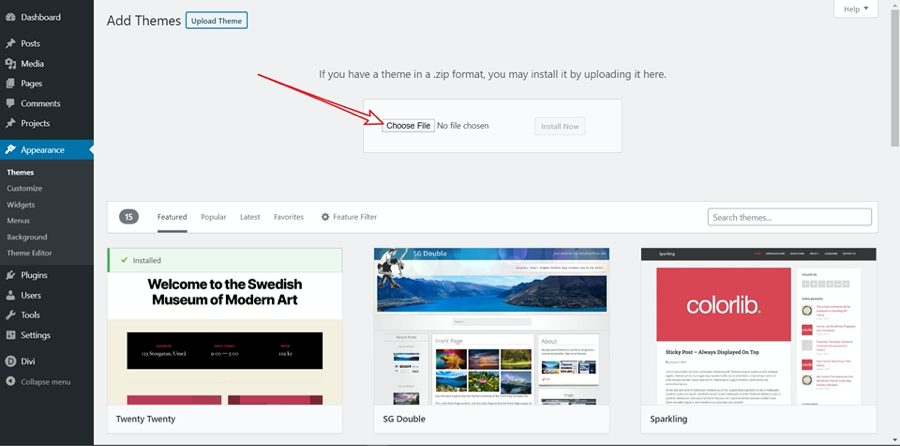
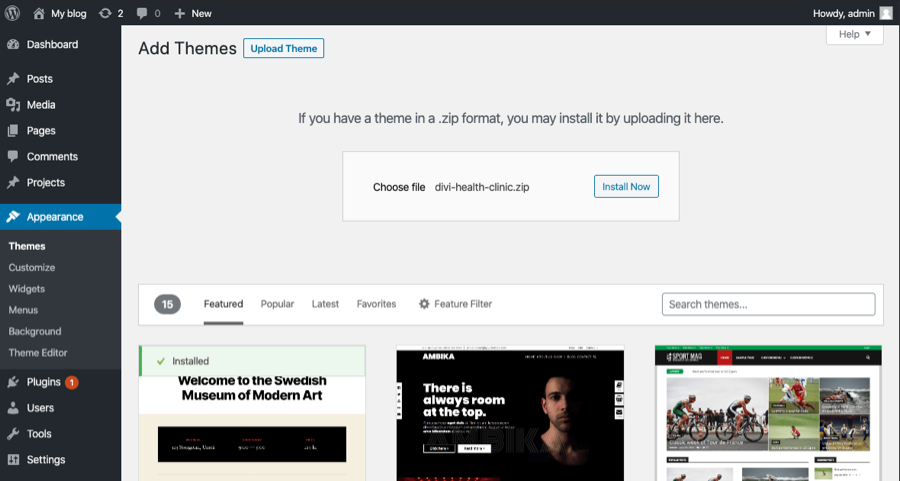
After you have selected the file, click the "Install Now" button to install your plugin.
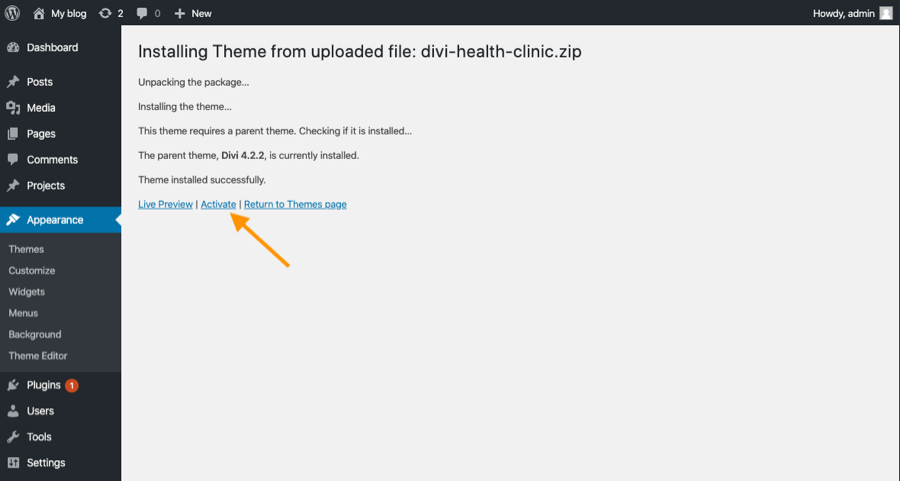
The page will re-load, and after the plugin has been fully uploaded, you will be presented with an "Activate" link. Click this to activate your theme and complete the installation.
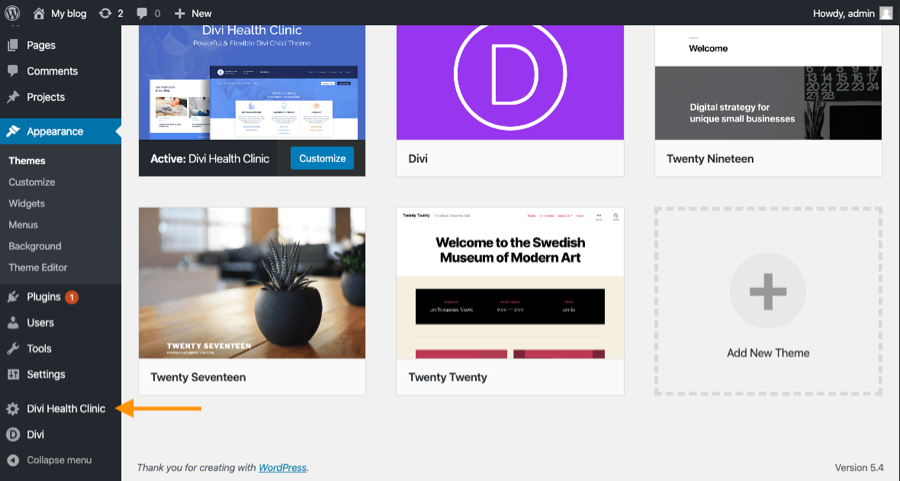
Choose "Divi Health Clinic" from the WordPress menu.
Installing required plugins
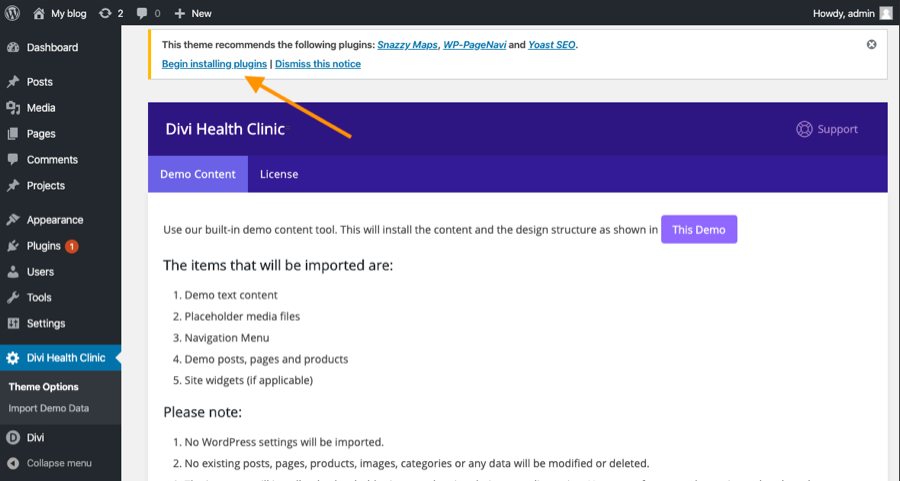
Once your license key is activated, click "Begin installing plugins".
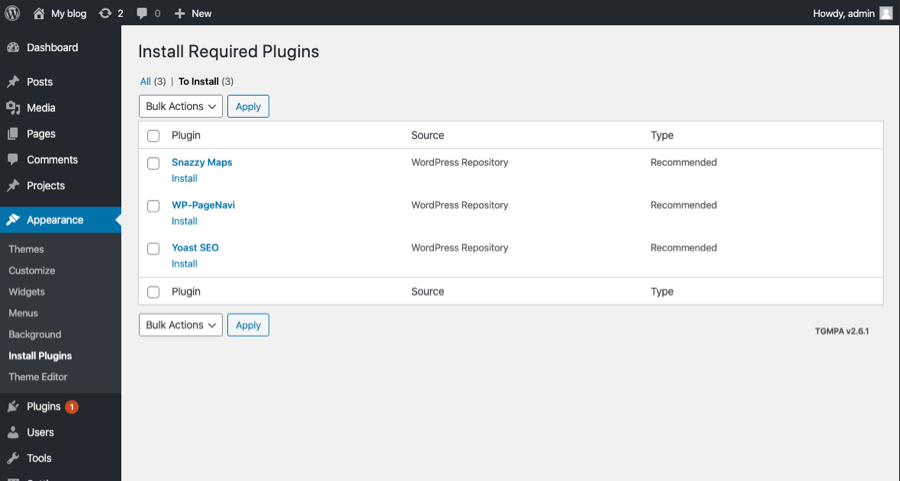
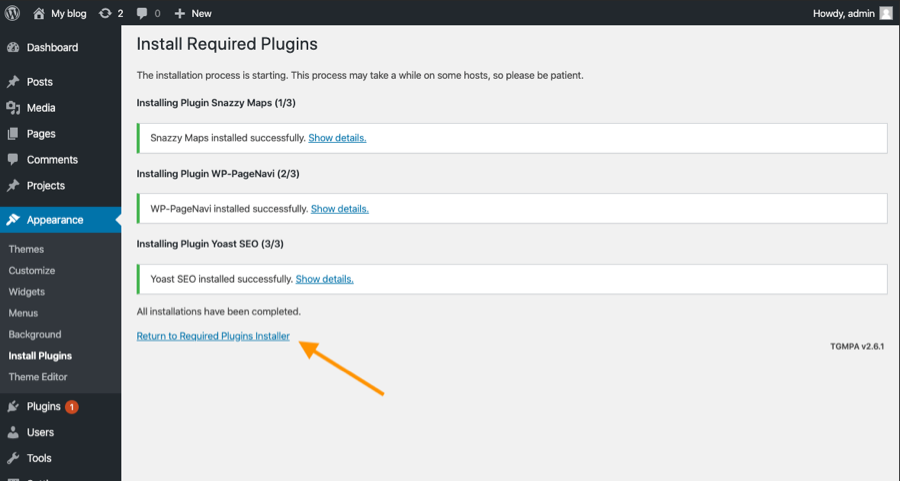
Install the required plugins.
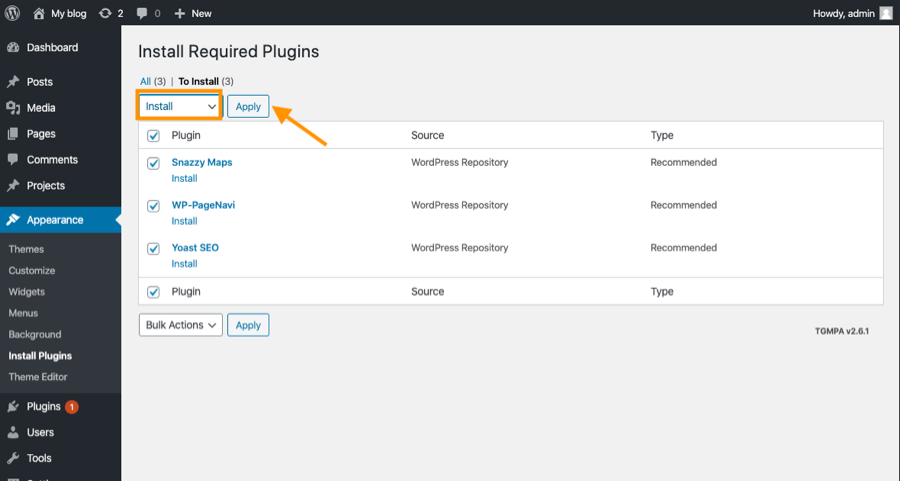
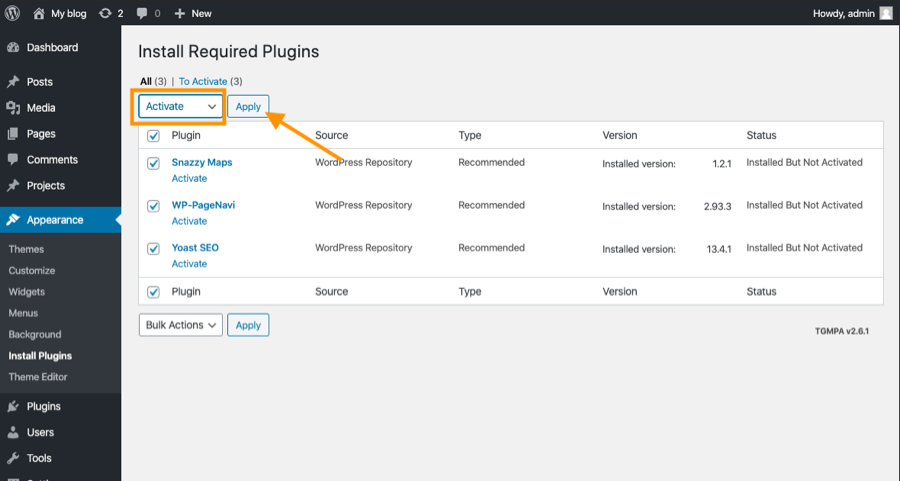
And activate them.
Importing demo data
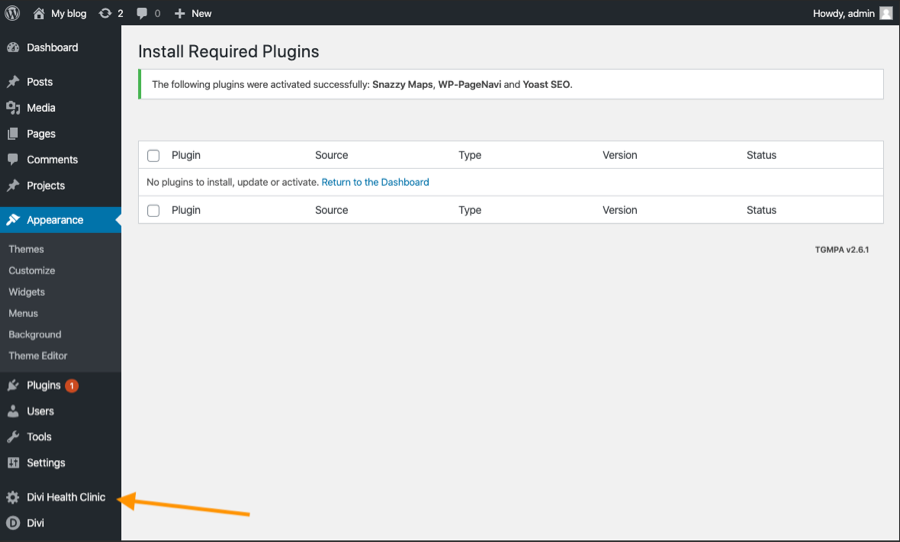
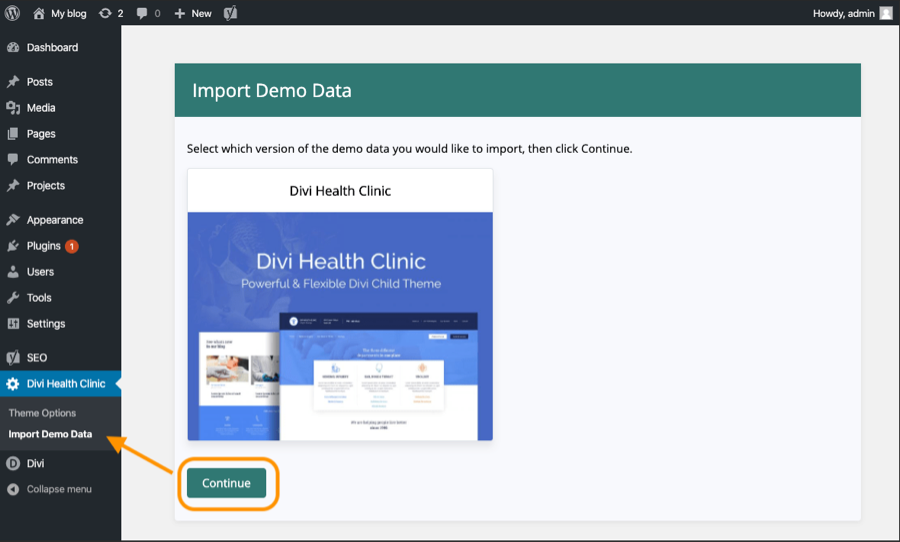
Click "Divi Health Clinic" from the WordPress Dashboard to import demo data.
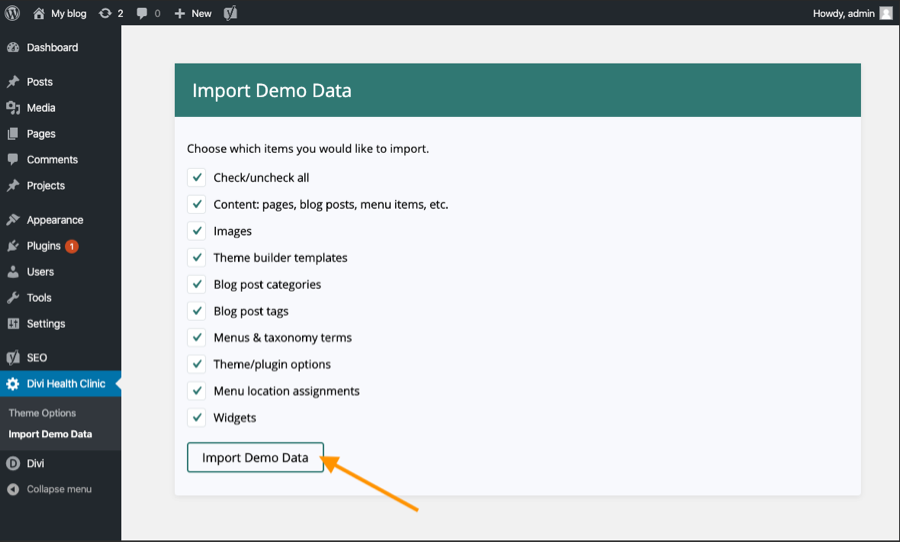
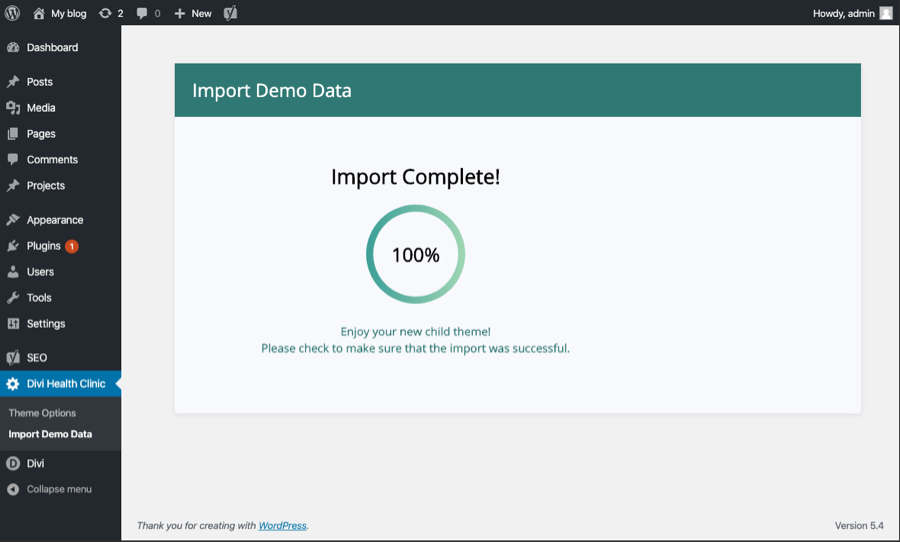
Homepage and news page settings
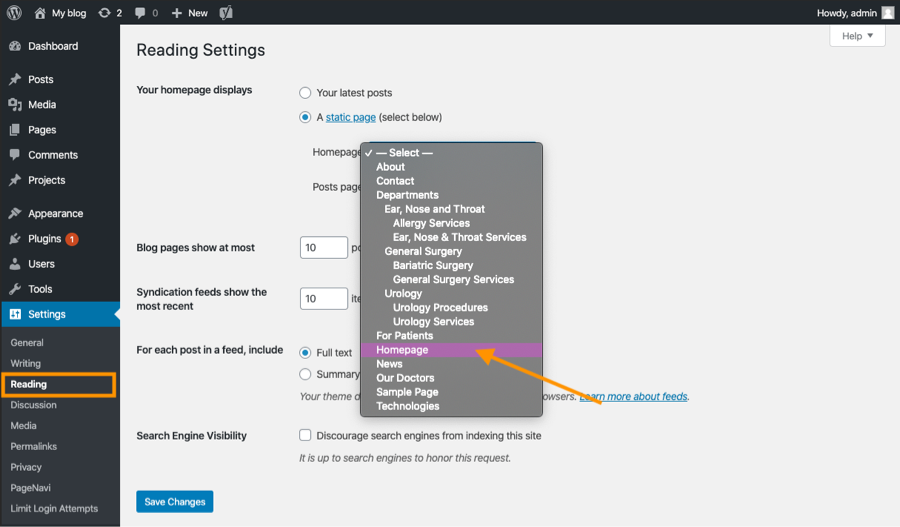
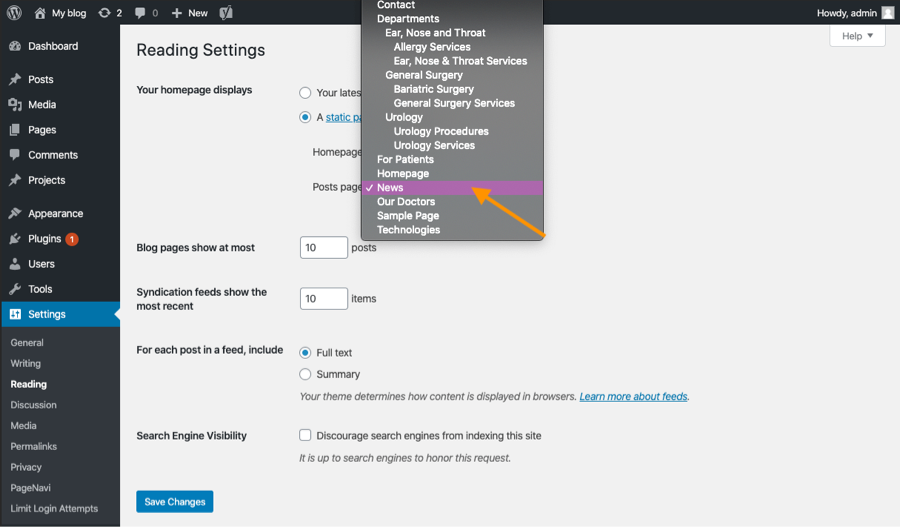
Go to Settings -> Reading. Change the homepage displays, for the homepage choose the "Homepage" page. For posts page, choose the "News" page.
We are almost ready!
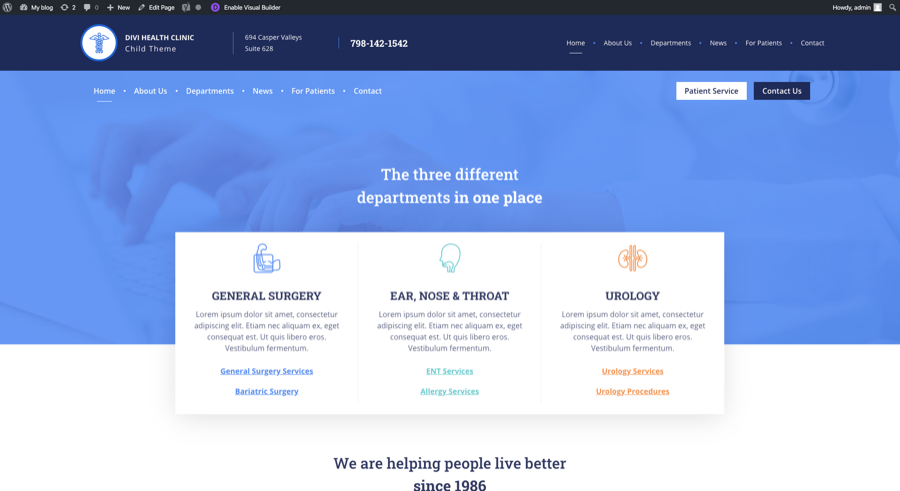
Change logo
Go to Divi >> Theme Options and upload your own logo.
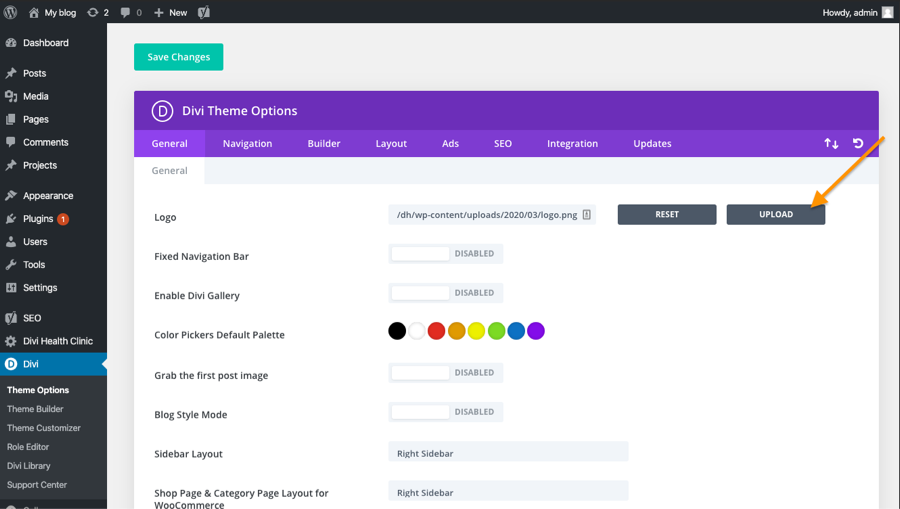
Change navigation
Go to Divi >> Theme Builder. Click on the global header and edit. To customize navigation, go to Appearance >> Menus
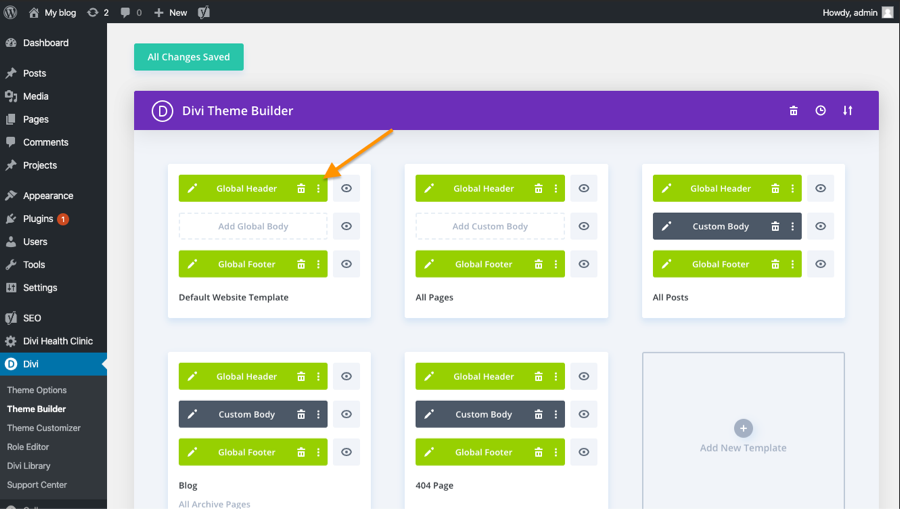
Make sure you have set the menus as on the video below. At the end of the video, you can see the separate menu that will be displayed on the mobile and tablet - to keep your menu user friendly and responsive :) Second navigation is set to transparent, that's why on the Divi Builder preview it's not visible.
Customize child theme colors
You can customize child theme colors by going to Theme Customizer. To Change Theme Accent: Theme Customizer > General Settings > Layout Settings > Theme Accent Color
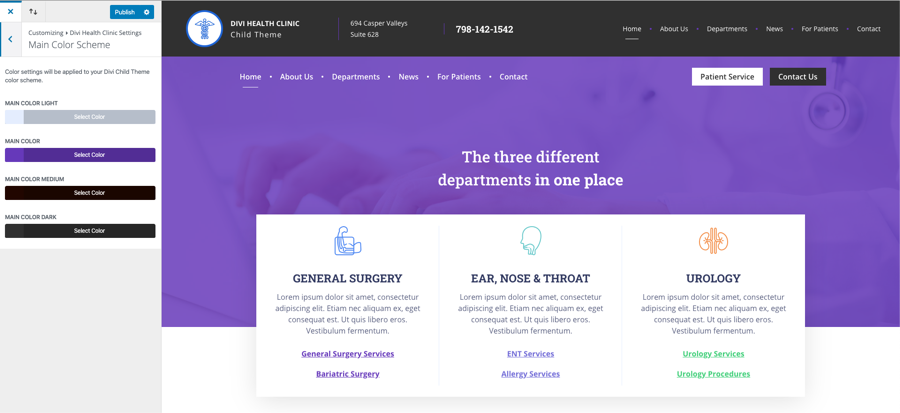
To Change Colors Accents: Theme Customizer > Divi Health Clinic Settings
To Change Buttons Color: Theme Customizer > Buttons > Button Style and Hover Style
To Change Link Color: Theme Customizer > General Settings > Typography > Body Link Color
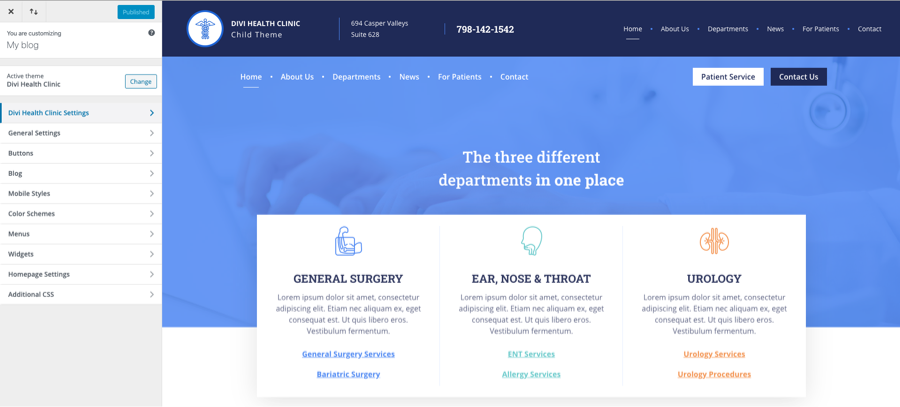
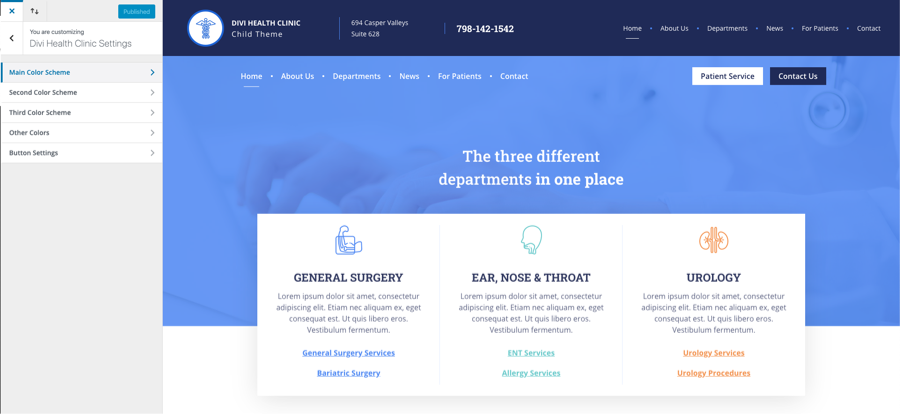
Customize colors with the color picker.
