Getting WordPress installed on a host seems like it should be a daunting task, but in reality, it’s a fast and easy process. It doesn’t require any programming skills. WordPress even boasts about their famous 5 minute install.
Can WordPress really be installed in 5 minutes? Absolutely. It’s even possible to get hosting and WordPress installation done in 5 minutes. In this article, we’ll look at three different ways of how to get WordPress hosted in under 5 minutes.
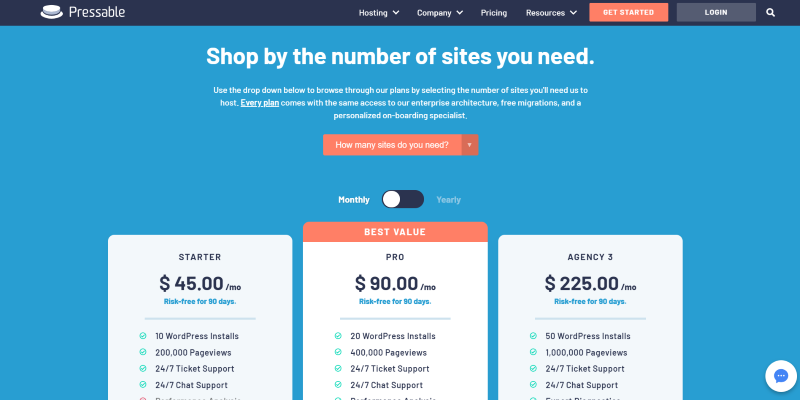
Choose your WordPress host and hosting plan
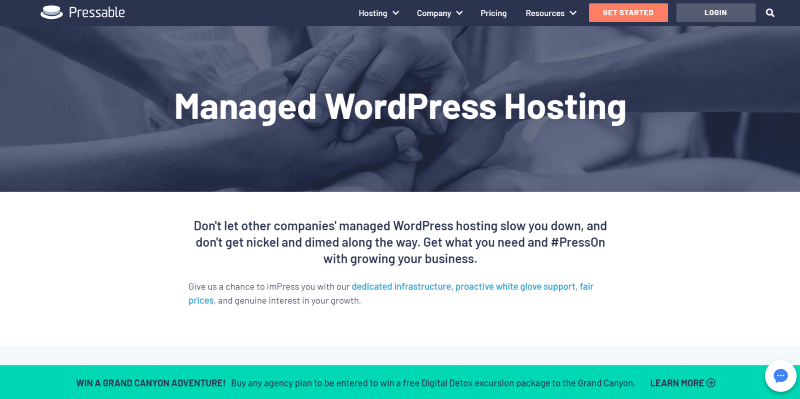
Choose the type of hosting you need. There are lots of hosting options for WordPress. The example above is Pressable, which has excellent deals on WordPress hosting.
There are two main ways that WordPress is handled on your hosting platform:
Unmanaged – You are responsible for every aspect of your WordPress website. You can install and maintain your WordPress installation yourself. Many provide a cPanel where you can do a one-click automatic install. Many will install WordPress for you if you request it.
Managed – WordPress is pre-installed and everything is set up. You just need to add your theme and content. Security, maintenance, and backups are handled for you. You can purchase according to the type of traffic you need. This is the easiest method.
There are three popular types of hosting plans. You can get them as managed or unmanaged:
Shared – the server resources and space are shared by many customers. It’s good for small websites without much traffic.
VPN – your website has a specified portion of the server resources and space, so no other website on the server affects yours. These are better for medium to large websites with lots of traffic.
Dedicated – you have a server all to yourself. These are the best option for the largest websites.
For more information about the different types of hosting, see the article WordPress Hosting: Shared vs Managed vs Cloud here in the Aspen Grove Studios blog.
1. Setting up WordPress with managed hosting
Managed hosting is the easiest way to get WordPress running fast. The hardest part is choosing your hosting plan. This is another Pressable example, which excels at managed hosting.
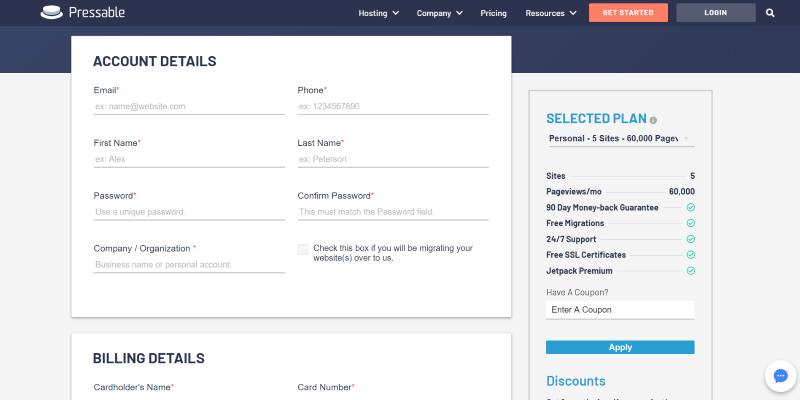
Once you select your host and the type of plan you want for your website, simply set up your account. Some hosts include domain registration. If you choose to register a domain name through them, it will be part of this setup process.
Pointing your domain name
Once you’ve gone through the steps and chosen or forwarded your domain name, your WordPress installation will be ready to use. Managed hosting plans have WordPress installed already. Done.
2. Setting up one-click install with unmanaged hosting
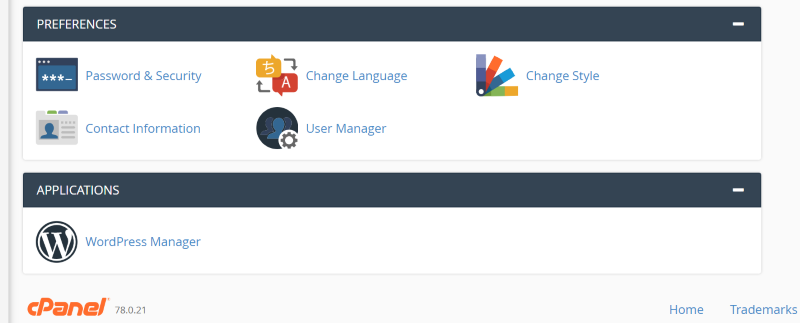
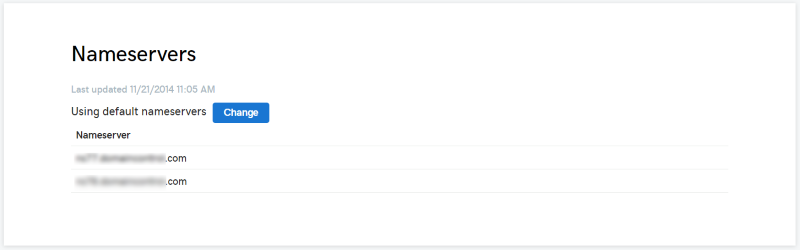
If you’ve chosen unmanaged hosting, you’ll still need to register a domain name or point your domain name to the host’s nameservers. Once you’ve done that, go to your hosting plan’s cPanel and scroll down until you see Applications. Each host has different applications to choose from, but they all should have WordPress (if not, then you can still install it with the manual method). Click on the WordPress Manager in your cPanel.

This will show a list of websites you have installed and includes a place to add new sites. Click to add a new site.
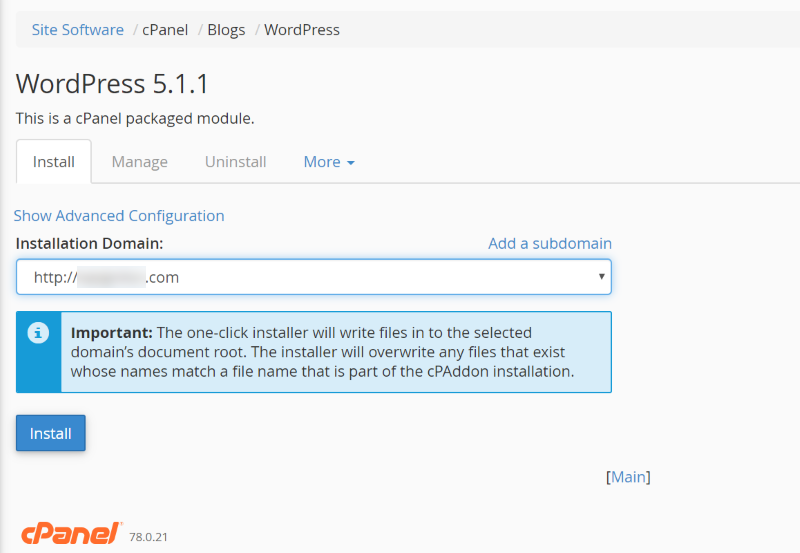
Select the domain name from the dropdown list and click Install.
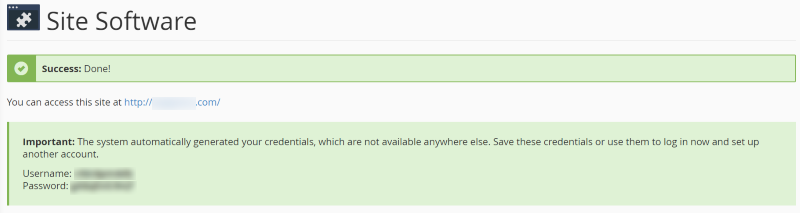
The options you’ll need to set up will be different depending on your host. Some require you to set up your database password, website password, and site features, while others generate this information automatically and allow you to change it later if you want. Once the installation is complete you’ll have access to your new WordPress website.
3. Installing WordPress manually
Create the database
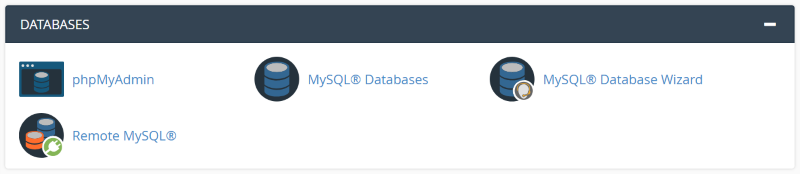
In your cPanel, scroll down to Databases. There are several ways you can create the database and these options will vary depending on your host. I’m selecting the MySQL Database Wizard. In my case, MySQL Databases also has the same database creating tool.
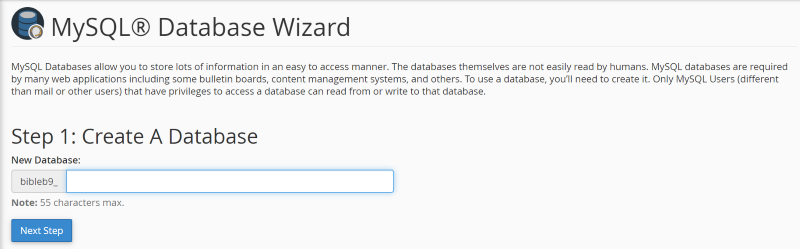
Go through the steps to create the database. This is where you’ll name the database and create the user and privileges.
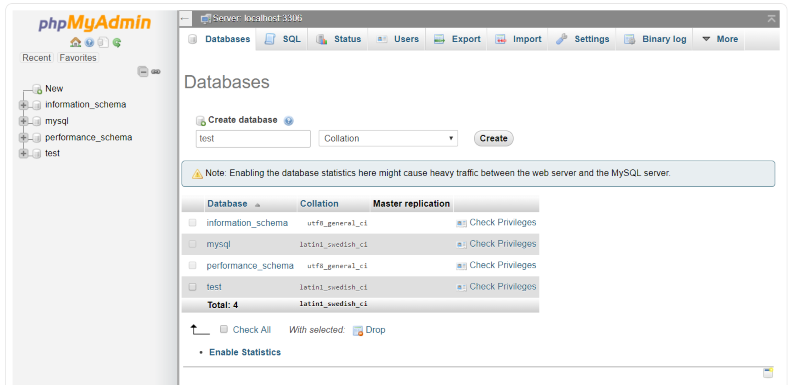
Some hosts also provide a tool to create the database from phpMyAdmin. The database creation process is the same.
Download WordPress
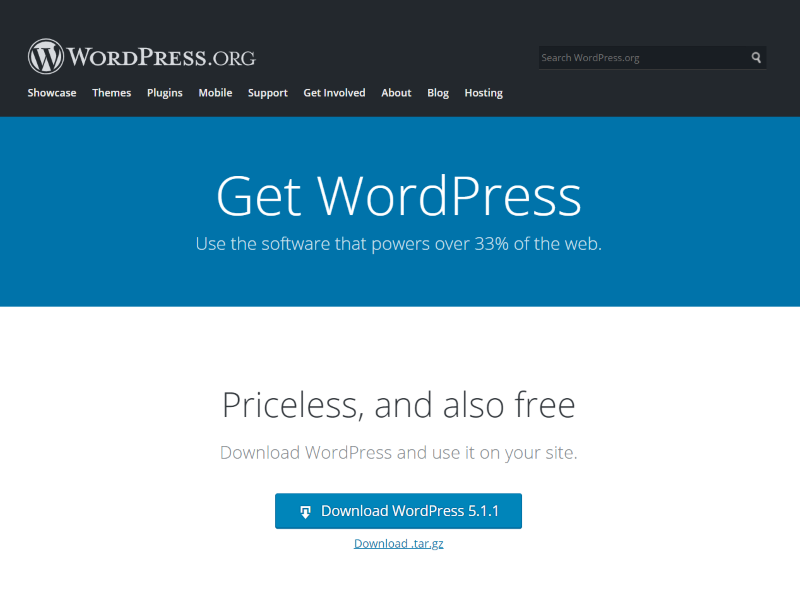
You can download WordPress for free from WordPress.org/download. Unzip the files so you can upload them.
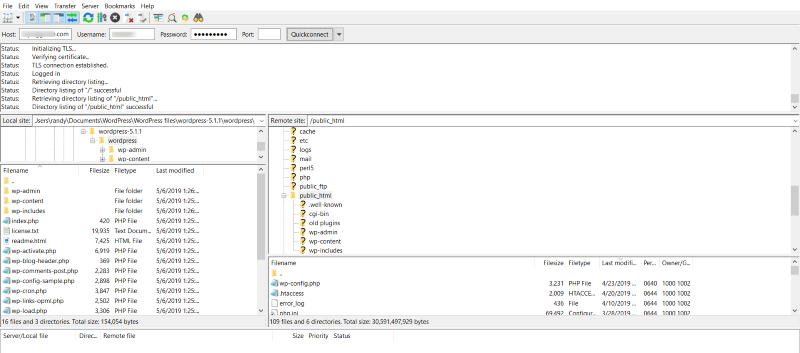
Uploading the WordPress files via FTP
Unzip the downloaded file and open the folder with your FTP client and select all of the files. Select your public_html folder in your server’s directory. Drag the WordPress files to the public_html folder and wait for the transfer to complete.
Installing WordPress
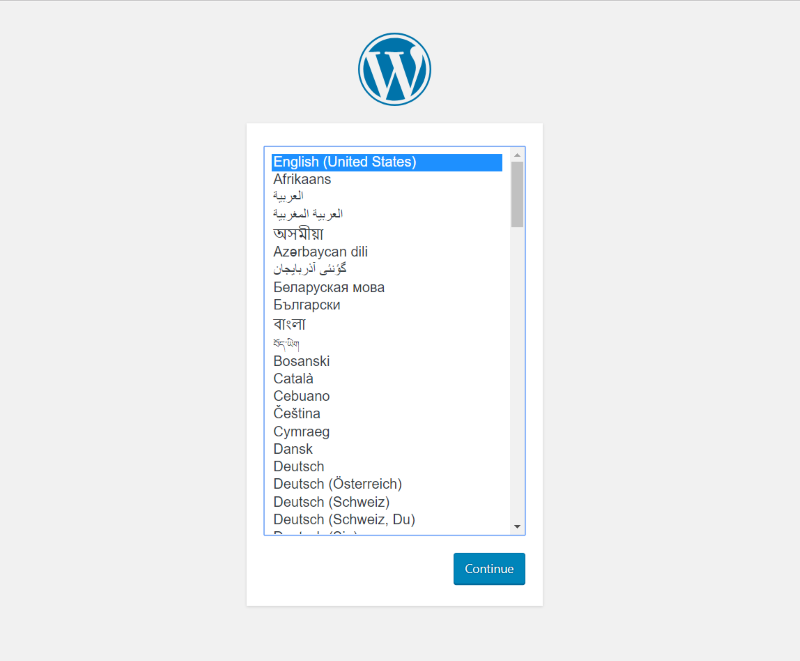
Now go to your website and you’ll see the installation screen for WordPress. Choose your preferred language for the website and click Continue.
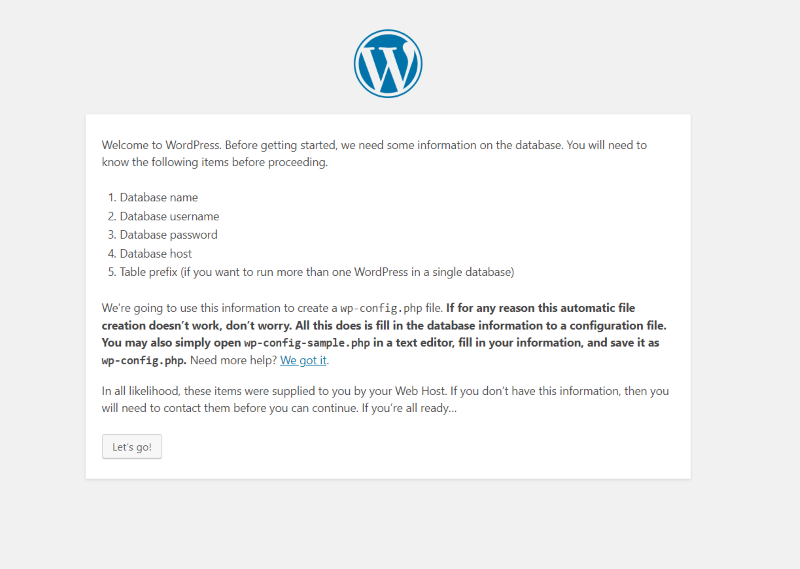
Make sure you have all of your database information and click Let’s go!
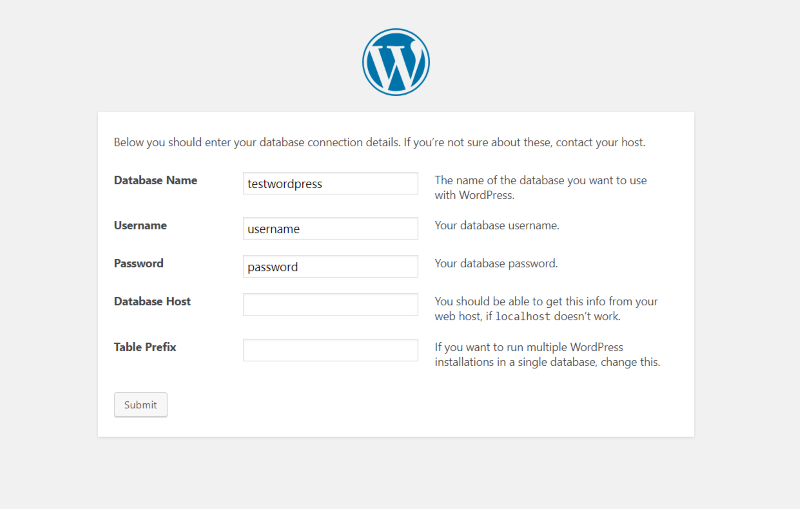
Enter your database info and click Submit.
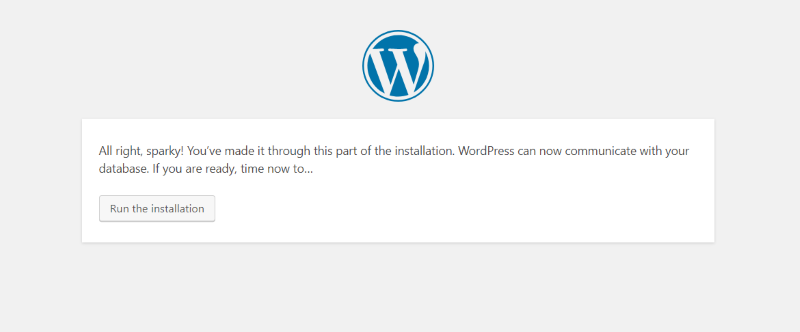
The WordPress installation lets you know that it’s ready to start. Click Run the installation.
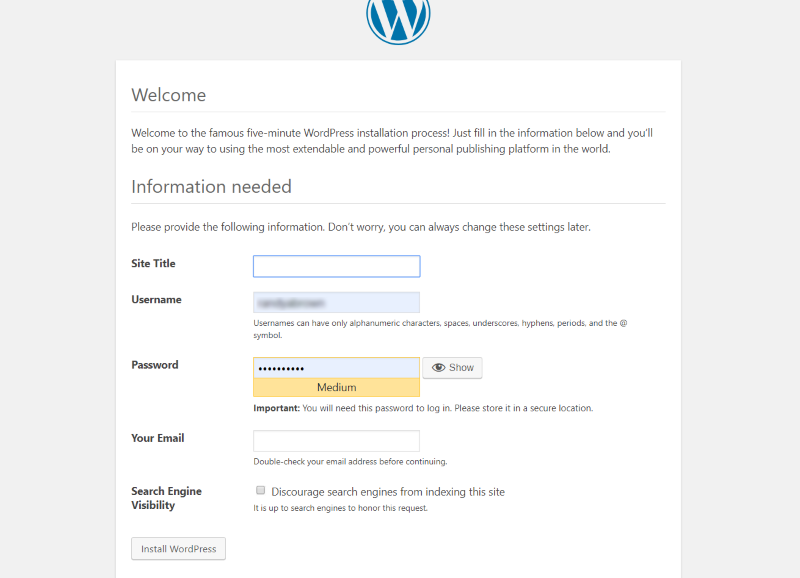
Enter the site’s title, your username, password, email, and choose your preferred search engine visibility. Click Install WordPress when you’re ready
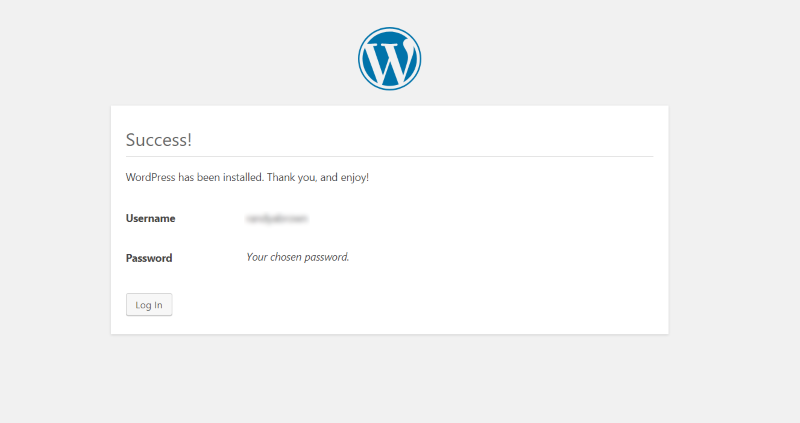
After the installation is complete you’ll get a success message. Click Log In.
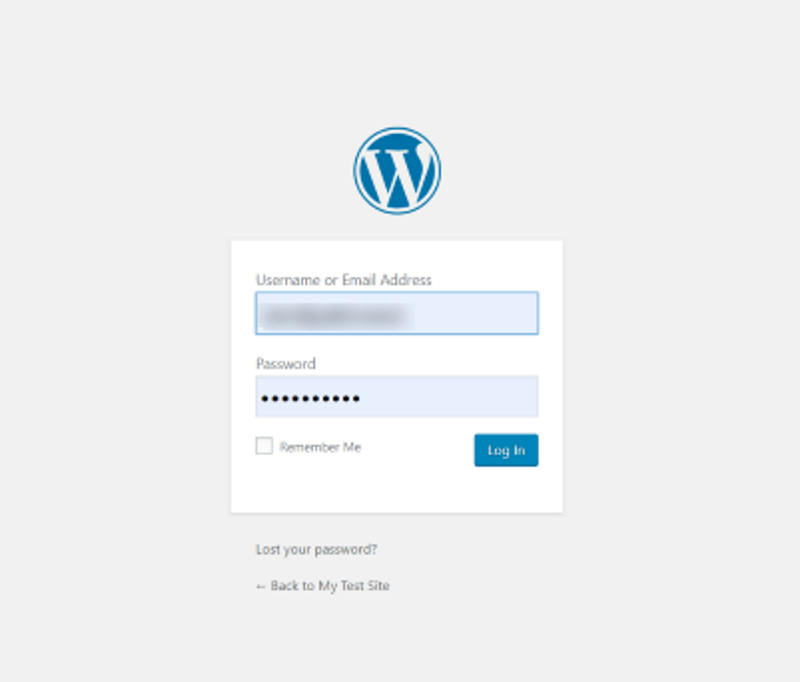
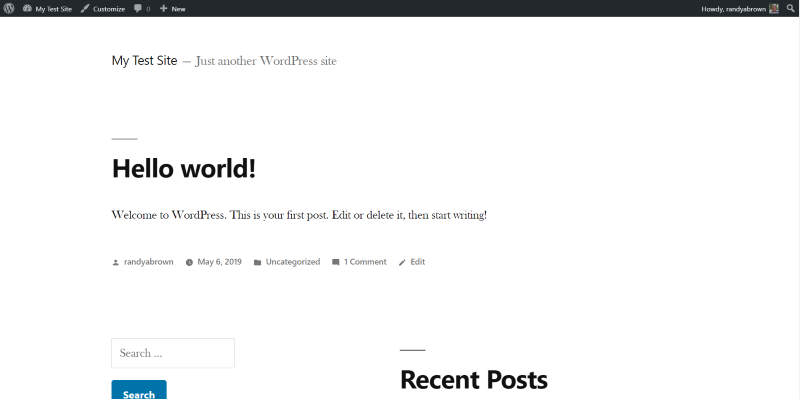
You’ll be taken to the standard WordPress login screen.
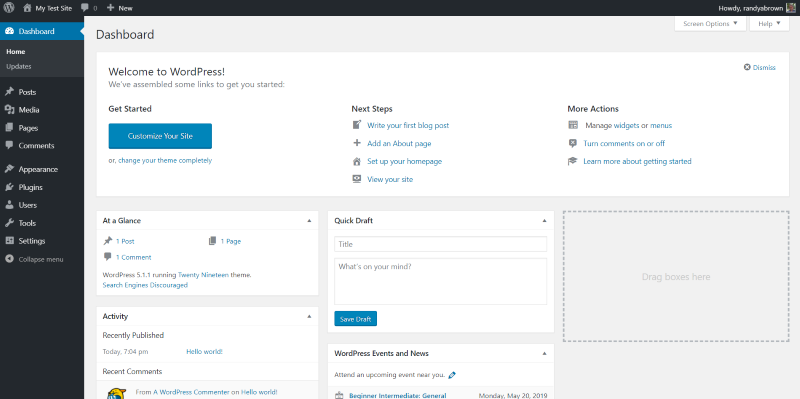
You now have WordPress installed on your server, ready for you to add your theme, plugins, and content.
You’re provided with the default WordPress theme (this is Twenty Nineteen). Be sure to add Divi and grab a theme or layout from the Aspen Grove Studios shop.

If you want to know more about choosing the best hosting for your Divi website, check out our guide: How to Choose the Best Hosting Service for Divi and WordPress. This guide covers what you need to know including managed hosting, optimizing for speed, recommended settings, and provides a run-down of the best hosting services for Divi websites with our top 4 providers compared. Check it out today, and don’t forget to join our Divi and WordPress Hosting Support Group on Facebook and our mailing list to stay up to date with our latest news, updates, and special offers.
Ending Thoughts
That’s our look at three different ways to of how to get WordPress hosted in under 5 minutes. Even though it’s easy to have your host to install WordPress for you, it’s still a good exercise to go through the process on your own. It’s easy to do, and I was able to install it in 5 minutes. Either way, there’s nothing to be afraid of in getting WordPress installed. Unless you run into problems or need to spend time creating your account and choosing a domain name, it really does take 5 minutes or less.
Have you gotten WordPress hosting in under 5 minutes? Let us know about your experience in the comments.
Recent Comments